Affiliate links may be included for your convenience. View our privacy and affiliates policy for details.
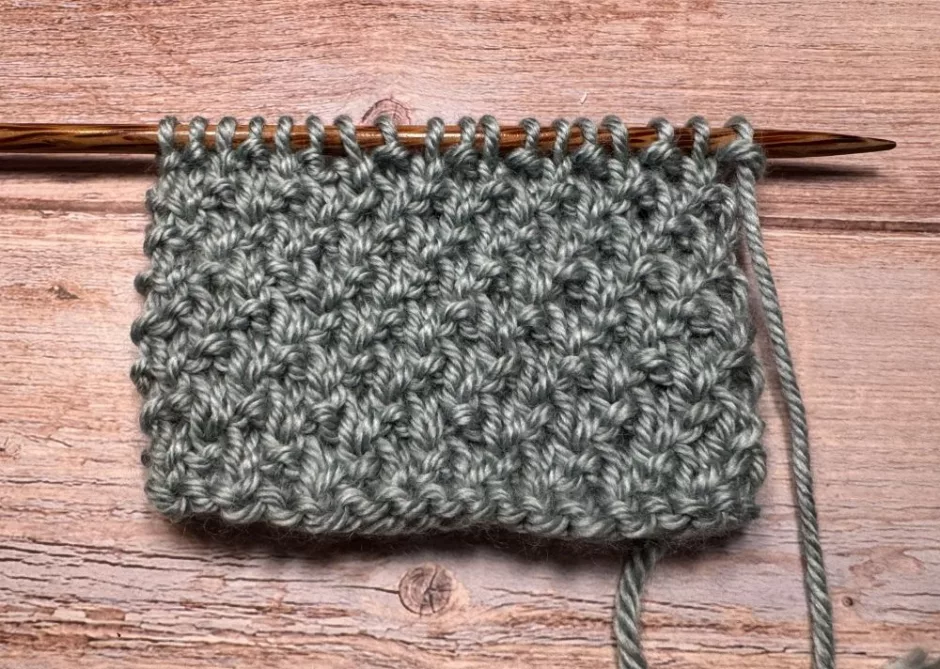
Sand stitch is a fun and easy knitting stitch pattern that looks great on both sides and doesn’t curl. It’s an easy four-row repeat, and only two of the rows have any pattern to them. Let’s check it out!
What is Sand Stitch?
There are actually a couple of different variations on this kind of stitch pattern that I have seen referred to as sand stitch. Some are just a two-row repeat, and some use four rows.
Either way it’s a combination of one (or two) row that are knit (or purled) and one (or two) rows of ribbing.
The four row version is what’s found in Barbara G. Walker’s Treasury of Knitting Patterns, and here at ODC we always defer to the matriarch, so that’s the version of sand stitch we are using.
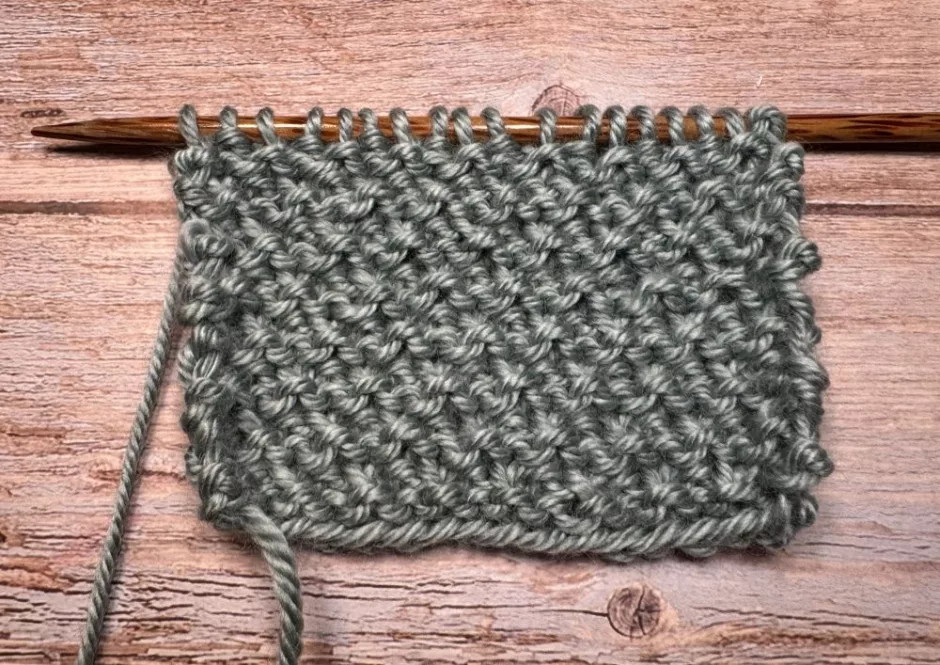
Sand stitch is easy to knit, relatively quick since half the rows are straight knitting, and while it’s not technically reversible both sides look good. Indeed there’s some argument as to which side is the “right” side of sand stitch, but you can decide for yourself.
How to Knit Sand Stitch
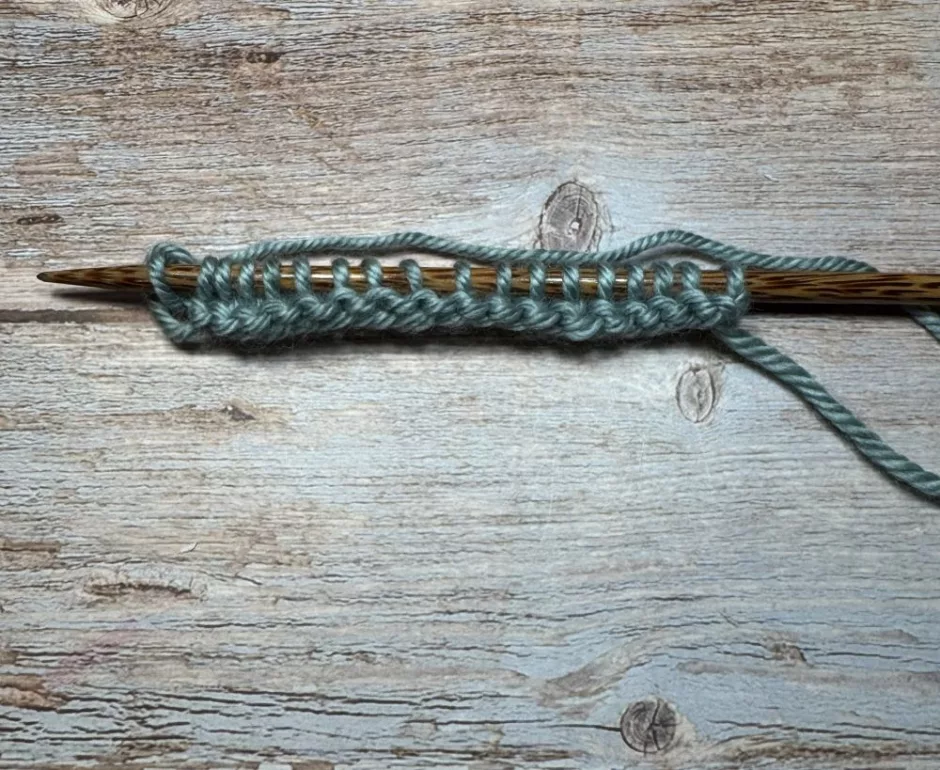
This version of sand stitch uses an even number of stitches. For the purposes of this tutorial I’m using 18 stitches, a ball of Lion Brand Homeland, and size 8 US/5.5mm knitting needles.
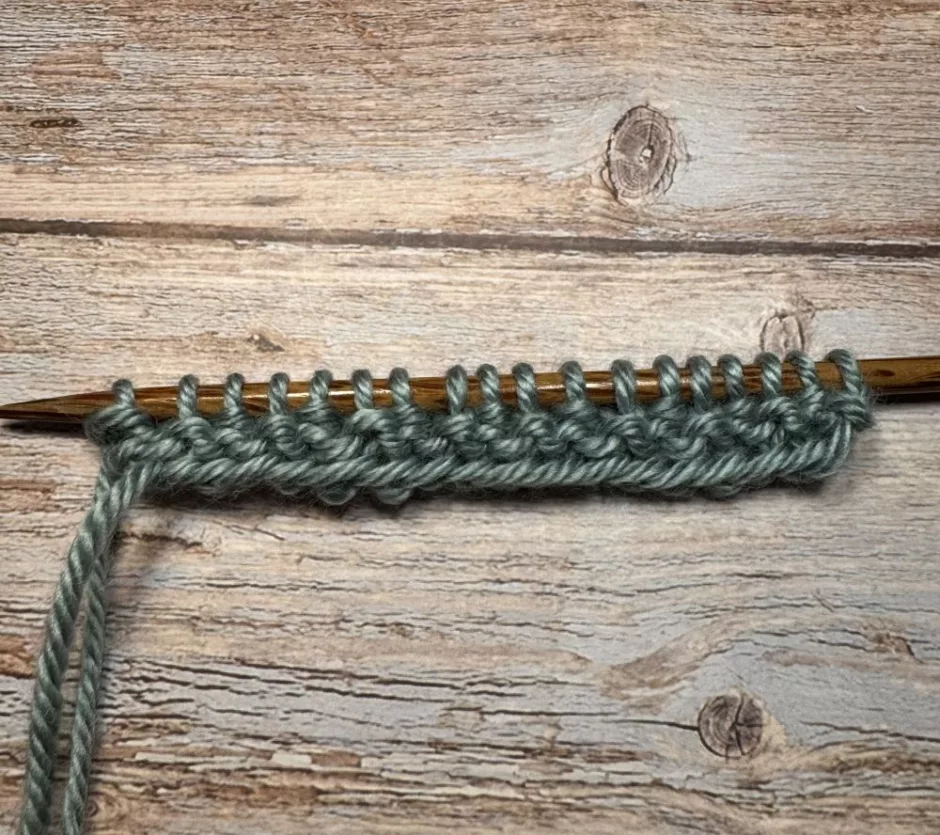
Once you have your cast on, knit the first row. This is considered (by Barbara Walker and, therefore, me, see above) to be the wrong side or back side of the work.
For the next row, *knit 1, purl 1. Repeat from * across. This is the front, or right side in knitting speak.
Knit the next row.
*Purl 1, knit 1. Repeat from * across.
Repeat these 4 rows for the pattern.
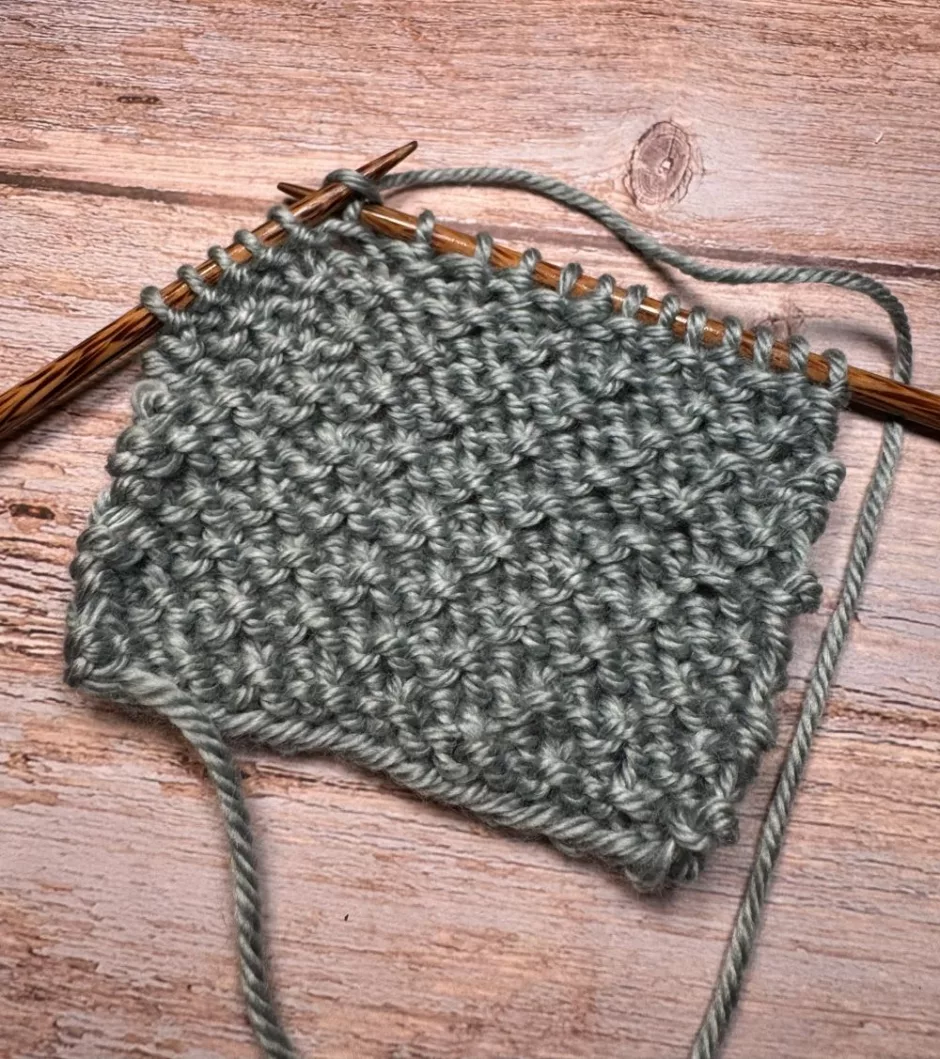
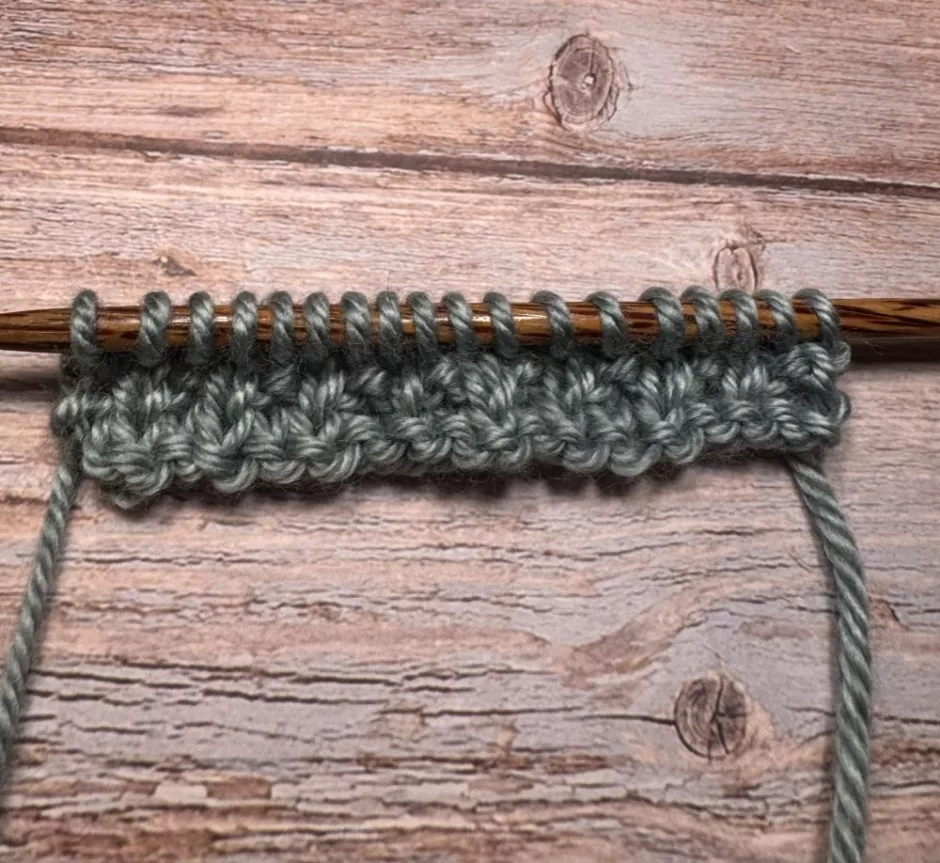
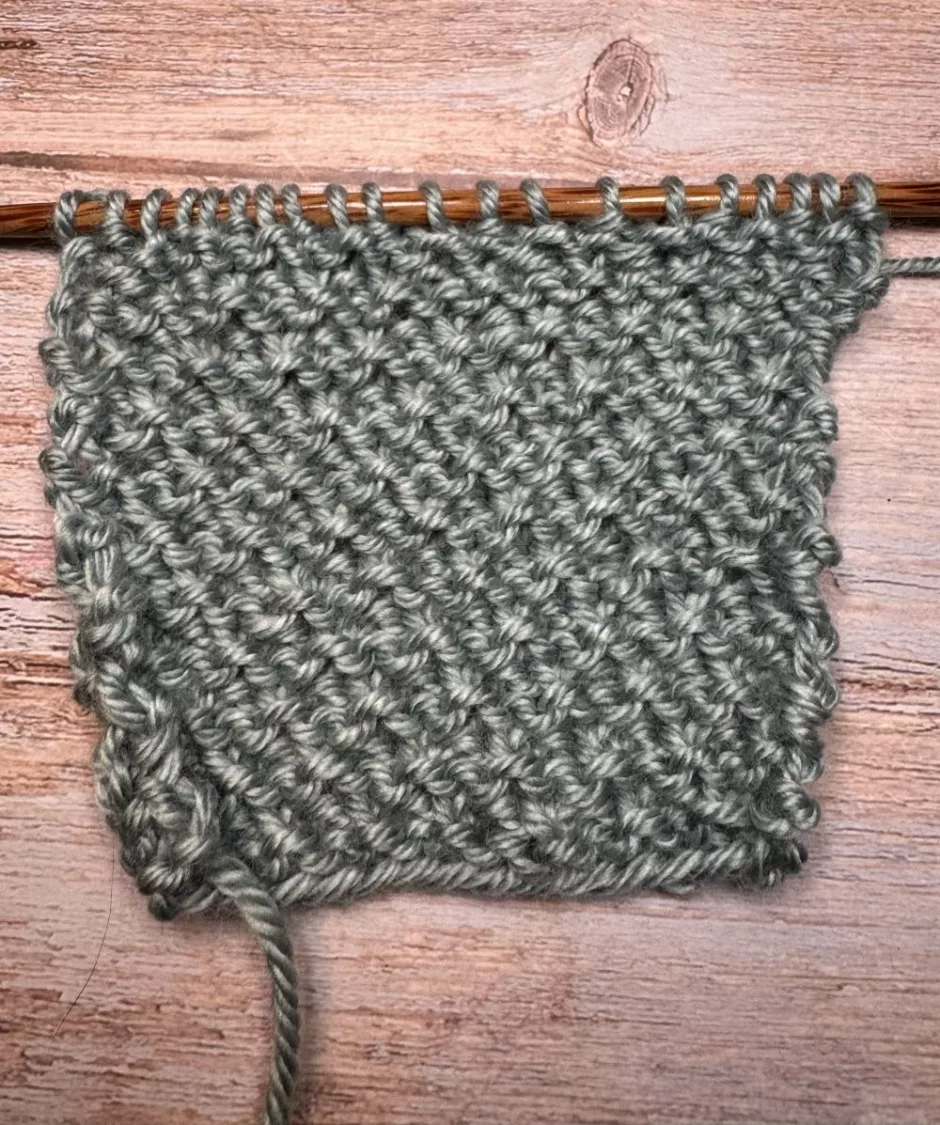
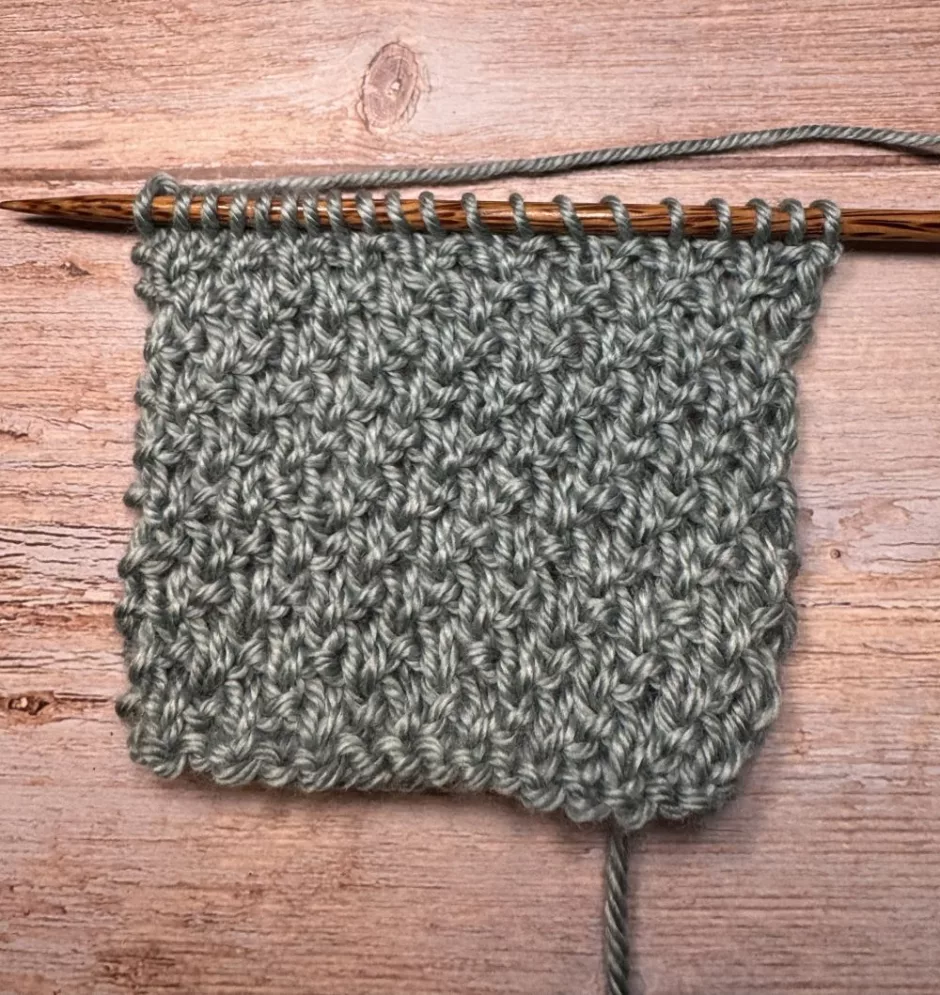
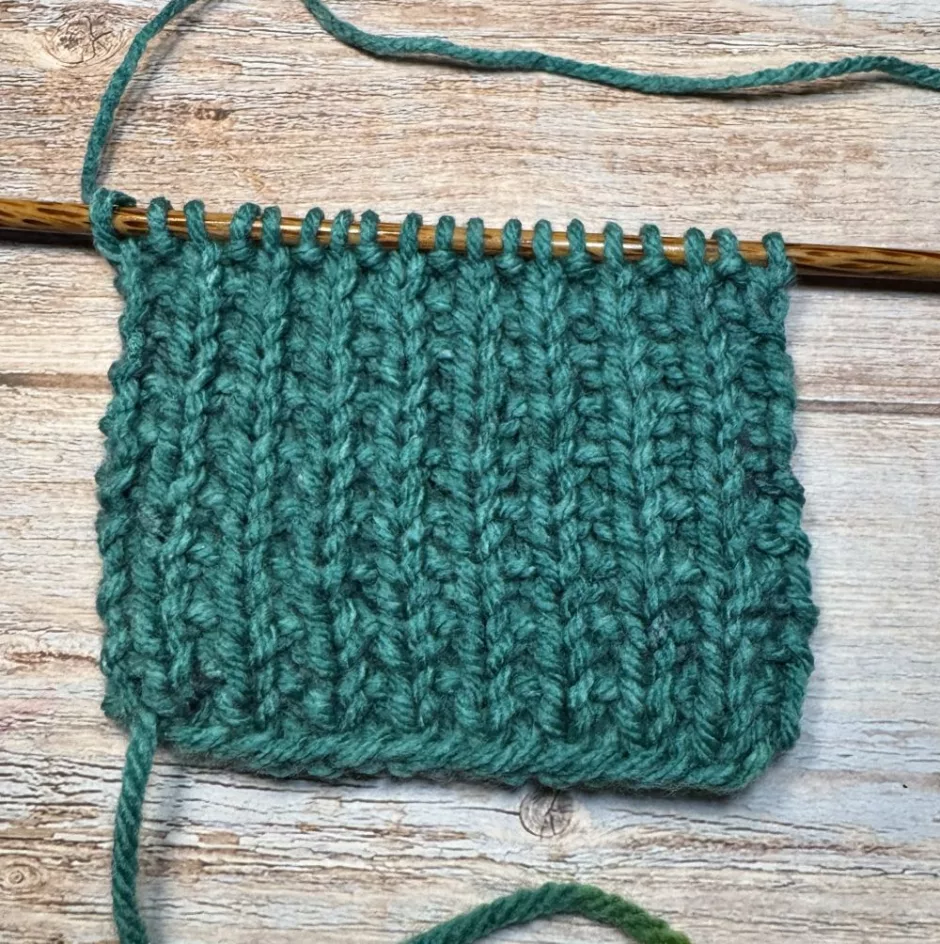
If you need help remembering where you are in the pattern, if you’re seeing the side that looks more like stockinette stitch (on the right above) it’s time to knit a row.
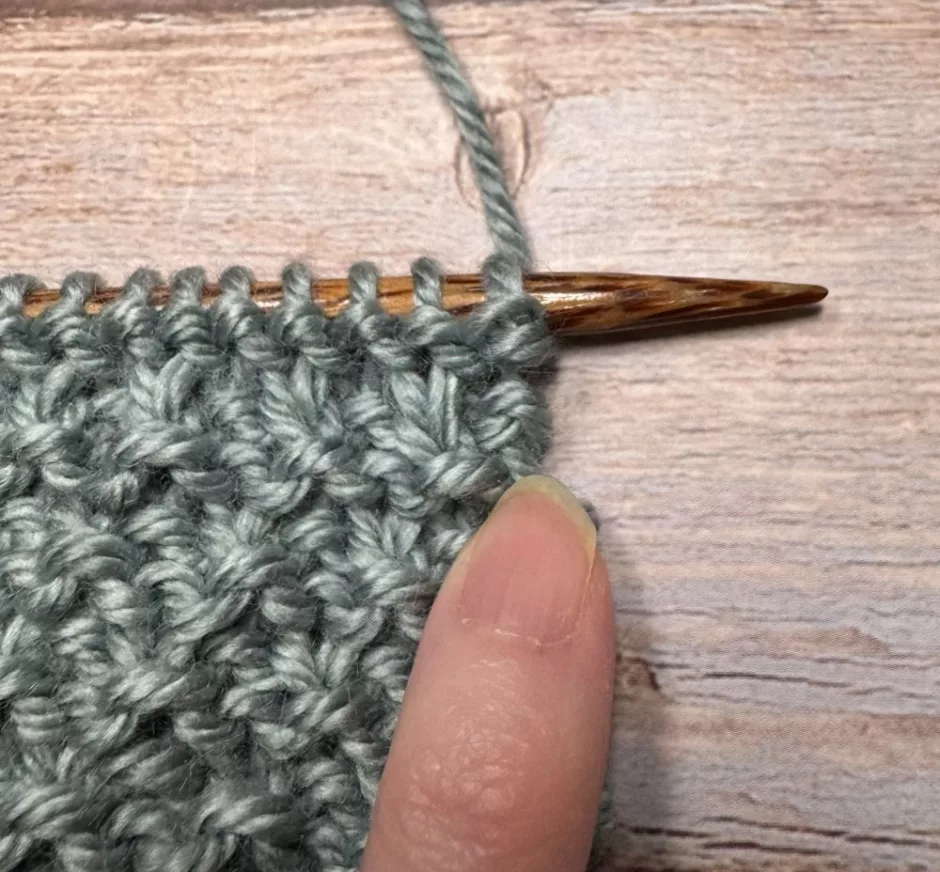
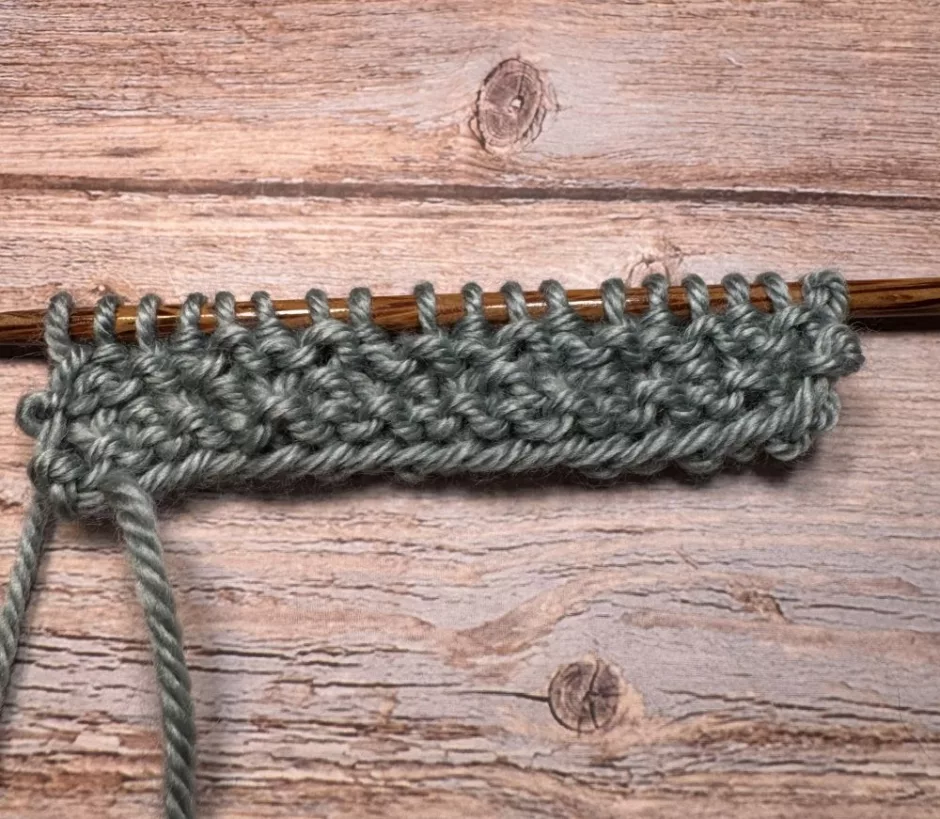
If you’re on the other side you’ll see a whole row of purl bumps below your needle. Look at the stitch in the row below that to determine whether your row needs to start with a knit or a purl. This is a purl so the next row is knit 1, purl 1 across.
Shaping in Sand Stitch
Increasing and decreasing in sand stitch is best done in multiples of 2 to keep the stitch pattern consistent. It’s easiest to do at the ends of the work on a knit row.
Here I worked make 1 increases between the first and second stitch and between the second to last and last stitch on the knit row.
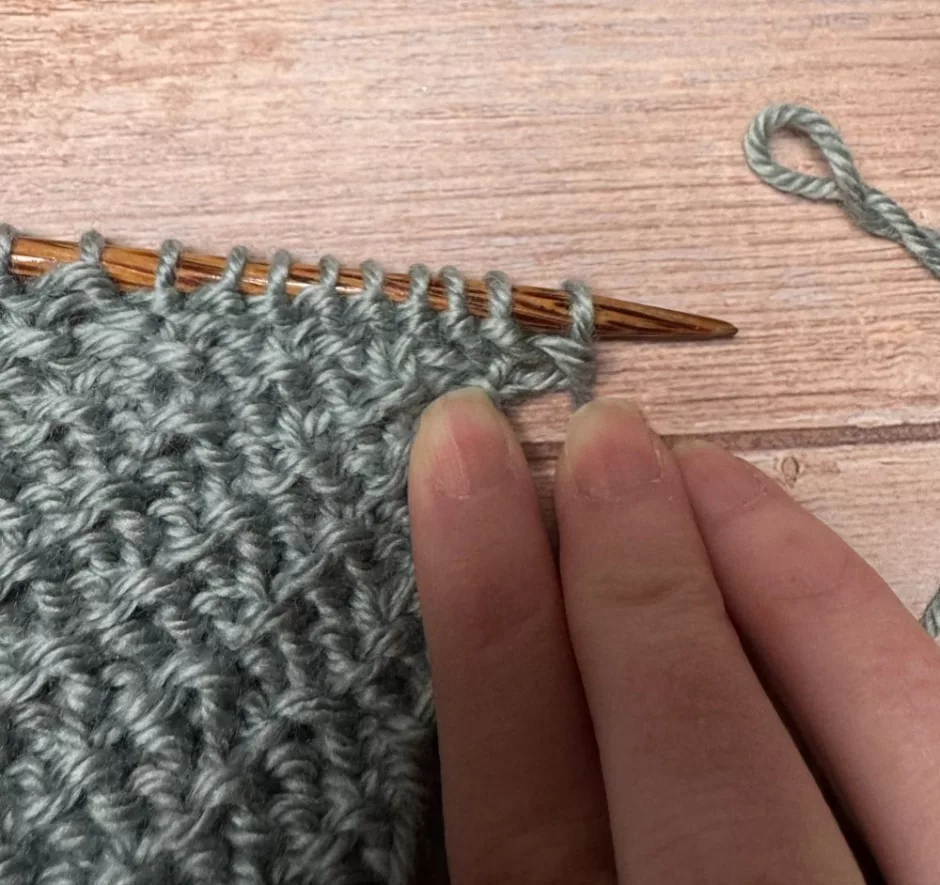
On the knit-purl side, look at the previous knit-purl row to decide which stitch to start with. Here I can see in what’s now the third stitch on the needle I had a purl on the previous row, which means I need to knit that one this time. Working back from that being a knit stitch, the second stitch would be a purl and the first a knit, so I know I’m working knit 1, purl 1 across this row.
It might be easier to check that you’ve done it right from the knit side. Here you can see there’s no interruption in the pattern.
And we know since our last right-side (knit-purl) row started with a knit 1, the next one starts with a purl 1. But if you work more increases or decreases later in the pattern you’ll shift these rows again as needed to keep the pattern consistent.
Changing Colors
A question you might have with sand stitch knitting is how and when to change colors if you want to make stripes or a color blocked pattern. The answer depends on which side of the pattern you’re considering the front.
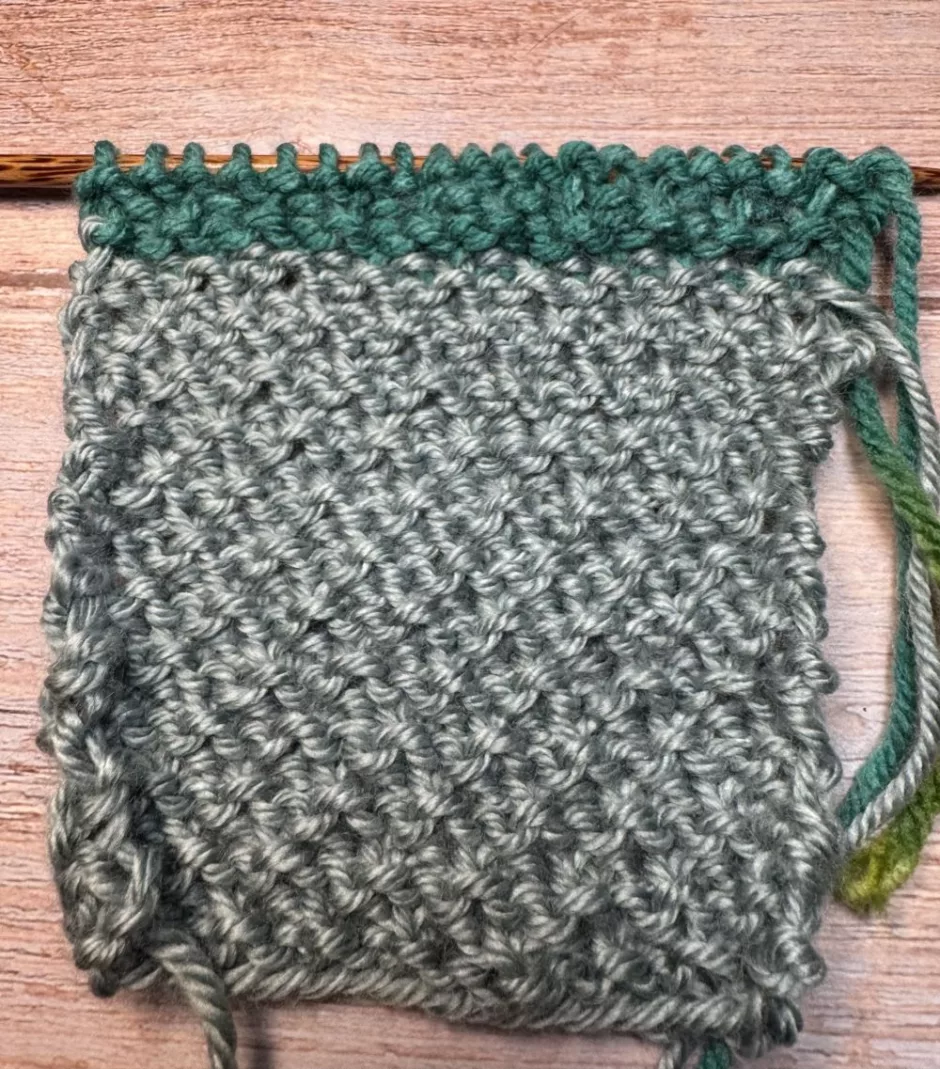
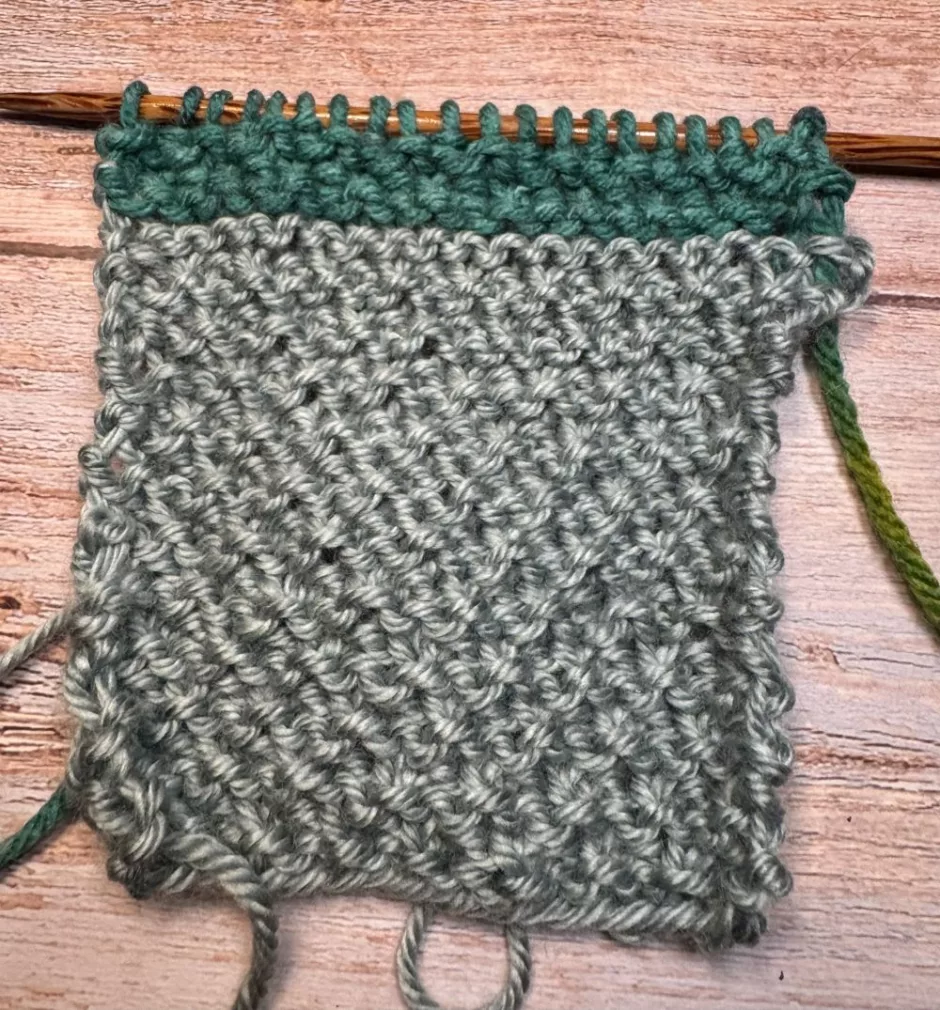
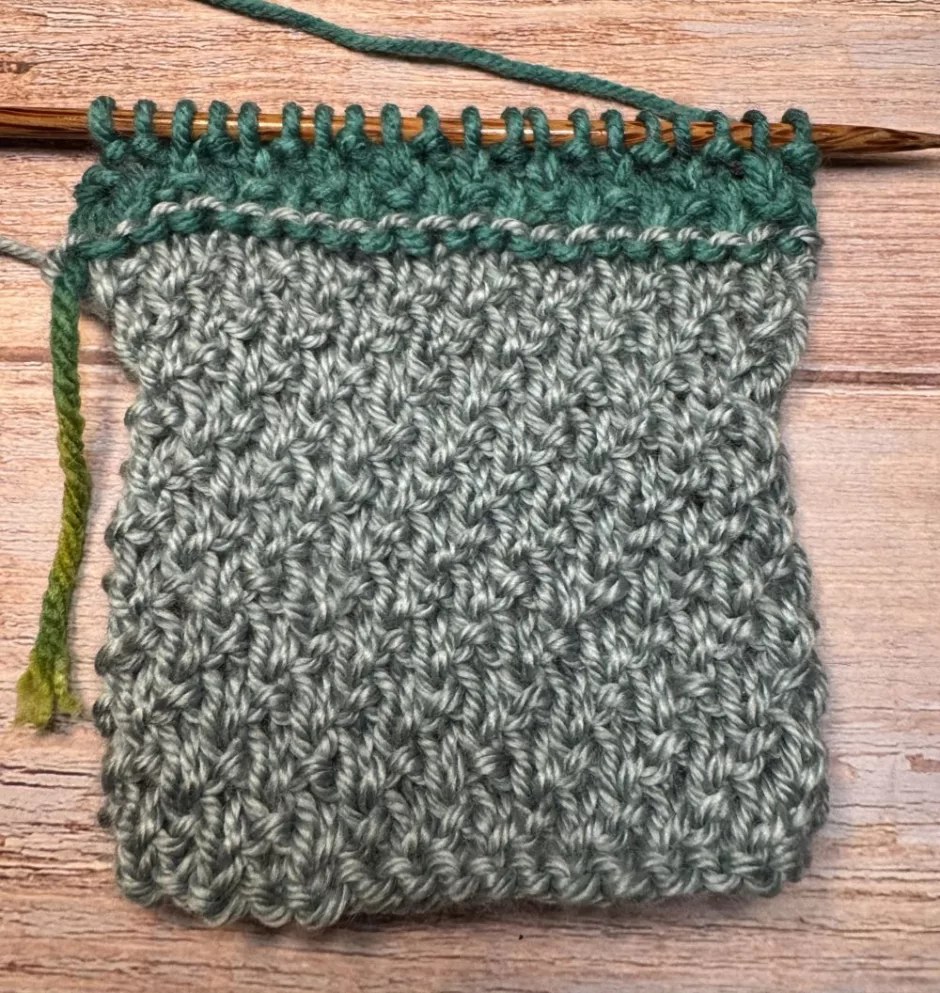
If you want to use the bumpier side as the front as this pattern suggests, change colors on that side of the work. I changed on row 2 but it doesn’t matter which one you choose. In these photos you can see that the color change isn’t super visible on this side but it is on the wrong/front/more knit stitch side.

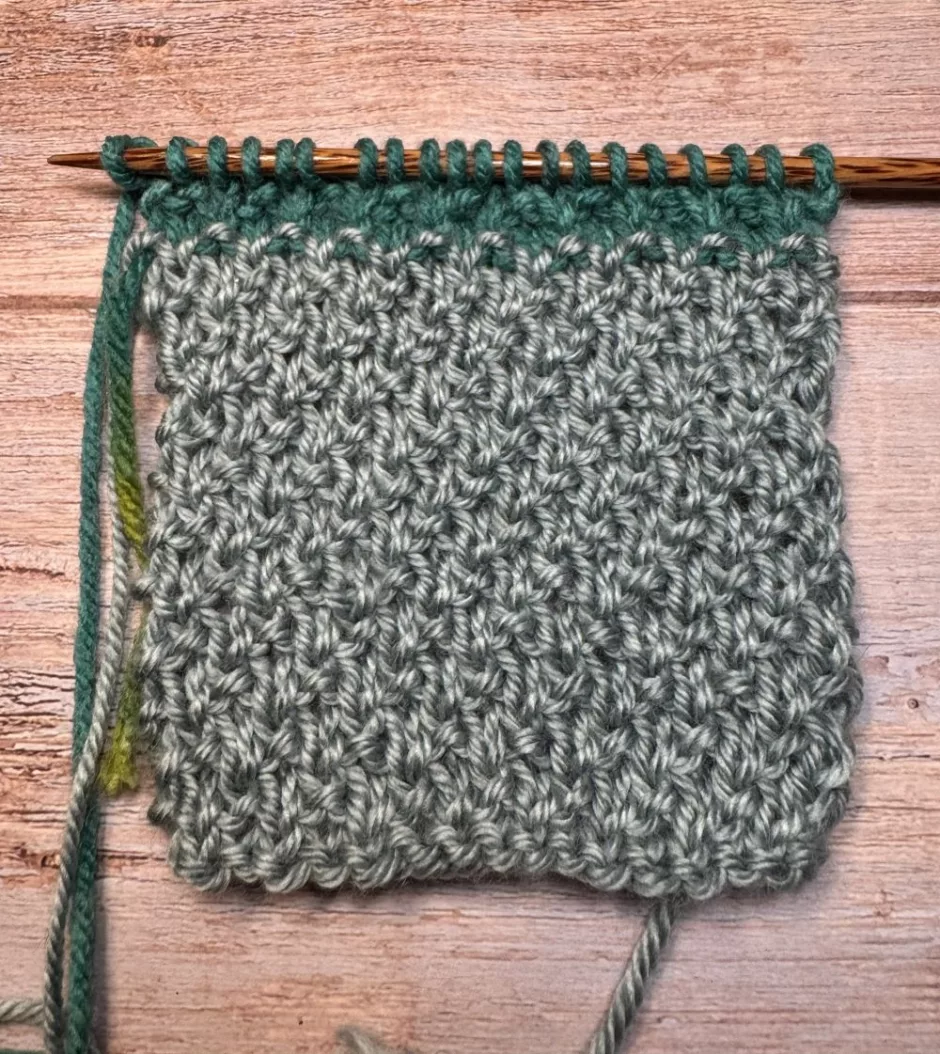
On the other hand, if you want the knit row side to be the front of the work, change colors on one of the knit rows. Here I changed on row 1. The change is crisp on the knit side but not so on the wrong side.
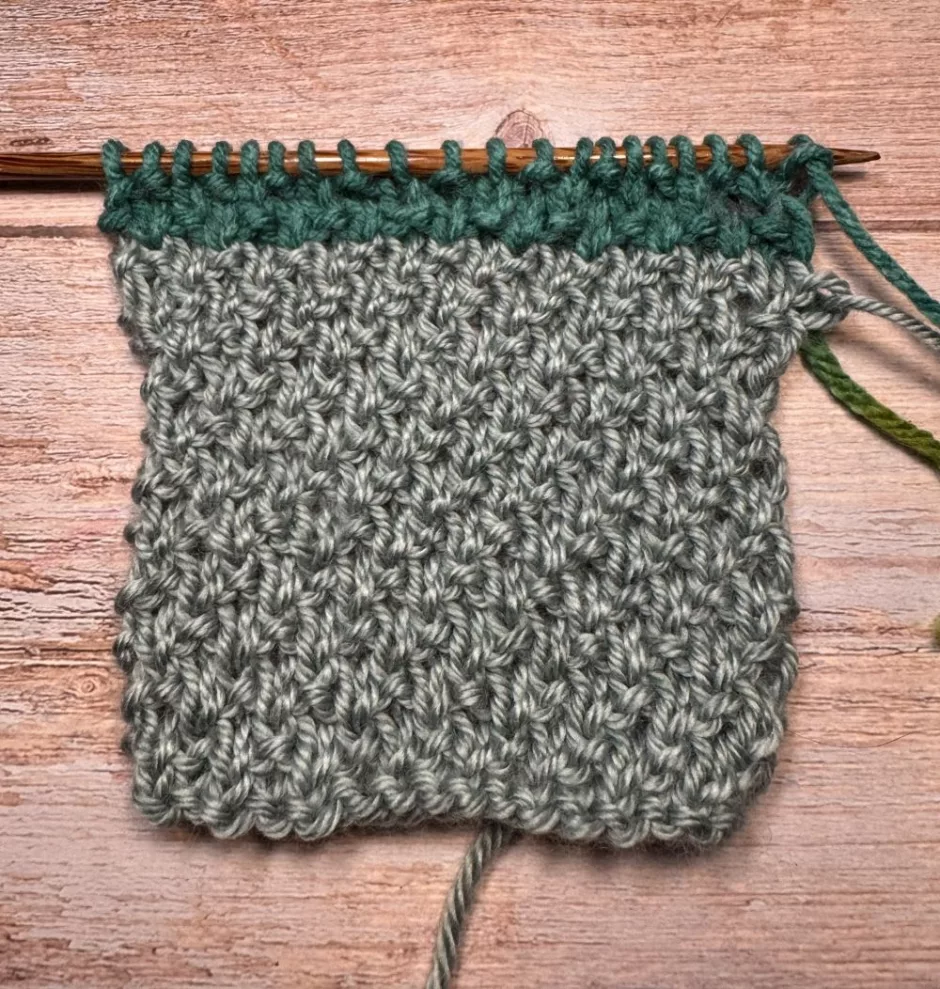
When knitting ribbing and some other knit purl combinations it’s possible to knit a row instead of working the pattern when you change colors, which gives you a crisp line the blends into the stitch pattern. As you can see that’s not really helpful here because it interrupts the pattern on the right side and makes a very noticeable change on the wrong side, too.
Variations on Sand Stitch
When I was looking for patterns using sand stitch knitting, I found that some people call different stitch patterns sand stitch.

I saw a few different knitters make sand stitch into a two-row repeat, either knitting or purling the first row and then doing k1, p1 on the second row. Sometimes it’s worked on multiples of 2, and sometimes 2 plus 1 so you have a knit stitch on each end.
To me (and Barbara Walker, as it turns out) this version where you purl one row and do k1, *p1, k1 repeat from * across is called Broken Rib. It’s actually on the same page of A Treasury of Knitting Patterns as sand stitch, which makes it extra fun that the terms are interchanged.
I also saw this stitch (as I described it) referred to as rice stitch. What I know as rice stitch alternates knitting a row and ribbing where the knits are worked through the back loop, twisting those stitches. As we know from seed stitch/moss stitch/Irish moss stitch, etc. different knitters have different names for the same things, which makes it confusing, but also fun.
Sand stitch also has me thinking of Alicia Plummer’s Favorite Flannel sweater, which uses the knit side as the front and only does the ribbing on one out of every four rounds. She calls this one Andalusian stitch. But it’s a cousin of sand stitch, for certain.