Affiliate links may be included for your convenience. View our privacy and affiliates policy for details.
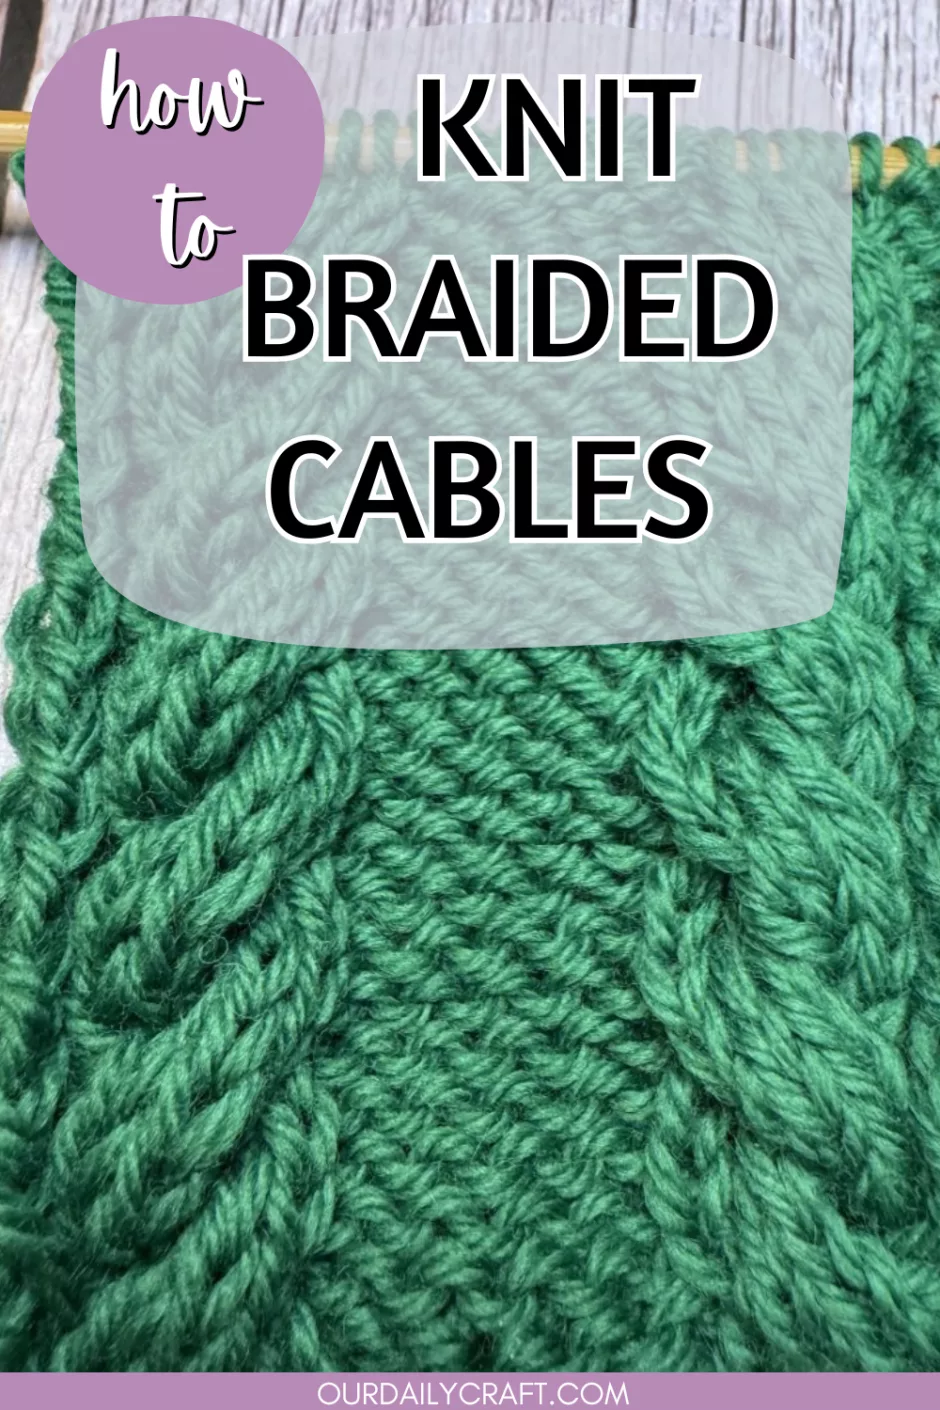
These basic braided cables are a great introduction to the basics of cable knitting, and you don’t need any special equipment to do them. Let’s learn how to knit cables!
What is a Cable?
Cables in knitting are basically twists in the stitches that occur because the stitches are being worked in a different order from how they normally present themselves on the needle. You do this by slipping some stitches onto a cable knitting (or a double pointed knitting needle the same size as your needles or slightly smaller) and holding them while you work some stitches from the main needle. Then you work the held stitches.
Cables can be wide or narrow, and you can work different numbers of stitches in your cables, turn them at different rates, knit or purl the stitches (or some combination).
With these braided cables we’re using six stitches. Three are held while the other three are knit. There are three rows between each cable pattern row. This makes it all easy to remember and learn.
How Cables Twist
The twist or lean of the cable is determined by how the stitches are held when you aren’t working them. When the stitches are held to the front of the work, you get a cable that leans to the left.
When they are held to the back, the cable will learn to the right.
These cables might be referred to as a left cross or a right cross, which refers to the way the cable leans. Or they might be called front or back, which refers to how the cable needle is held.
The Craft Yarn Council uses right and left (or R and L) in their able symbols and abbreviations, but individual designers might use a different term. That’s why it’s always good to read through the pattern notes and abbreviations to see what that particular pattern is using and what it means.
Likewise the number used with a cable instruction in instructions might vary in what it is telling you to do. A 2/2 right cross would mean you hold 2 to the back, knit 2 and knit 2 from the cable needle. But some patterns might just call this a 4RC, because 4 stitches are involved. Again, consult the instructions if you’re working from a pattern to know the right thing to do.
Setup for Cables
Traditionally cables are worked in stockinette stitch with a background of some other stitch, whether it be reverse stockinette, moss stitch or something else. This makes your braided cables stand out from the fabric around them.
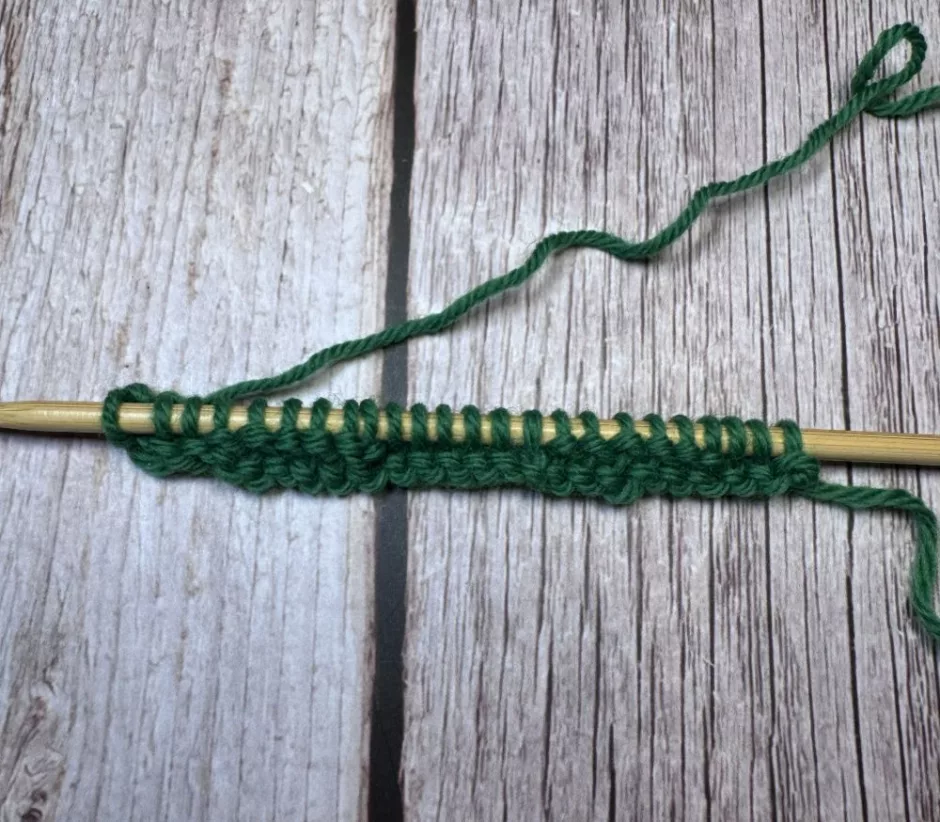
For this sample I cast on 24 stitches. Despite there being a cast on called the cable cast on, you can use whatever cast on you like.
Considering the first row a wrong side/back side row, I worked knit 3, purl 6, knit 6, purl 6, knit 3.
On the right/front side this becomes P3, K6, P6, K6, P3 and those knit 6 sections will become the cable.
Repeat the wrong side row again.
Knitting Braided Cables
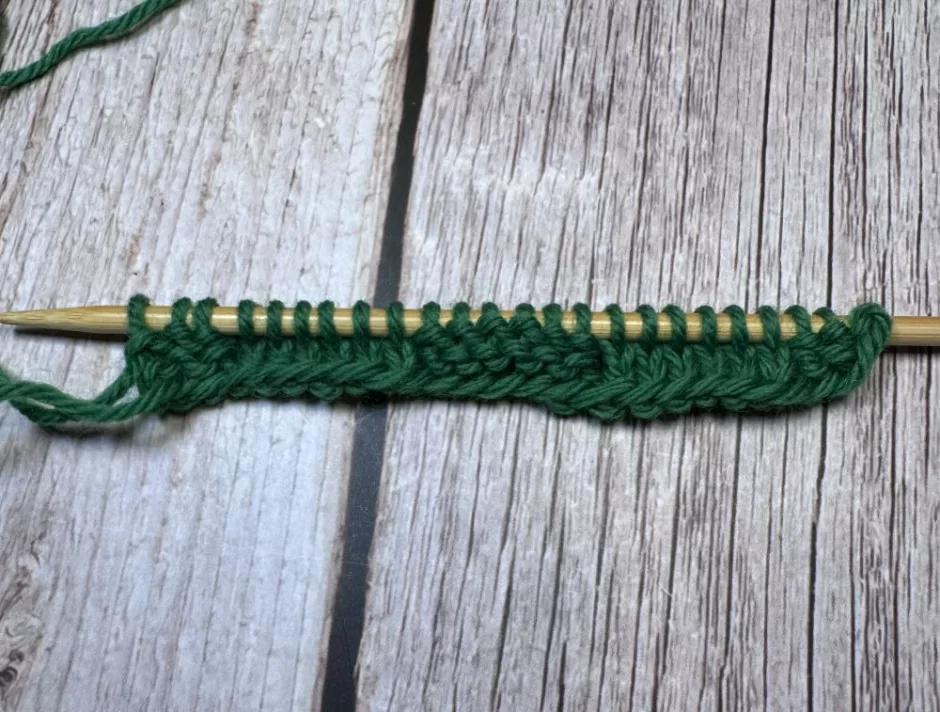
On this row we’re going to work the cable twist. Start by purling the first 3 stitches.
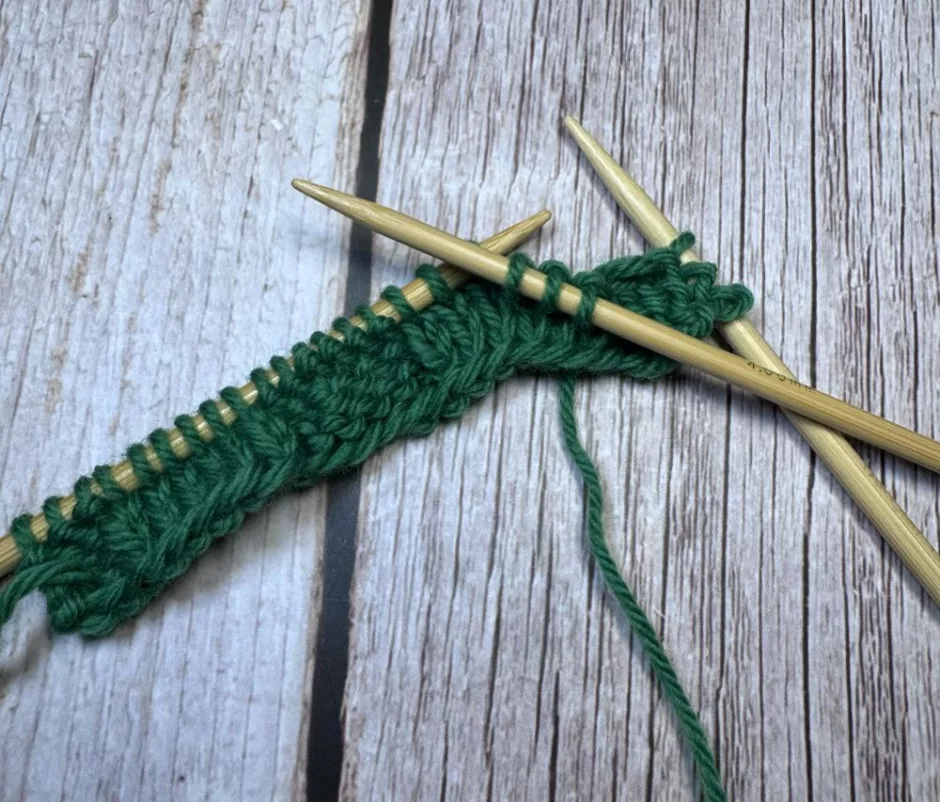
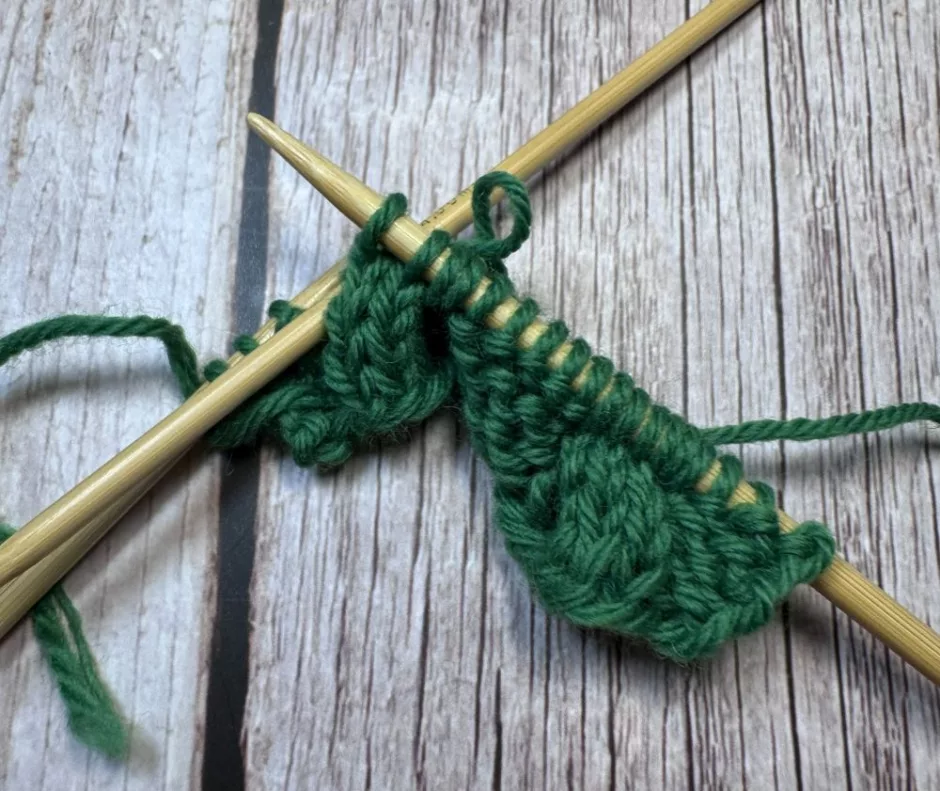
Slip the next 3 stitches onto your cable needle or double pointed knitting needle as if to purl. Keep this needle in front of the work. You don’t have to hold it while you knit but you might find it easier if you do.
Knit 3 from the main working needle.
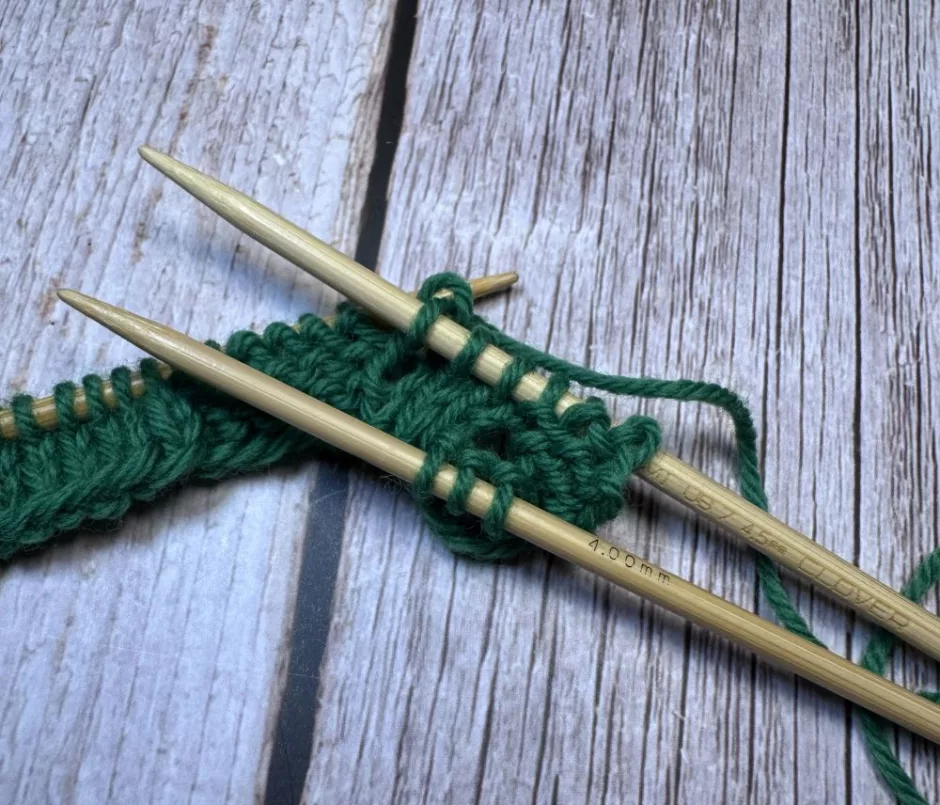
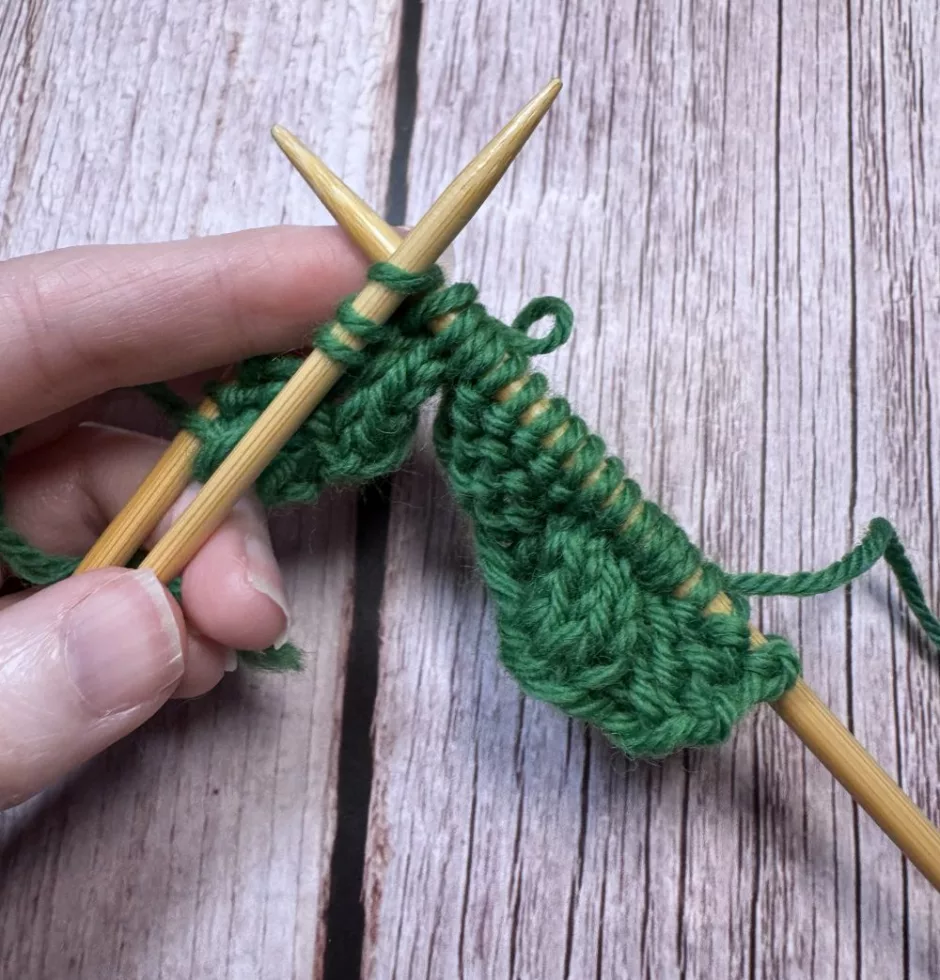
Bring the cable needle up so you can knit the 3 stitches from it.

Purl 6.
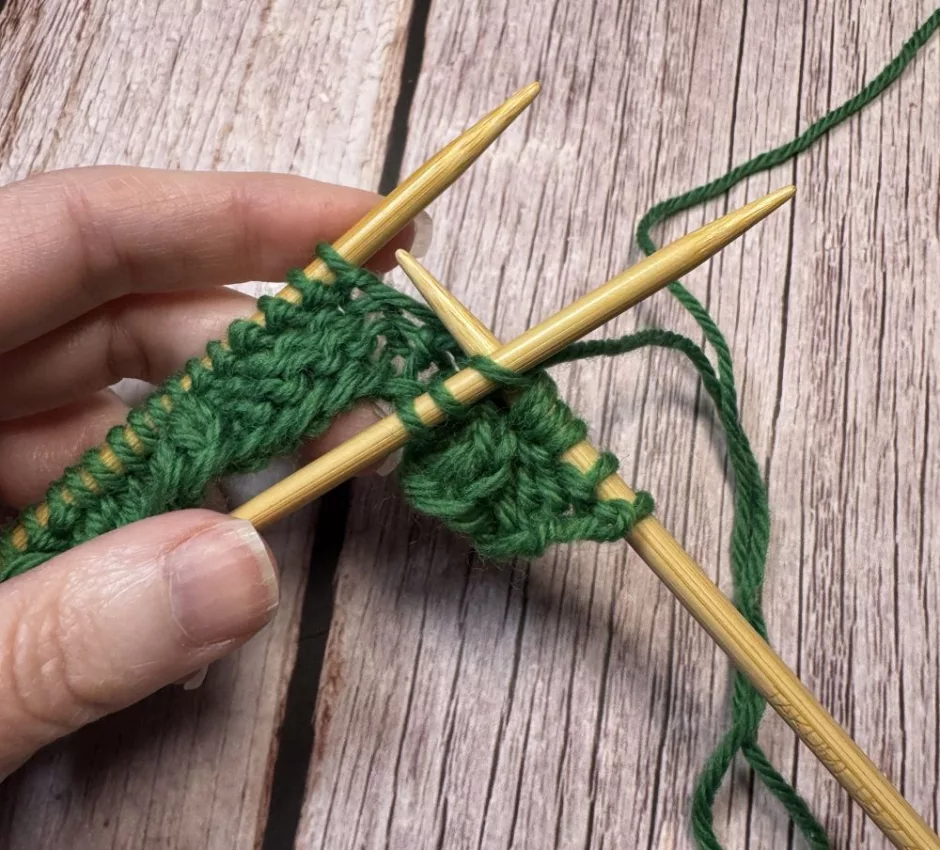
Slide the next 3 stitches onto your cable needle as if to purl and hold at the back of the work.
Knit 3 from the main working needle.
Bring the cable needle to the front and knit 3 off the cable needle.
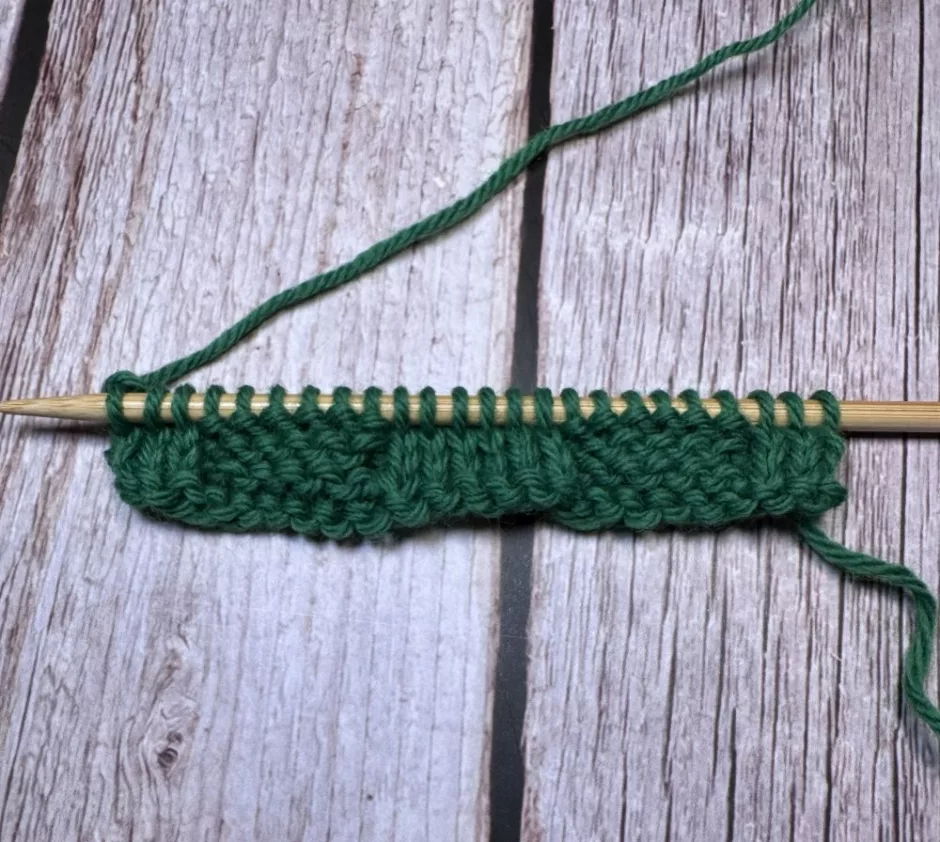
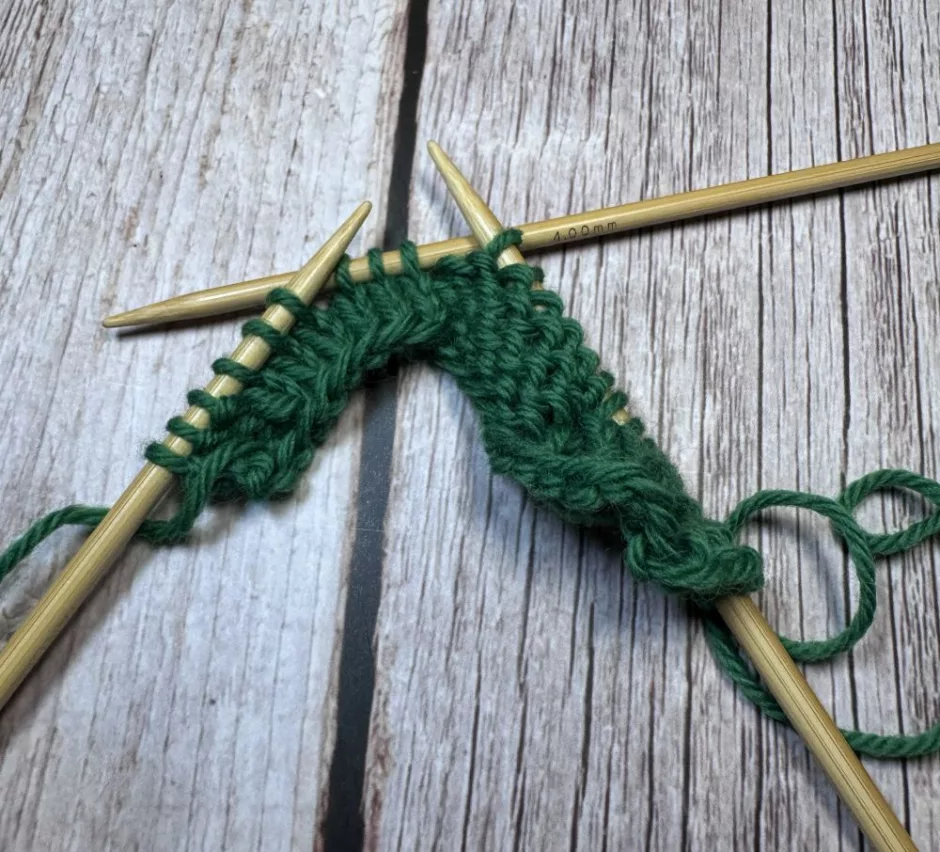
Purl 3.
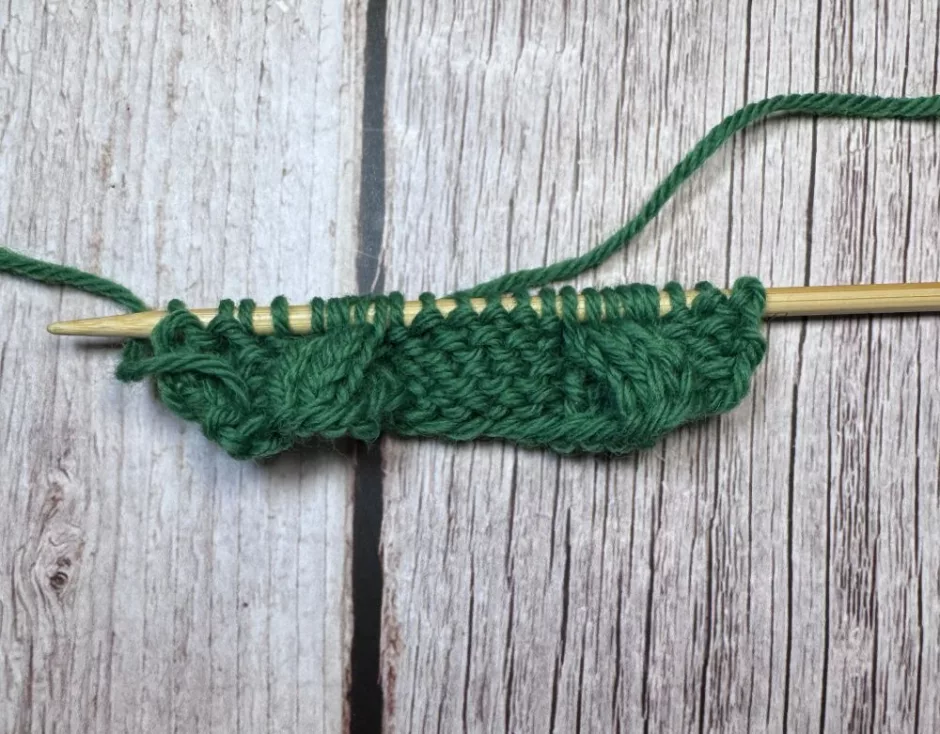
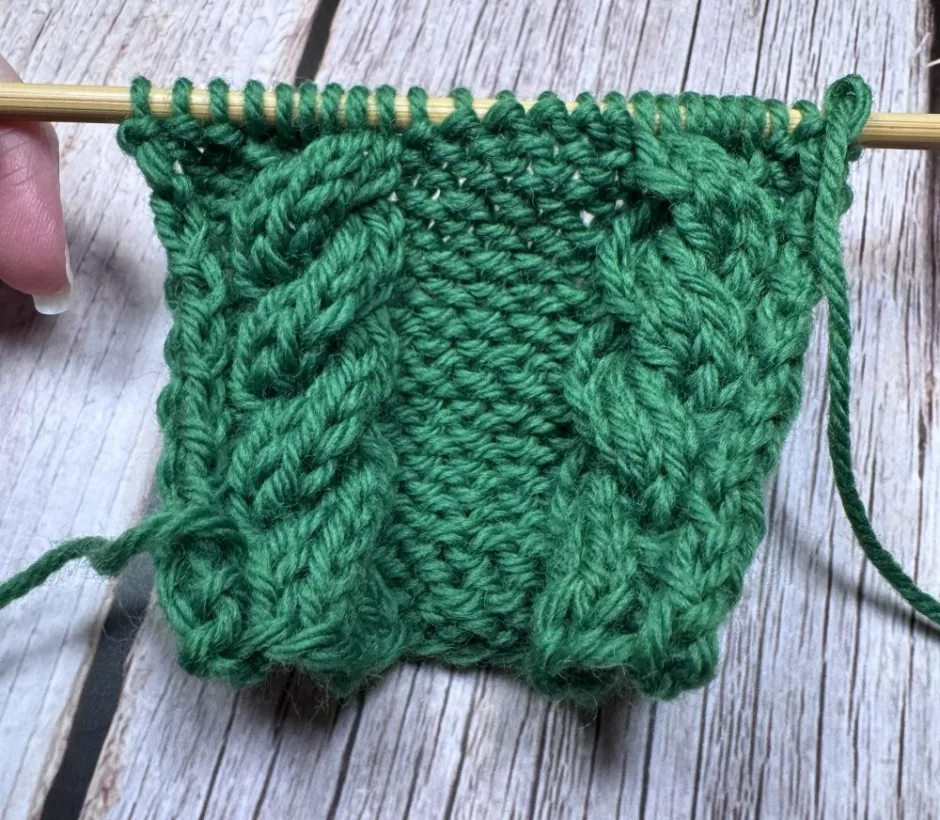
You can already see the cable starting to form but as you work more repeats the braided cable pattern will be more obvious.
Continuing to Work Cables
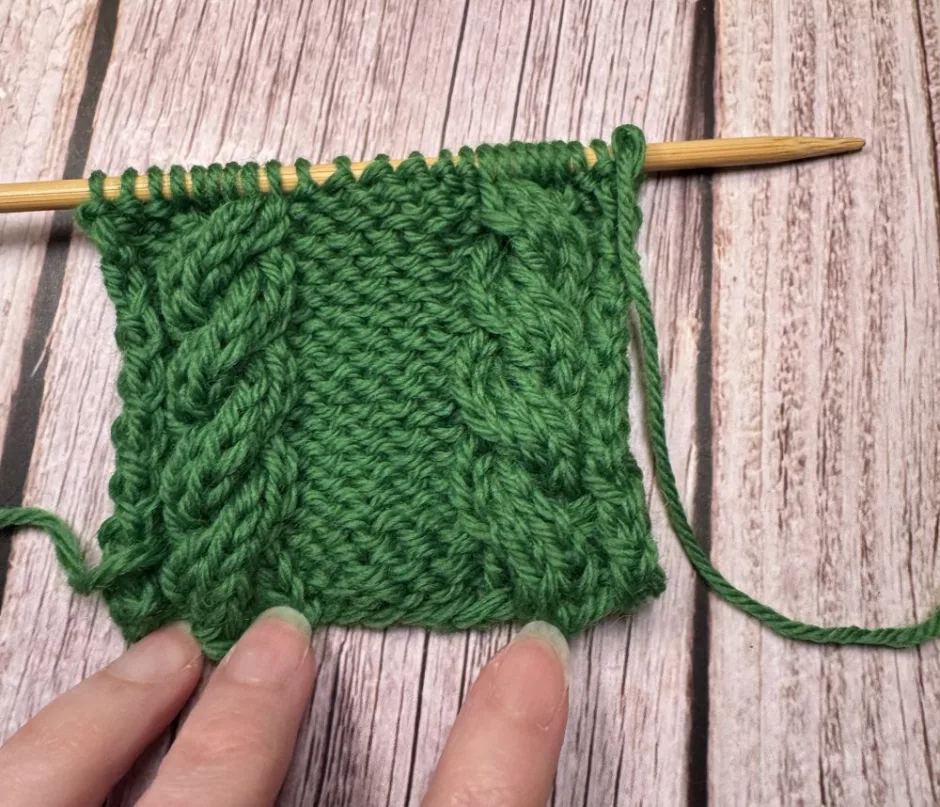
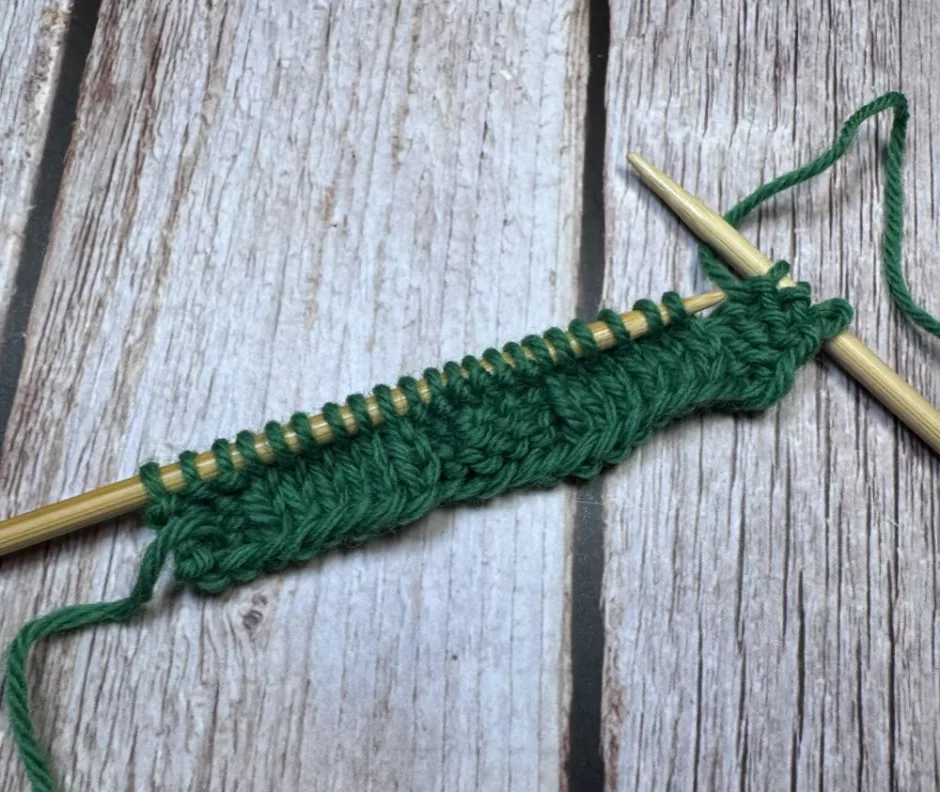
These braided cables are turned (ie, the cable pattern row is worked) every fourth row, but you don’t have to work the cable row that often, or even consistently through a project.
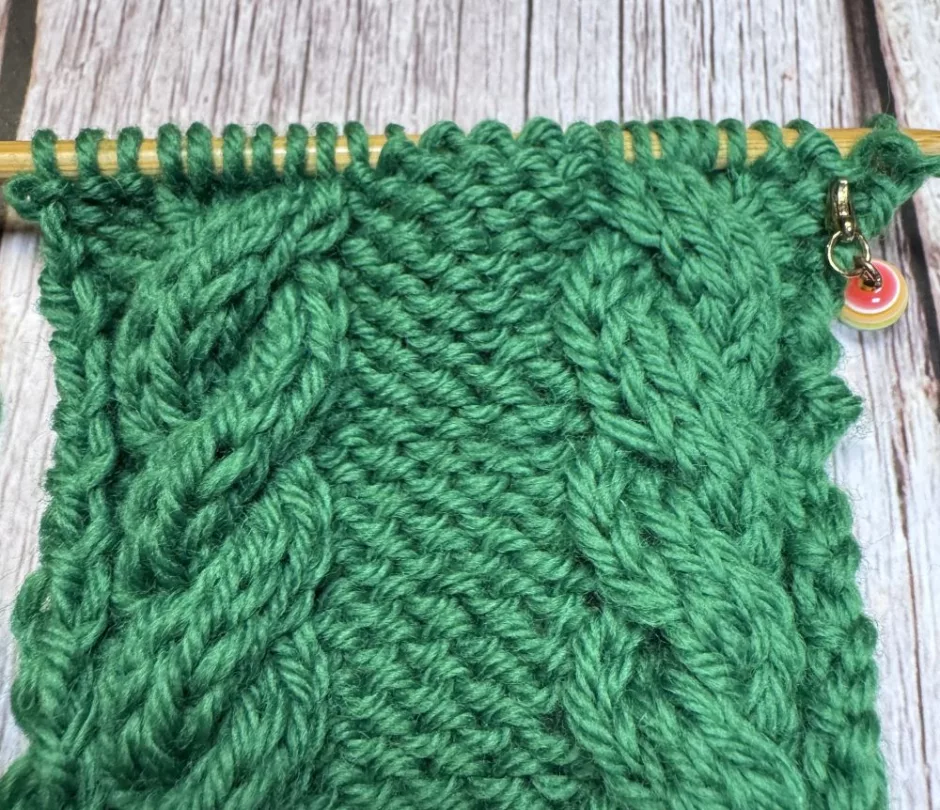
Working the cable row less often gives you a more relaxed twist. Try working the same cable every sixth row, or even every eighth row, and see how different it looks. Here on the top cable turn I worked it on the sixth row instead of the fourth. Not a huge difference but it does look a little more relaxed.
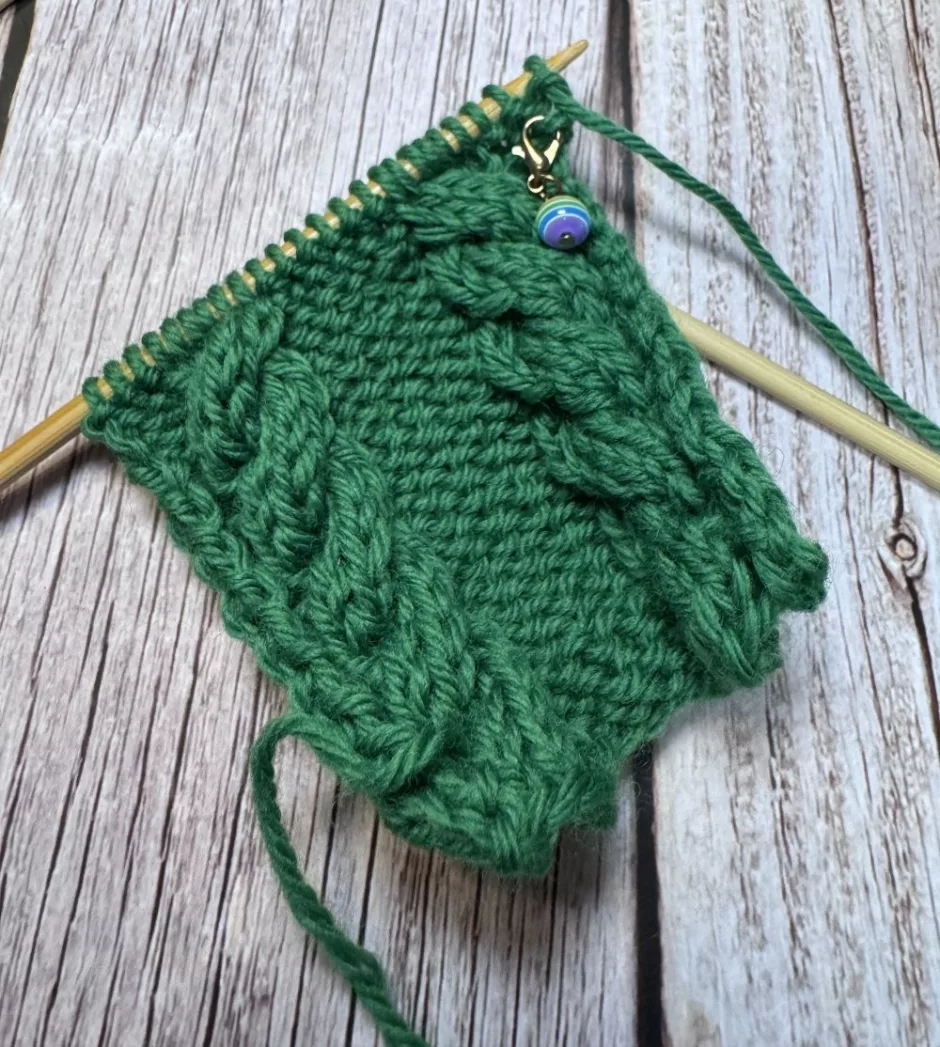
If you need help keeping track of how many rows you’ve worked since your last cable, stick a locking stitch marker in a stitch on the cable row and count the rows you’ve worked above it.
Braided cables are just the beginning of what you an do with cable knitting, but they’re a great place to start to get comfortable with the basics.