Affiliate links may be included for your convenience. View our privacy and affiliates policy for details.
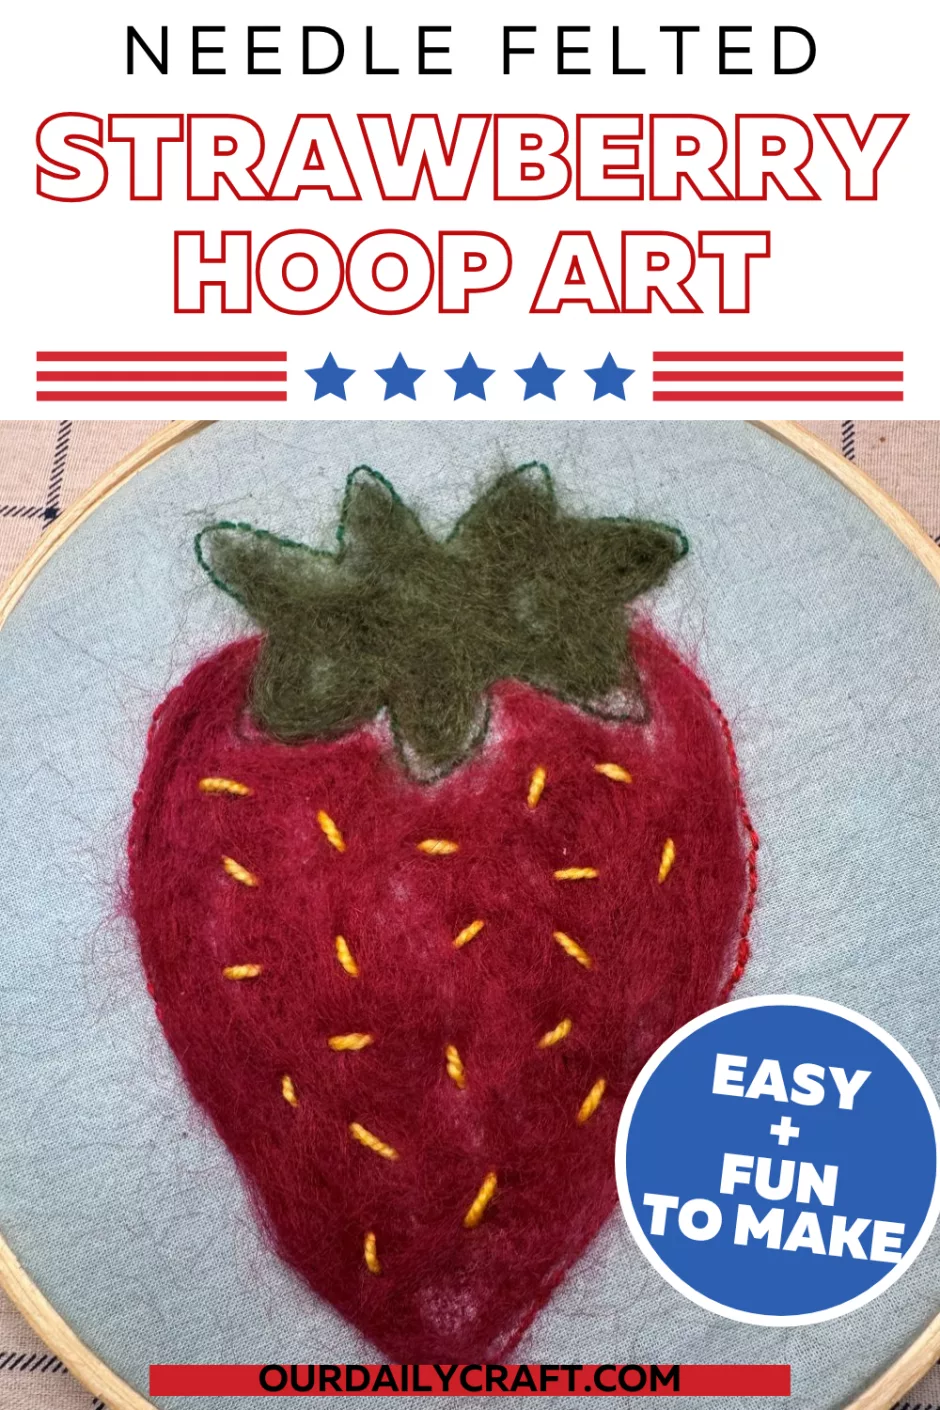
This needle felted strawberry project was a collaboration with my daughter, who saw me stitching a strawberry and said I needed to needle felt it.
She was right so now we have this cute hoop art project, which is as much a process as anything. Make your own needle felted fruit using your favorite, or any other simple design you like.
Materials

I started with a piece of fabric that’s about 9 by 11 inches, 22.8 by 28 cm. It’s actually a piece I dyed with Easter egg dye.
Then you’ll need an image to trace of your strawberry or desired shape. I traced mine from an image on Canva, but you can also do a web search for clip art.
You’ll need some kind of fabric marking tool — I use ibotti heat-erasable pen — and a needle and desired embroidery floss. My colors are DMC 817 for the red and 909 for the green, which the Internet tells me are very dark coral red and very dark emerald green, respectively. Grab a small pair of scissors, too.
Other tools include an embroidery hoop, roving for needle felting, a needle felting tool (I like the multi-needle tool) and a brush or piece of foam for needle felting on. If you want to add seeds, we’ll talk about some possibilities below, but I used a little yellow yarn for mine.
Stitching Your Strawberry
Trace off the screen or print out the image you want to use for your strawberry.

Fold your fabric in half in both directions and use your fabric marking tool to mark the center of the fabric if you want.

Place your image so it is roughly centered and trace the image using a fabric marking tool.

Use two strands of embroidery floss in your chosen color and backstitch to outline the shape.
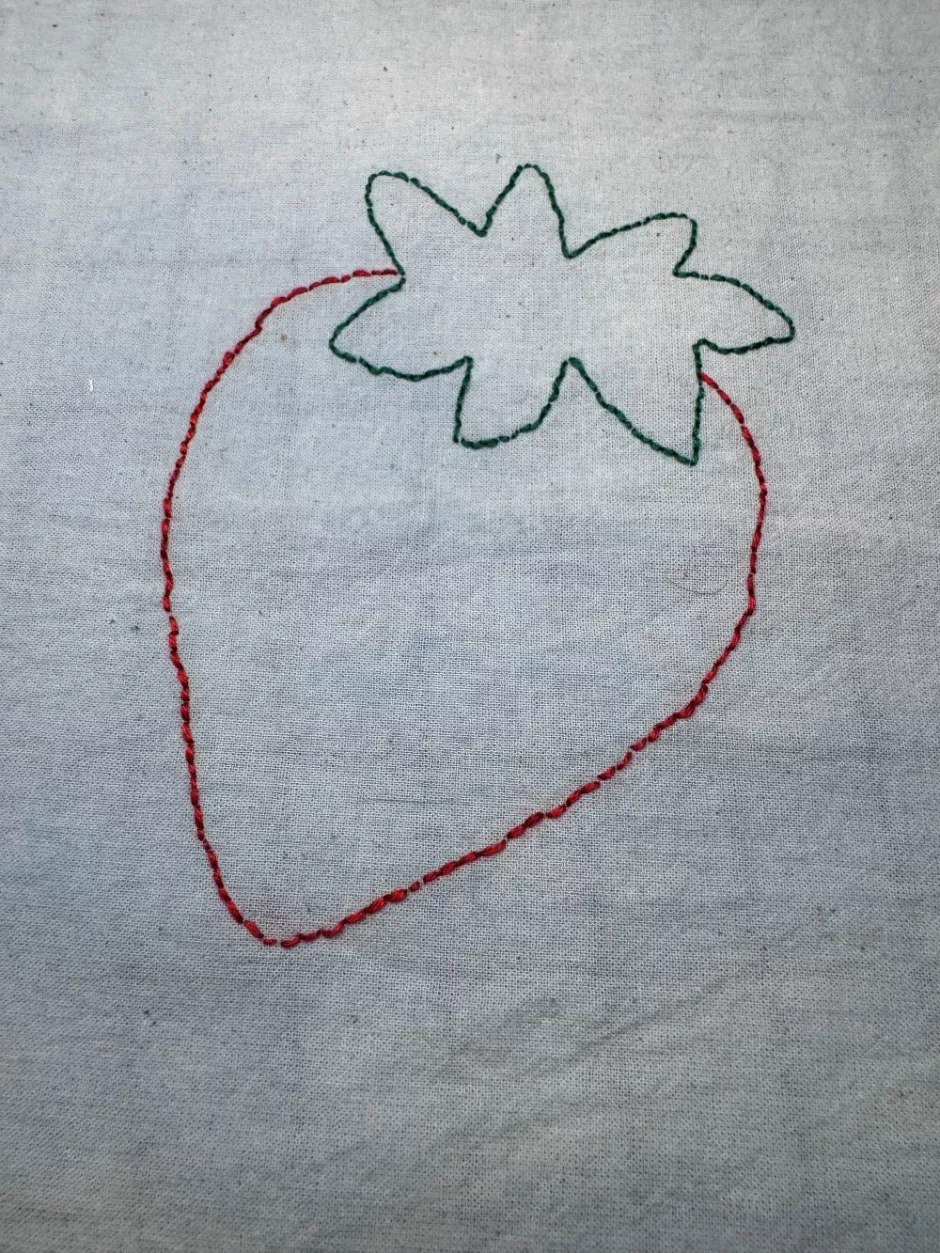
Iron or wash your fabric to remove any markings if they would show after felting.
Making Needle Felted Strawberry Hoop Art
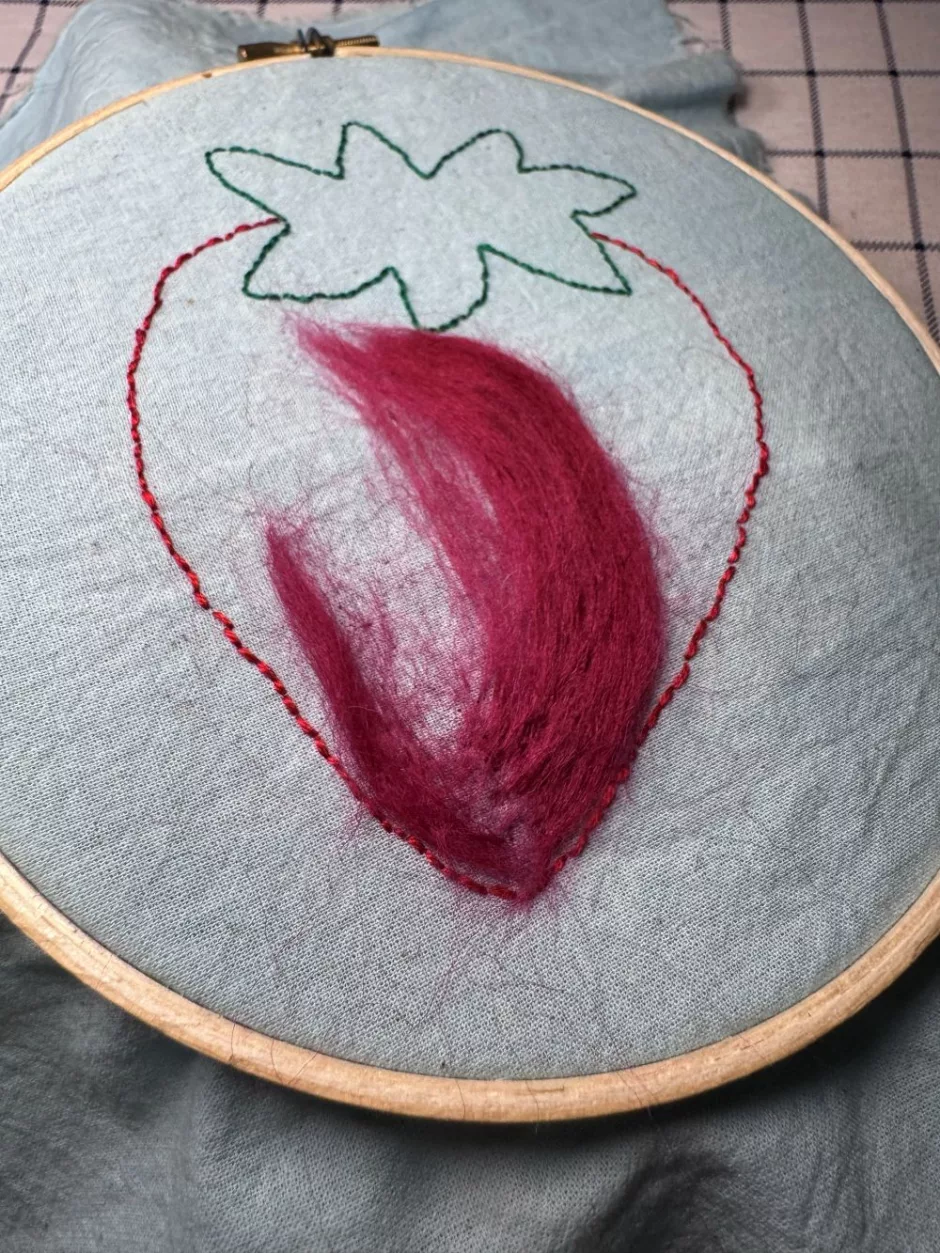
I started with my red roving and, using small pieces torn or cut from the ball of roving, punched it until it was secure. Always felt with the hoop on and on top of your brush or foam piece.
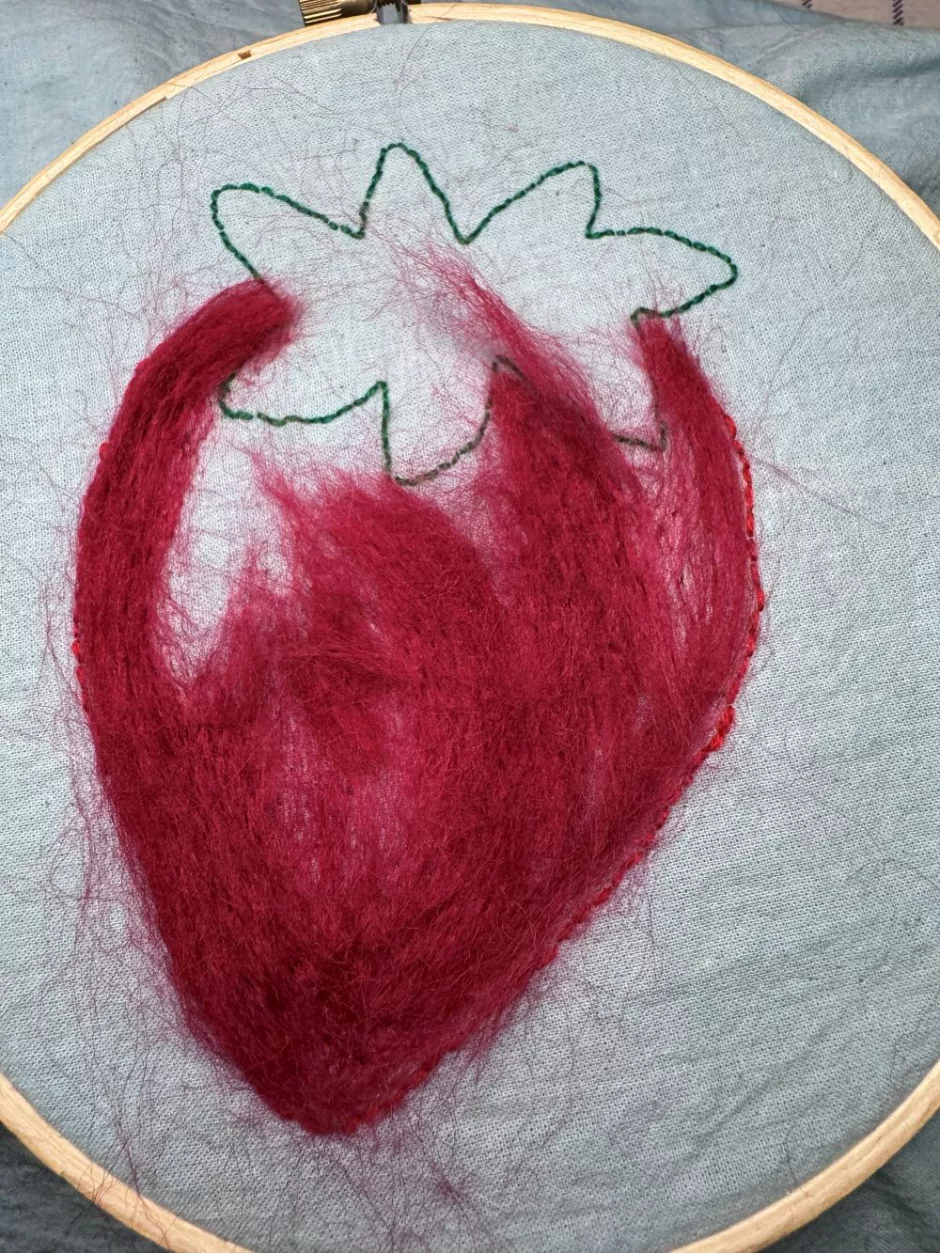
Continue until the shape is well filled in. You can go over the lines or as close to the lines as you like.
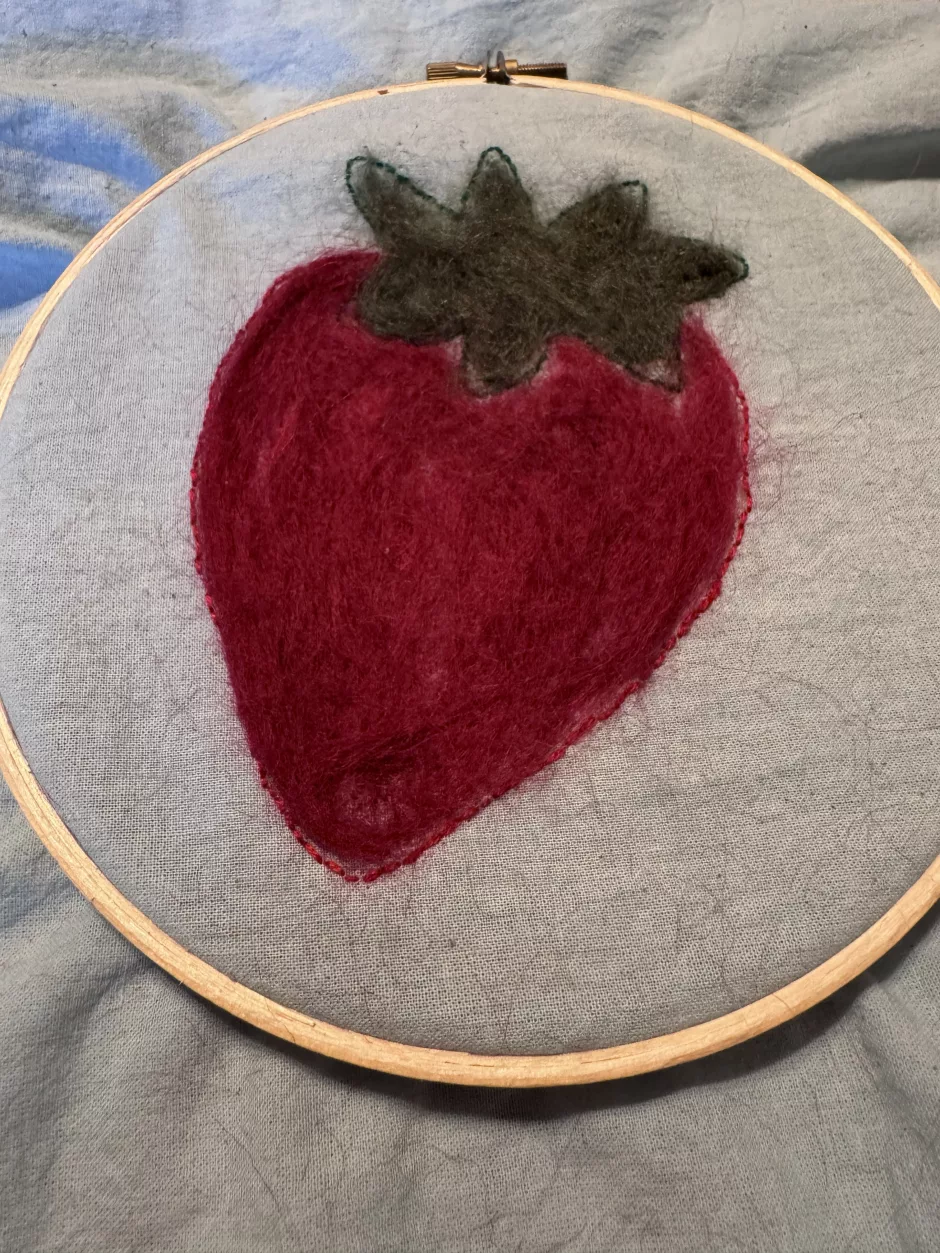
Repeat with the green roving. It doesn’t have to be perfect, and you get to decide when it’s done.
Leave it like this or add some seeds. The teen suggested yellow for contrast, though you could also use black or whatever color you like.
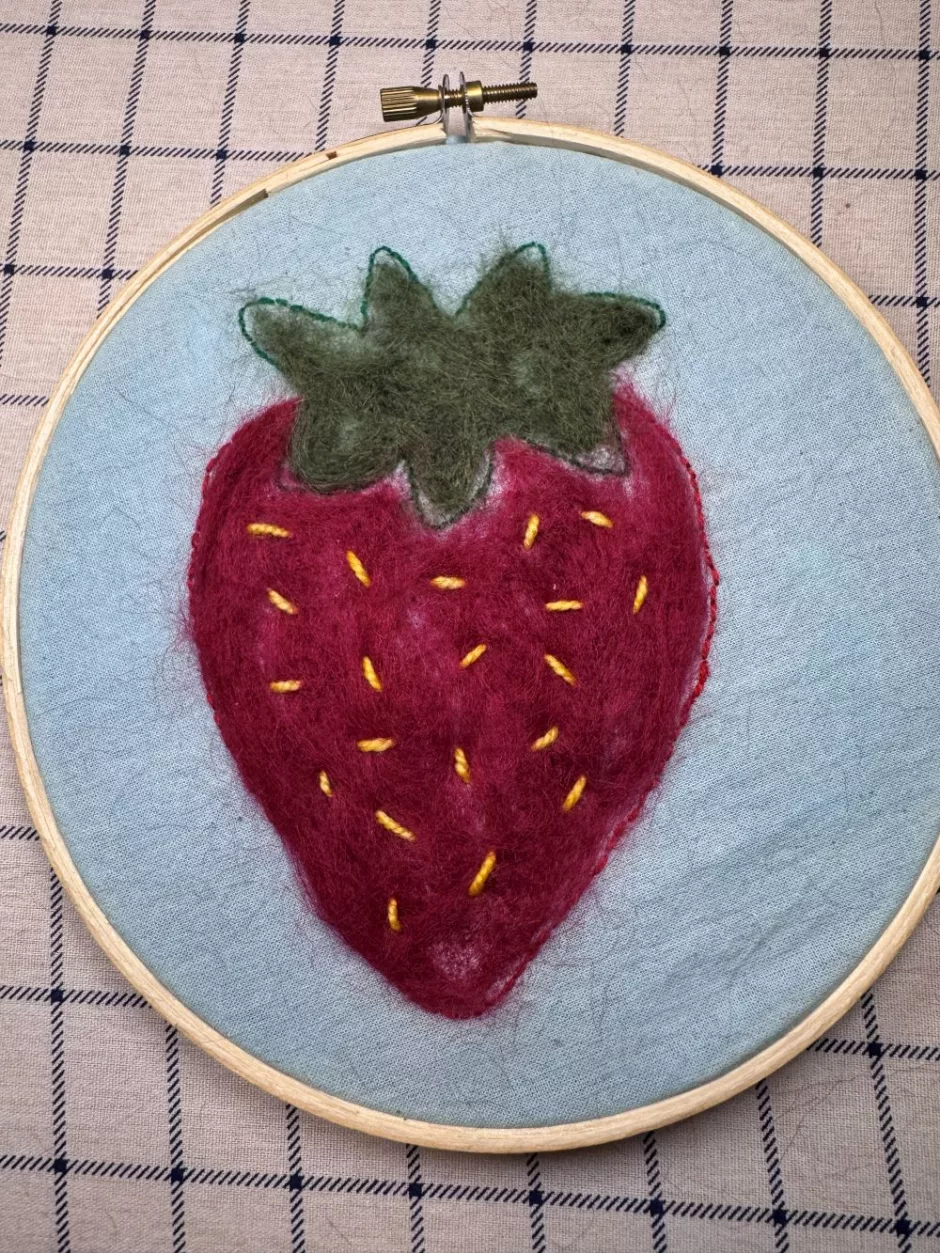
I suggested random stitches, as shown, or you could do French knots or sew in seed beads. She said seed beads would be her choice but I don’t know that we have yellow ones on hand right now.
I didn’t finish my frame in any meaningful way just in case we want to make some design changes later, but if you’re done you can trim away some of the excess fabric and/or fold it to the back of the work and secure with a few straight sewing stitches.
You could also paint your hoop, or put this in a regular frame. Lots of fun options! I hope you enjoy this needle felted strawberry project as much as I did. Stabbing things repeatedly certainly is therapeutic.