Affiliate links may be included for your convenience. View our privacy and affiliates policy for details.
This loom knit scarf gives you a lot of practice using the most basic loom knitting stitch: working knit stitches in the round to make a long tube.
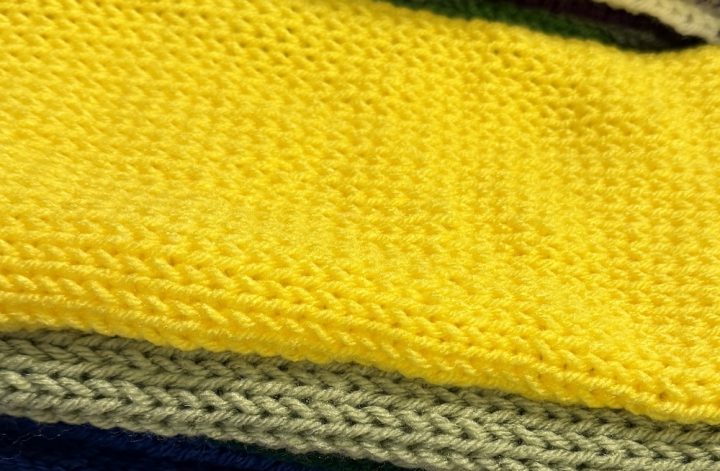
This produces a skinny scarf but you can make it as long as you like. I added a stash busting element to mine by using a bunch of little leftovers from a previous project.

Materials
This loom knit scarf pattern is very much as use what you have affair. I used a small rectangular knitting loom I’m not sure of its provenance (this one is the closest I can find, though it has more pegs and they are metal while mine is all wood).
Mine has 22 pegs, but a small round loom with 24 pegs would work just fine, too.
This loom was fine for working with worsted/medium/yarn weight 3 yarn (this is a bunch of scraps of Red Heart Super Saver O’GO, which is similar to a Red Heart Super Savers Stripes colorway called Favorite Stripes). My scarf weight 129 grams if we’re being precise, which is a little more than 237 yards total.
Of course you can use more or less depending on the yarn you have and how long you want your scarf to be.
Having a pick for your knitting loom is also helpful, and you’ll need scissors and a yarn needle as well.

Size
The exact dimensions of your scarf will depend on the size of your loom (both the number of pegs and the size of the pegs) and the length you want to make it.
As noted above, my knitting loom had 22 pegs and my scarf is about 3 inches/7.62 cm wide and 63 inches/1.6 meters long.
Knitting a Loom Knit Scarf
If you don’t know how to loom knit already, check out my loom knitting tutorial for more details, but we’ll cover the basics here, too.

Wrap your yarn end around the side peg on your loom if it has one (you can also use a slip knot) or just let it dangle. If you are smarter than me you’ll leave a tail of at least a foot to sew up the end when we’re done.

Work an e wrap around each peg, going clockwise around the loom.

Wrap each peg again so there are two loops on each peg.

Use your tool to pull the first loop (at the bottom of the peg) up and over the second loop and off the peg. Repeat this all the way around.

Wrap the pegs again and continue around until your piece is as long as you’d like, or you’re almost out of yarn.

Finishing the Scarf Ends
Stop knitting with a couple of feet of yarn left, and thread the yarn end on your yarn needle.

Starting with the last stitch you knit, pull that stitch up and off the peg and onto the needle, and do the same with the next stitch. Slide the stitches onto the yarn and pull the yarn through.
Repeat with the next stitch on each “side” until all the stitches have been picked up, two at a time, to close up the bottom of the scarf.

Pull the yarn and adjust so the end of the scarf is the same width as the rest of the scarf.
Take the needle through to the inside of the scarf, then bring it back out elsewhere and trim the yarn end.
If you left enough yarn on the other side, use the yarn tail here to sew the edge down.

I didn’t do that so I used some more of the leftover yarn from the other end. I tied a knot to secure the yarn to the inside, then made stitches under the “cast on” edge across. Then hide the yarn end in the same way as before.

It looks visibly different from the other side, and not just because the stitching is a different color, but scrappy is what I was going for so I don’t mind it. You don’t have to use contrasting yarn if you don’t want to.

This easy loom knit scarf is a great thing to have on the loom for using up leftover yarn from other projects, and a nice charity knitting project, too!