Affiliate links may be included for your convenience. View our privacy and affiliates policy for details.
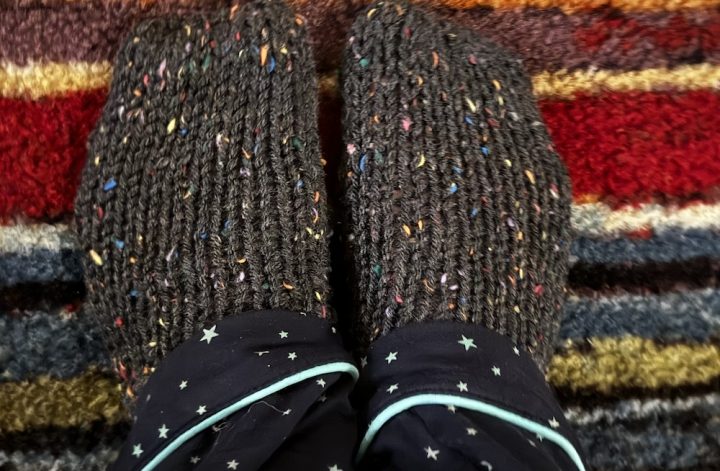
These loom knit arm warmers are quick and easy to make using a 24-pin knitting loom. You’ll knit both in rounds and flat and do a bit of ribbing, too, so it’s a great skill building project if you haven’t done these things before.
Materials

To make these loom knit arm warmers you’ll need a knitting loom. This is generally the smallest size you’ll find and it has 24 pegs. You’ll want one that works with worsted or chunky weight yarn if you have ones with pegs of various sizes.
You’ll also need some heavy worsted yarn. I used Berroco Peruvia, which has been discontinued, but any yarn you have in your stash in the medium/worsted/yarn weight 4 can work, just make sure you like the look and feel of the fabric you’re getting before you commit to the full project.

A loom knitting tool is super helpful for this one, as is a stitch marker you can slip over your first peg to mark the beginning of the round/row. You’ll also need scissors and a yarn needle.
Size
My loom knit fingerless gloves are about 9 inches/22.86 cm long and about 7 inches/17.78 cm around unstretched. They should fit most teen to adult hands.
How to Loom Knit Arm Warmers

These are worked from the bottom up starting with a wrap cast on (for this and any other techniques you might need more help with, check out my loom knitting tutorial). Drop your stitch marker on the first peg and wrap each peg from back to front, all the way around. Here we are working counter clockwise (aka moving to the right) for the cast on and throughout.

Work knit 1, purl 1 ribbing for 4 rounds, draping the yarn in front of the pegs rather than wrapping it. As a reminder, to make a knit stitch, the yarn is above the loop on the peg and you grab the original loop and pull it up and over the peg.

To purl, the yarn comes from under the loop on the peg. Take your tool through the original loop and grab the working yarn, pulling it up through the old stitch. Take the old stitch off the peg and place the new loop you just made onto the peg.

Once you’ve worked your 4 rounds of ribbing, change to knitting every stitch for 25 rounds. We are still just draping the yarn in front of the pegs rather than wrapping.

Next you’ll make the thumb hole by working 10 rows back and forth. When you’re ready to start working back and forth, just put the yarn in front of the stitch you just worked (which was the last one of the round) and knit around until you get back to the first stitch of the “round” (the one with the marker). Once you’ve worked that stitch, place the yarn in front of that peg again and work back around the other way.
When you’ve finished your back and forth rows you should have ended with what was the last stitch of the rounds previously. This is important to make sure you’re knitting in the same direction as before when you start working rounds again.
Now knit 5 rounds in all knit stitches, and 4 rounds in ribbing.

To bind off, I like to cut the yarn, leaving a tail, and thread it onto a yarn needle. Pick up the first two stitches off their pegs.

Pull the first loop over the second loop and off the needle. Repeat this all the way around. It’s kind of like a no yarn bind off in knitting if you’ve ever done that.

When you get to the end, fasten off the last stitch with your yarn end and weave in the end here and at the beginning of the work.

Make two and you’re ready to keep your hands cozy with loom knit fingerless gloves!