Affiliate links may be included for your convenience. View our privacy and affiliates policy for details.
Knitters new and old often seemed to be stumped by the mysteries of knitting gauge. We might have heard we need to knit a swatch to test our gauge, but we aren’t sure how to do it. And everyone knows someone who “always knits to gauge” even though they never swatch, so is it really that important?
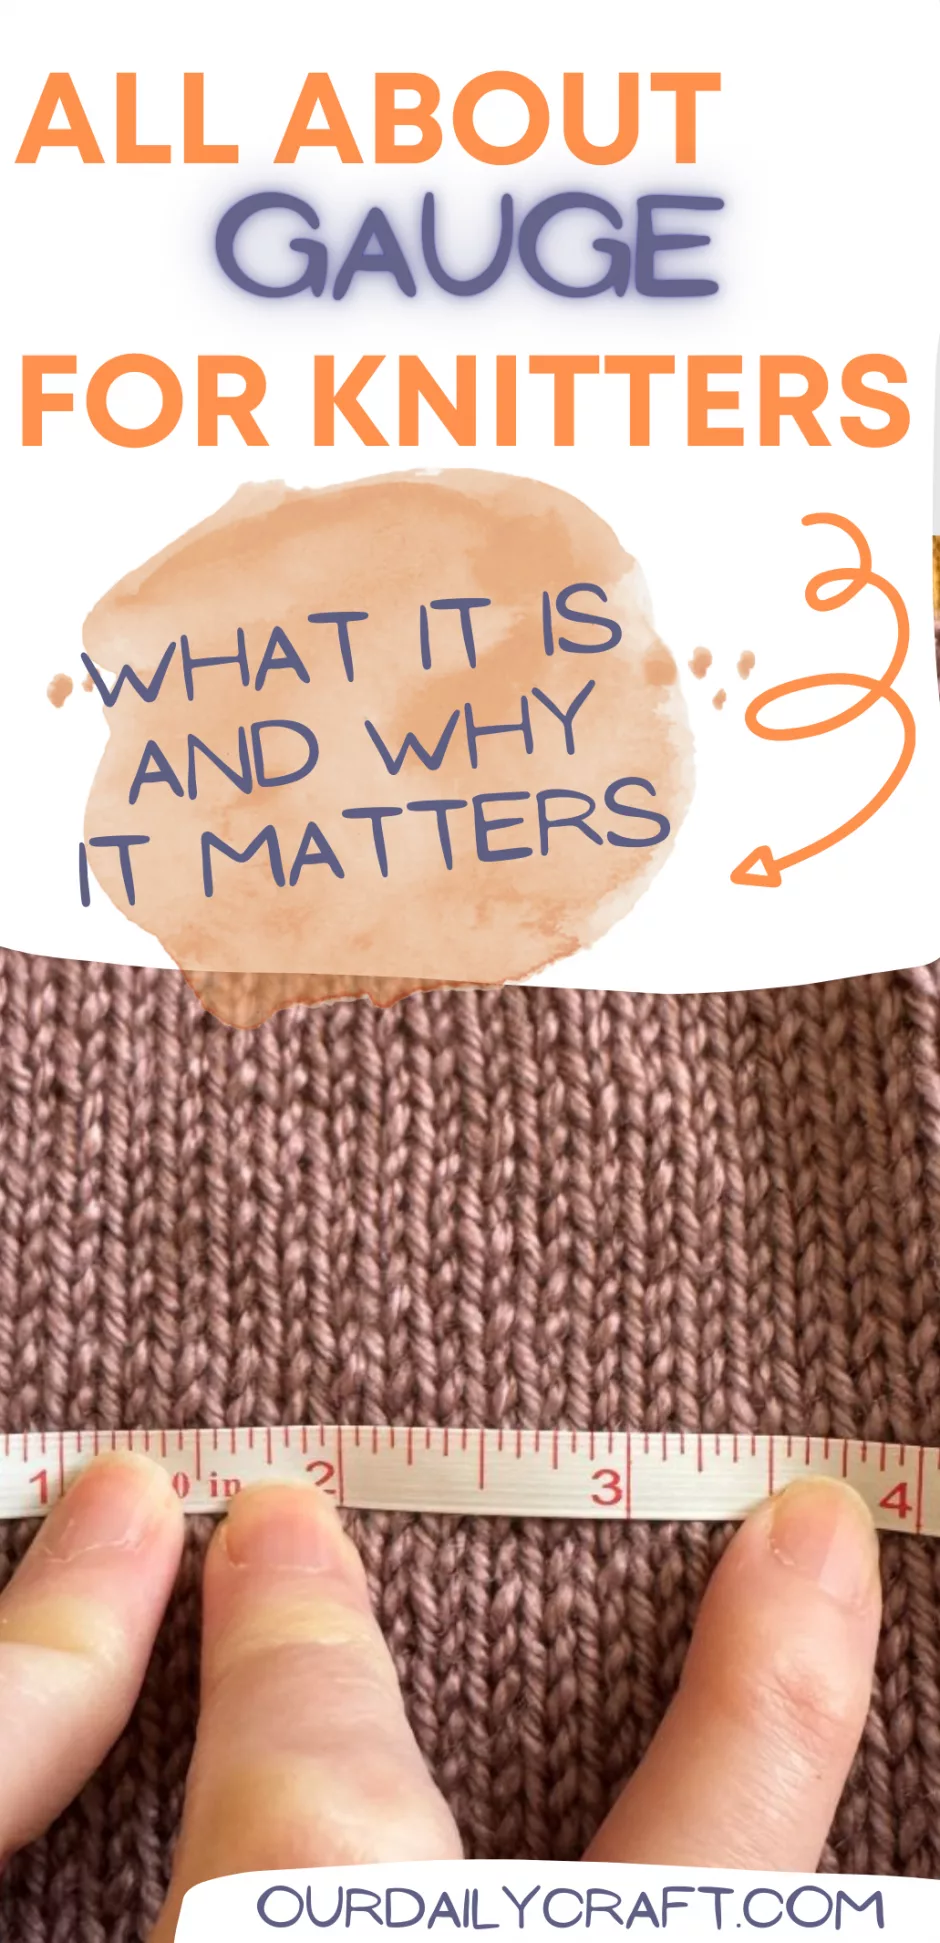
What is Knitting Gauge?
In simplest terms, your knitting gauge is the number of stitches and rows per inch/2.5 cm that you personally get when you knit a particular stitch pattern with a particular yarn and a particular pair of knitting needles. It’s generally measured on ball bands and in patterns over 4 inches/10 cm.
Each of the elements that go into making your swatch — the yarn, the size and type of needles, the stitch pattern — can all affect your gauge. Just because you got gauge with one medium weight yarn on size 8 US/5 mm knitting needles doesn’t mean you’ll get the same gauge using the same needles but a different yarn.
Do I Always Need to Check Gauge?
One of the controversies of knitting gauge is whether you need to knit a gauge swatch for every project you make.
I always say, if you want a project to come out a particular size, you need a swatch.
Of course it’s vital if you’re making a garment, whether a hat, socks, sweater, etc., and you want it to fit a particular body.
But what about a baby blanket? If you want it to be square, as so many often are, you need to know your gauge.
If you care that your scarf comes out a particular width, you need a swatch.
The opposite is also true. If you don’t care if that scarf comes out a little wider, or the blanket is a little smaller than the pattern calls for, by all means, skip the swatch. Projects for the home like washcloths, baskets and bags can often be worked without swatching because a little change in size doesn’t make a huge difference.
I also don’t typically swatch if I’m knitting (or crocheting) a doll, animal or toy. As long as the stitches are firm enough that the stuffing won’t show, whatever size it comes out is fine.
How Big to Make a Gauge Swatch
Another problem area when it comes to knitting gauge is how you should actually go about making your swatch. Because patterns say gauge is so many stitches per inch/2.5 cm or 4 inches/10 cm, some people think you can just knit an inch (!) or four, measure it and call it a day. But that’s not how it works.
Your gauge can change over the course of a row, and edge stitches tend to be looser than the stitches in the center. So you need to have a swatch that’s large enough to be able to measure 4 inches/10 cm from the center, without having to count edge stitches.
Some people will say to get correct knitting gauge you need to knit up to 10 inches/25.4 cm, but even I don’t go that far. I usually try to hit around 6 inches/15.2 cm so I can measure away from the edges.
Of course you don’t know what your gauge is until you knit it, so I just try to add a couple of inches in stitches based on the gauge the pattern gives me. So if it says knitting gauge is 24 stitches per 4 inches/10 cm, I know that’s 6 stitches per inch/2.5 cm, so to get to 6 inches/15.2 cm, I would need 36 stitches.
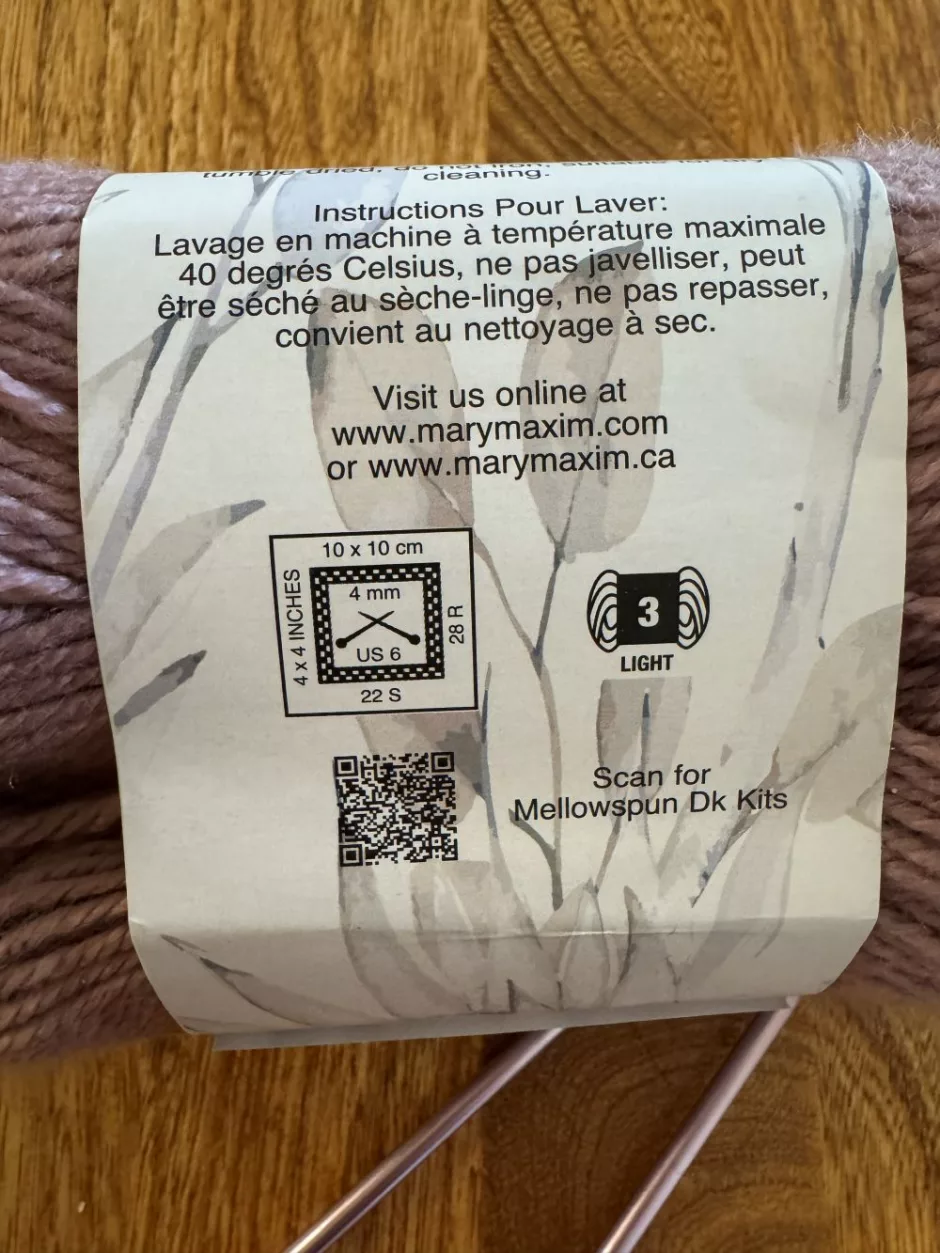
If you’re not swatching from a pattern, use the information on the ball band of the yarn you want to use as a starting point for your swatch. This one (Mary Maxim Mellowspun DK, which I used for this tutorial) says you should get 22 stitches on size 6 US/4 mm needles, so I would cast on 33 to get to around 6 inches/15.2 cm for my swatch.
What Stitch Should I Use to Swatch?
So you know how many stitches to cast on for your swatch. The pattern will also tell you what size needles to use and what stitch pattern to use and how to work it.
Start by swatching with the size needles the pattern recommends; you can always adjust later if needed.
As to stitch pattern, many patterns call for their swatches to be worked in stockinette stitch, or knit a row, purl a row. If the pattern doesn’t specify what stitch pattern to use, and the pattern is worked all or in part in stockinette, that’s the stitch to go with. And the knitting gauge suggestion on the ball band will have been worked in stockinette stitch.
Patterns usually ask you to swatch in the stitch pattern used in the project, so if you’re working in moss stitch, seed stitch, ribbing, etc., the pattern may call for that to be used in the swatch.
If your pattern is lace, you will probably be asked to work in that pattern. The pattern should tell you how many stitches are needed to work a full repeat of the lace design so you can add as needed to make a bigger swatch. If the lace panel is very wide, you can work a single repeat wide and just add a few stitches on either side to be worked in garter stitch so you can measure the full width of the lace design.
Another consideration is whether the swatch asks for the pattern to be worked flat or in the round. With stockinette stitch in particular, your gauge can be different when working flat vs. in the round because knit and purl stitches are different sizes (that’s why stockinette stitch curls). More on working a circular gauge swatch below.
How to Make a Swatch
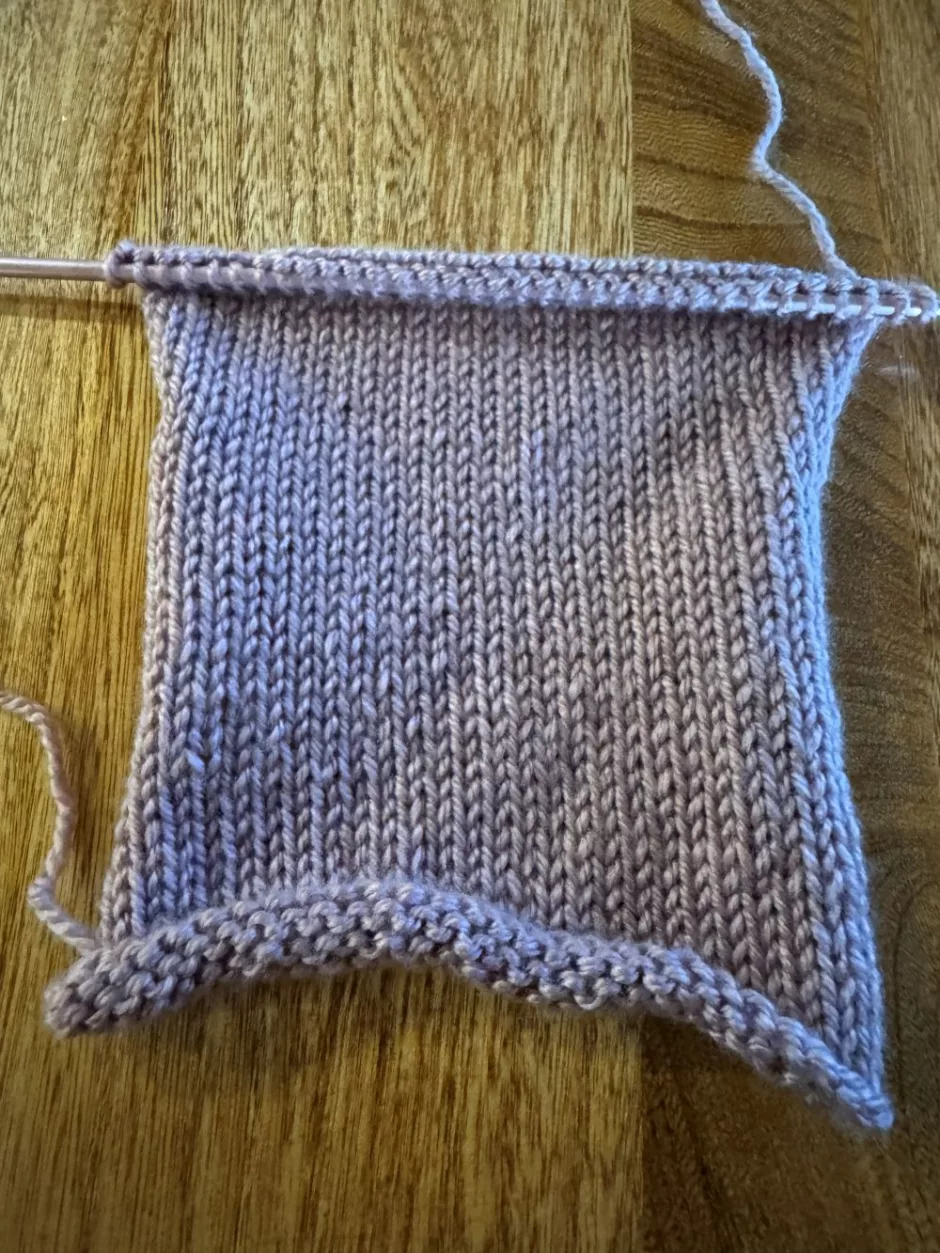
With needles the size the pattern calls for, cast on the number of stitches you need to make a swatch around 6 inches/15.24 cm wide.
Work in the desired stitch pattern for at least 6 inches/15.24 cm.
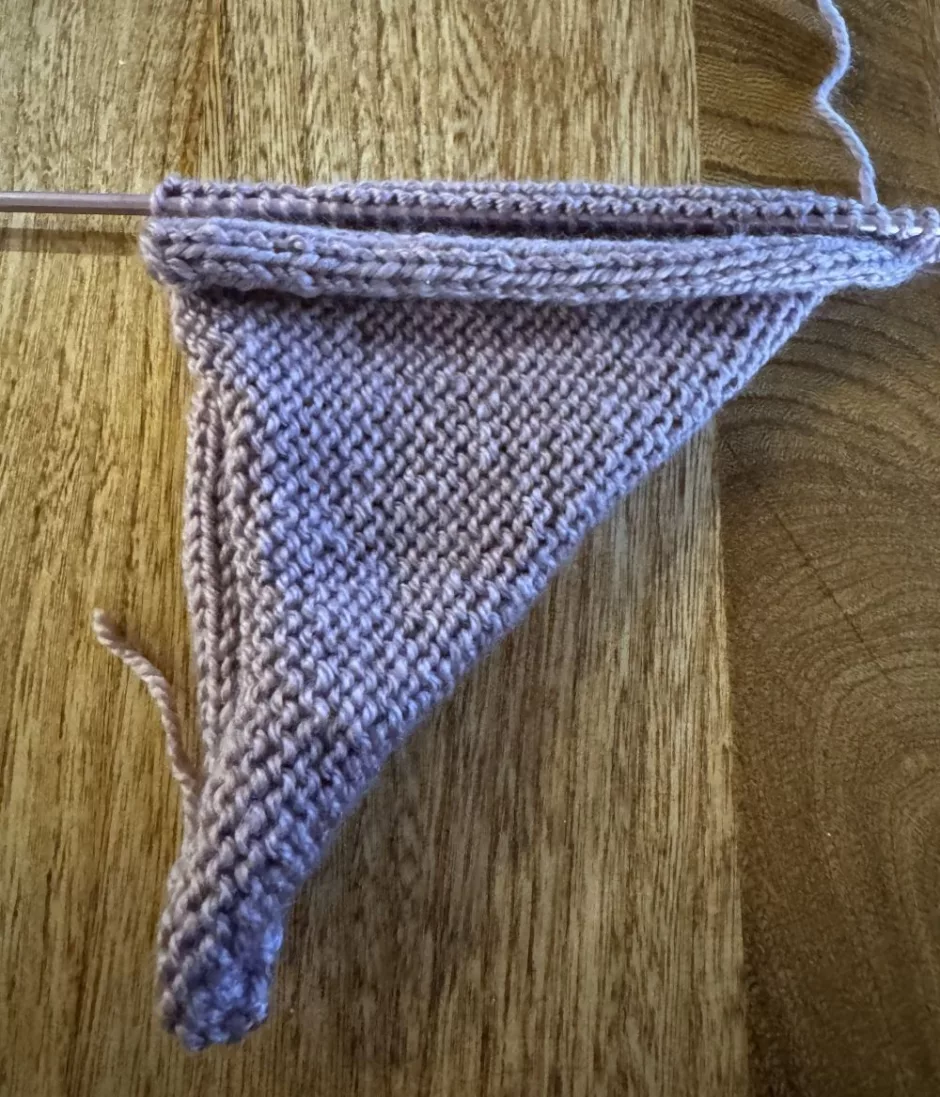
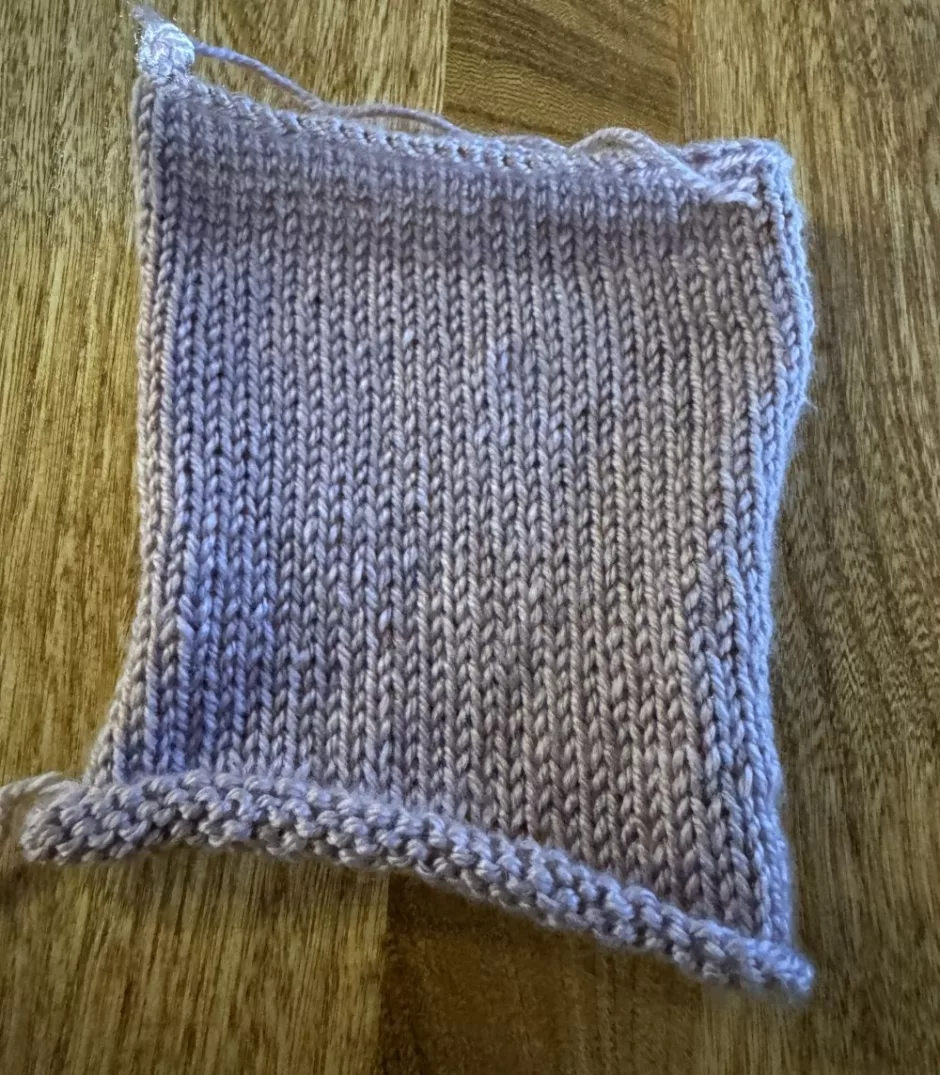
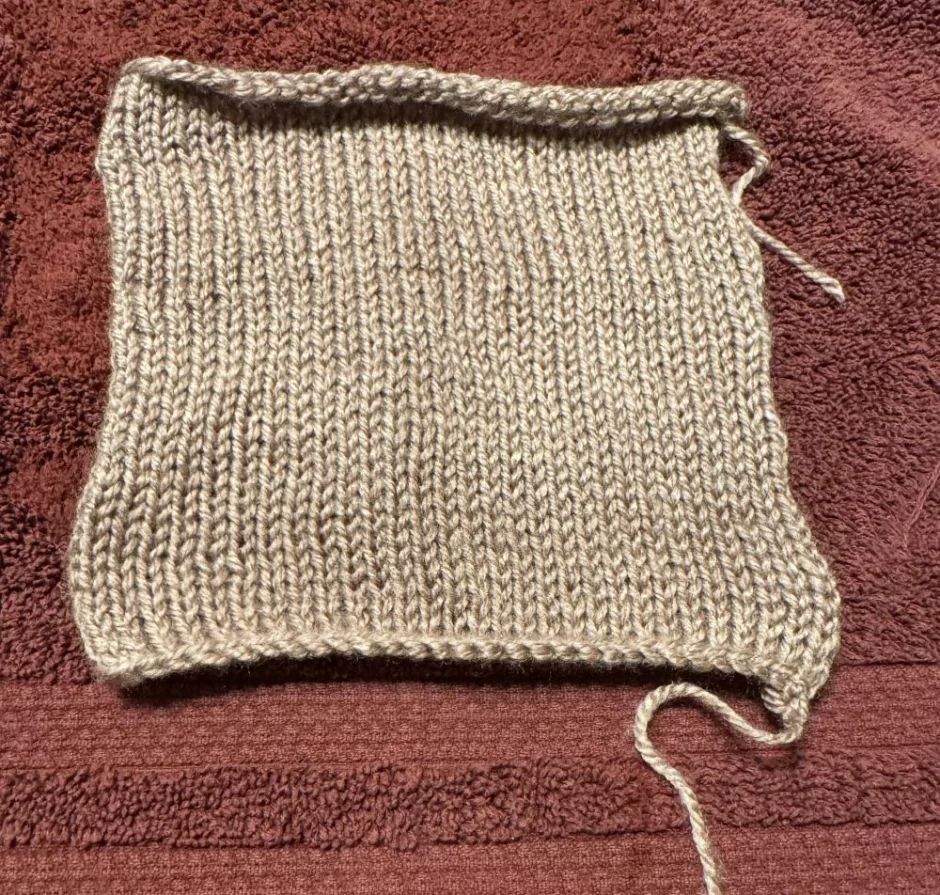
To determine if your swatch is square, fold up one corner. If it lines up on the opposite edge, you’ve got a square. Or you can measure with a ruler or tape measure.
Bind off in the way you’d bind off the project. (Probably a standard bind off.)
If you want you can measure your swatch now, but if you’re ever going to wash what you’re making, you need to wash your swatch before you measure it.
Swatching “In the Round”
If the pattern calls for working your swatch in the round, you can make a tiny piece of circular knitting on double pointed needles or two circulars, or you can fake it.
I prefer to fake it because if your swatch is 6 inches/15.24 cm around you won’t be able to easily measure 4 inches/10cm flat. The solution is to cut the swatch so it lays flat, which just seems like a waste of yarn to me.
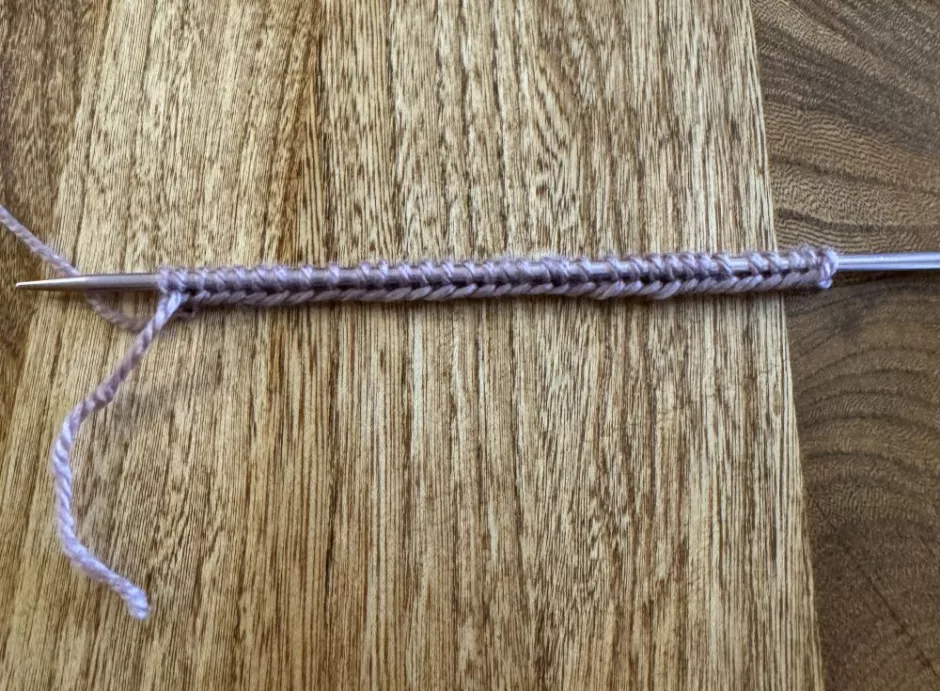
What to do instead? Grab a couple of double pointed needles or a circular needle and cast on the number of stitches you need.
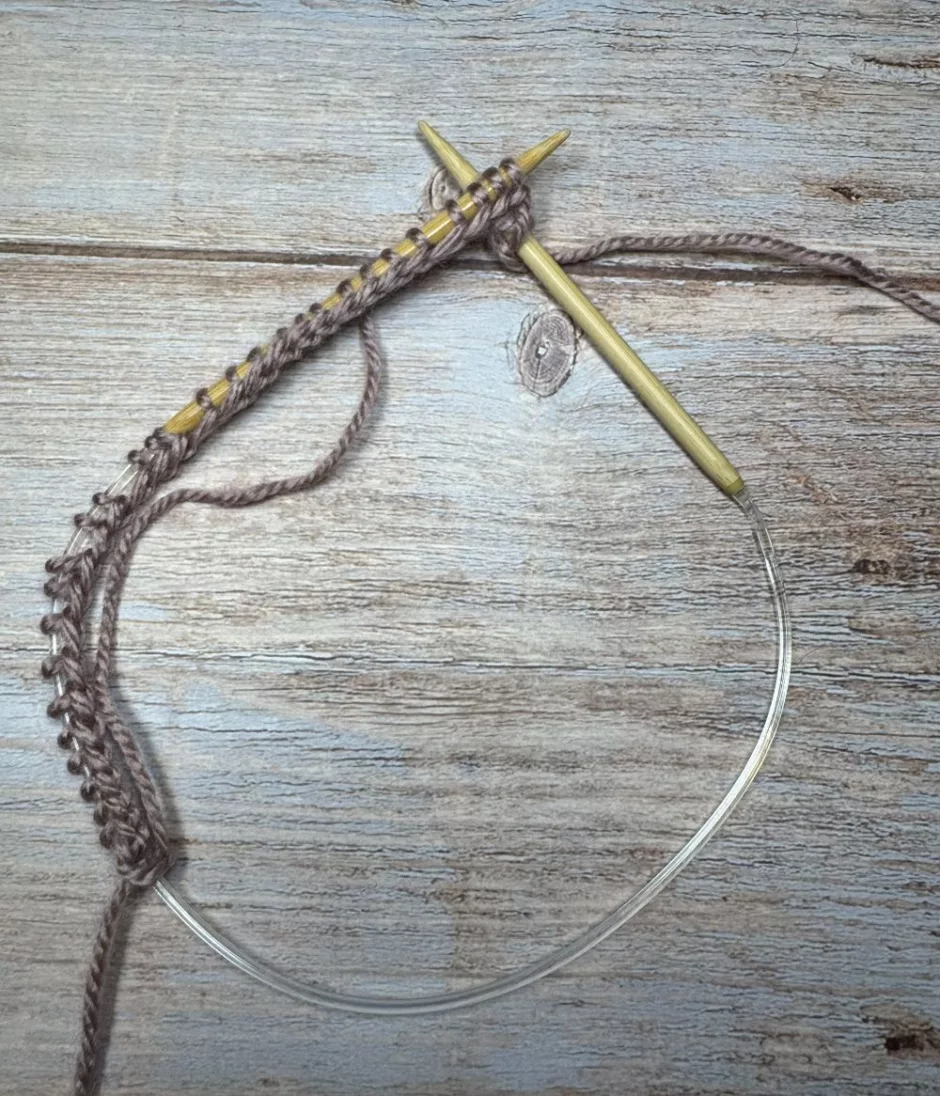
Don’t turn the work, but slide the stitches to the other end of the needle. Drape the working yarn behind the stitches loosely (you almost can’t be too loose) so that the yarn is next to the needle point and knit the row.
When you reach the end of the row, slide the stitches back to the other end without turning the work, pull the yarn up loosely again and repeat.
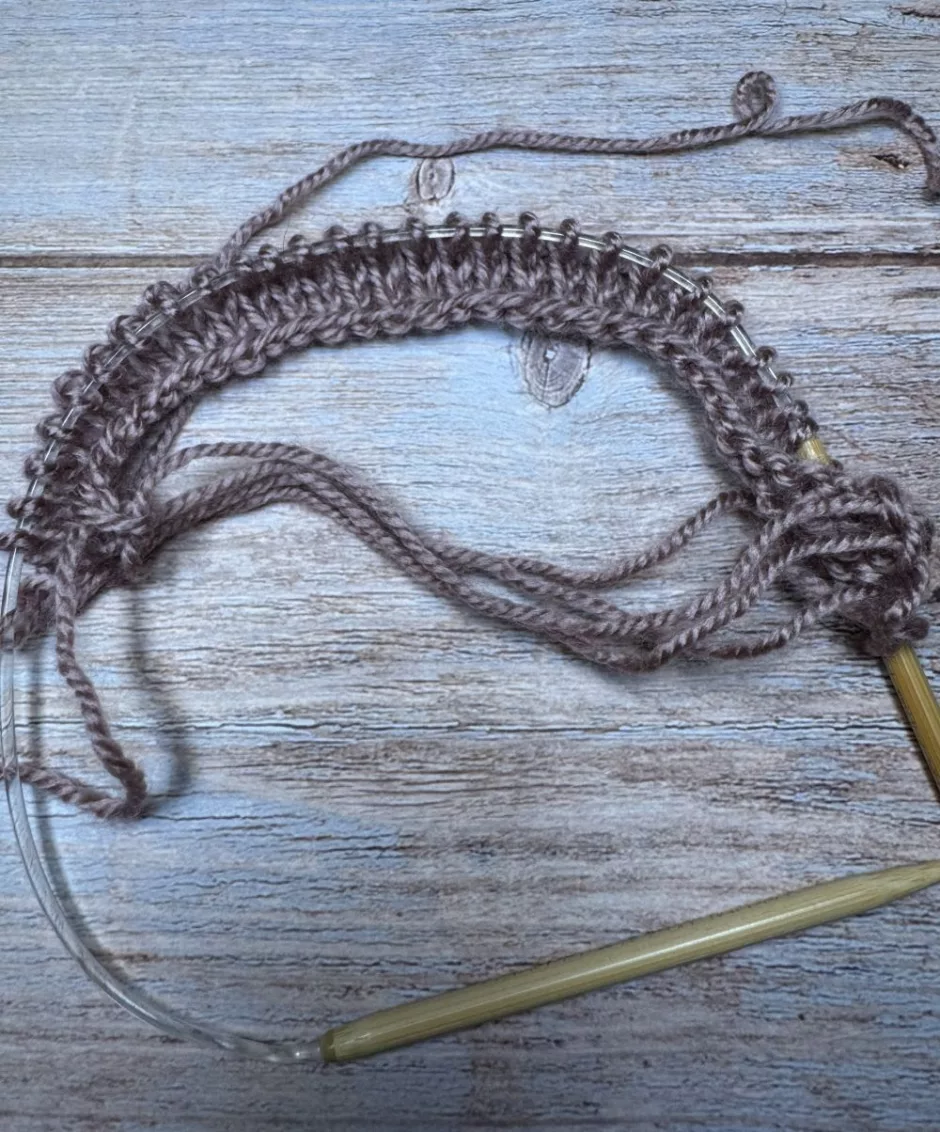
This gives you a flat swatch that’s only worked in knit stitches, so it reflects your knitting gauge as if you were knitting in the round.
Washing Your Swatch
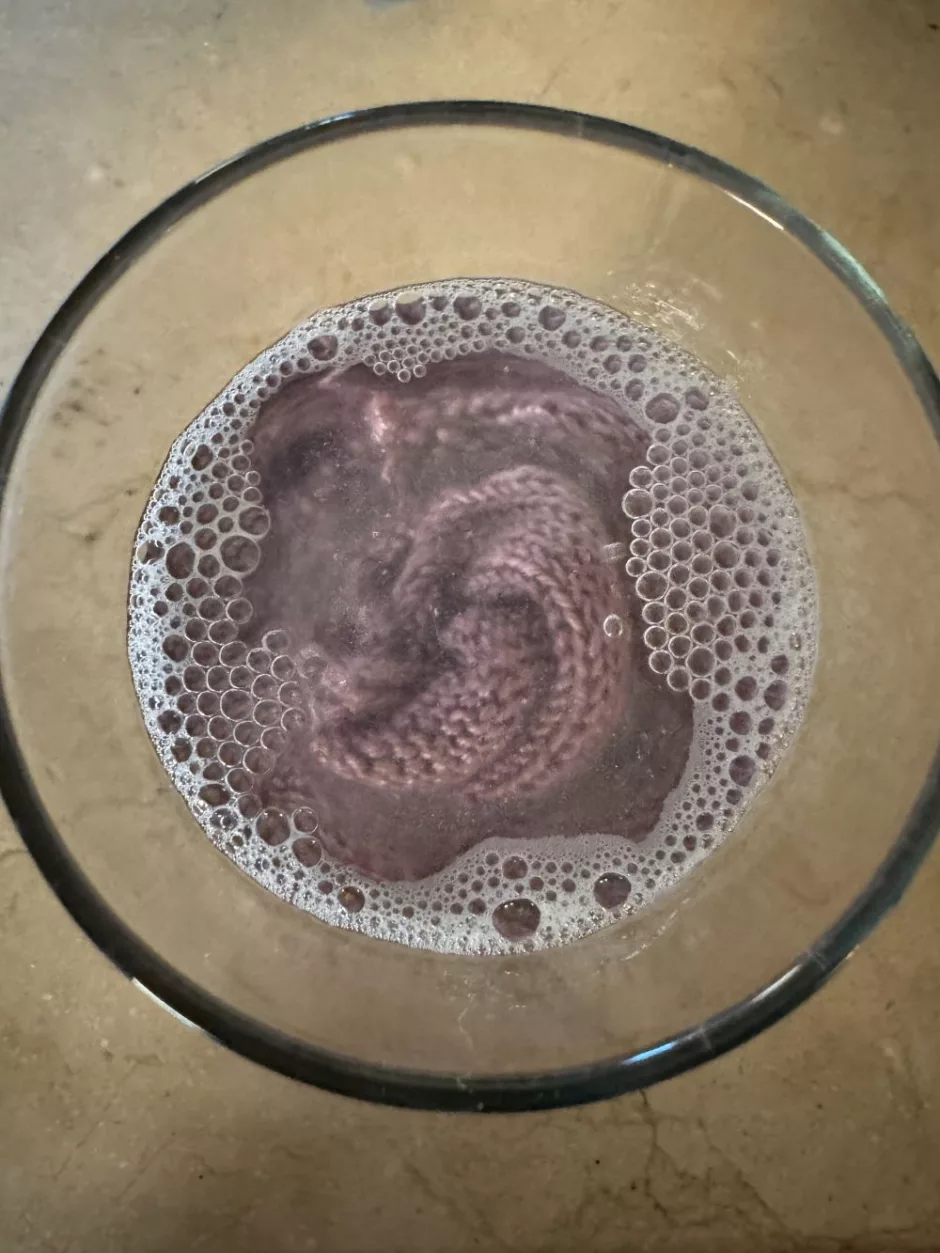
I like to wash my swatch the same way I will wash my garment, meaning using lukewarm water and baby shampoo (use wool wash if you prefer). Yes, I often wash my swatches in a glass or mason jar instead of using the sink or a bucket.
Let it sit at least 10 minutes, rinse in needed, and gently squeeze out all the water you can.
I generally roll the swatch in a washcloth to get any extra water out.
Gently tug on the edges just to square it out and let it dry flat.
The only time I use pins when washing a swatch is if I’m using a lace knitting pattern that needs to be blocked so the stitches will be as open as I want them to be on the finished project.
Measuring a Swatch
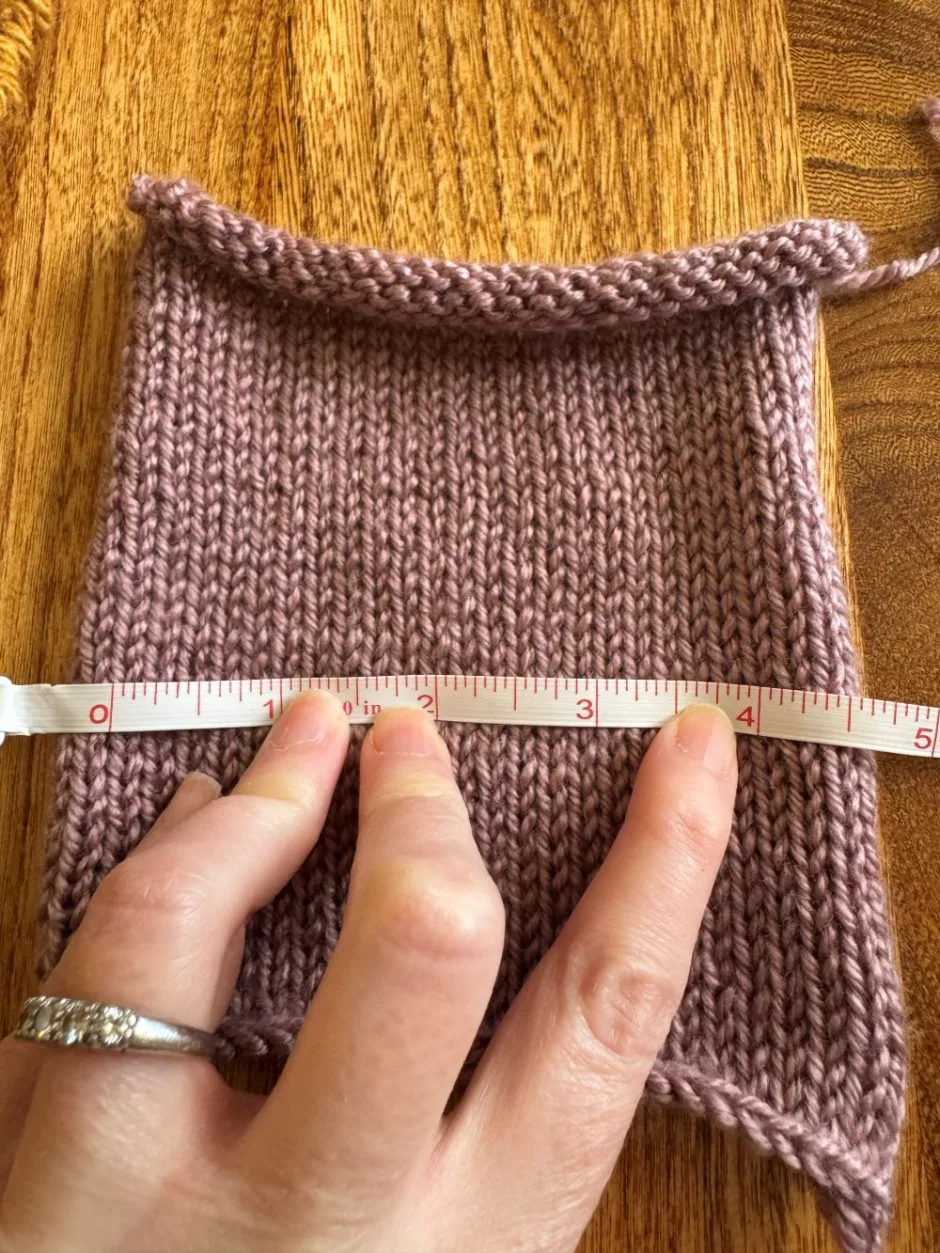
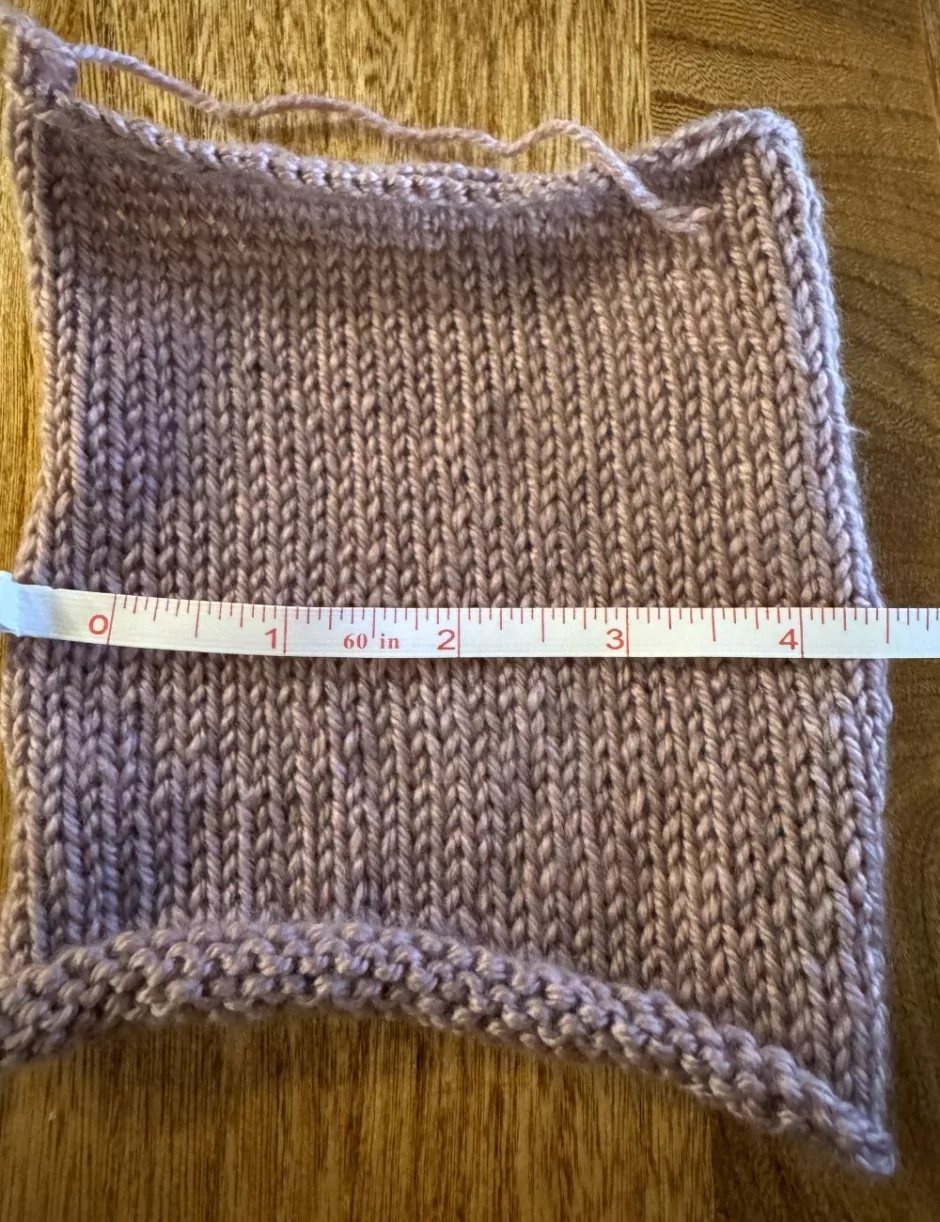
Once your swatch is dry you can take your knitting gauge. Use a ruler or tape measure and measure out 4 inches/10 cm from the center of the swatch.
If your stitches are hard to see you can mark the ends of the space you need to count with straight pins.
Count across the number of stitches in that space, being sure to include any partial stitches.
Ideally you would measure a few different places to make sure you’re getting the same number (or, if you’re not, to take an average).
Row gauge is generally less important that stitch gauge in projects, because you can knit to a required length regardless of how many rows that takes you, but you can count 4 inches/10 cm of rows the same way.
Compare your gauge now to the gauge you had before washing if you took it. Sometimes there’s a big difference, sometimes not. Mine was 21.5 stitches and 27.5 rows per 4 inches before washing and 21 stitches and 28 rows after.
Interpreting Your Swatch
Now that you know your stitch and row gauge, you can compare them to the knitting gauge listed in the pattern you want to knit.
Using our ball band example again, it said I should get x and I actually got x. If I’m designing something for myself and I like the look of the fabric at the gauge I got, it’s not a problem that I didn’t get the recommended gauge.
But if you’re trying to knit a pattern to a certain size, you’ll want to get the same gauge as the designer used.
So how do you adjust your gauge?
Let’s look at the numbers. If you have more stitches per 4 inches/10 cm than the pattern calls for, that means your stitches are too small and you need to try again with a bigger needle.
Likewise if you have fewer stitches than expected, yours are too big, so try again with a smaller needle. I came out with fewer stitches than the ball band suggested, so if I were trying to hit that gauge I’d try again with a smaller needle.
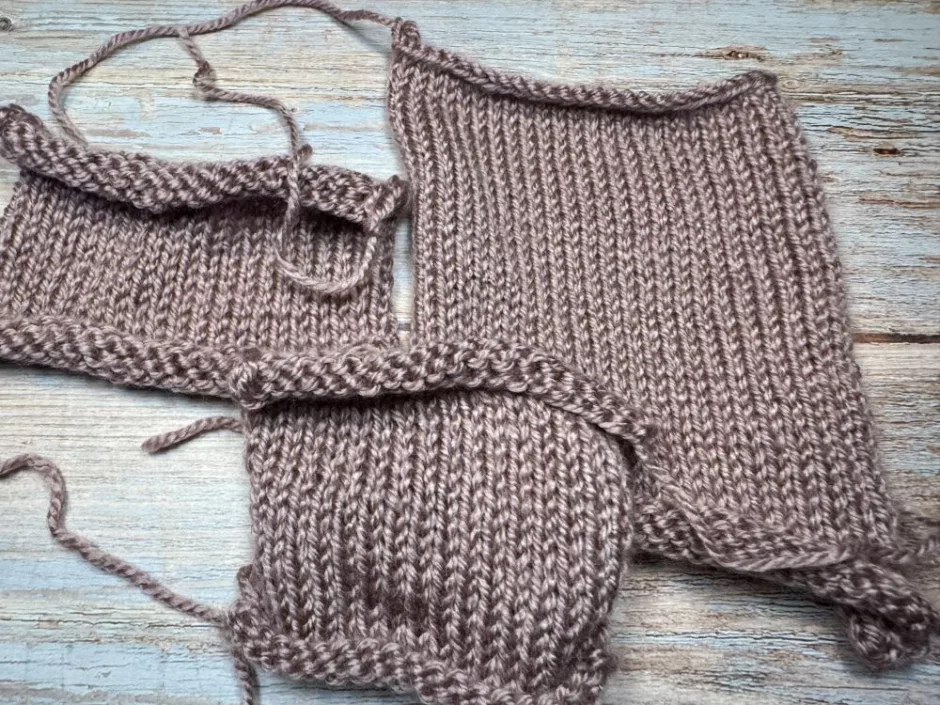
It’s important to note here that you need to make another swatch and measure again. Don’t just assume that going up or down one needle size is going to get you what you need.
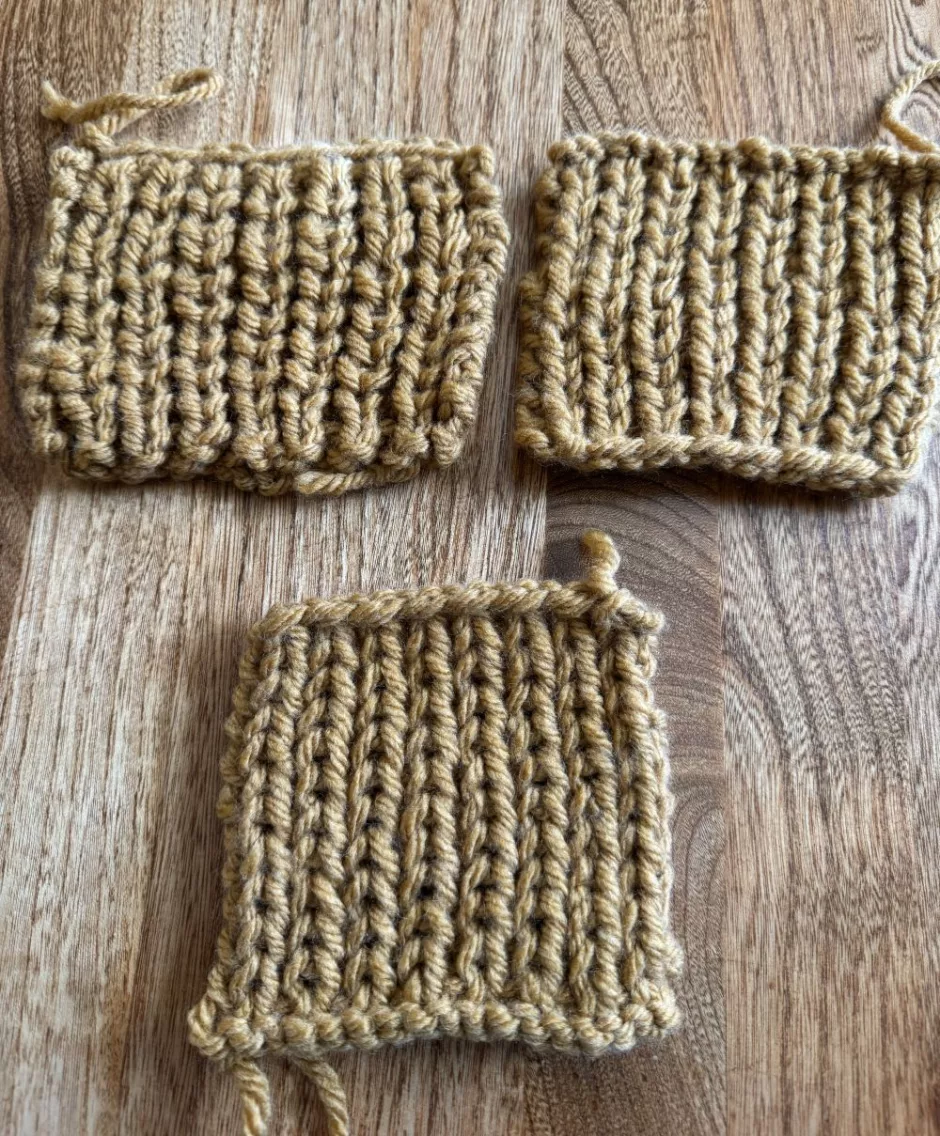
Here you can see three swatches worked with the same yarn on three different needles. These were swatches for the Linger cardigan by Åsa Buchta. They range from 14 to 12 stitches per 4 inches/10 cm.
How Close Do I Have to Be?
A really common question I see is something along the lines of “I’m only one a stitch off; does that really make that much difference?”
Yes. It does.
Let’s math it out. Say your gauge is supposed to be 20 stitches per 4 inches/10 cm and you’re getting 21. That’s 5 stitches per inch/2.5 cm versus 5.25 stitches per inch.
Doesn’t sound like a lot, does it? And over an inch/2.5 cm it’s not. But over the course of a sweater?
Let’s say you’re intending to make a sweater that’s 36 inches/91.5 cm around. You’d need 180 stitches to do that at 5 stitches per inch, but 189 at 5.25 stitches per inch.
If you just knit the sweater at 180 stitches because your gauge sounds close enough? You’ll end up with a sweater that’s just over 34 inches/86 cm. (That’s 180 divided by 5.25.)
Taking the time to get your gauge right will take less time than knitting two sweaters because the first one doesn’t fit. I promise.
Can I Just Guess?

I see questions online all the time where people have found a pattern they like but want to use yarn of a different weight that they already have, or they start knitting and don’t like the look of the fabric and wonder if they can just change the yarn and/or the needle size to use what they have or get a fabric they like better.
Some will concede they might need to knit a different size (see below for more on that) but most seem to assume that knitting gauge just magically works out in a way that more experienced knitters can tell them.
But the true answer is always swatch and see. Maybe you don’t like the fabric you’re getting because your gauge is off and if you changed needles you’d like it better.
Maybe you can use a different weight of yarn and get a different gauge that still fits into the sizing provided. But maybe not.
You won’t know until you swatch.
What If I Don’t Like the Gauge?
If you knit very tightly or very loosely you might find that you need to significantly change the size of needle you are using in order to get the required gauge.
This in turn can give you a knit fabric that looks and feels different from the designer’s intent, or from your preference.
I generally knit pretty loosely and often end up working on needles three sizes smaller than the designer suggested to get gauge. But sometimes that produces fabric that feels too stiff to me, that doesn’t drape the way the designer intended (or the way I would like my finished sweater to look/feel).
In that case, I’ll look at my collection of swatches and decide which one I like the look and feel of best. Knowing my gauge on those needles, I’ll plug in numbers and see if I can knit a different size from the one I usually would to fit me.
Say the pattern says I should be getting 18 stitches per 4 inches/10 cm and I’m getting 20 on the swatch I like. The 40 inch/101.5 cm sweater would need 180 stitches for the chest measurement. Knit at my gauge I’d get a sweater that was 36 inches/91.5 cm around.
(The original gauge is 4.5 stitches per inch and I’m getting 5 stitches per inch. Still doesn’t sound like a big difference but it is across the full sweater.)
Knowing I’m getting 5 stitches per inch, if I wanted a 40 inch sweater I’d need 200 stitches at the chest (40 x 5). So I can look through the pattern and see if there’s a size that has 200 stitches at the chest. Or I can divide 200 by the intended gauge of 4.5 stitches per inch and see that if there’s a sweater that measures around 44.5 inches/113 cm at the chest that would actually be 40 in my gauge.
This doesn’t always work but sometimes you’ll get lucky and not have to convert every stitch count by hand to make a pattern that fits your gauge.
Should I Keep My Swatches?
I used to keep my swatches but honestly I never seem to refer to them, so I don’t think you need to. If you need the yarn to finish your project, by all means unravel it and use it. You can also use the yarn in scrap knitting or crochet projects if you like.
Or if you consistently make your swatches the same size, you can sew them together to make a blanket or boxy jacket or pillow. That can be a fun way to see all the projects you’ve made in the past.
If you are more organized than I am you can keep a knitting journal where you keep your swatch and note the yarn and knitting needles used. That might come in handy if you want to use that yarn again, but our knitting gauge changes over time, so I’m not sure I would trust an old swatch for a new project anyway.
What if Your Knitting Gauge Lies?
We’ve all been there. You dutifully make a swatch, wash it and measure it and make sure it’s spot on before you cast on. And somehow the thing you’re knitting still comes out a different size from what you intend.
Some knitters will tell you they don’t swatch because when they do they end up with disasters, but if they just plug on with the numbers in the pattern everything turns out OK.
I don’t want to say these people are liars, but it is true that sometimes your gauge goes astray while you are knitting and gives you an unpleasant surprise.
This could be because you’re knitting your project in different conditions from how you knit your swatch, or because you switched needles or yarn or knitting technique (some people, myself included get different gauge knitting continental or English, and we already talked about flat vs. in the round).
It’s a good idea to spot check your gauge a few inches into the body of your garment so you can adjust if needed. This is one reason it might be worthwhile to know the gauge before washing, too, because it may be the gauge changed a lot when you washed it. Or if you didn’t wash your gauge and then washed your sweater, that can make a difference.
This is also a great reason to knit sweaters from the top down, so you can try them on and adjust as needed if your gauge gets unruly.
Sometimes we never know why our knitting gauge goes awry, but that’s no reason not to knit swatches and do our best to ensure that our projects will fit as intended.