Affiliate links may be included for your convenience. View our privacy and affiliates policy for details.
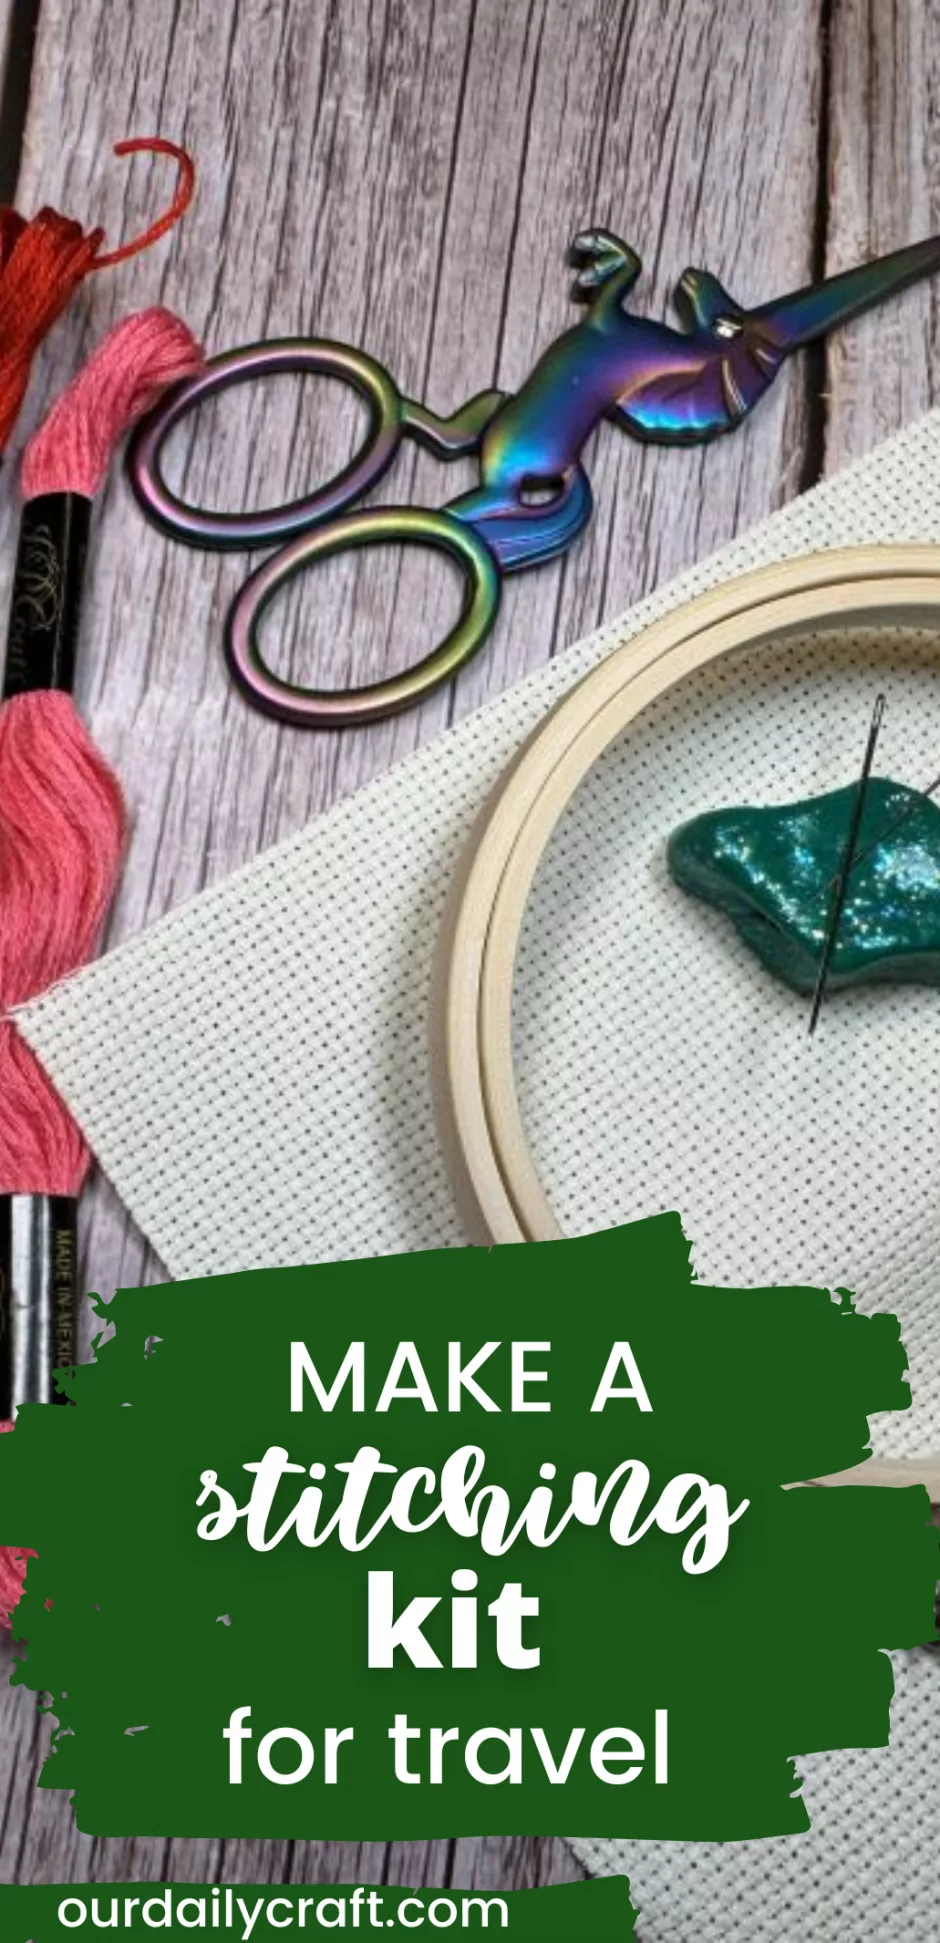
Whether you do cross stitch, embroidery or visible mending, having a travel stitching kit can be helpful when you’re on the road or just away from home and want something to do that doesn’t involve a screen.
I don’t usually take stitching projects away from home, but I do sometimes do them in different parts of the house, so I have some thoughts on how best to travel with your stitching, even if it’s only to another room.
Considerations for Travel Stitching
The main things I would think about when packing up stitching for travel are the size and complexity of the project.
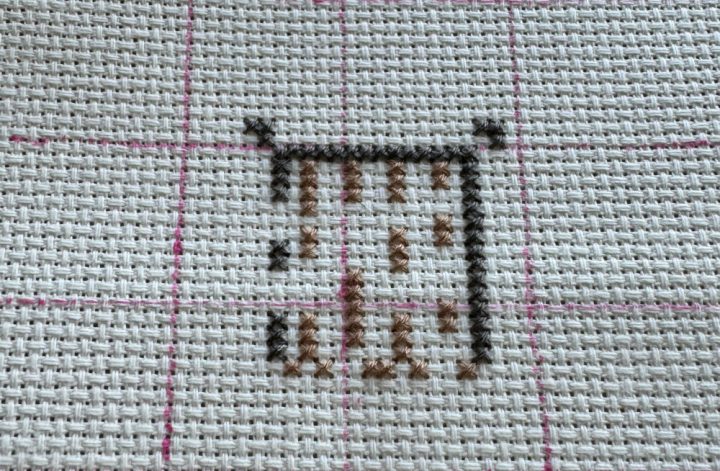
I don’t consider myself great at cross stitch and I have enough trouble following a complex pattern sitting still, so I wouldn’t want to take a big cross stitch project with me on a trip.

Something symmetrical, repeating or simple would be fine for me, as would be finishing items like working the backstitch on this project that’s already been stitched.
Size can also be a problem depending on the bag you need the project to fit into. Mending a pair of jeans is fine work to do at home but I don’t think I’d take that with me to the doctor’s office since it wouldn’t easily fit in my bag (also: jeans are kind of heavy). Socks on the other hand seem to always need mending and you can probably fit a few in your everyday bag.
If your project needs any special equipment like a little loom, or fussy supplies like metallic thread, those are things I might prefer to do at home. But only you can decide what’s a project you can use in your travel stitching kit.
What to Keep in Your Travel Stitching Kit
Beyond the project itself and a copy of the instructions/chart if you need it, what else should be in your kit?
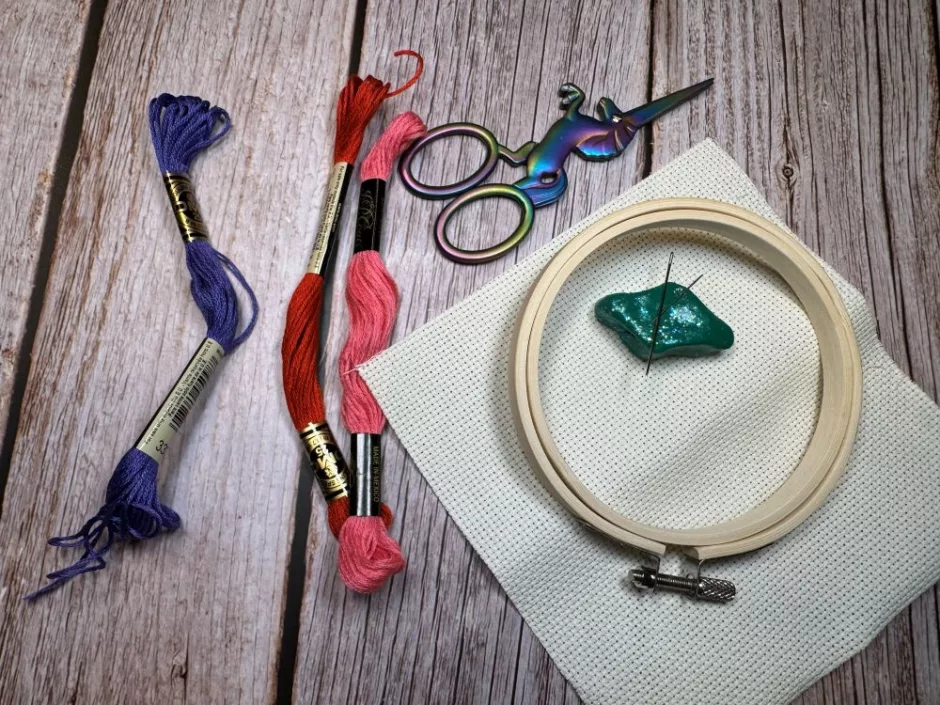
- Any thread or floss you need for the project
- Any other notions like beads or buttons you plan to use
- More than one sewing needle
- A small pair of scissors
- A highlighter or any tools you use to mark your pattern, if needed
- Embroidery hoop if needed
- Needle threader
How to Organize Your Stitching Kit
Organize sounds very lofty for what I do when I put a travel stitching kit together. Mostly, all the small things go together and the project itself usually goes in a bigger bag.
You can tell I use “organize” loosely because sometimes my needles are just stored on a needle minder in my bag, which is probably not the best since they can get loose and poke me (or poke me even if they aren’t loose).
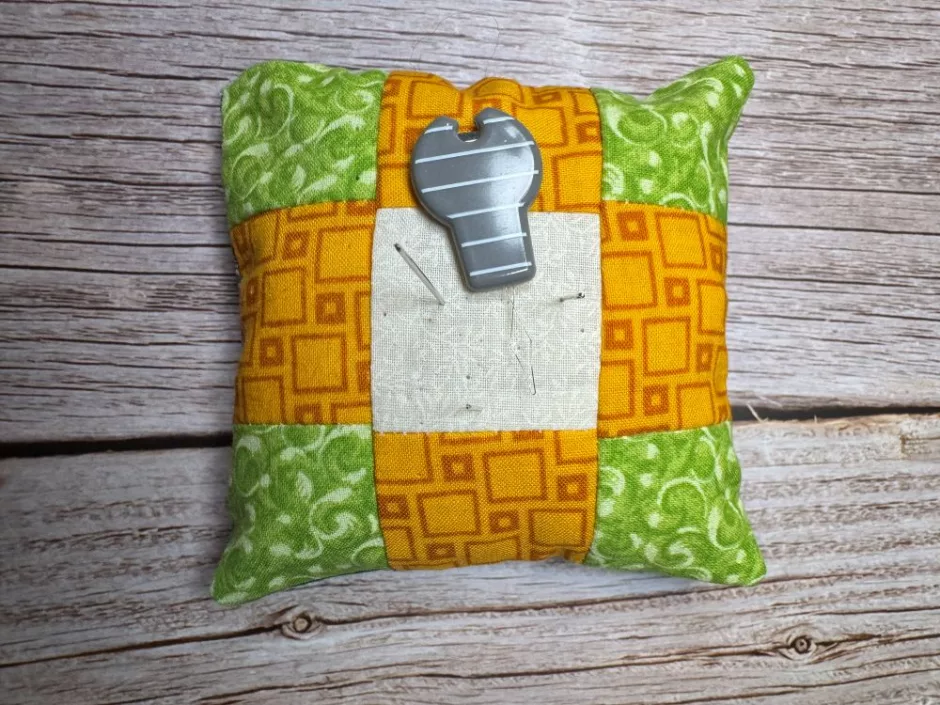
A better idea would be to put a whole card of needles in your kit, or use a small pincushion if that will fit in your bag.
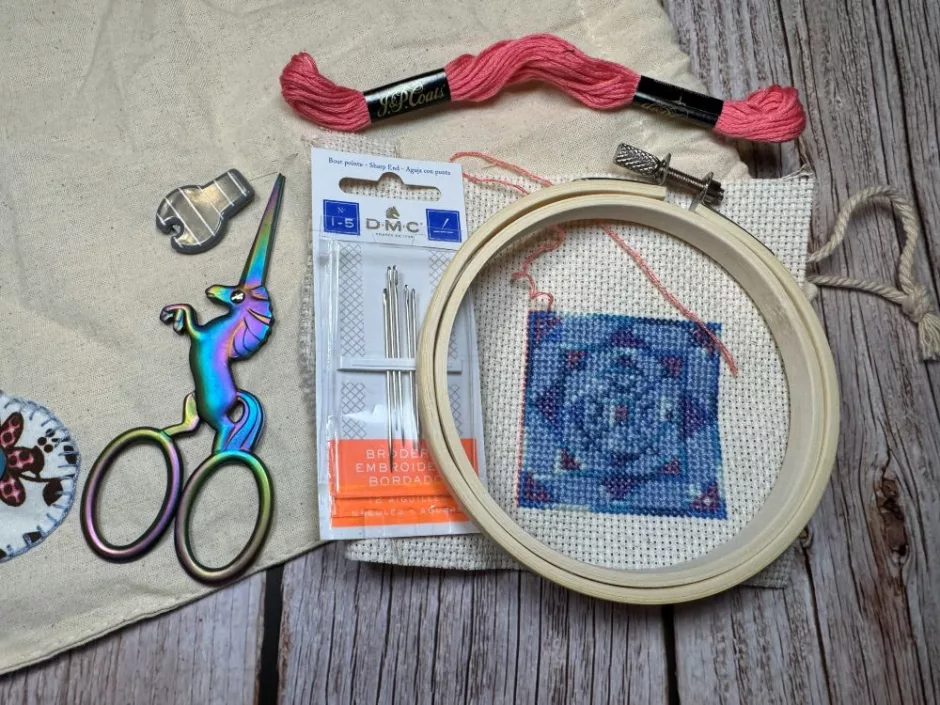
I say mostly the project goes in another bag because in the case of this cross stitch project for example, I’d put the thread, needles and scissors in a small bag that would go inside the larger bag that the cross stitch pattern is in. This fabric bag is just a simple drawstring bag I’ve had for years and added a little embroidered fabric patch to.
But sometimes with small embroidery projects (and things that aren’t on hoops) the project and the supplies can all go in one bag.
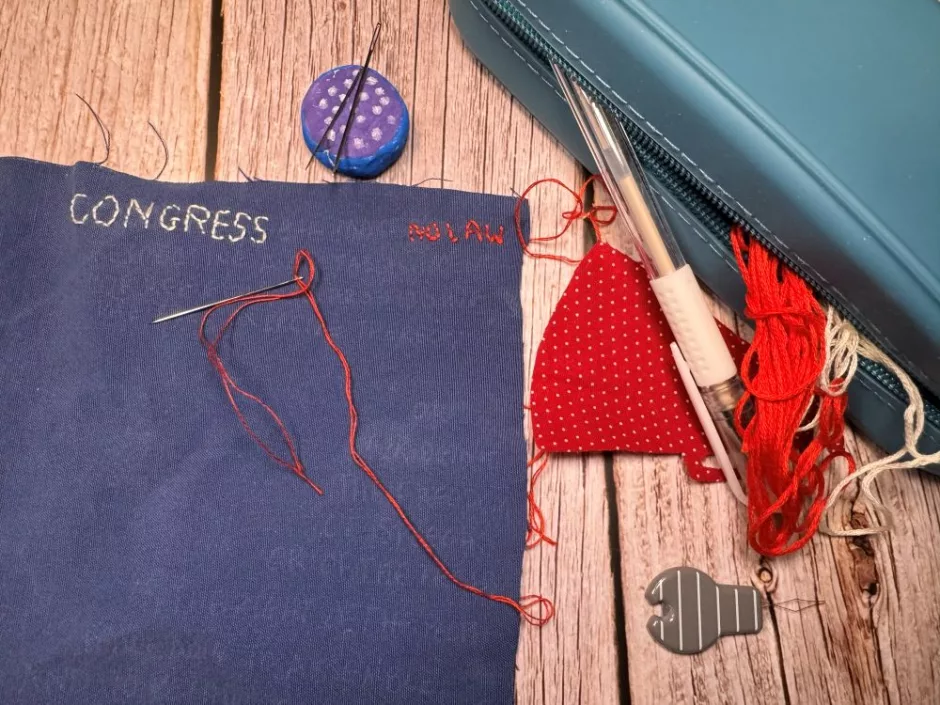
Here I’m using a pencil case to hold an embroidery project. The needles, thread, scissors, a piece of fabric that will also be sewn on the project, a fabric pen, needle threader and the project itself all fit.
If you have a bigger project it may just go into your big bag directly, but I’m paranoid about things staying clean while I work on them so I like the extra protection of the project being in its own bag.
If you travel with your cross stitch, embroidery, mending or hand sewing, let me know what you keep in your travel stitching kit.