Affiliate links may be included for your convenience. View our privacy and affiliates policy for details.
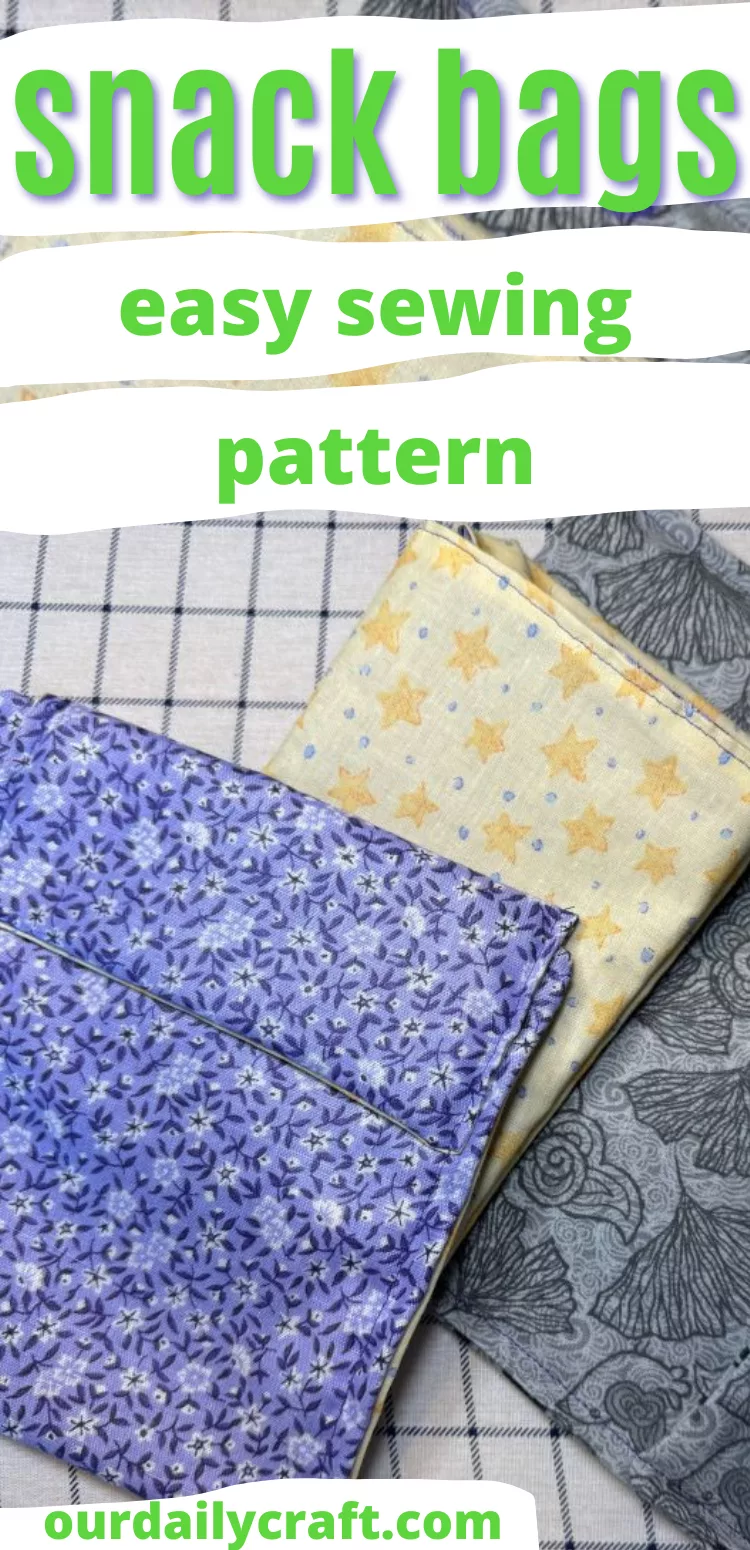
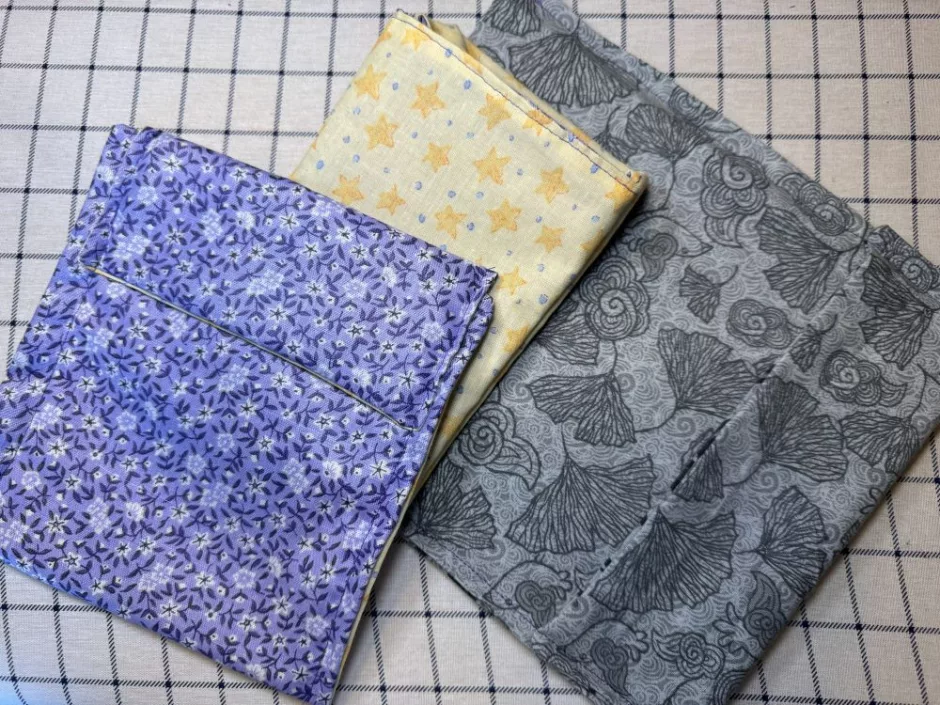
This fabric snack bag sewing pattern can be made in whatever size you like to use of scraps and hold your favorite snacks, or even a sandwich.
I’ve made snack bags before but I felt like they were all kind of small, so I measured with my heart (and the size of fabric pieces already in my stash) to make this set of snack bags. They’re an easy and small sewing pattern that’s great for beginners because your stitching doesn’t have to be perfect for them to work.
Supplies
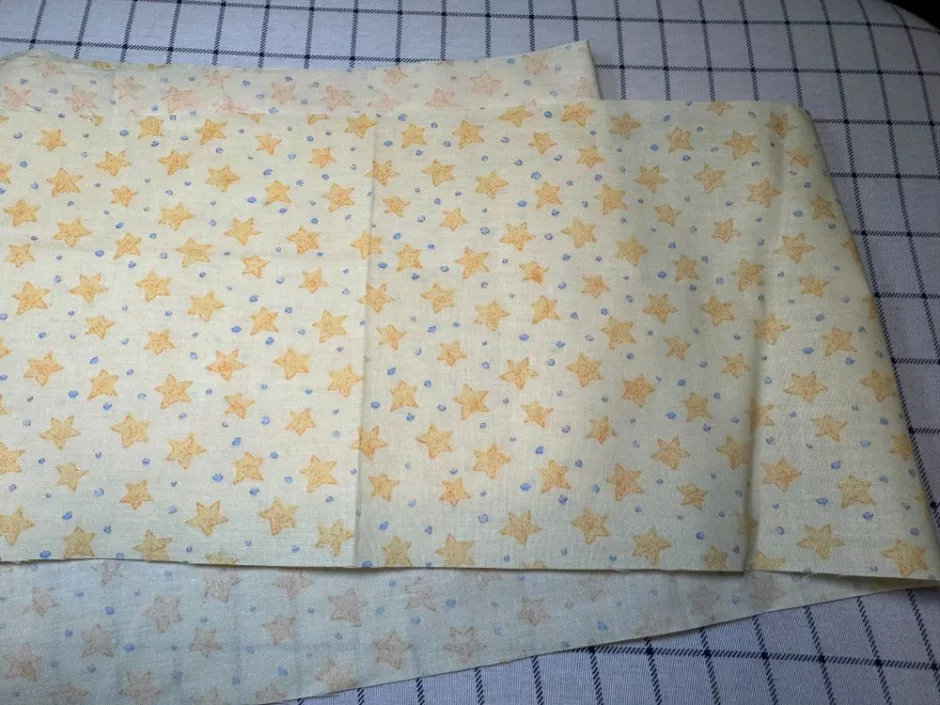
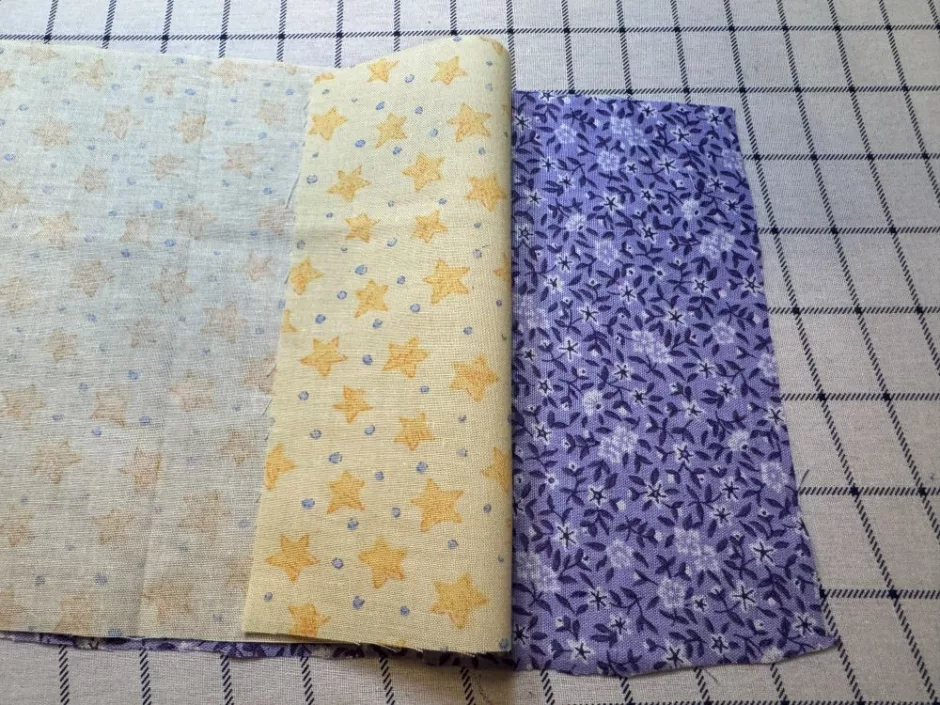
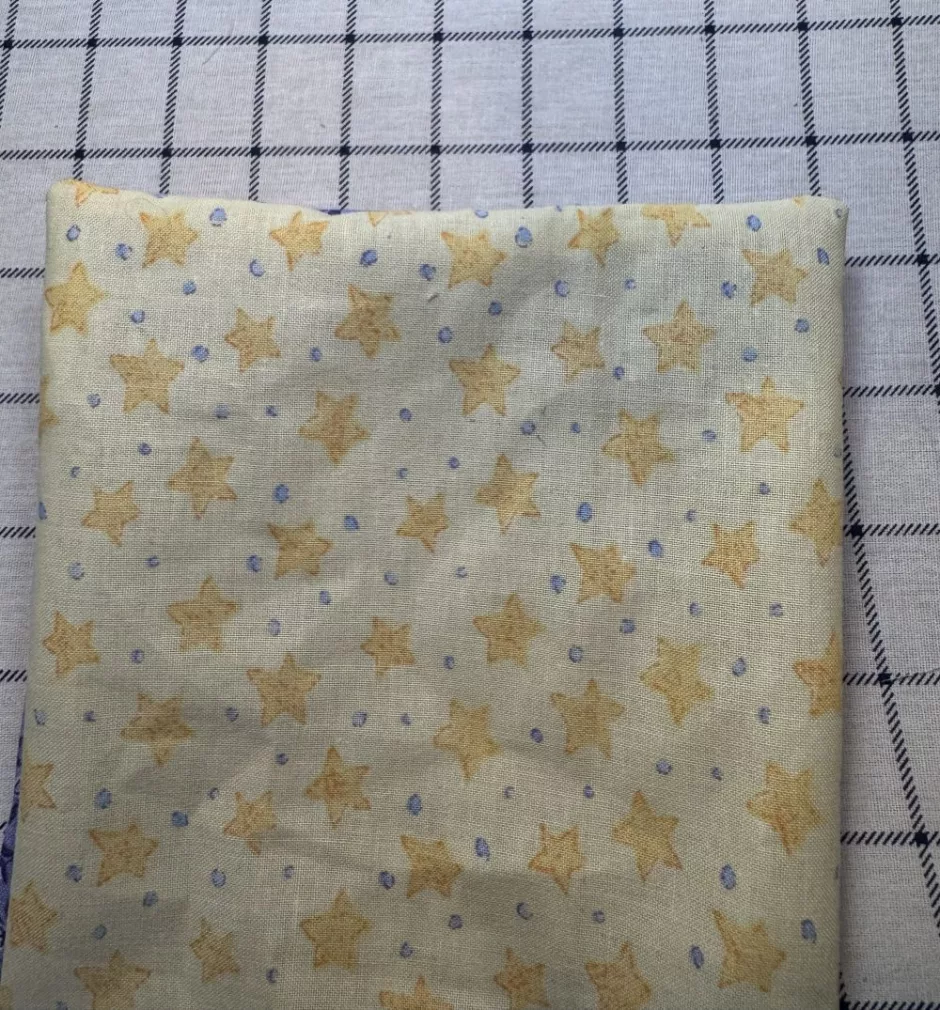
For each bag you’ll need two pieces of fabric. They can be the same print or I used two different fabrics for each of my bags. The star fabric was already cut to this width, which was about 7 inches/17.78 cm wide, and I cut it to 16.5 inches/42 cm long for the medium sized bag in the photos.
The others I didn’t measure before sewing, but the small bag is about 4.25 inches/10.8 cm wide and almost 7 inches/17.78 cm tall not including the flap. The large one is almost 8 inches/20.3 cm wide by 8.75/22.2 inches tall, and the medium one is roughly 6.25/15.8 cm inches wide and 6.5/16.5 cm inches tall after sewing.
If you want to measure more precisely, decide on the width for your bag and add half an inch/1.27 cm. Make the length double the size of the bag you want, plus about 2.5 inches/6.35 cm for seams and the flap.
You’ll also need a sewing machine and thread, an iron and ironing board, some sewing clips or straight pins, small scissors for cutting threads and fabric scissors (I used pinking shears but you don’t have to) for trimming the corners and cutting your fabric.
Snack Bag Sewing Pattern
There’s not much to this snack bag sewing pattern but in case you’re new to sewing I’ll try to spell it all out.
First iron your fabric if it needs it and put your fabric pieces right/front/outsides together.
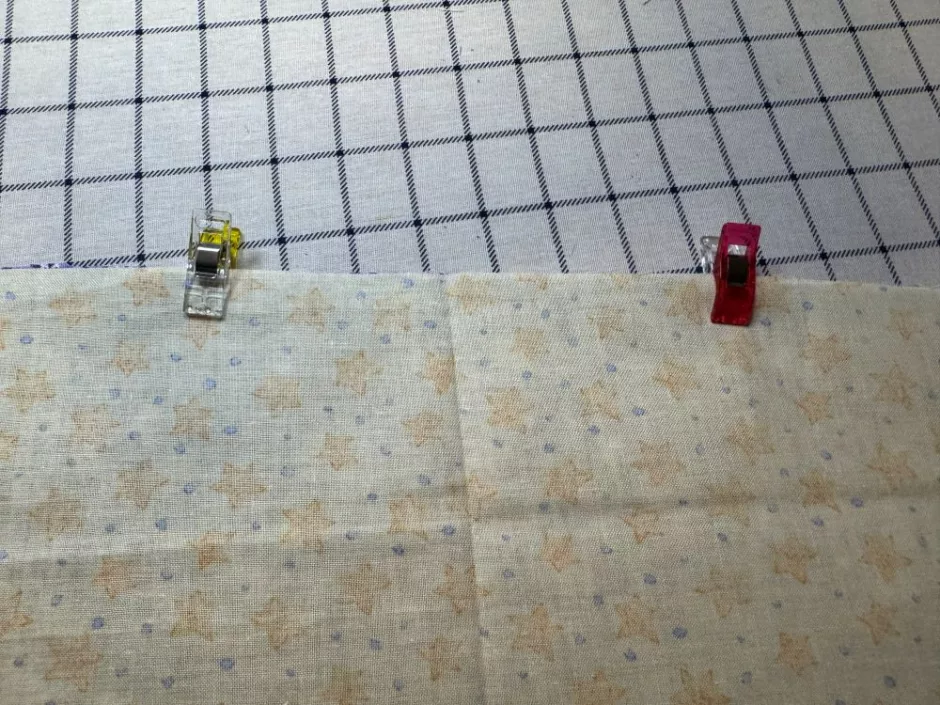
Use a couple of clips or pins on each side to hold the layers together.
At your sewing machine, start around the middle of one of the short sides of the fabric and sew a straight stitch with the edge of the fabric aligned with the edge of the sewing machine foot or just a little wider.
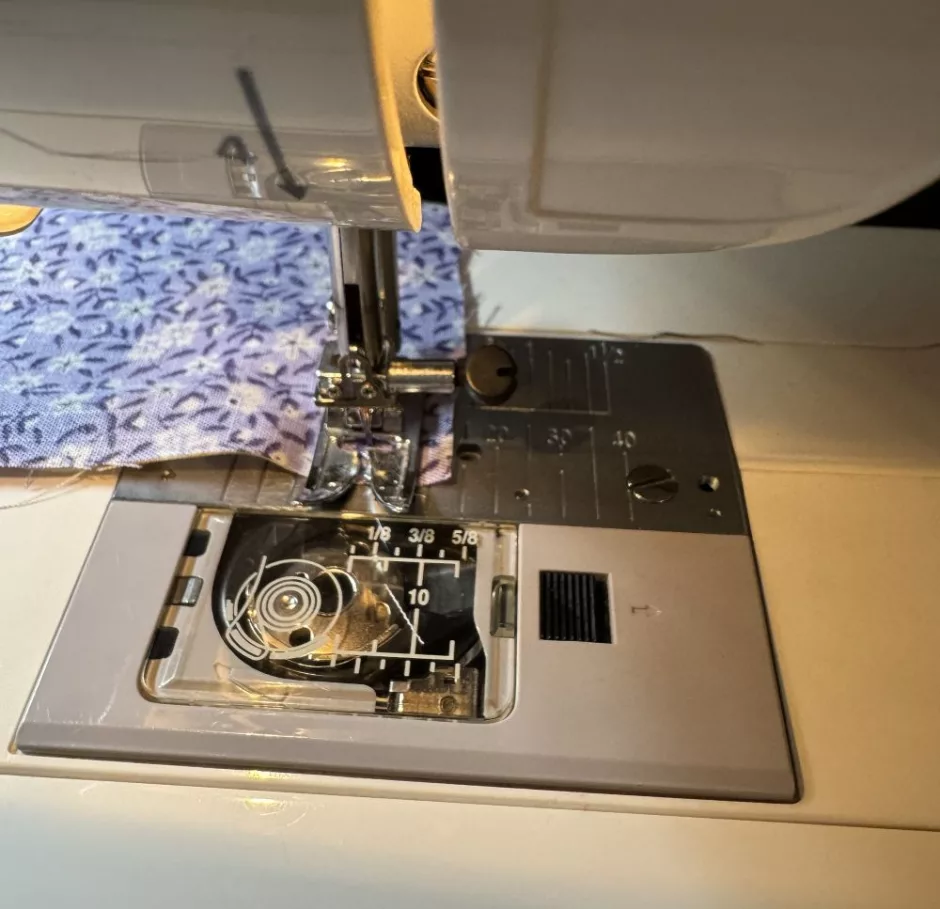
Sew not quite all the way to the edge and stop. Use the hand crank to put the needle down into the fabric, raise your presser foot and turn the fabric so it’s aligned to sew down the long edge. Put the presser foot back down and sew this side.
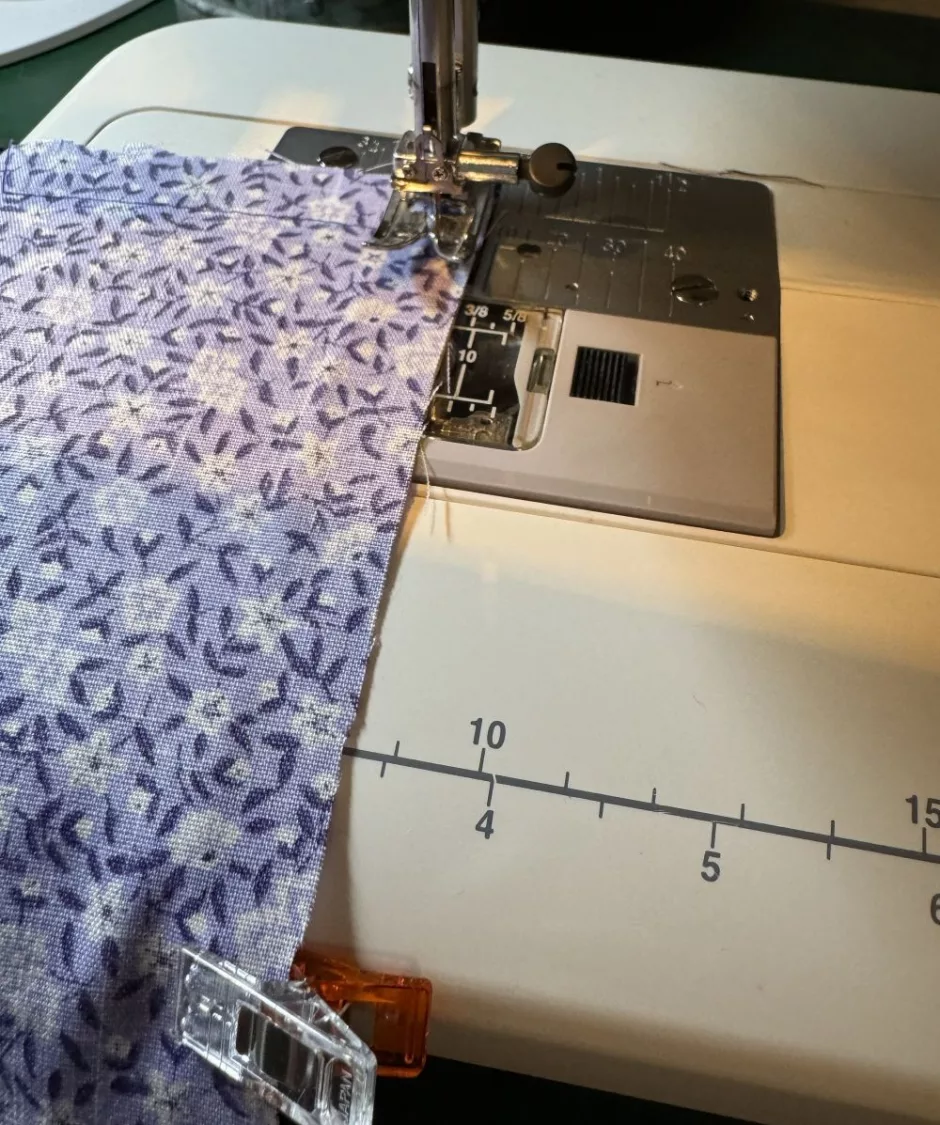
Repeat this to sew the other short side and the other long side.
Turn the last corner but stop sewing when you have an inch or two gap along the fabric that’s unsewn.
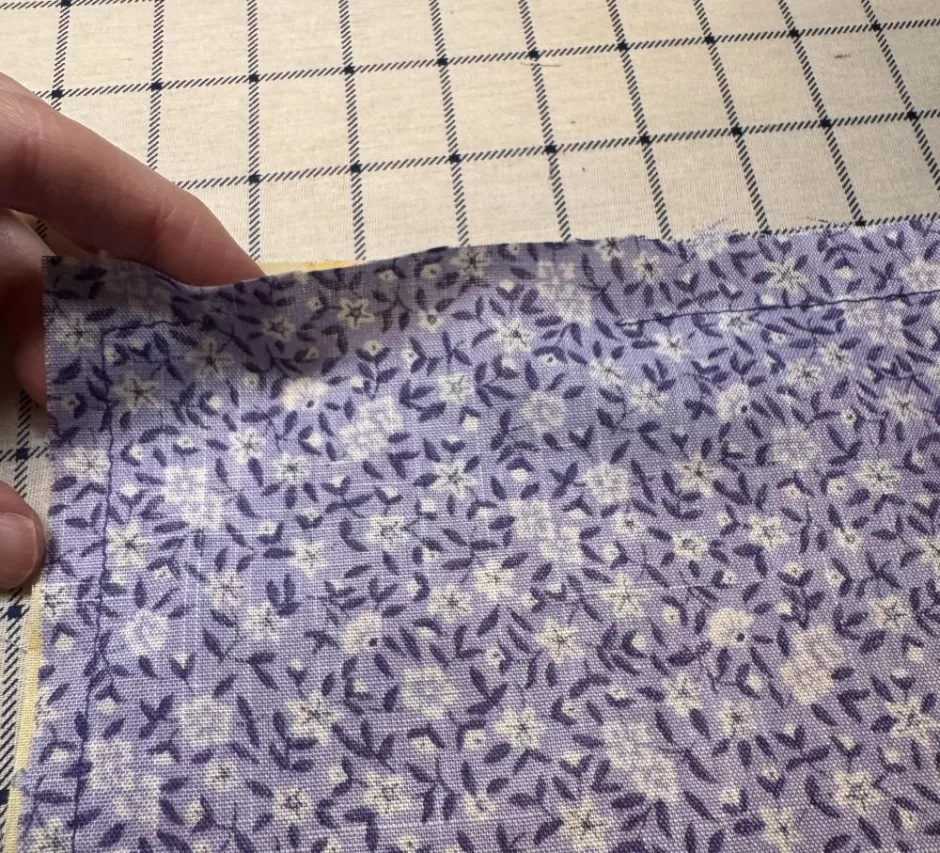
Use fabric scissors to trim the corners of the fabric. This makes it easier to get flat corners.
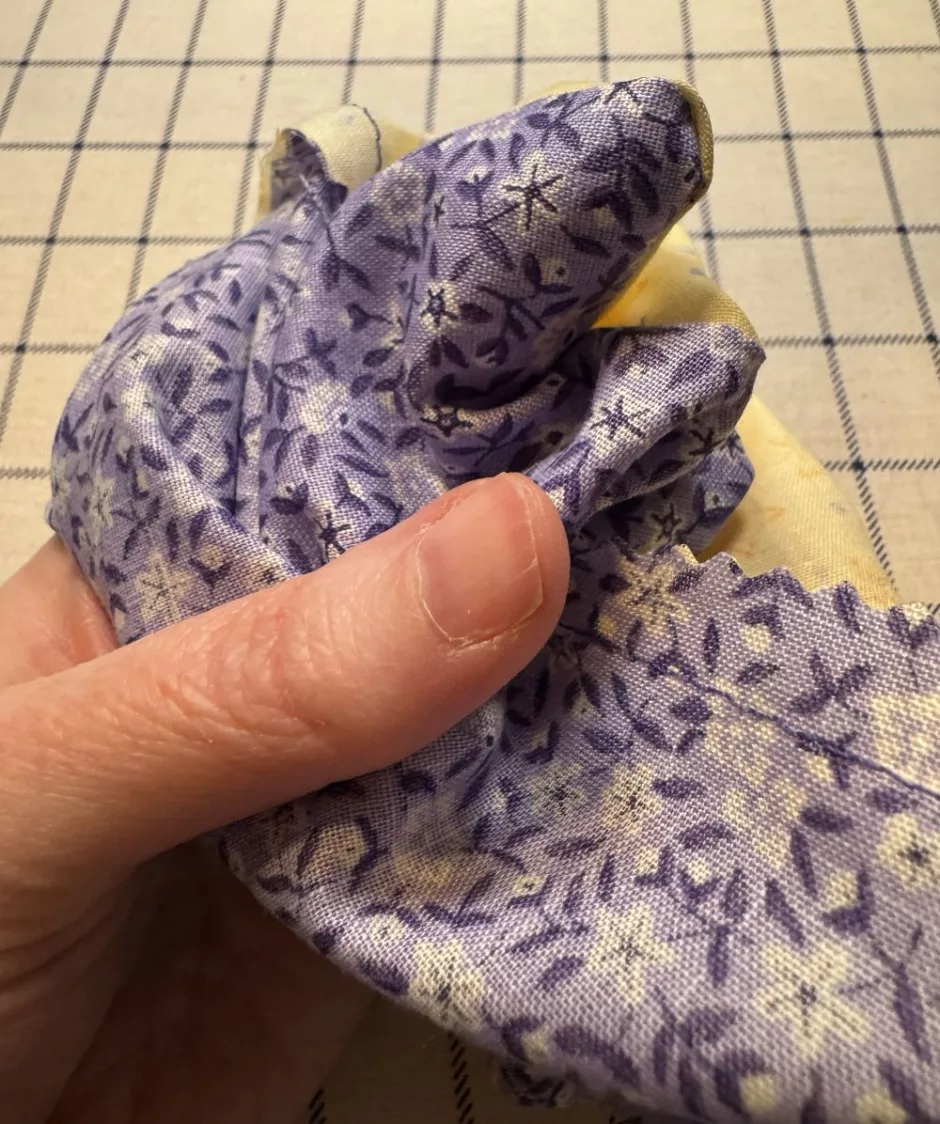
Begin to turn the fabric right side out by finding the bottom corners, turning the fabric and pulling it out the hole.
A knitting needle, crochet hook or skewer can help you make the corners flatter.
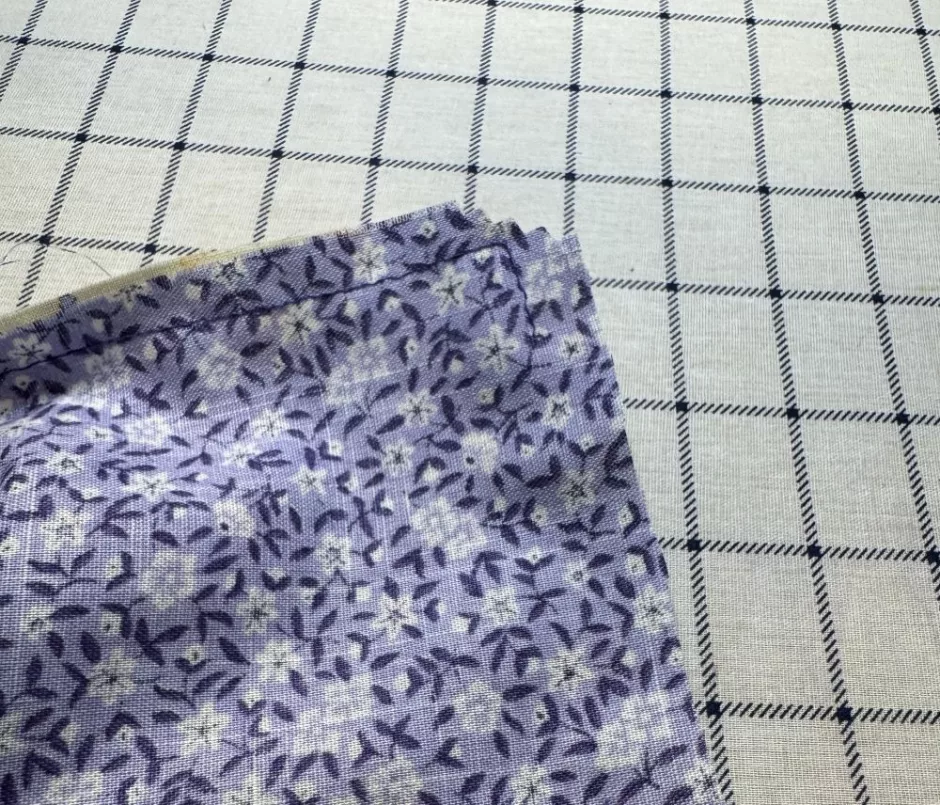
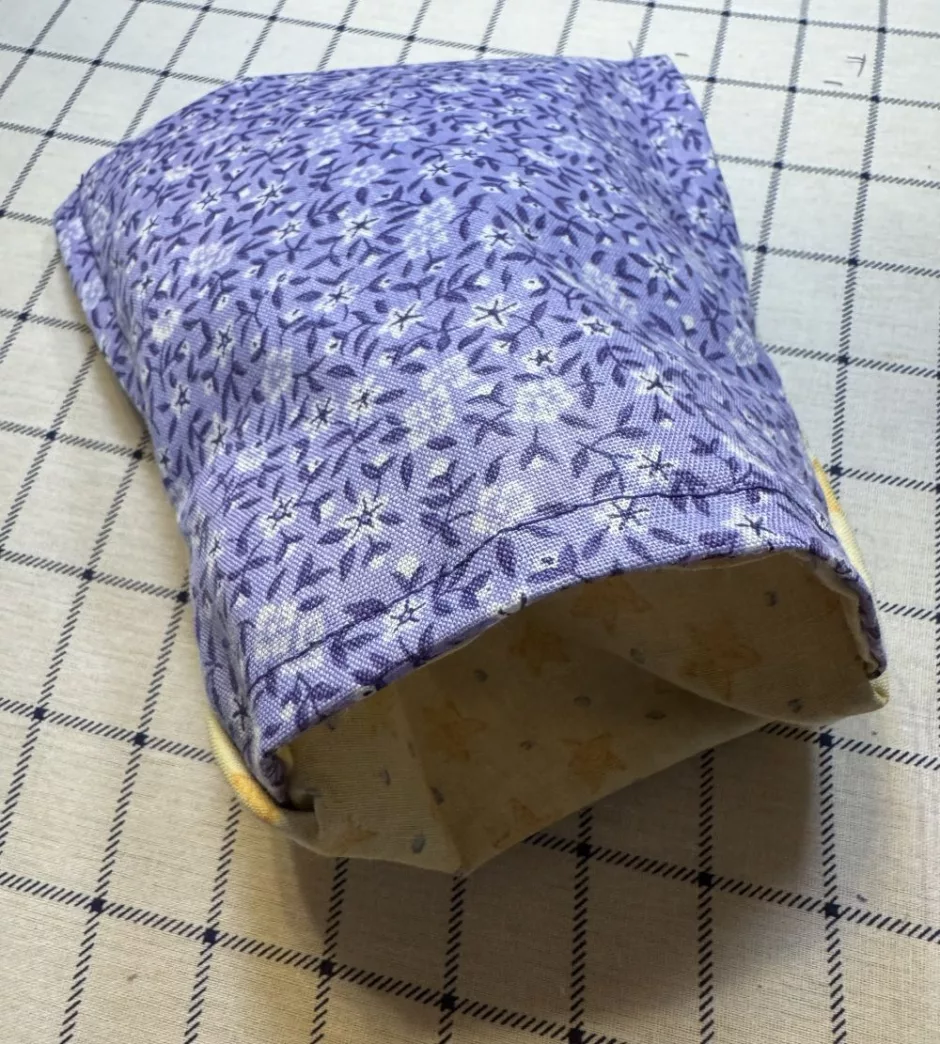
Iron your fabric again, which helps the bag lie flat. You’ll also want to press the edges of the fabric in where you didn’t sew the fabric closed so they are tucked inside the fabric.
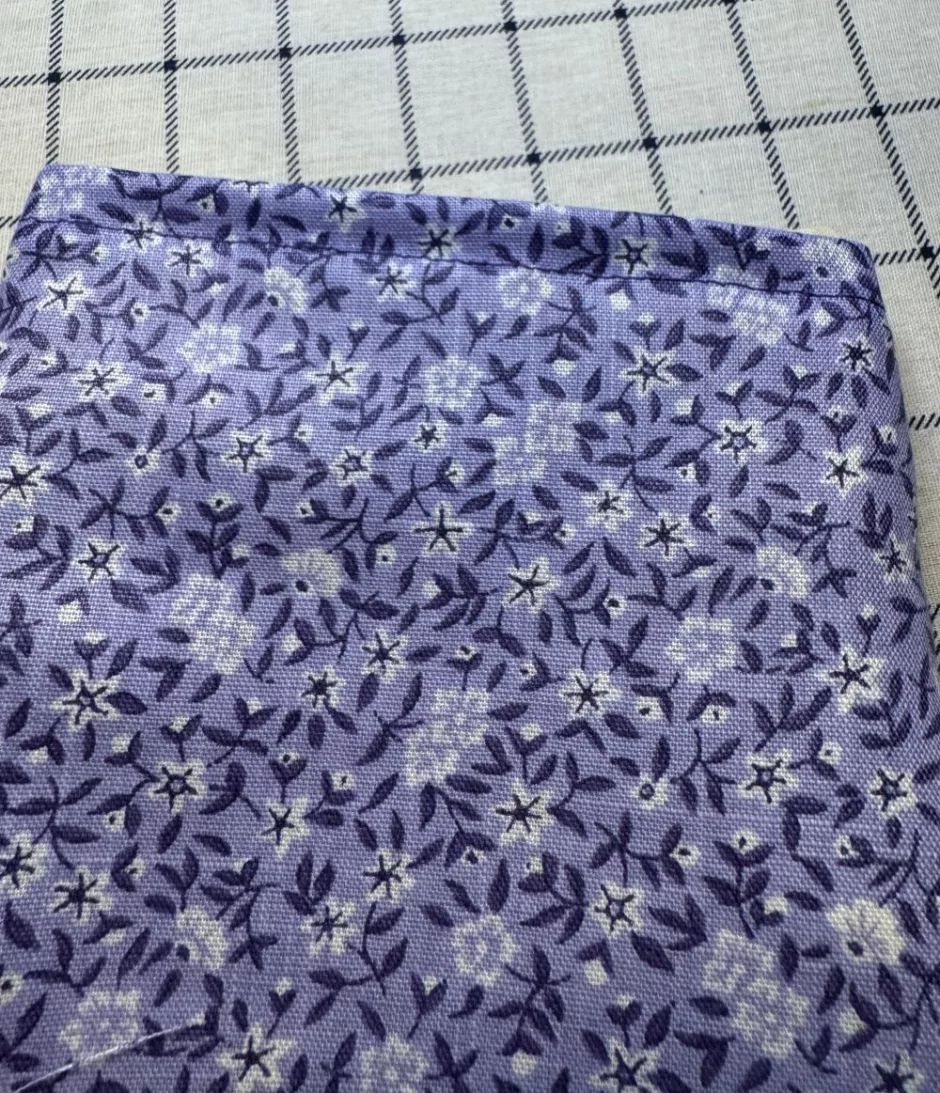
Sew across the fabric on this whole short side from the front, making sure you’re sewing close enough to the edge to secure those raw edges inside the bag.
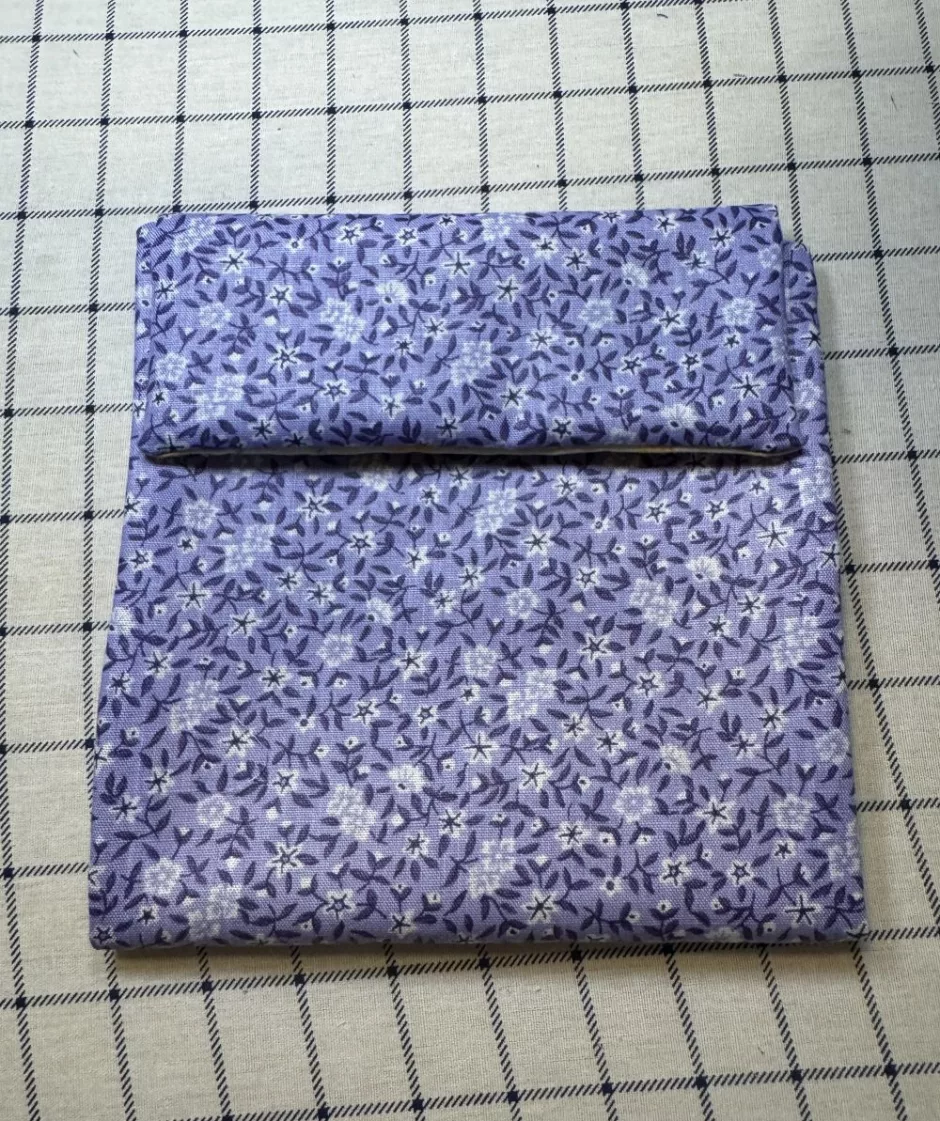
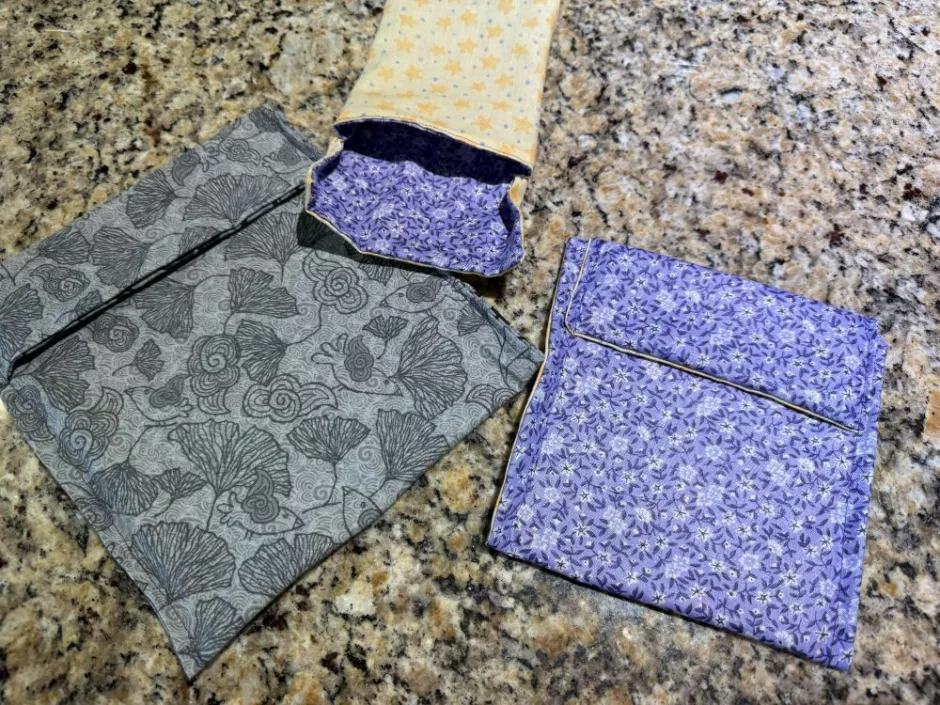
Fold the bag so that you have a couple of inches at the top for the flap. I make the seam we just stitched the top of the bag that is covered by the flap. Use clips to hold everything in place.
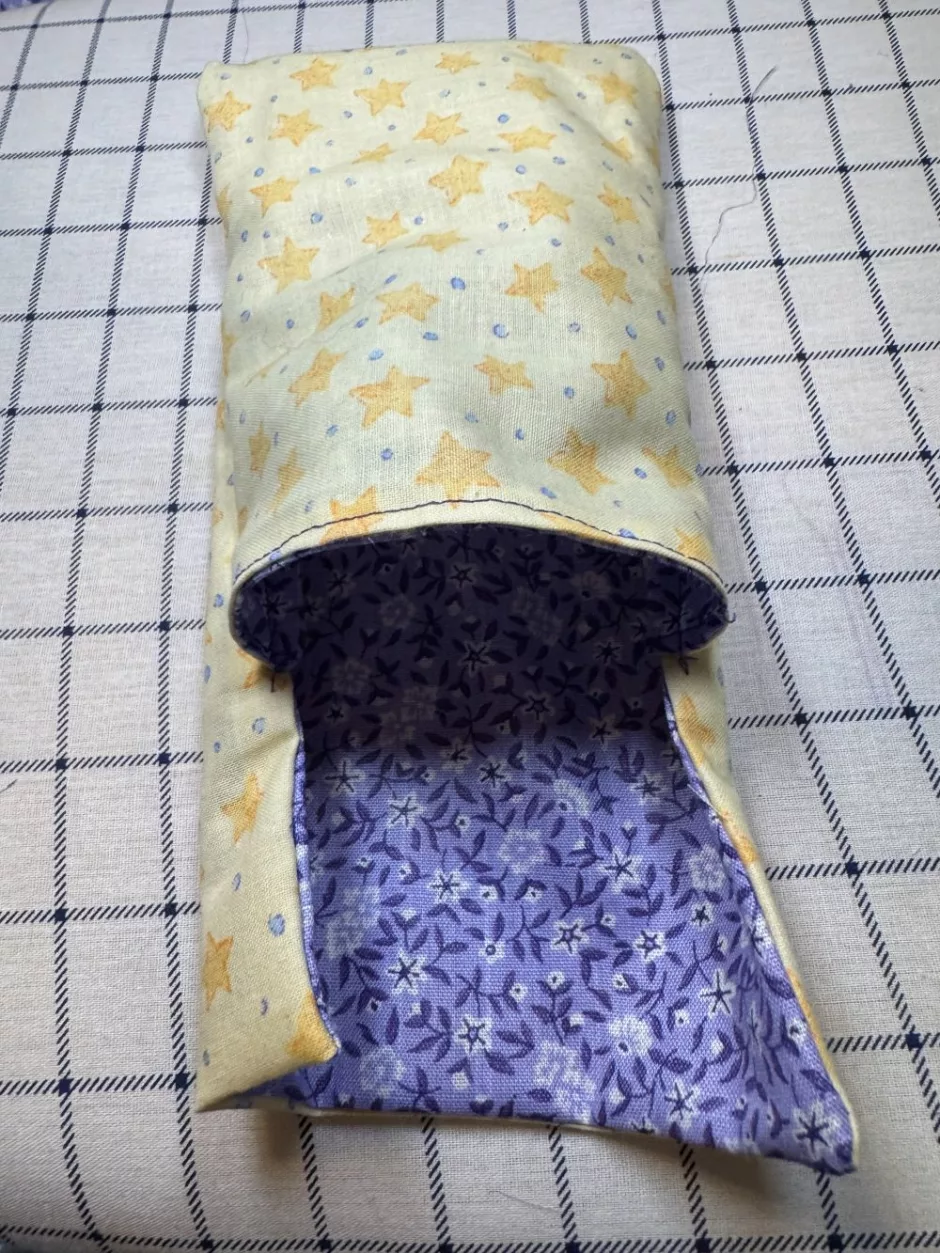
I did a couple of different treatments on the flap. For the medium and large bags I sewed the flap down to the bag, and for the small one I left it free.
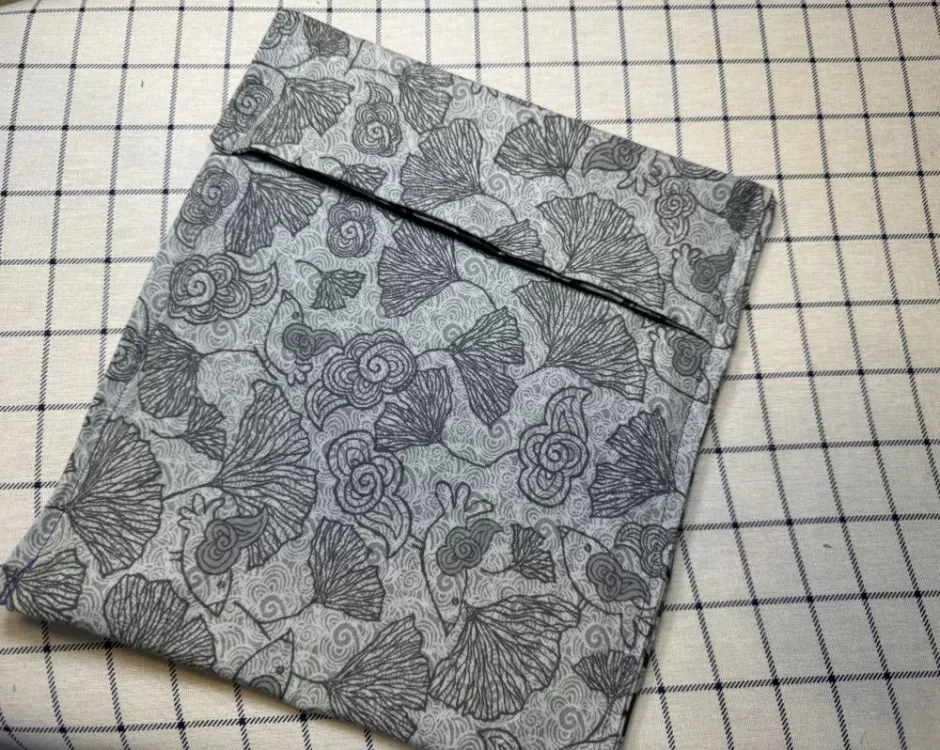
Either way, sew down one side of the bag and then the other. Trim any thread ends hanging around.
Using Your Snack Bags
Once you make this snack bag sewing pattern once you’ll probably start using all your scraps to make bags in different sizes (I predict because that’s what I did!). Bags of different sizes and shapes are handy for different kinds and quantities of snacks.
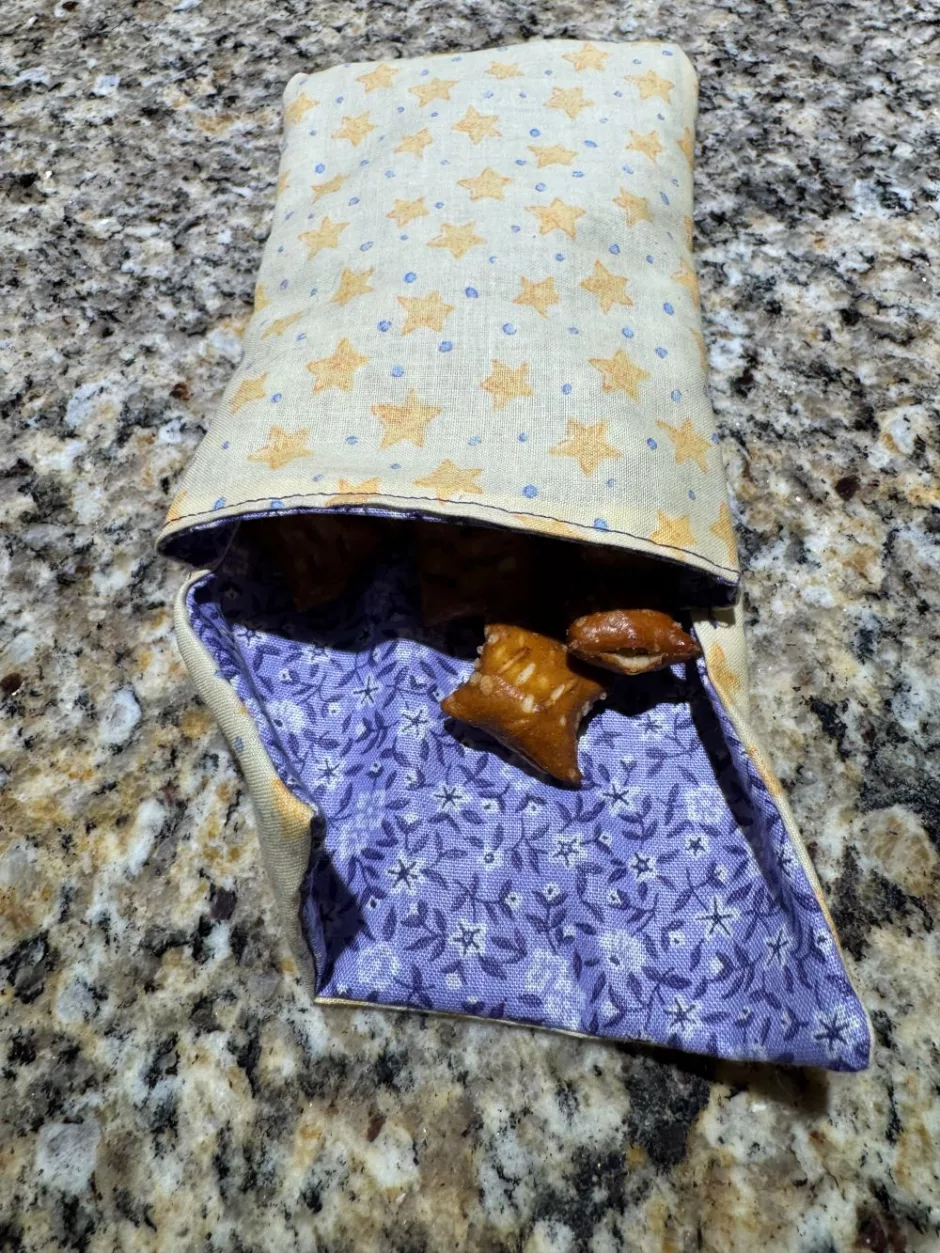
I was wondering if they bags could be reversible, and they sort of are, but the flaps don’t work as well when the fabric is reversed because they’re on the inside not the outside. This could work if your snack bag isn’t too full or your travels too wild.
The one where the flap is not sewed down is more reversible, but not as secure in either configuration because the flap tucks into the bag so it’s not 100 percent secure. Choose which method you use based on how you think you’ll use the bag and if security is more important than seeing both fabrics.
In either case I’d turn the bags inside out to wash them, just to get all the crumbs out.
I hope you like this snack bag sewing pattern and it helps you be a little greener on your outside tho house adventures!