Affiliate links may be included for your convenience. View our privacy and affiliates policy for details.
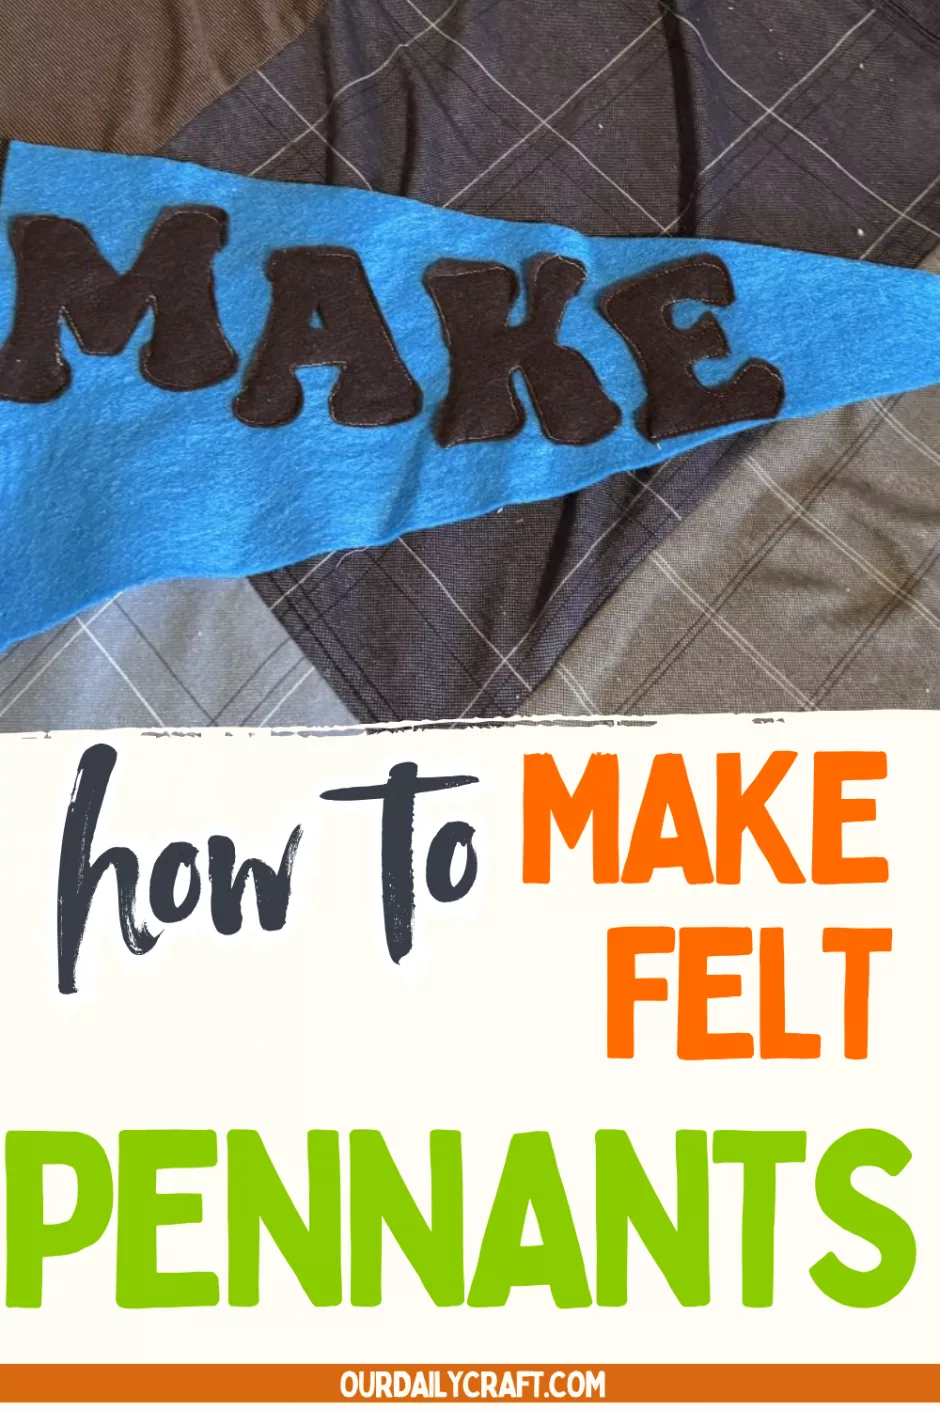
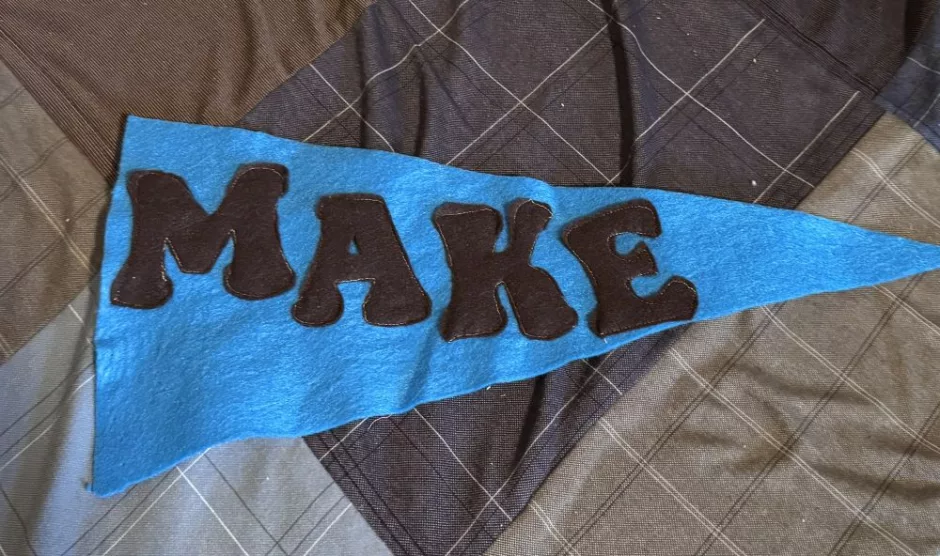
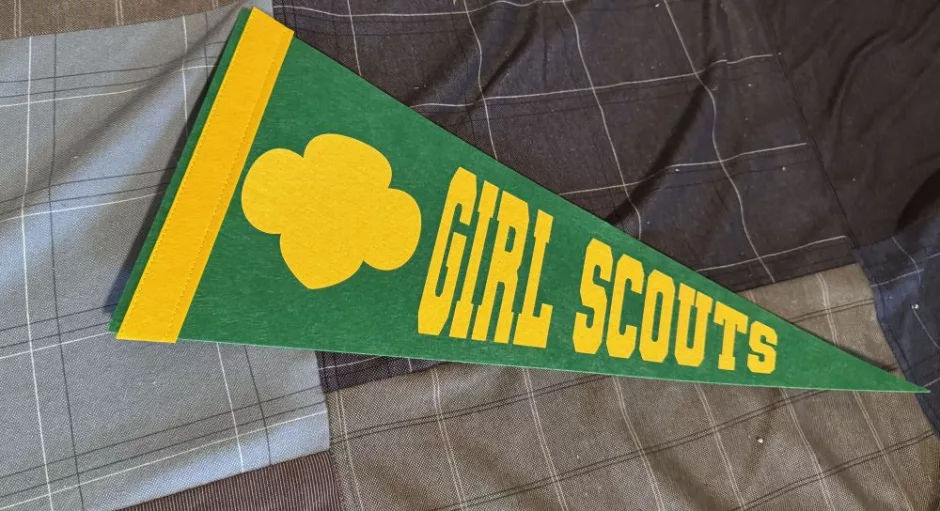
Making felt pennants is a fun and easy way to express yourself with a classic, back to school vibe. My daughter had this Girl Scouts pennant in her room that got moved because she decided she wanted to turn her white board into a calendar this year, so I got inspired to try to make my own.
Supplies
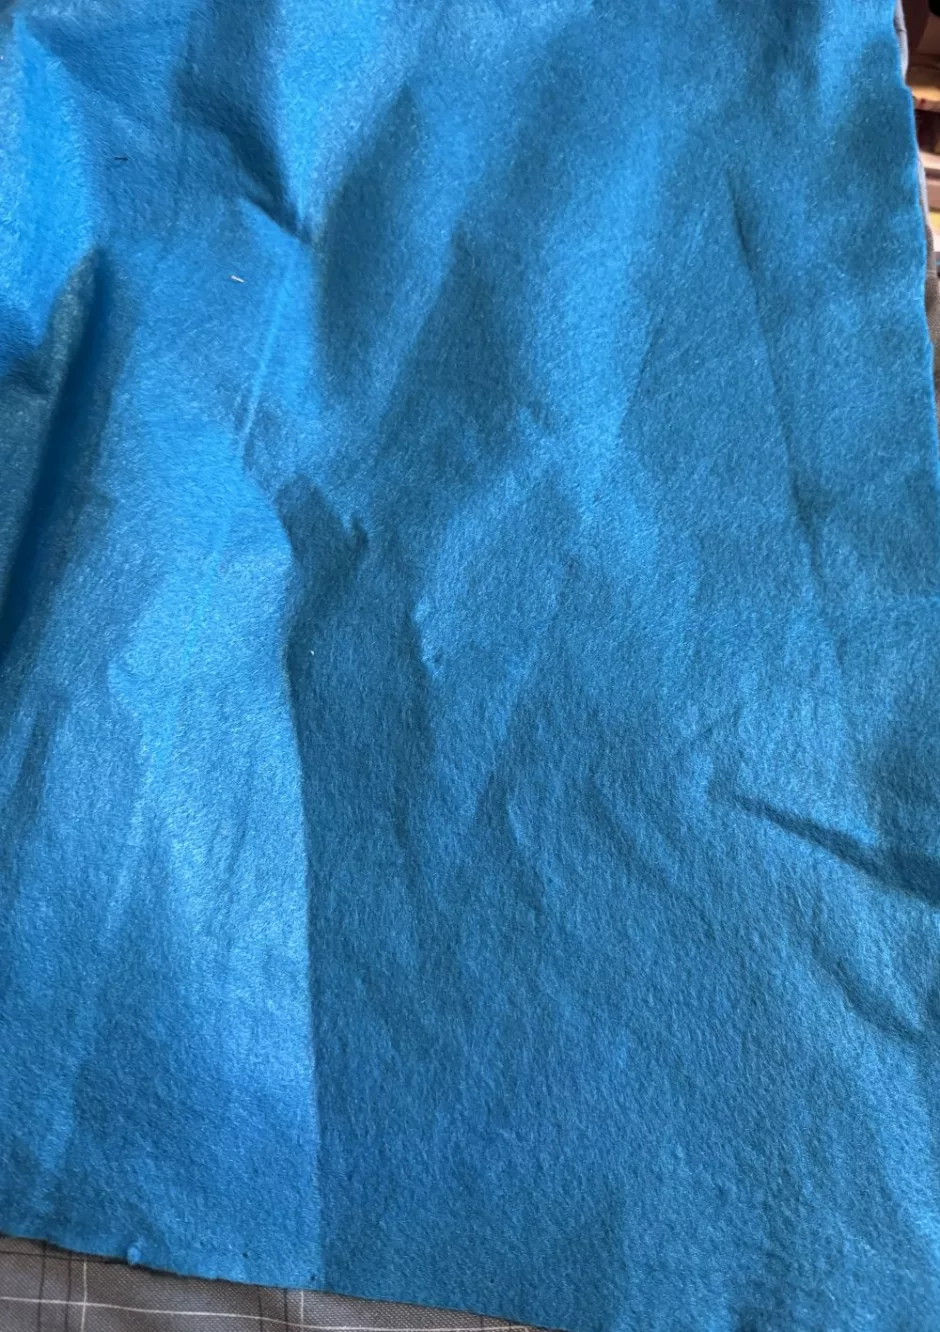
All you need to make a felt pennant is some felt. If you want to make a traditional large one, you’ll need a longer piece of felt than you normally buy in the packs that are the size of a sheet of paper (though you can make a smaller pennant with those just fine). If you have some of the firmer felt that’s ideal but regular felt is fine, too.
Using the premade pennant as a guide, mine is 8 inches/20.32 cm on the short side and the long sides are 18 inches/45.72 cm long and it comes to a point at the end, of course. This is a good size for a word of three or four letters, unless you make your letters smaller than mine.
If you don’t have a pennant on hand you can mark the short end, measure out to your desired length and use a yard stick or ruler to help you draw the long diagonal lines.
You’ll also need some felt for the letters of whatever word or image you want to use on your pennant. You’ll need a computer and printer or paper and pen to make your letter templates, paper and fabric scissors, some straight pins and whatever method you want to use to attach the letters to the pennant.
And then of course you can add any embellishments you want, which we’ll talk more about below.
How to Make Felt Pennants
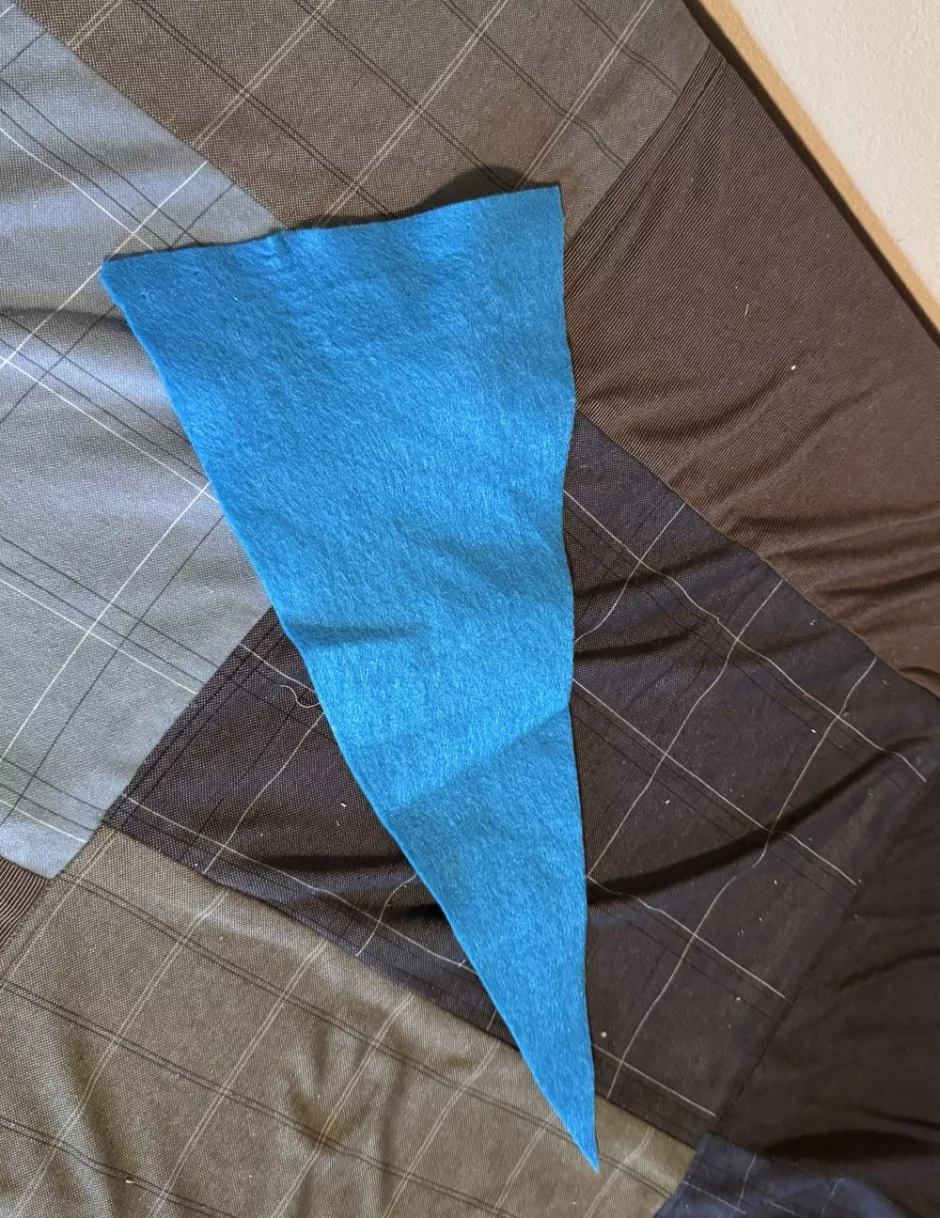
First, cut out your background piece of felt. I used my old pennant and a Flair pen to draw my cutting lines, then cut it out with fabric scissors.
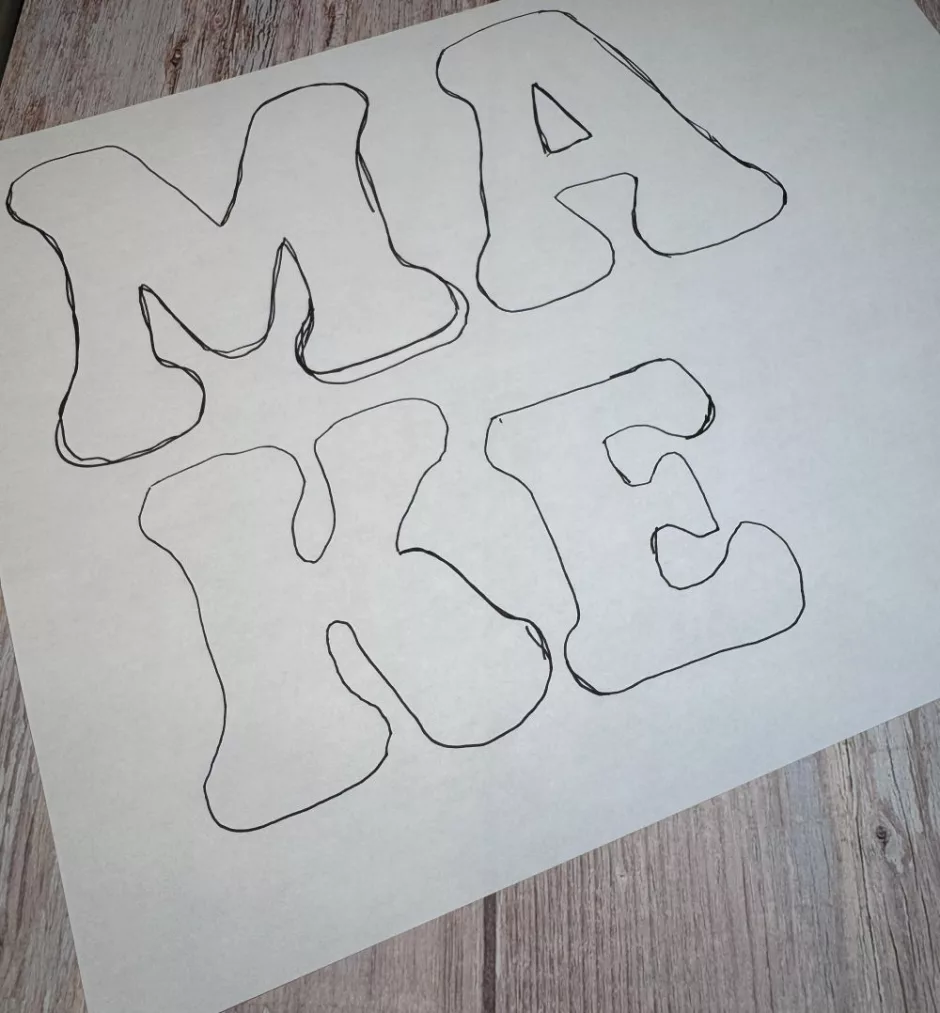
To make the lettering, you can either hand draw a font or use one from your computer. My letters are a font called Ketchup Manis I found on Canva. I love the kind of retro look of them for a kind of retro craft project.
My printer wasn’t working so I traced the letters onto paper. I made mine too big first, but ended up with the M being 350 point, the A 325 and the K and E 300. Different fonts are different sizes and yours will vary, but you’ll want the letters to get progressively smaller as you go across the pennant.
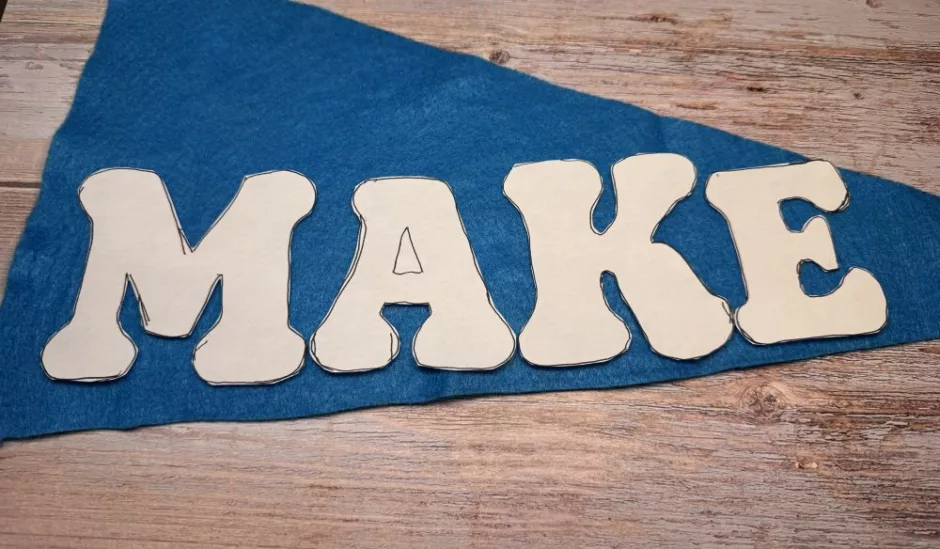
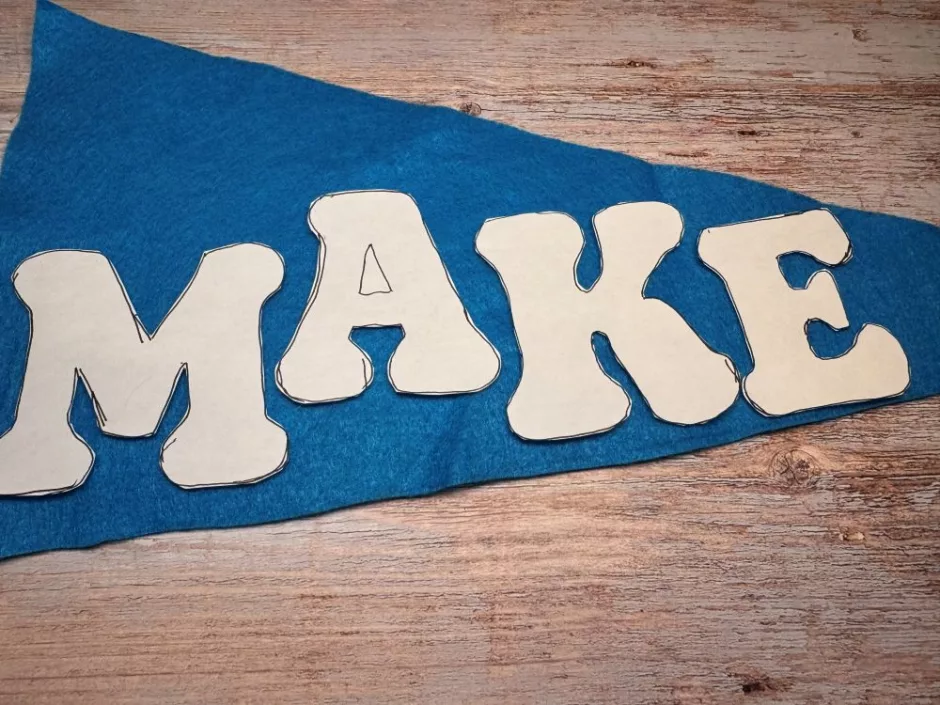
Cut out the letters from your paper and make sure they fit in a way you’ll like before you cut out the felt.
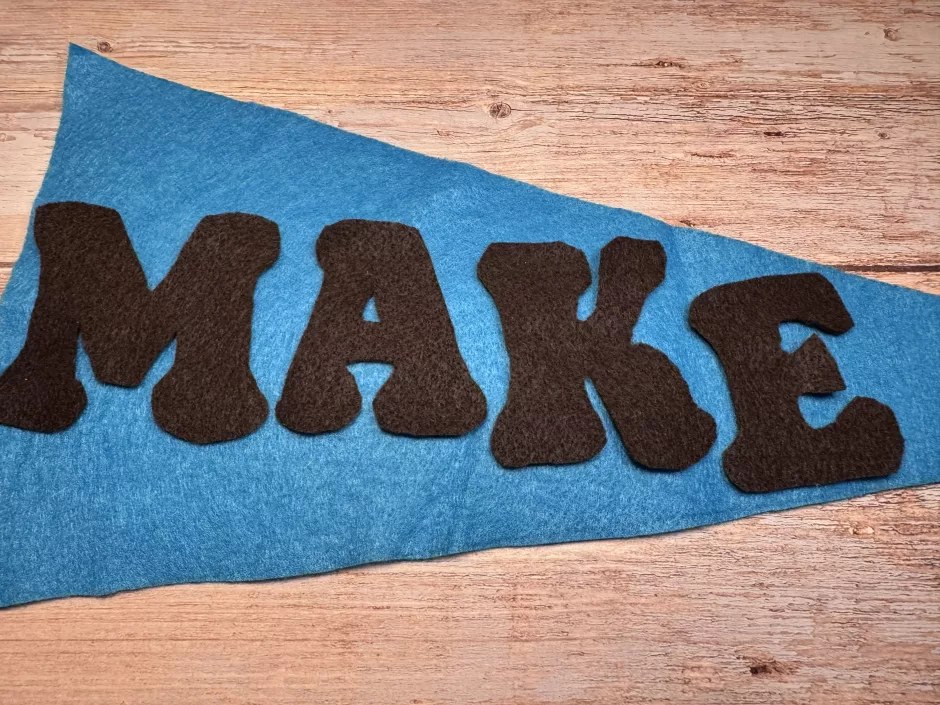
Then cut out your felt letters and arrange them some more.
When you’re happy with your layout, you have a couple of options for securing them.
First, you could use fabric glue and make this a totally no-sew project. You can also sew them on by hand or with your sewing machine.
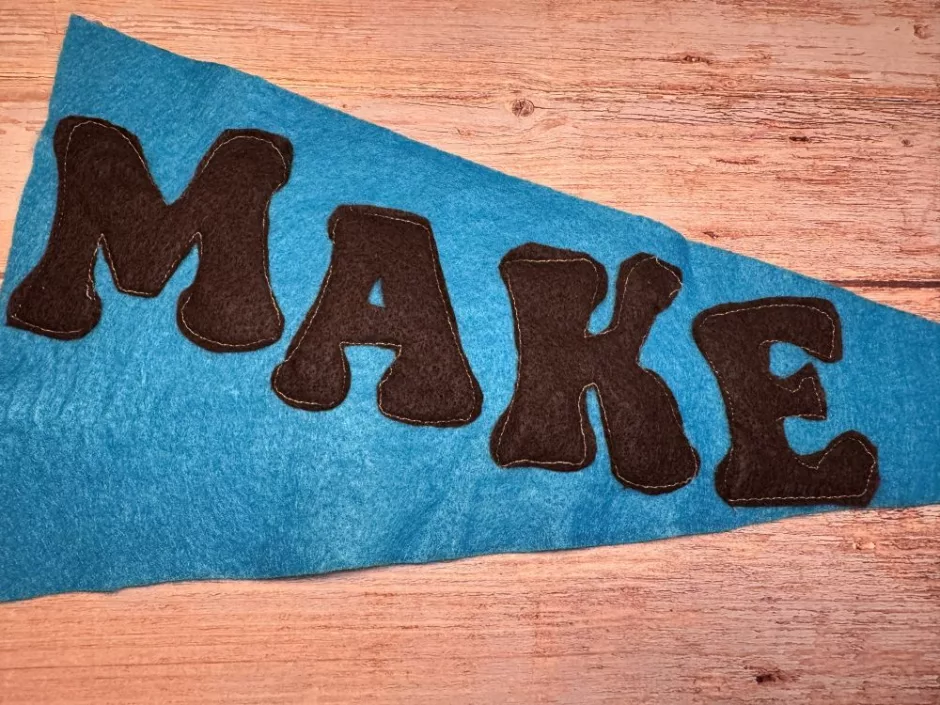
I opted to use my sewing machine so I pinned the letters where I wanted them.
I chose a sort of gold colored thread because I like the retro look again, and it was already in my machine.
Make your machine go as slow as it can so you can turn your fabric as you stitch. Mine’s a little messy but you can try again if you want yours more perfect.
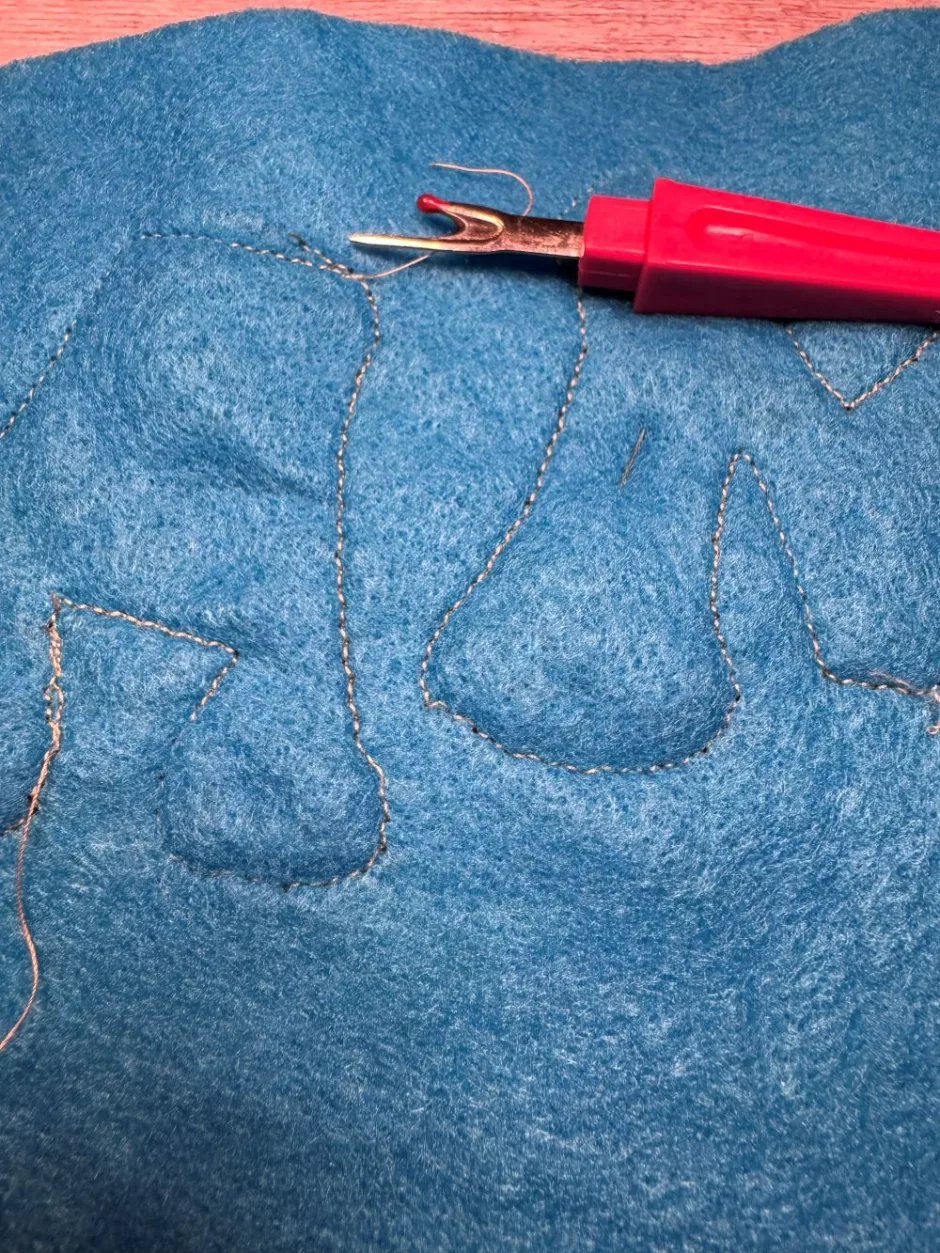
Pro tip: if you need to rip out stitching on felt, do it from the back side so when you snag the fabric it doesn’t show on the front.
Embellishment Ideas
That is the very basic idea of how to make felt pennants, but of course you don’t have to leave them plain.
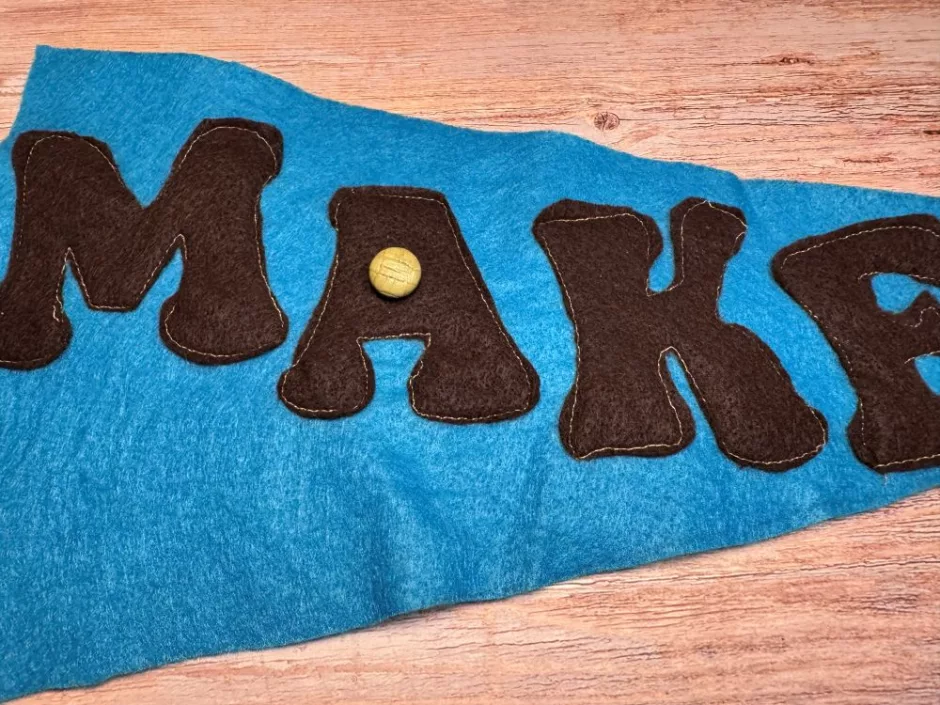
The first thing I thought of was buttons. I kind of like this button in the center of the A.
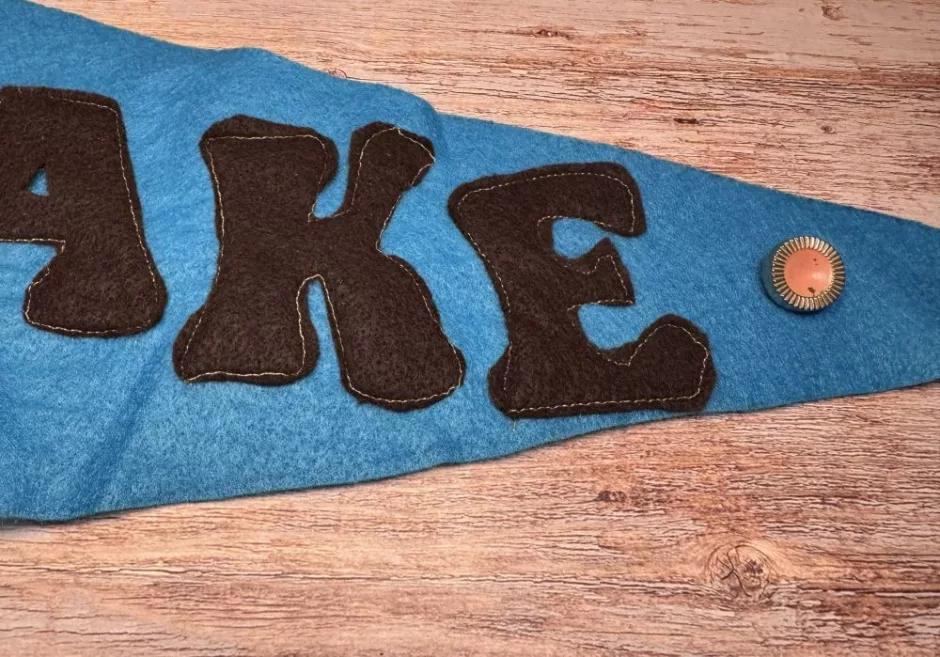
Or I could use this button at the end. Maybe add some embroidery and turn it into the center of a flower?
You could also sew or glue on rick rack, ribbon, other shapes cut out of felt. Traditionally there might be a contrasting color edging on the short side, which I planned to do but my letters got too close to the edges.
You could add beading or sew on a patch or embroider around the edges with blanket stitch, which I may still do but the e is awfully close the edge.
I think I need to live with mine plain for a little while before I decide how to embellish it. What would you add?