Affiliate links may be included for your convenience. View our privacy and affiliates policy for details.
Last night the girl and I were making art as we often do on Sunday nights, trying out some new paint (which I’ll tell you about soon) and some new to us crayons (the Twistables, which are lots of fun) and some old favorites. We hadn’t played with stamps in a long time but the Bit’s grammie was over on Saturday and she was talking about stamping so I think that’s why the Bit asked to do them.
At this point I was just sitting around, casting about for something to play with, when I spied a plastic water bottle cap on the table beside me. There happened to be a foam sticker in the bottom of the stamp tray, so you can imagine where my mind went.
Using bottle caps and foam stamps to make rubber stamps was not a new-to-me idea; I pinned something on the topicmany months ago. But I’d never actually made one until now.
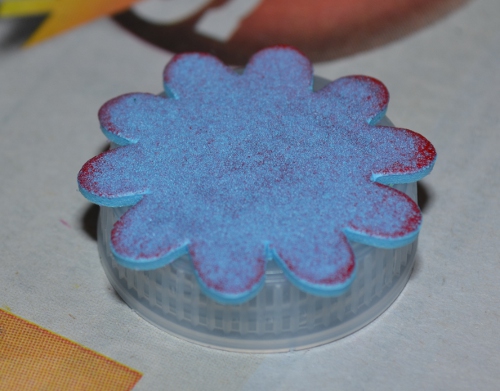
All you need is plastic bottle caps such as those from water or soda bottles and foam stickers that fit pretty well on top. Mine is a flower and it’s a little bigger than the cap I put it on, which may explain why it didn’t stamp perfectly. I got better with practice.
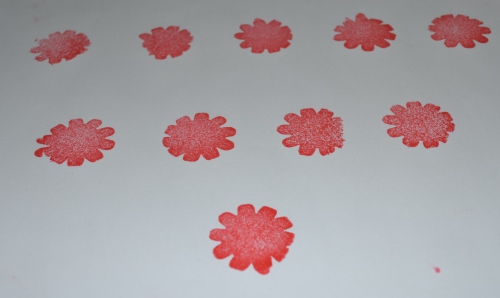
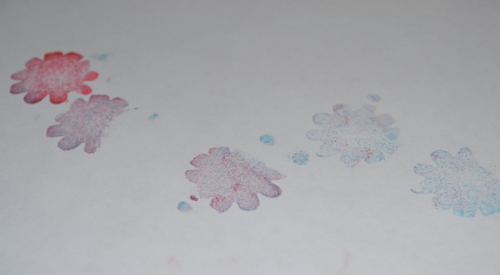
The Bit then wanted to play with it. She likes to mix colors, and even washed the stamp in the middle and it held together just fine.
The funny thing is the closest I got to a perfect stamp was on the newspaper covering the table!
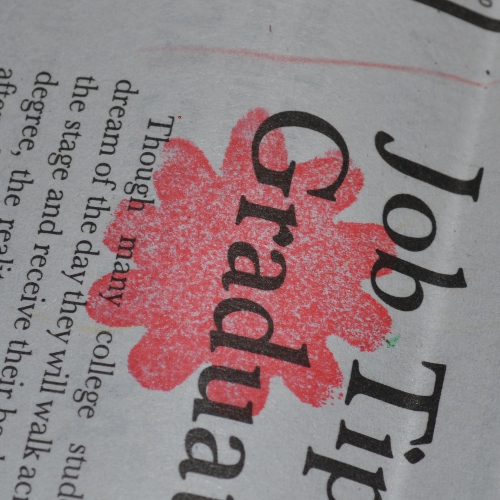
But it was still fun and I’ll probably cut these stamps out and use them on an art journaling page or in my smash book sometime. It’s all raw material.
What have you been making with your kids lately? I’d love to hear about it.
Thanks for visiting, commenting and sharing!
This post is linked to Made By You Monday at Skip to My Lou. Check it out for tons of great ideas!
