Affiliate links may be included for your convenience. View our privacy and affiliates policy for details.
It’s easy to make your own DIY air dry clay to use for a variety of projects. Here’s how I make air dry clay and some tips for using it.
What is Air Dry Clay?
To start, air dry clay is a kind of dough that dries hard in the open air. That means you don’t have to put it in the oven to dry it out or cure it. It’s great to use with kids and for adults who don’t want to mess with the oven to make their air dry clay creations.
You can buy air dry clay, but making DIY air dry clay is super simple and uses only three ingredients. It dries overnight so it makes pretty quick projects, too.
Air Dry Clay Recipe
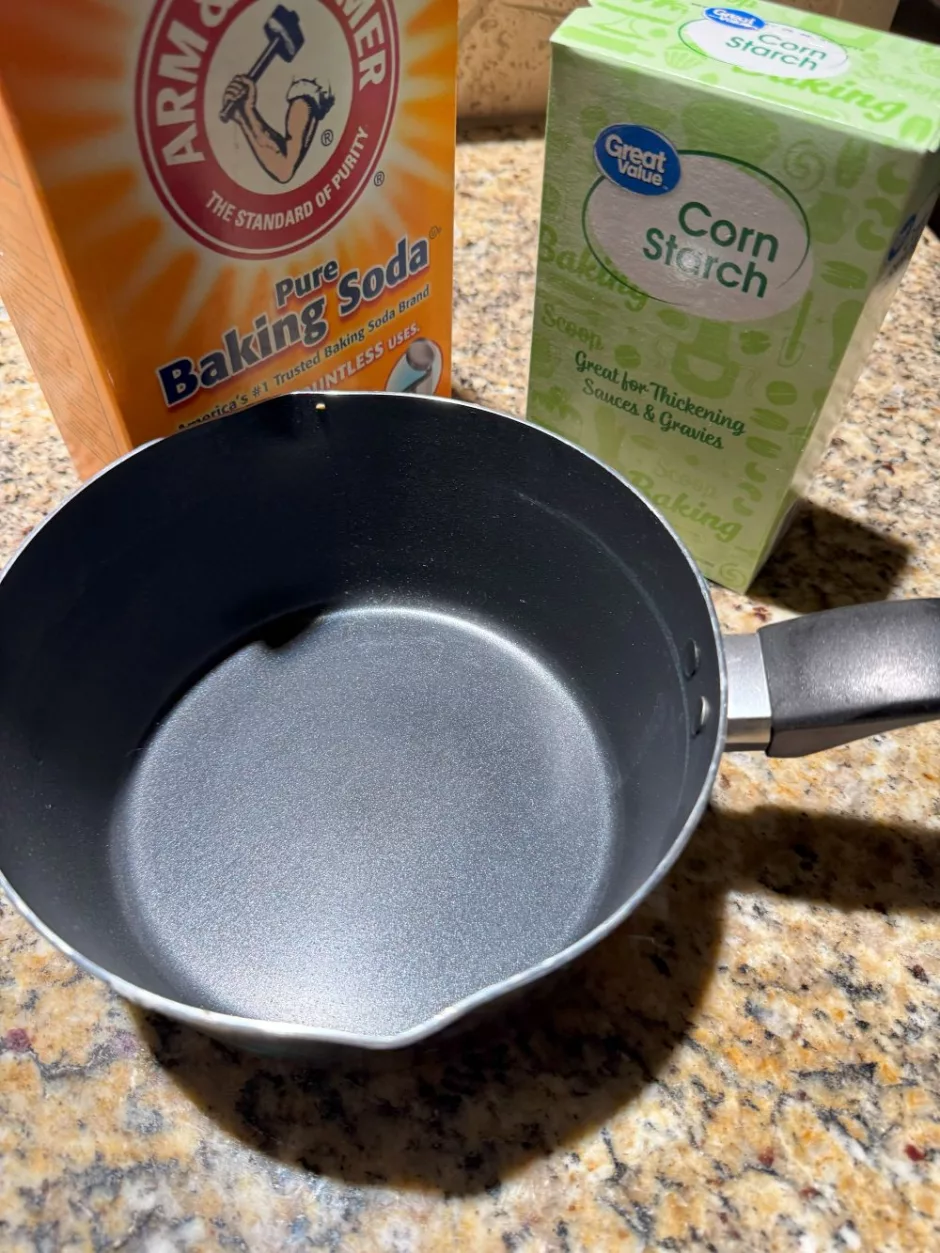
The air dry clay recipe or formula that I like to use is two parts baking soda to one part corn starch, with enough water to make it into a dough.
Shown here is:
- 1 cup baking soda
- 1/2 cup corn starch
- 3/4 cup water
Add all ingredients to a pot (I have one that I use for non-food things) and heat on medium low heat, stirring mostly constantly.
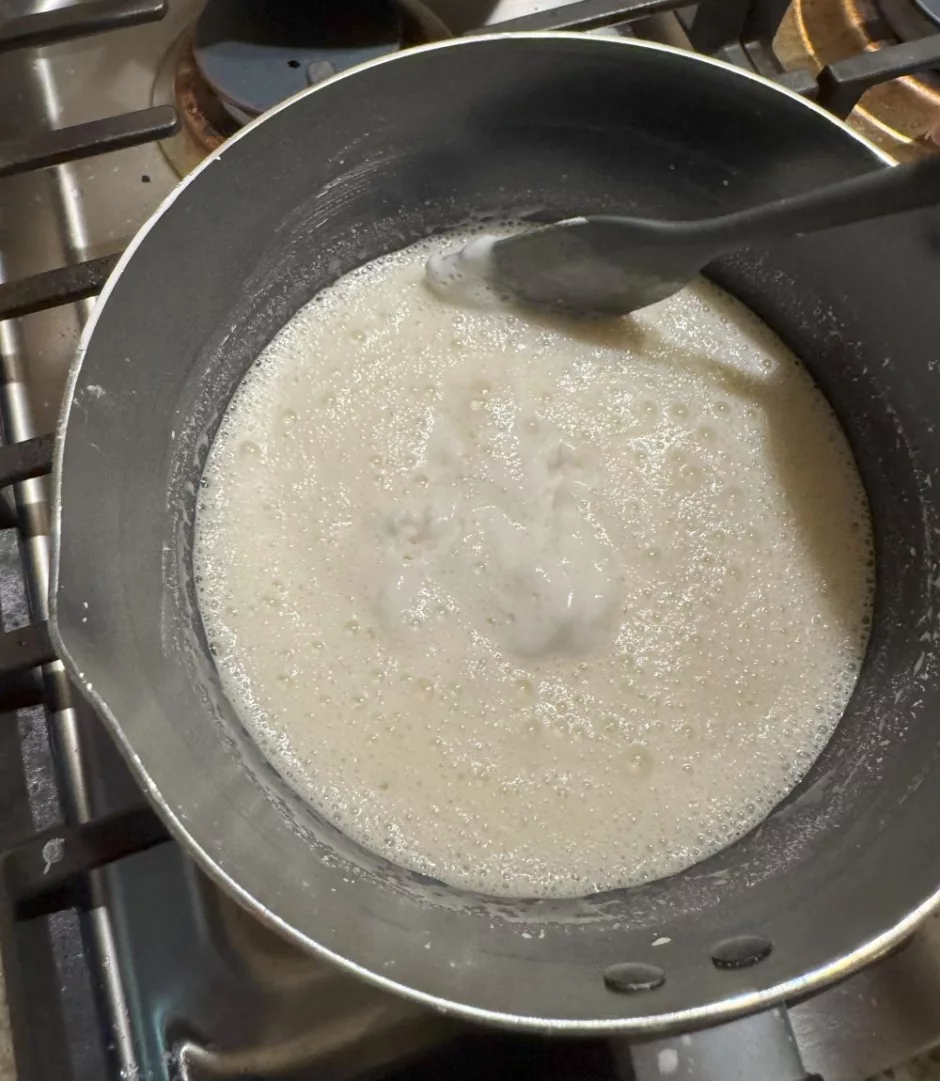
As it heats up you’ll begin to feel it thicken, and it goes pretty quickly from lumpy to dough.
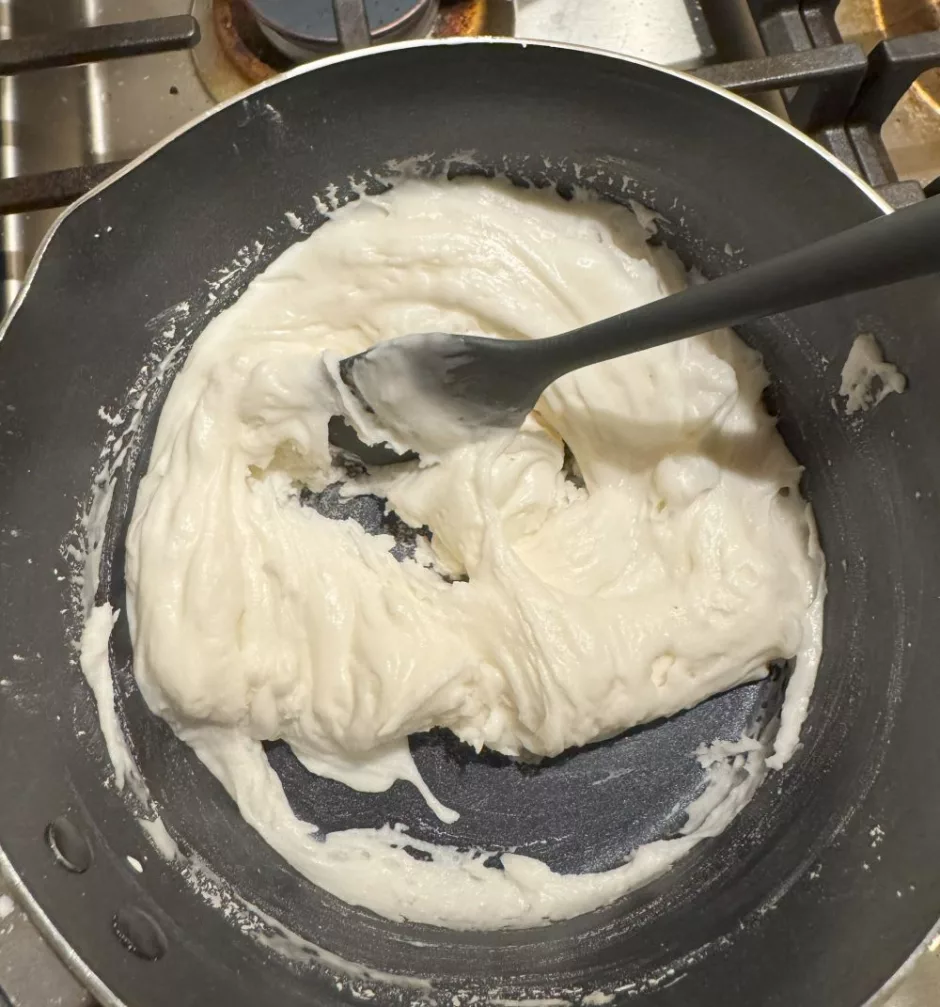
The consistency you’re looking for is something like mashed potatoes or frosting. It’s come together but is still pretty soft.
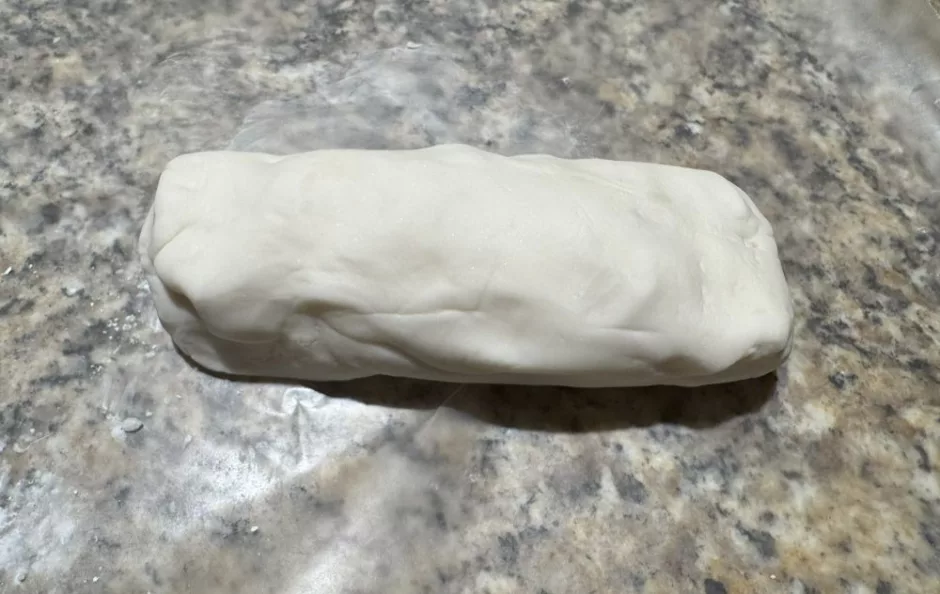
Dump the dough onto your counter (I like to line with waxed paper) and gently form into a ball or log. Allow to cool until it’s cool enough to handle, or all the way to room temperature if you’re more patient than I am.
Prefer a video version? Check it out below.
How to Use DIY Air Dry Clay
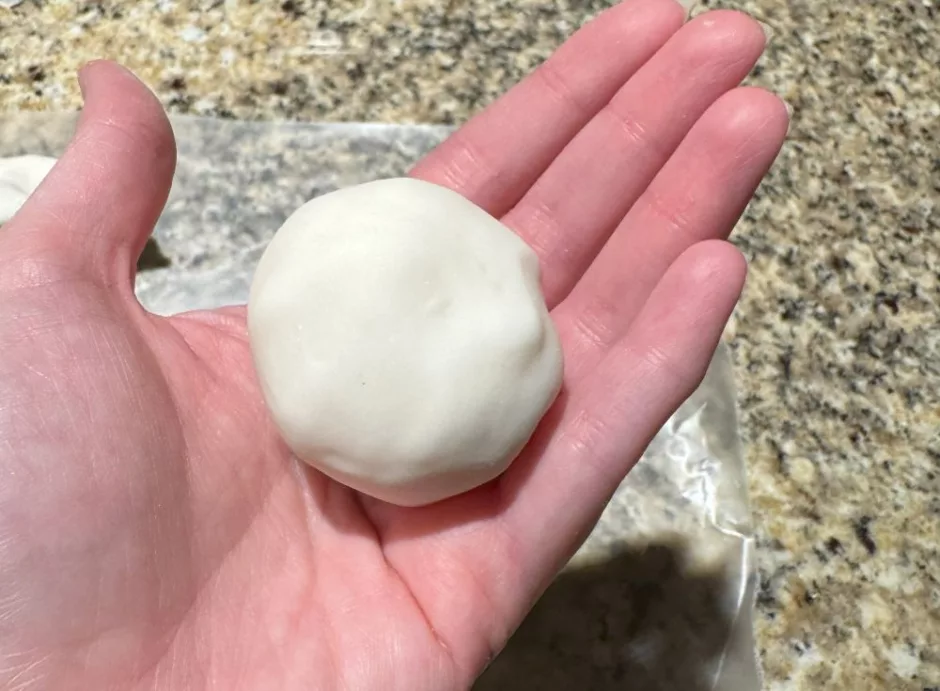
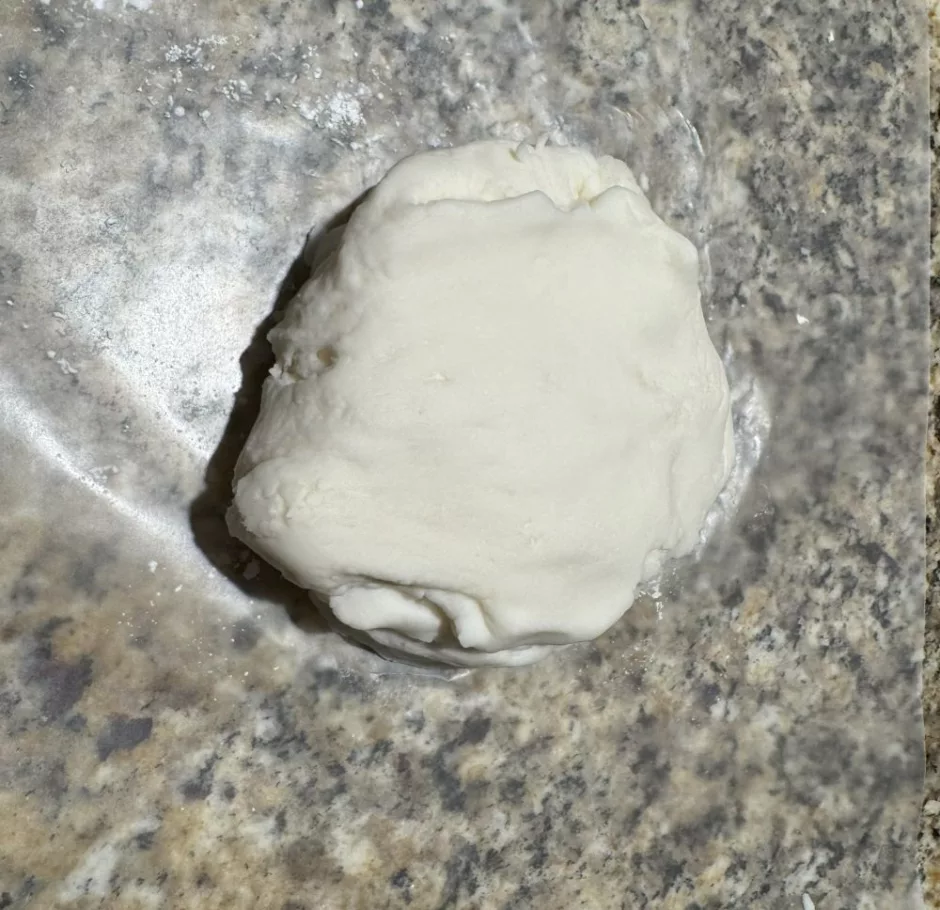
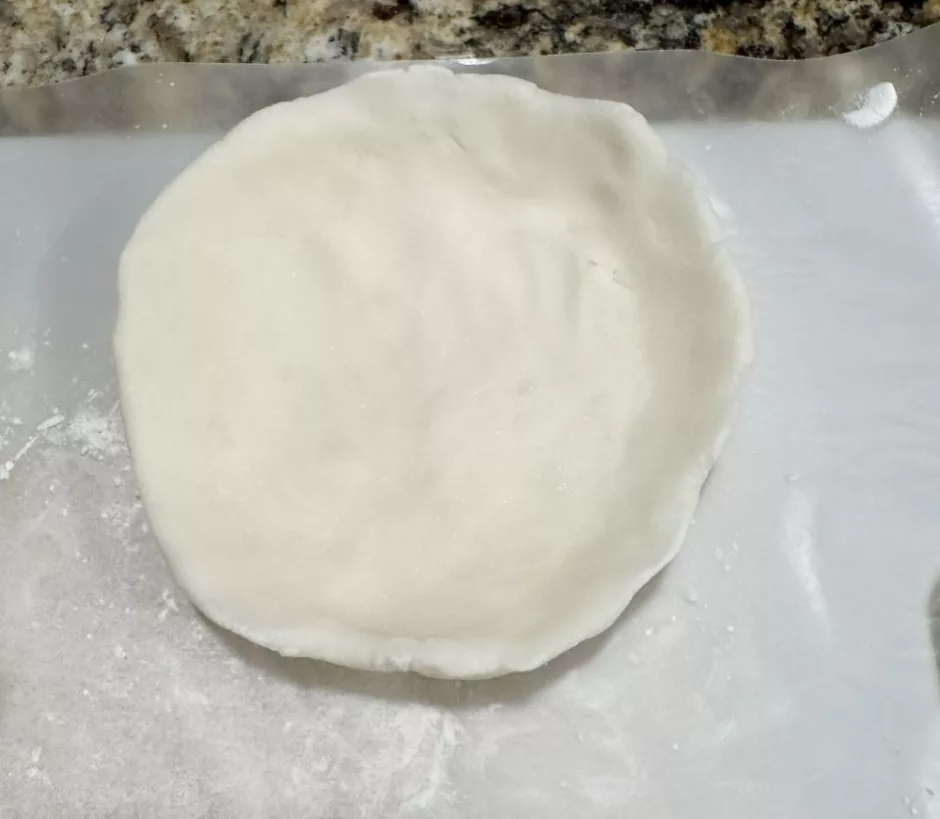
I like to form my air dry clay into a log and tear off pieces to work with as I need it. If your dough isn’t totally smooth you can work it a little bit before you form your project — it’s just like kneading bread dough.
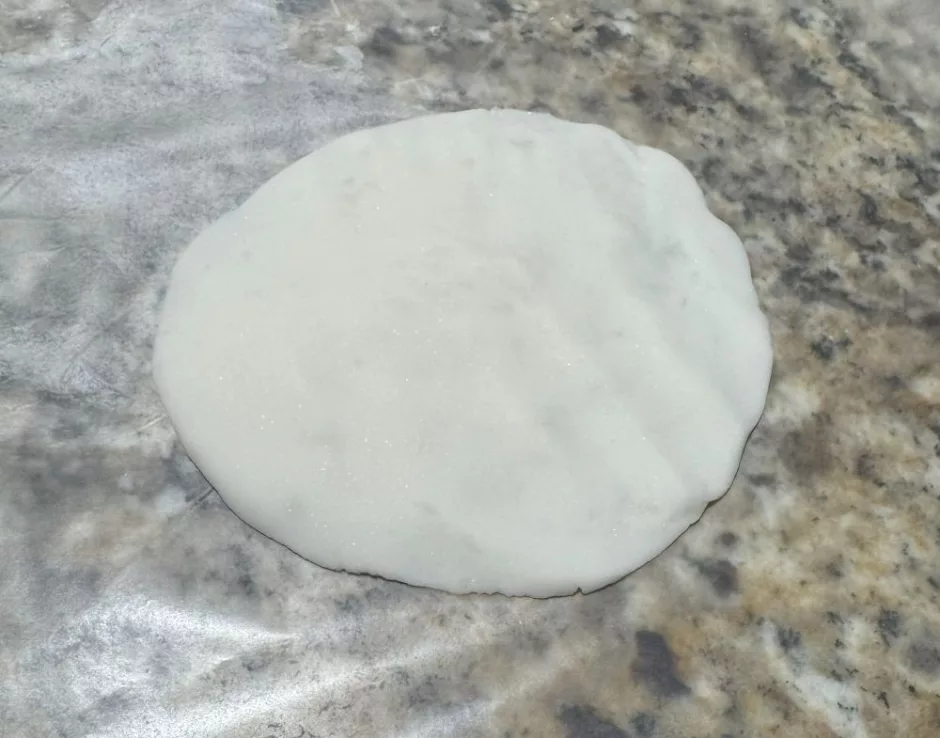
After I take off a piece I roll it into a ball, then usually just press it with my hand to flatten. You can use a rolling pin if you’d rather.
If you find the dough is sticking to your surface or your hand, sprinkle on a little more corn starch and roll it out again.
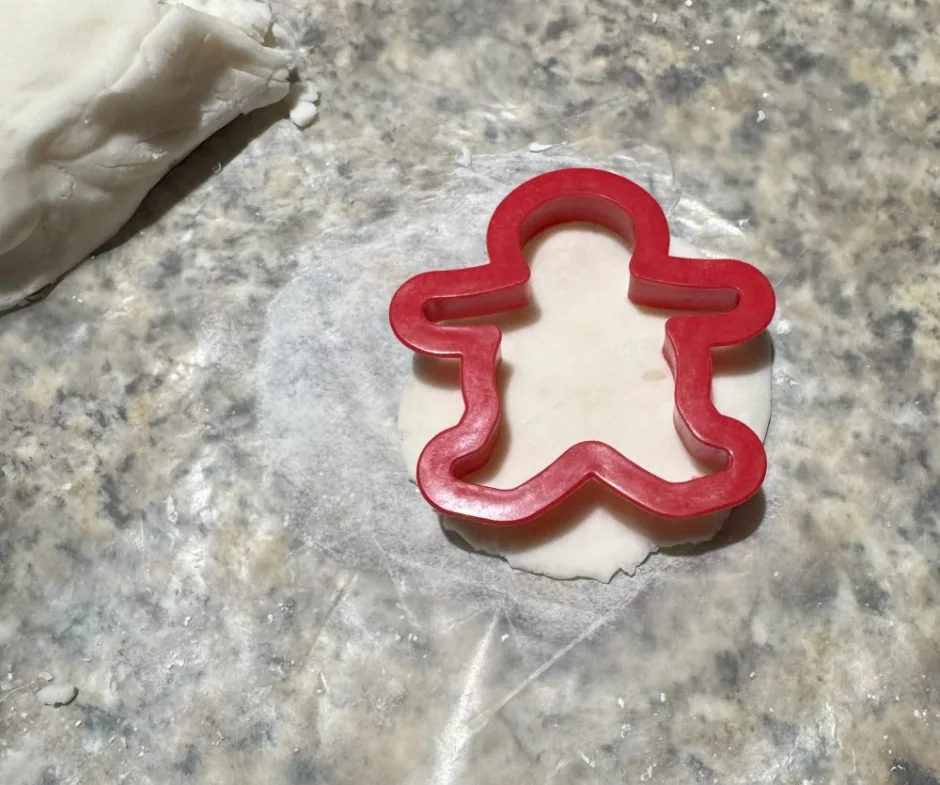
You can make all sorts of shapes with air dry clay. A popular beginner option is using cookie cutters to make different shapes.
You can also form shapes by hand as you do when making pinch pots or other forms.
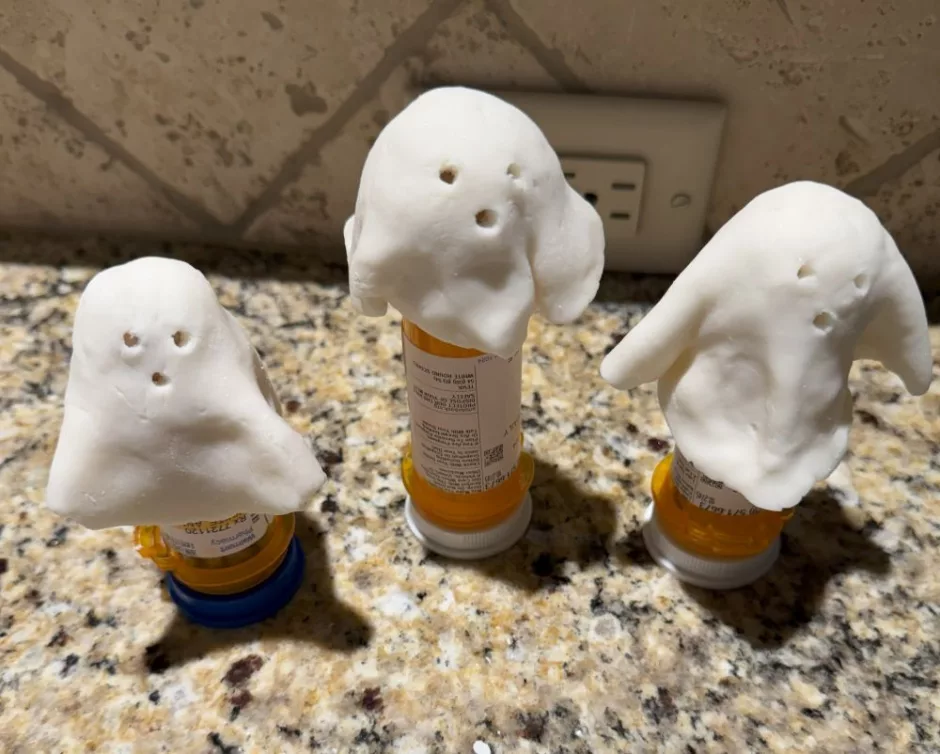
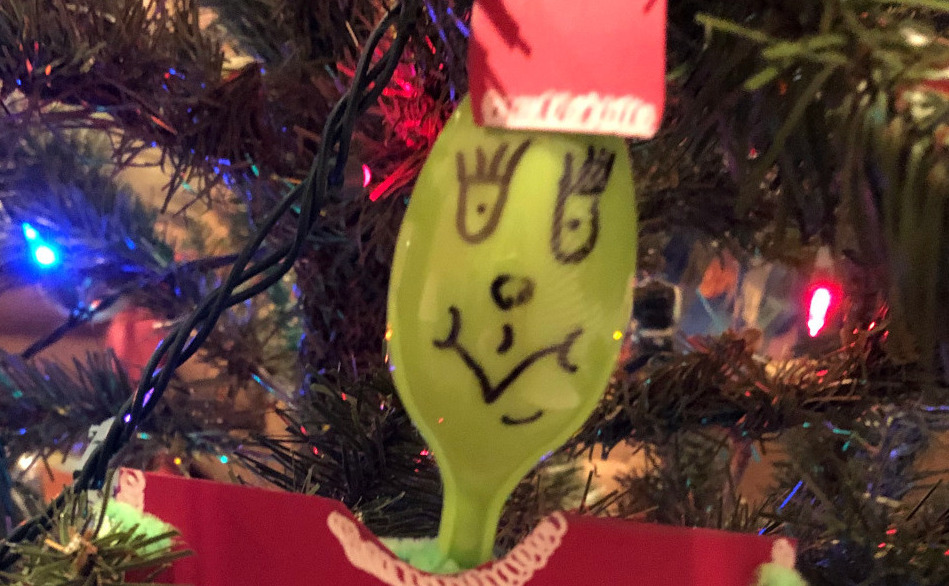
And you can use supports to keep your design in place as it dries, as I did with these ghosts.
Allow your pieces to dry throroughly before moving, painting or otherwise finishing them.
Why is My Project Cracked?
A common problem with air dry clay (DIY or store bought) is that items may crack when they are drying. This usually happens because the piece is drying unevenly.
That could happen because parts of the dough are thicker than others, or if some of the dough is stuck to the paper or form underneath it.
I don’t mind cracking most of the time because it lends a handmade look to the project, but if it bothers you, you can try to prevent it by covering your projects with a slightly damp (lightweight!) towel or a piece of plastic wrap loosely on top as they dry. You can also use a fan to help dry them more quickly.
If you want to fix a crack once the project is dry, add a little more clay in the crack and it should be less visible once that dries.
Check out my experiments in trying to avoid cracks in air dry clay projects.
Storing DIY Air Dry Clay
I try to make a small enough batch of air dry clay that I don’t have any left over, but you can store it the same way you would playdough. Sometimes air dry clay comes in a bucket and that’s a fine way to store it, or you can keep it in a zip top plastic bag with as much air removed as you can.
If your clay is still drying out too fast, try wrapping it in plastic wrap or a slightly damp paper towel before putting in the bag. Store it in a cool, dark place.
The last time I had leftovers I left them in a zip top plastic bag on my desk (which is not a dark place) and after about a month it developed mold. That could be because my hands or surface weren’t totally clean or because of something in the clay itself, I’m not sure. Just plan to use it in a couple of weeks if you can. Learn more about how to store air dry clay.
Can You Paint Air Dry Clay?
Once your air dry clay creations are dry, you can paint them using any kind of paint, paint pens or permanent markers.
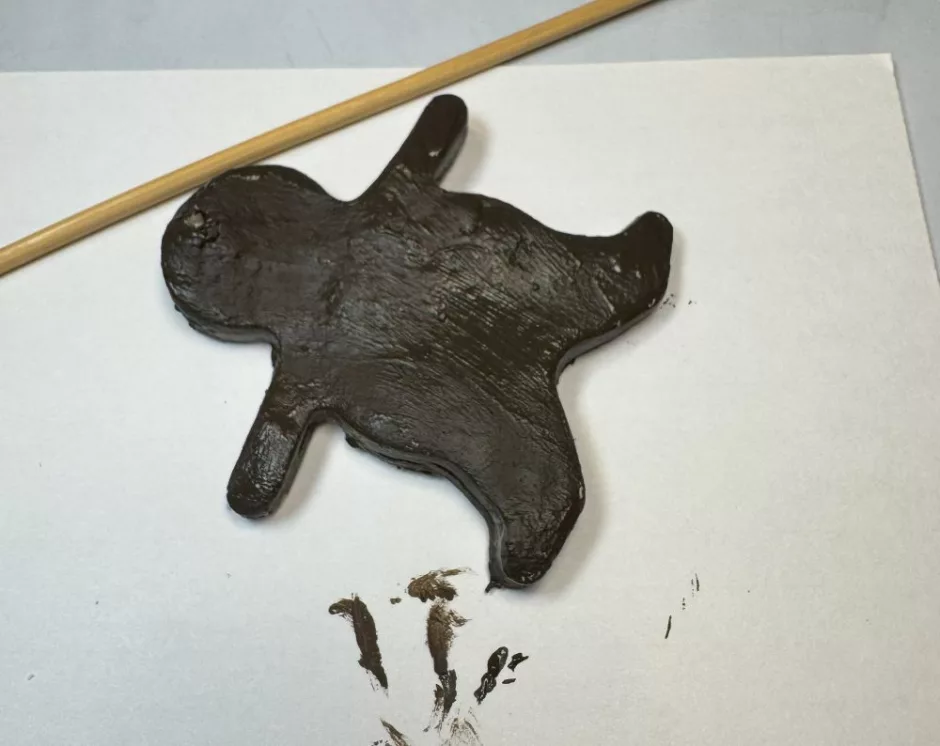
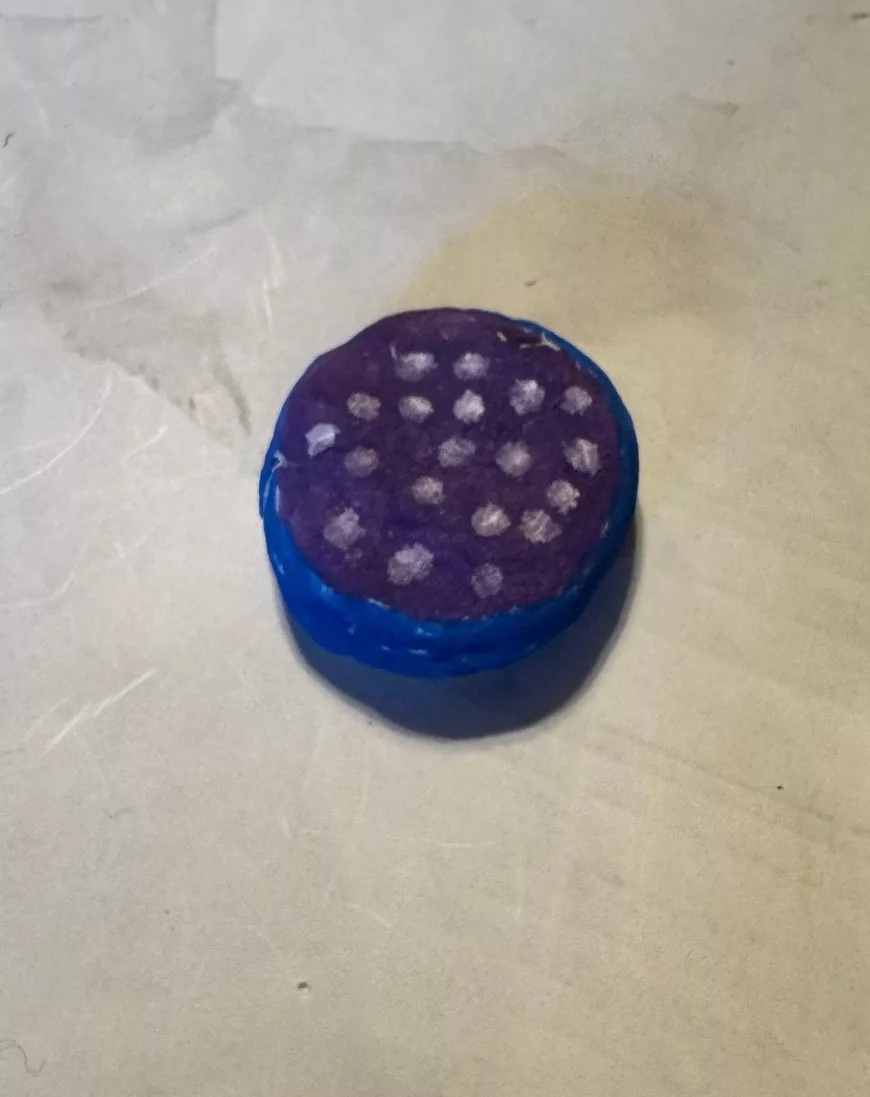
Here the gingerbread man was painted with regular acrylic paint and the little magnet was done with permanent markers, and the white dots are from a chalk paint pen.
Can You Seal Air Dry Clay?
Adding a finish like Mod Podge or a spray sealant can add a bit of shine to a project and help it hold up longer if it’s going to be handled or used a lot. I particularly like to add a finish to pinch pots and other projects that will be used as storage.
This doesn’t make the projects waterproof, but it should help them to hold up longer and keep the paint looking good.