Affiliate links may be included for your convenience. View our privacy and affiliates policy for details.
After my experiment dyeing yarn with Easter egg dye (and finding some old dye in the attic) I wanted to look into how to dye fabric with Easter egg dye.
The process is pretty much the same but the effects are somewhat different.
What Kinds of Fabric Can You Dye?
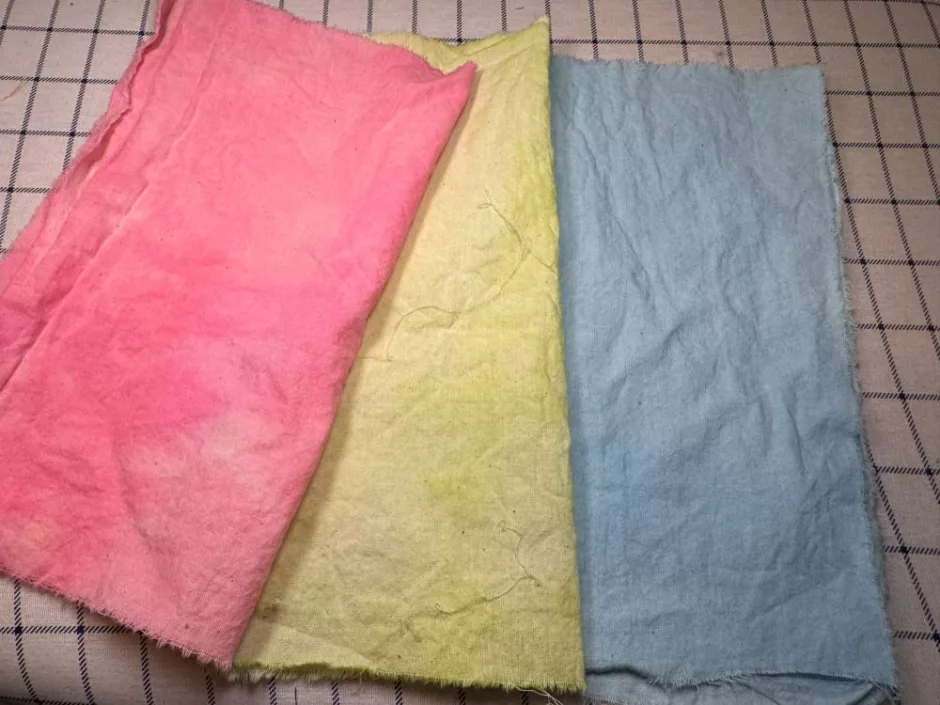
I did my Easter egg dye project with muslin fabric, which is cotton. Natural fibers are your best bet for dyeing with Easter egg dye as special chemical processes are needed to dye polyester and other man-made fibers.
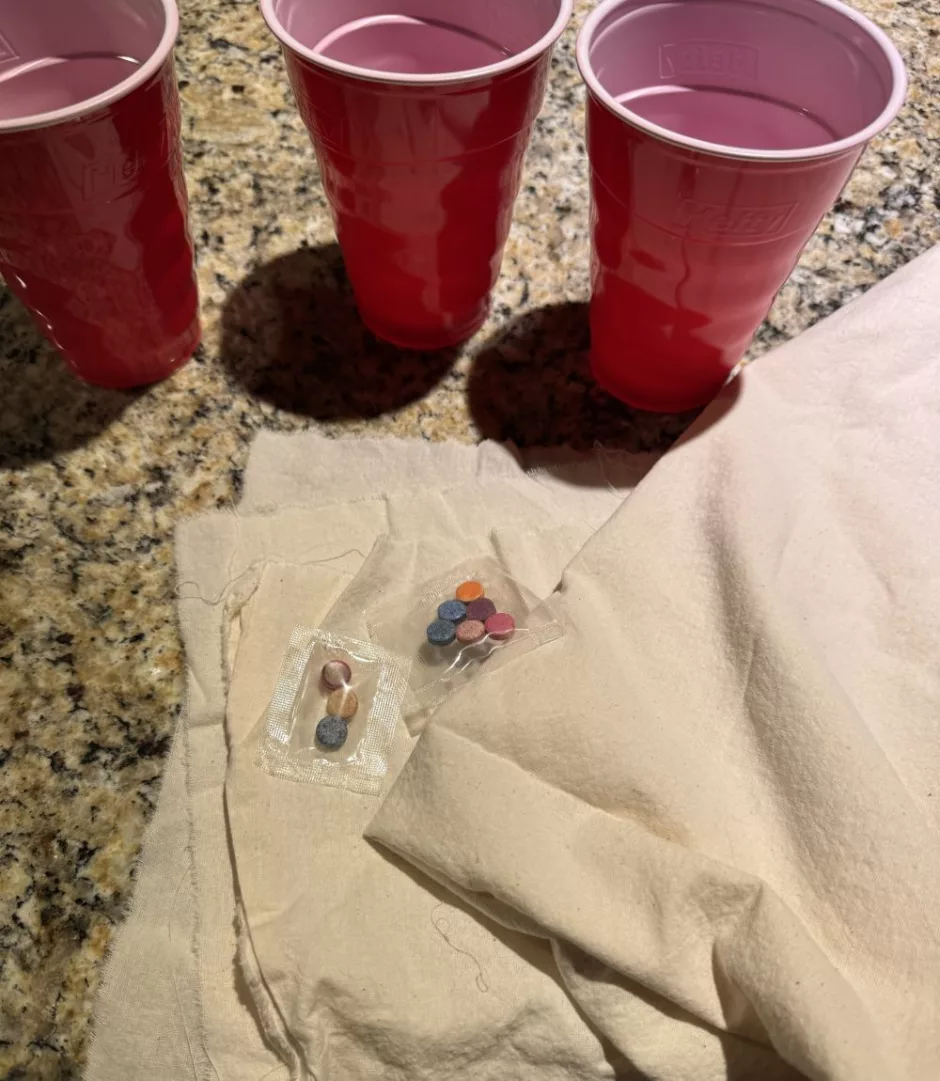
You don’t need to do anything special to prepare fabric for dyeing. I happened to have a yard of whole cloth and three small pieces that are about 11 by 9 inches (28 by 23 cm or so).
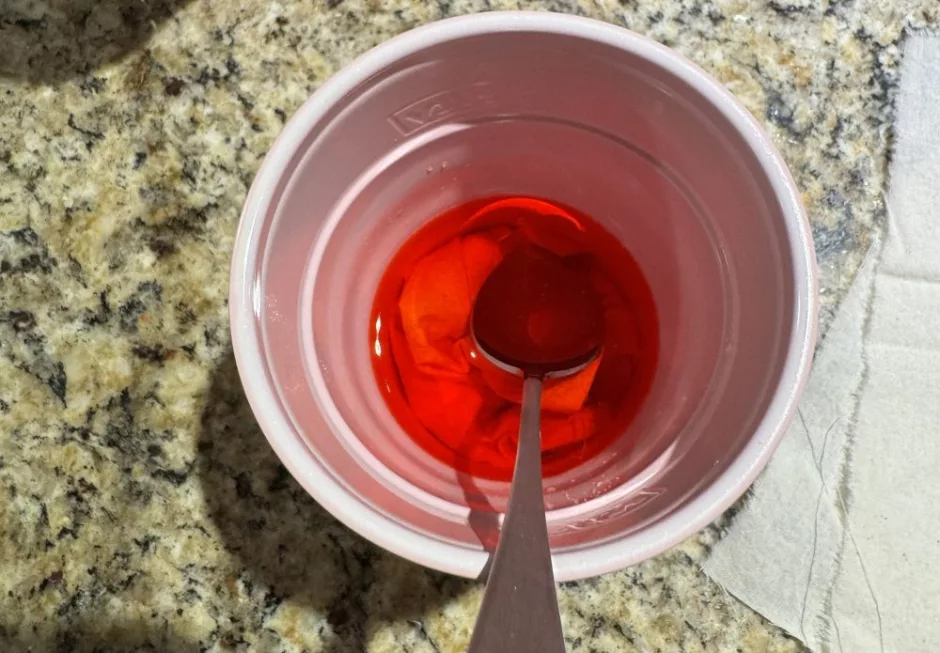
I used disposable cups to dissolve my dye. You’ll also need some vinegar and water, and a spoon or several (or craft sticks).
How to Dye Fabric with Easter Egg Dye
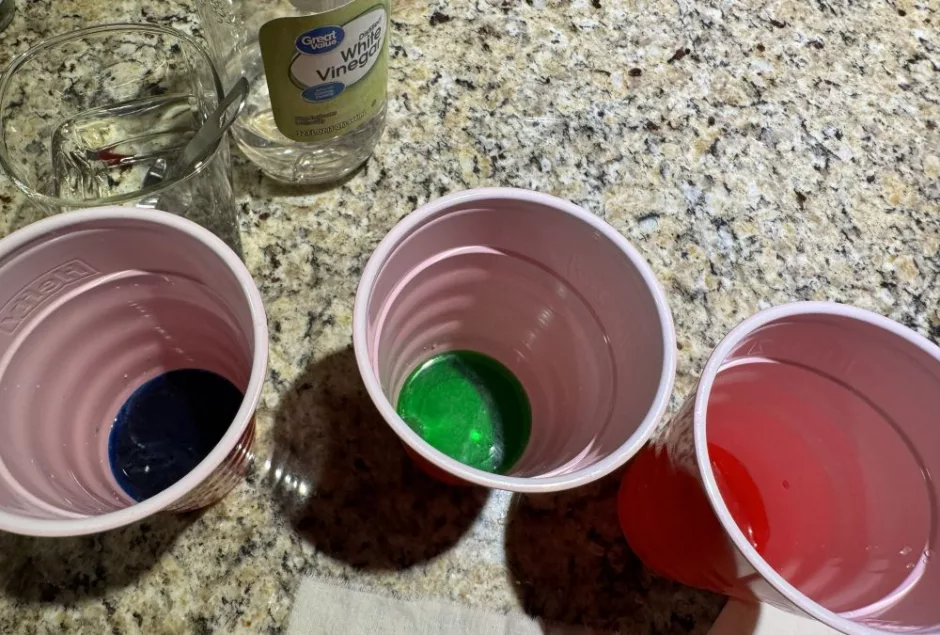
Prepare your dye according to the package directions. My dye had options for using all water or a mix of water and vinegar to dissolve the dye tablets. Using vinegar is a great way to fix the dye.
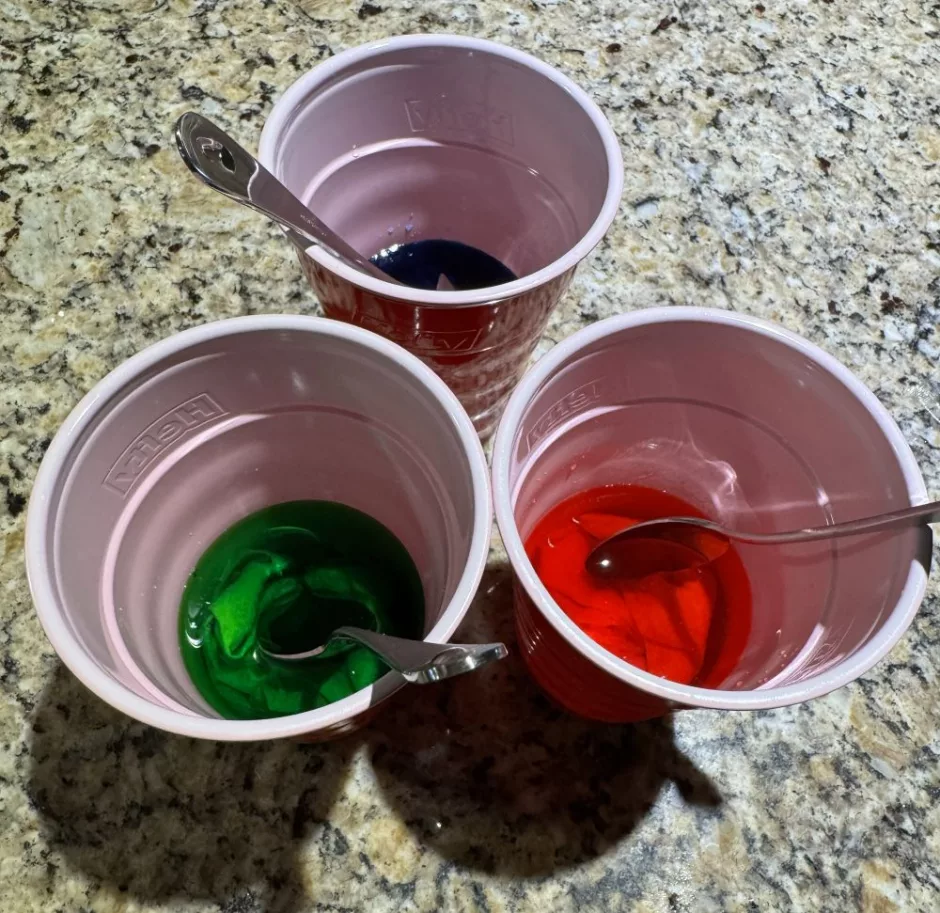
I used one tablespoon of vinegar and two tablespoons of water to dissolve the dye for most of my colors, though the dye said you could use as much as three tablespoons of vinegar to get brighter colors. I like the muted effect I ended up with for most of the colors but you can experiment with more or less vinegar for different colors and see what happens.
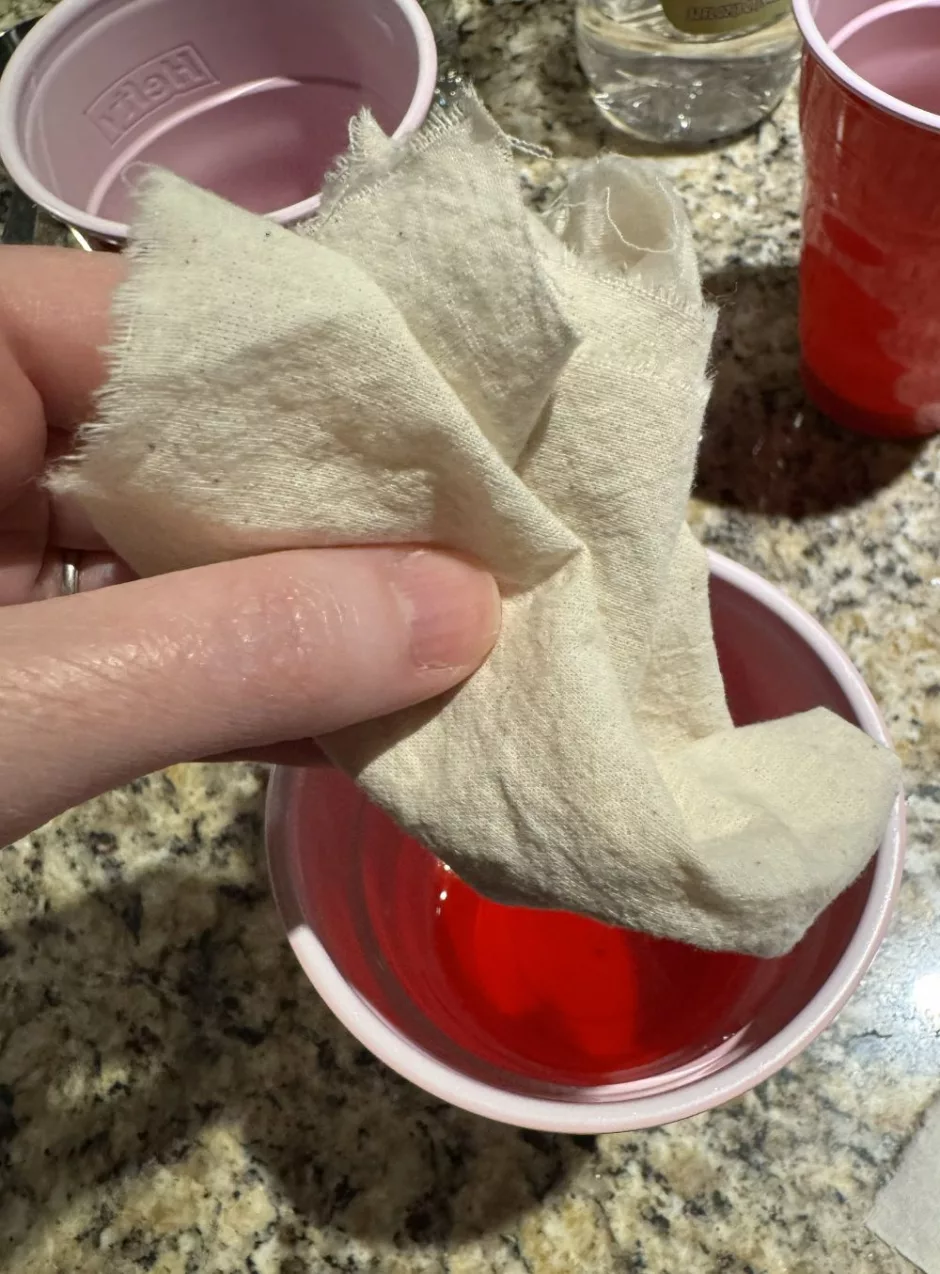
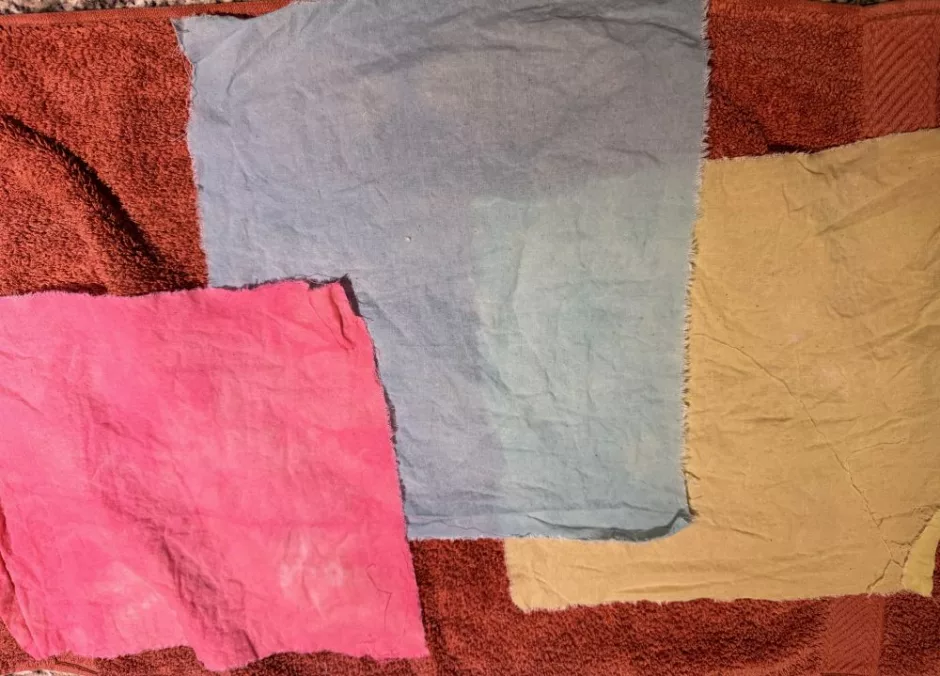
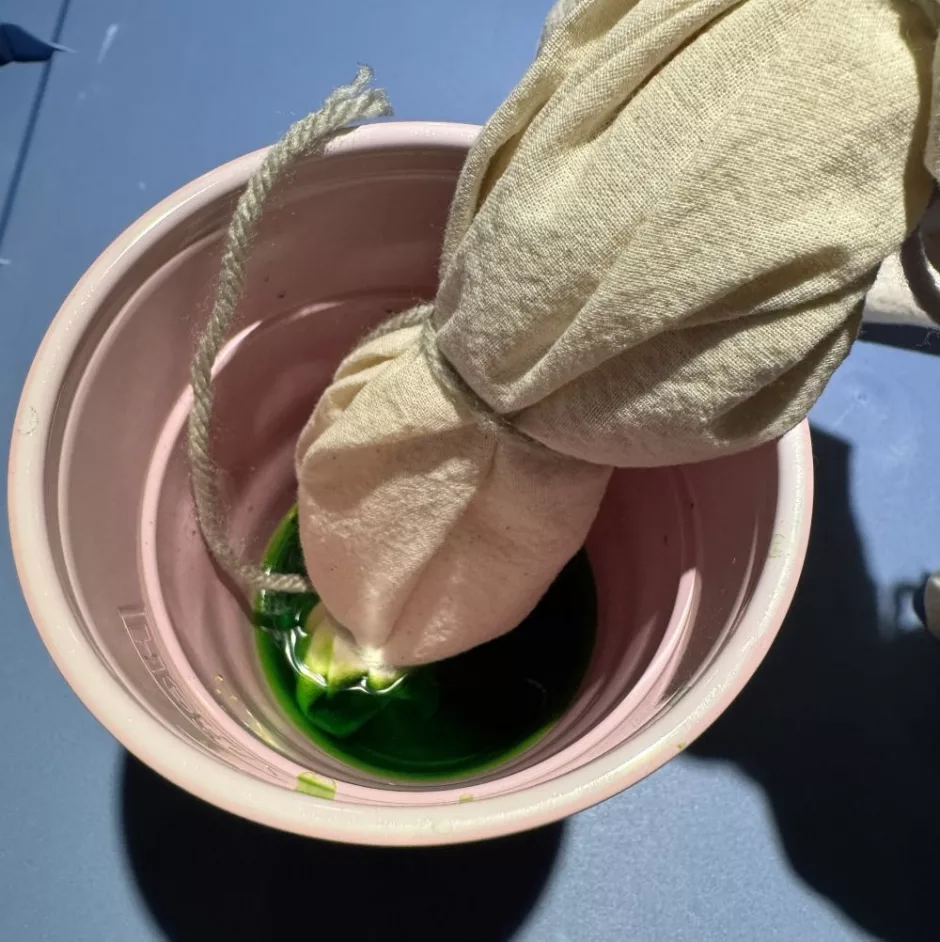
For the smaller pieces of fabric I just wadded them up and stuffed them in the cups I had the dye in.
I used a spoon to help hold the fabric in the dye and let it sit for 20 or 30 minutes.

Remove the fabric from the dye and squeeze out as much dye as you can.
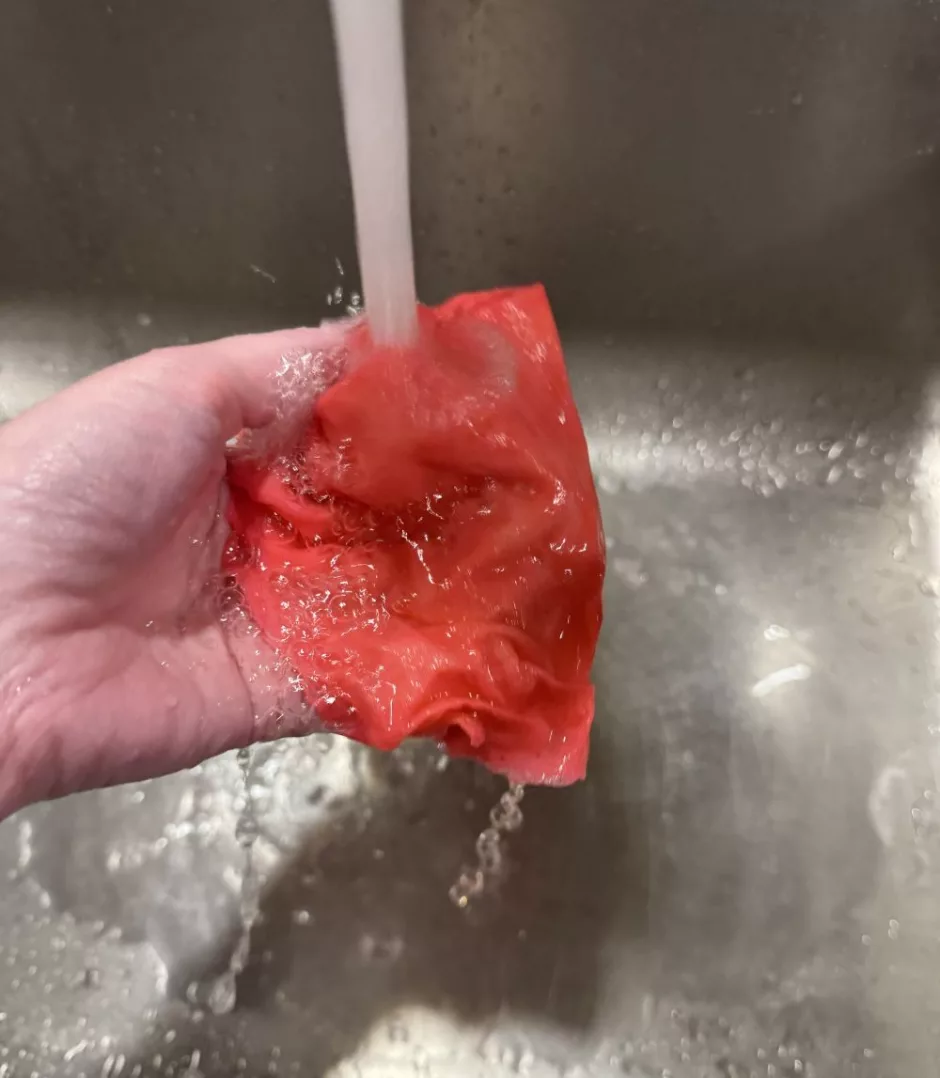
Rinse with cool water and squeeze the fabric as you rinse. Keep rinsing until the water runs clear.
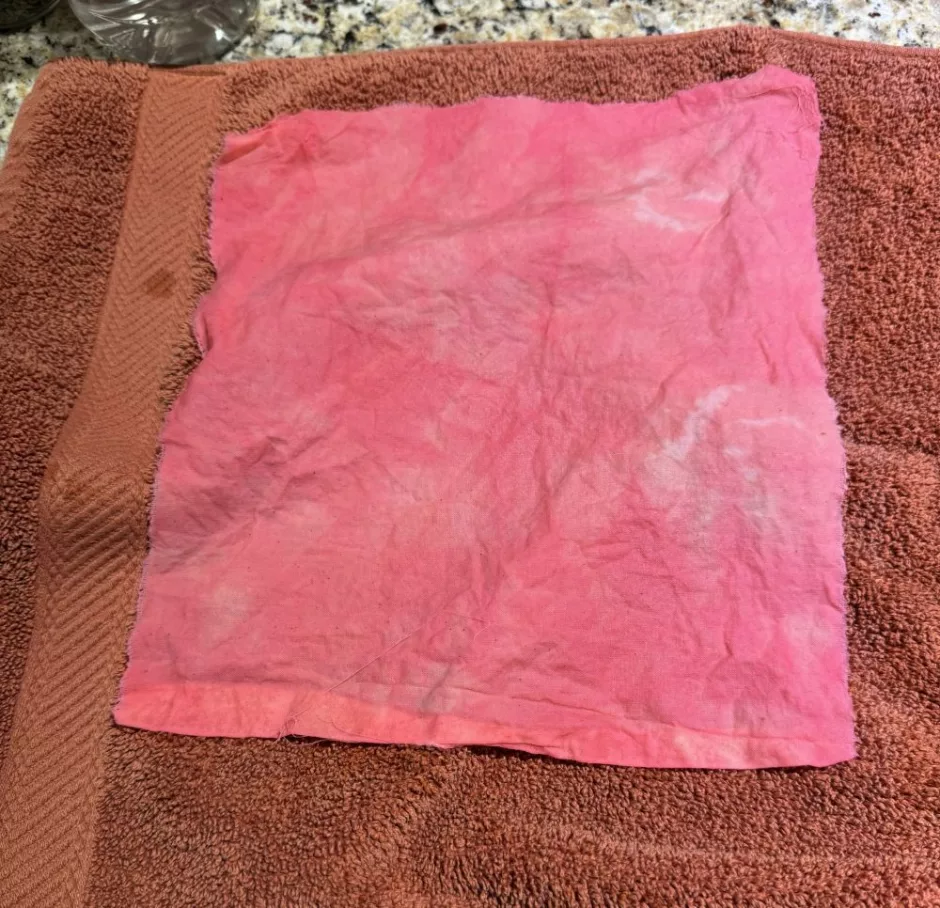
Squeeze out as much water as you can, then roll the fabric up in a towel and squeeze some more to get as much water out of the fabric as you can.
Allow to dry.
Dyeing Bigger Pieces of Fabric
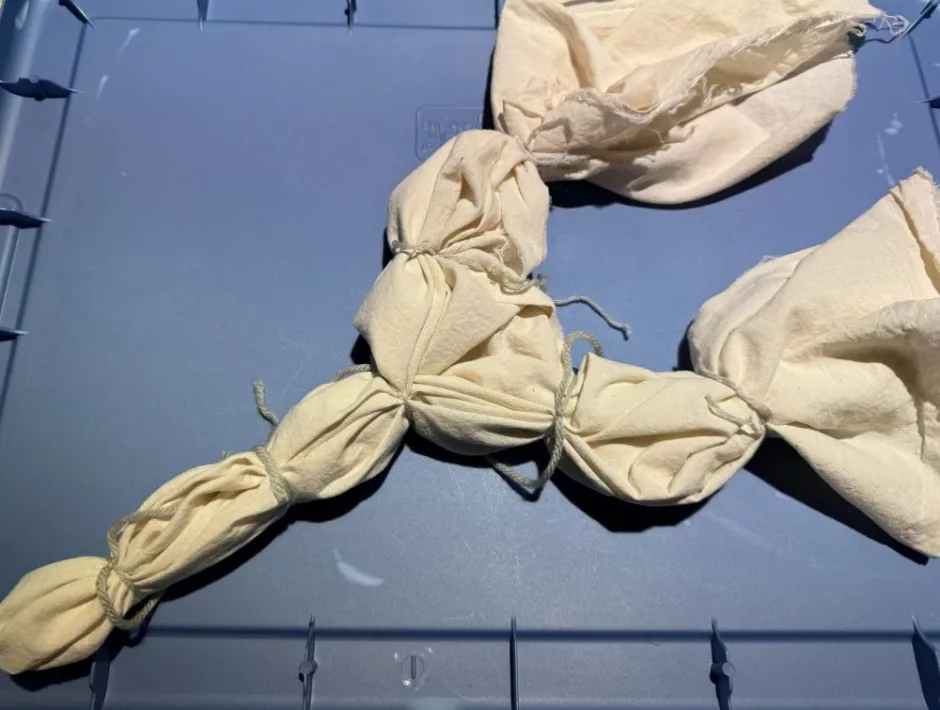
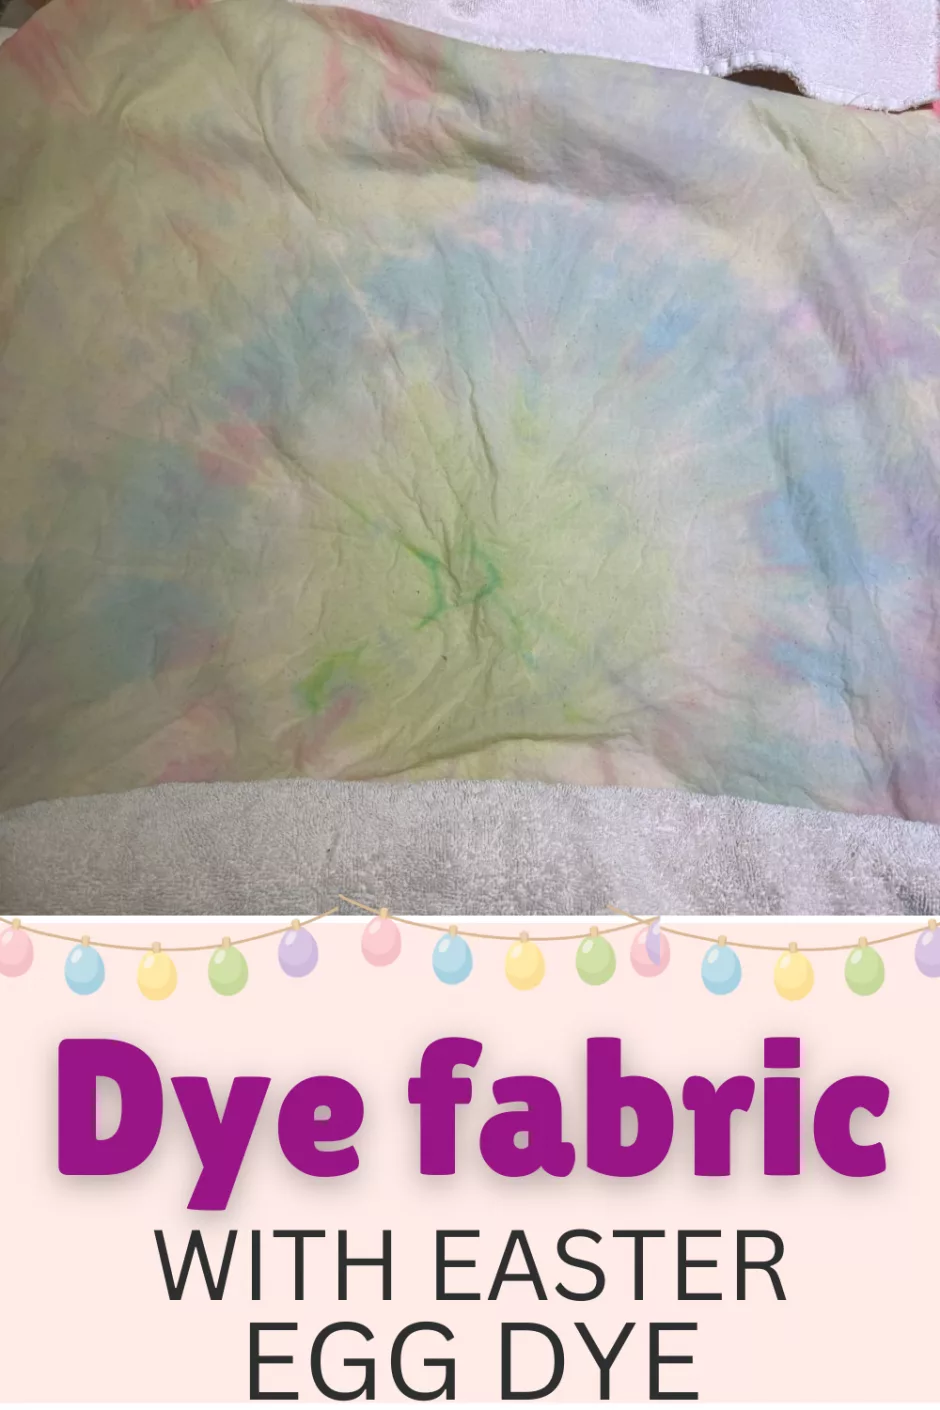
For my larger piece of fabric, I used pieces of yarn to tie off bits of the fabric, sort of like a tie dye project, to divide up sections for different colors. I used the lid of a plastic storage bin as my work surface.
I used the same three colors as I used on the smaller pieces, and dipped some of the ends in the dye and let them soak as before.
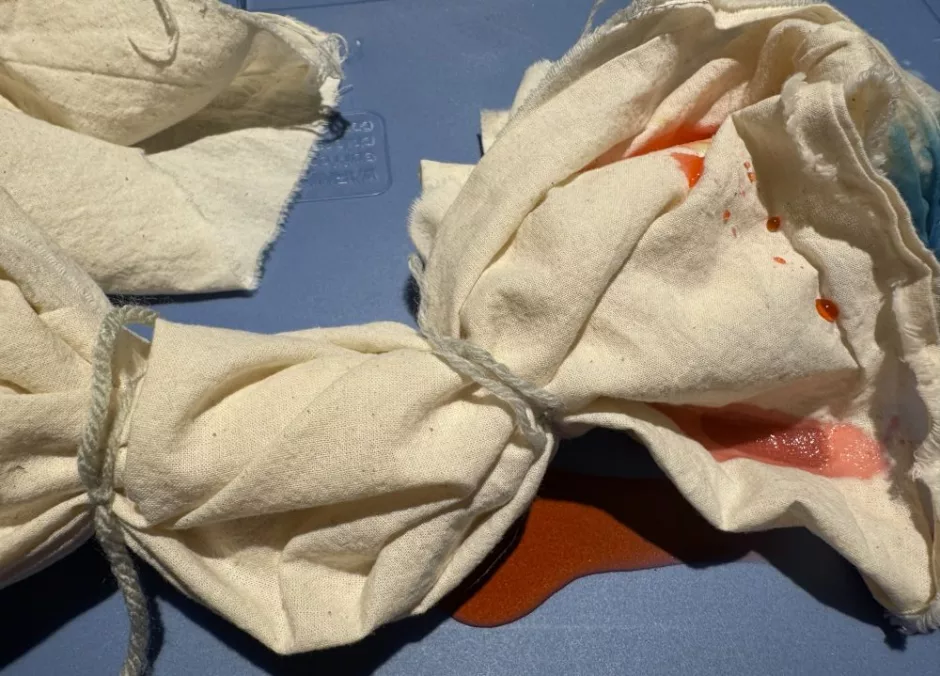
For the rest I poured dye onto the fabric and was surprised to find it didn’t always soak in immediately, so this was a slower process than I expected. Adding water to the fabric first didn’t seem to help much.
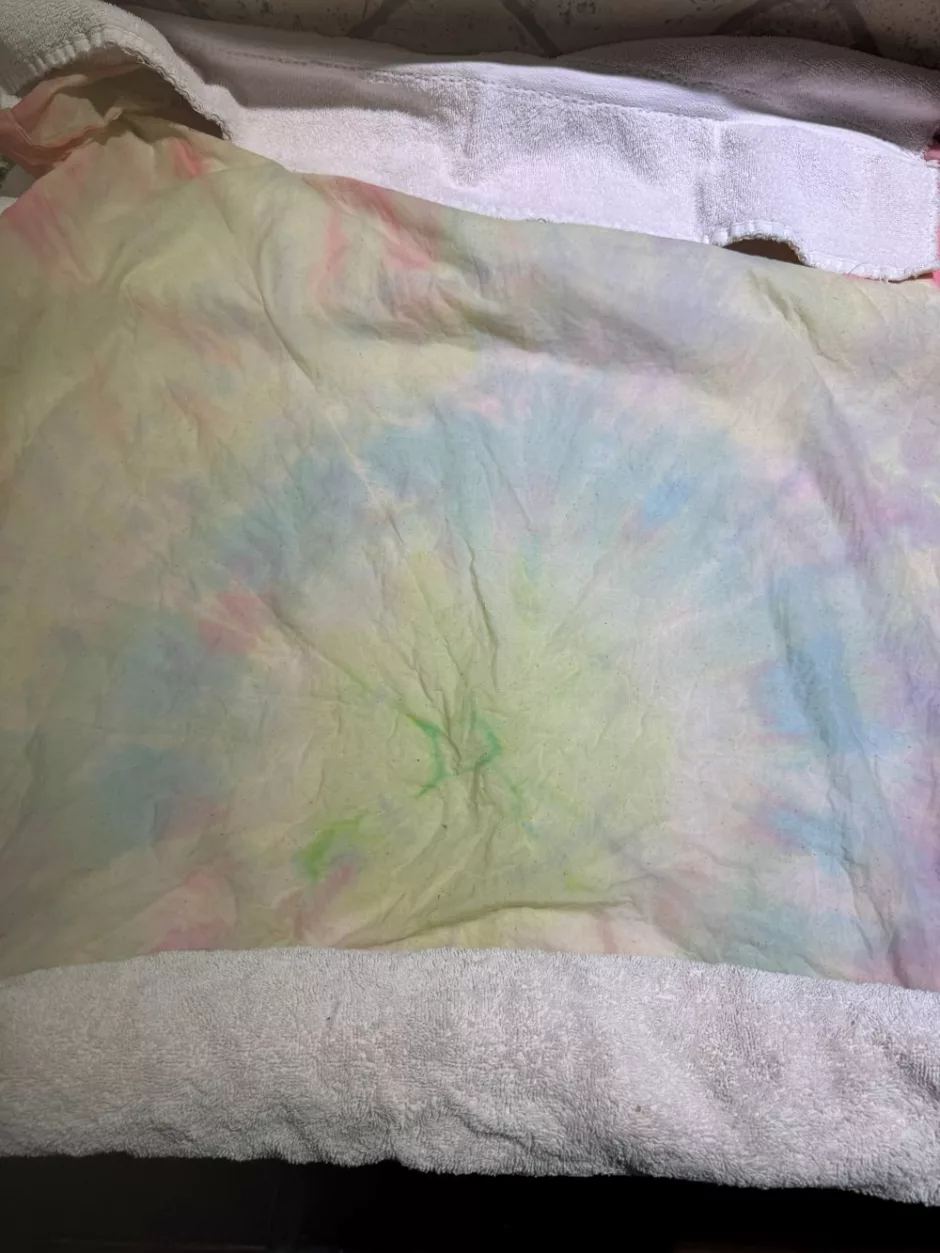
In all I used six colors, and as they mixed they created new colors, though some of that variation rinsed out. In general the colors are a lot less vibrant than they look when you’re applying the dye, but maybe more vinegar would help with that in the future.
Once you’ve used all the dye you have or want to use, finishing is the same.
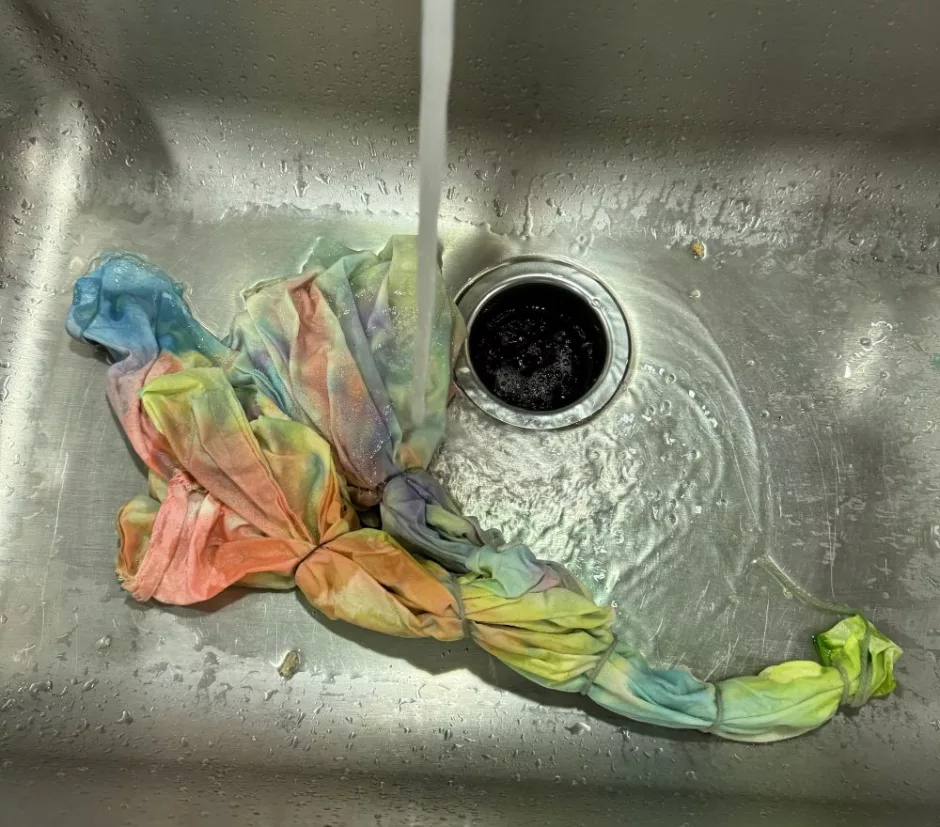
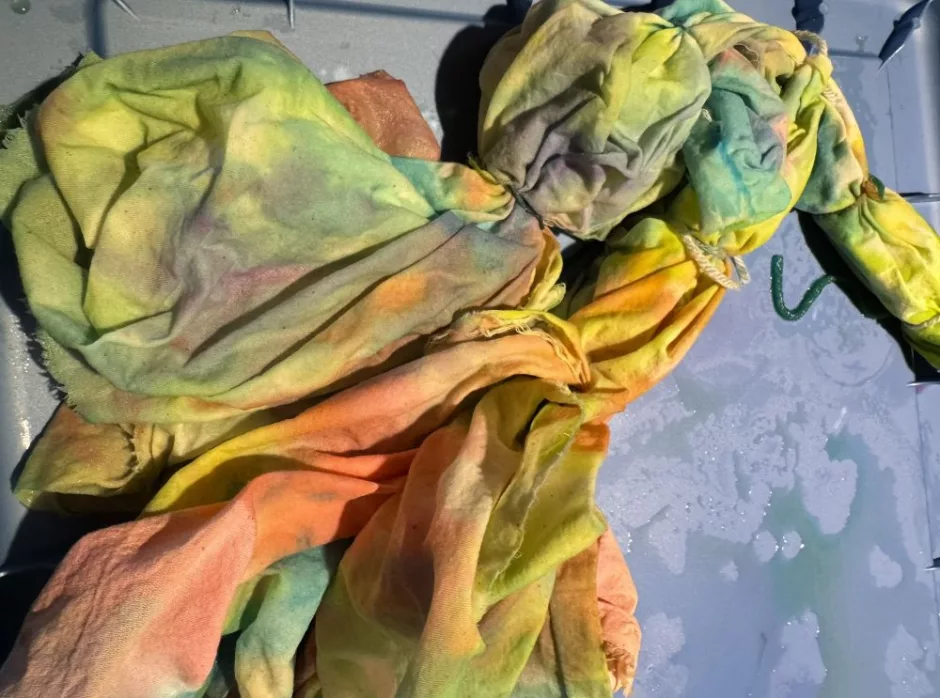
Rinse with cool water and wring out the fabric as you go. You can already see how much the dye washes out and becomes lighter as you go.
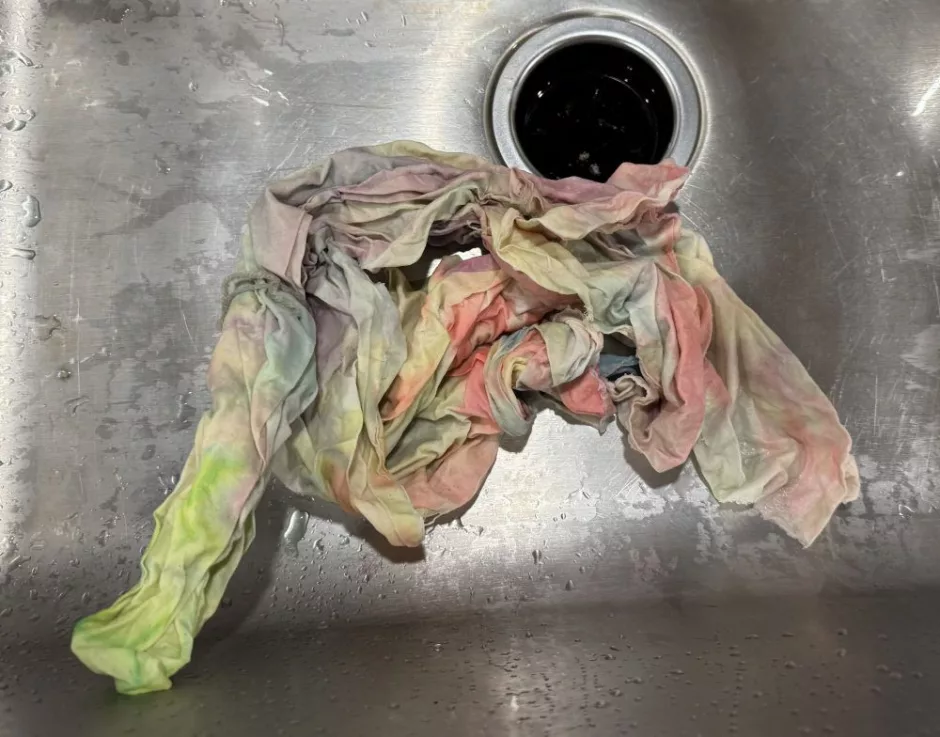
When it was mostly clear I cut the yarn pieces and rinsed a bit more until it was all clear.
Again use a towel to get out the excess water and lie flat or hang to dry.

Now that you know how to dye fabric with Easter egg dye, you can use this fabric for any projects as you would any other fabric. I kind of love the whole piece of fabric as it is, though, so I’m not sure what I might make with it. I’d love to hear your ideas!