Affiliate links may be included for your convenience. View our privacy and affiliates policy for details.
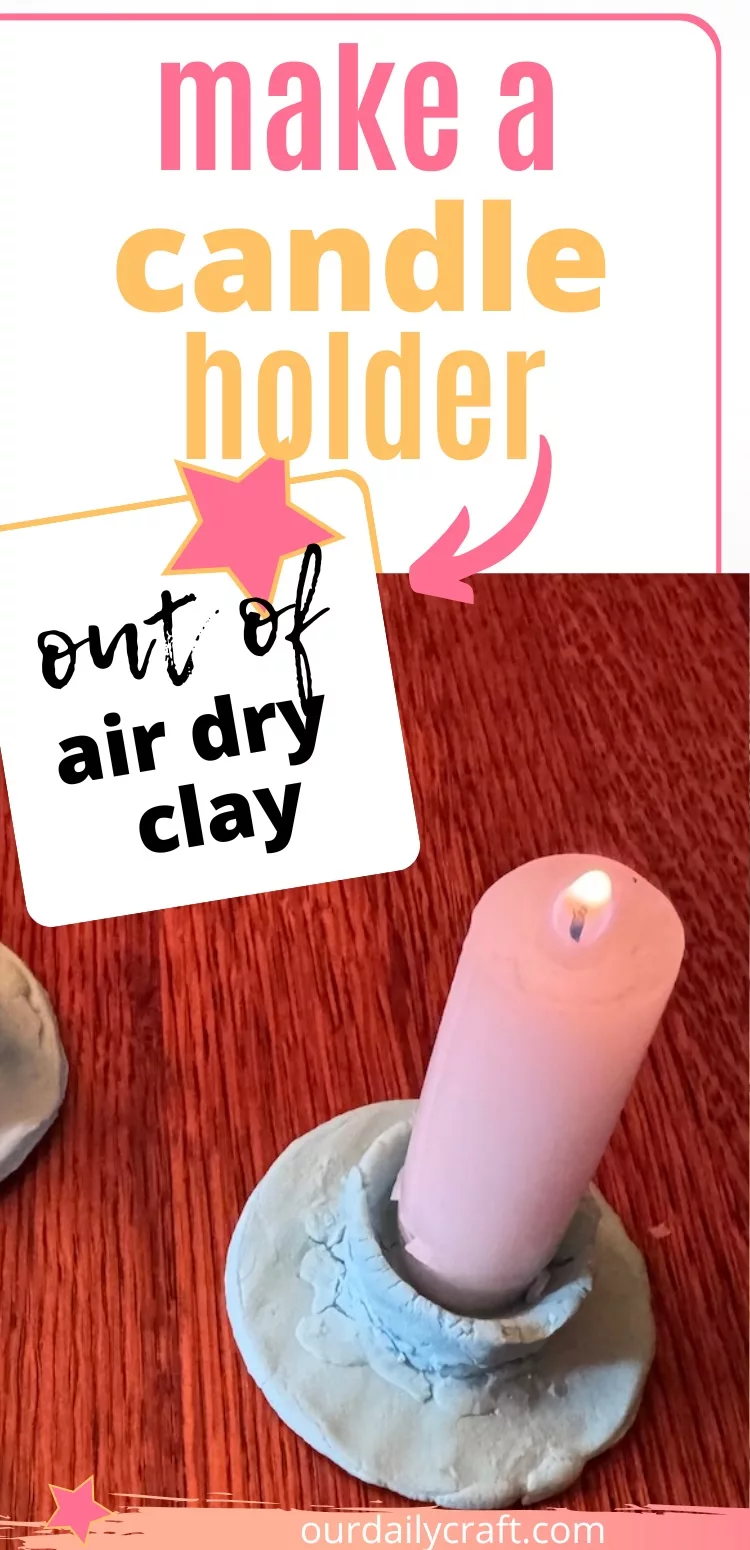
This little air dry clay candle holder is super simple to make and adds a rustic bit of handmade fun to your table.
Supplies
For each air dry clay candle holder you want to make you’ll need a medium sized ball of air dry clay. Mine is homemade and colored blue with a few drops of food coloring, but you can also paint it later or do another finish for air dry clay if you’d rather.
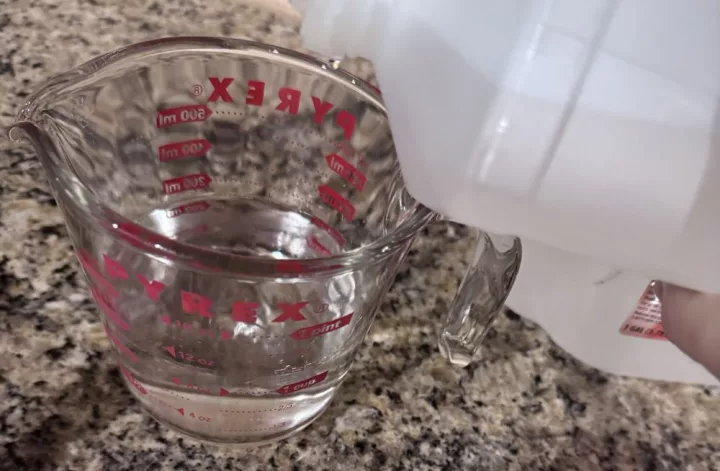
I made the base of mine round with a cat food can, but you can use whatever you have handy. You’ll also need a little bit of water and a taper candle.
How to Make an Air Dry Clay Candle Holder
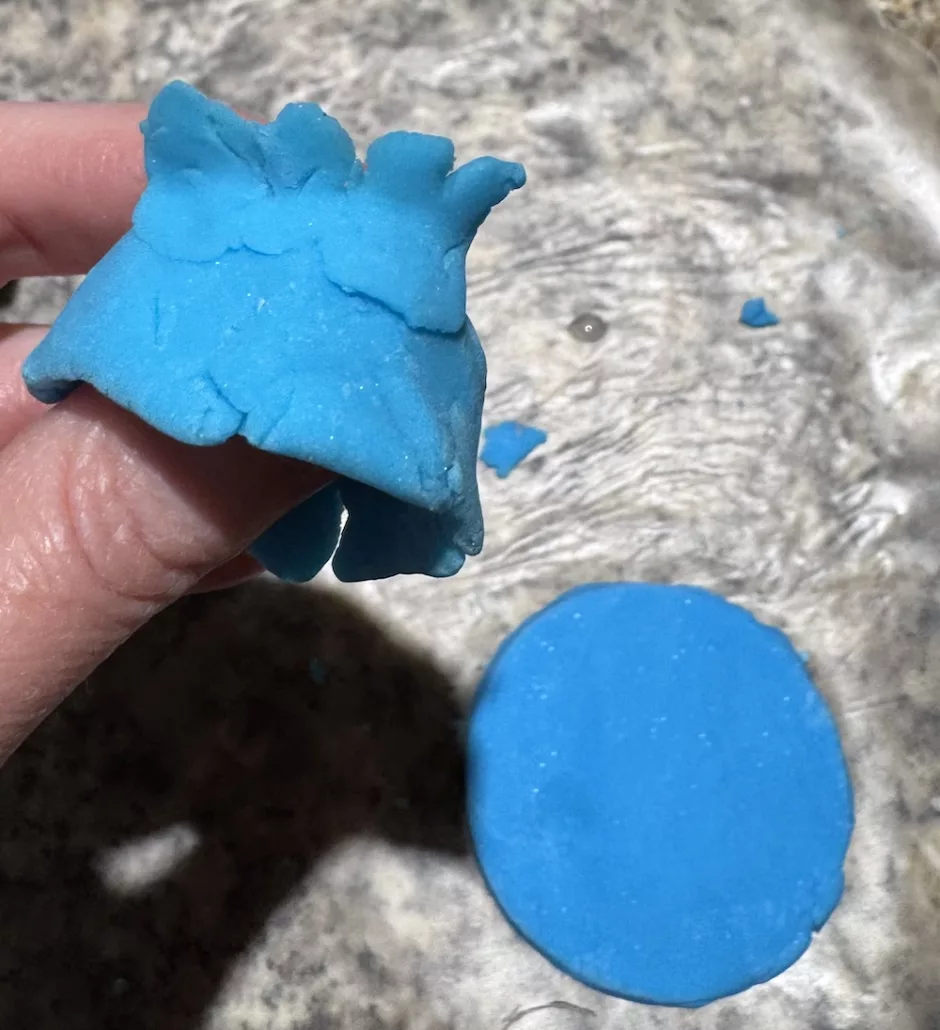
Start by rolling out your air dry clay to what feels like a good thickness for your candle holder base. I eyeballed mine but it’s about a quarter of an inch or half a centimeter thick.
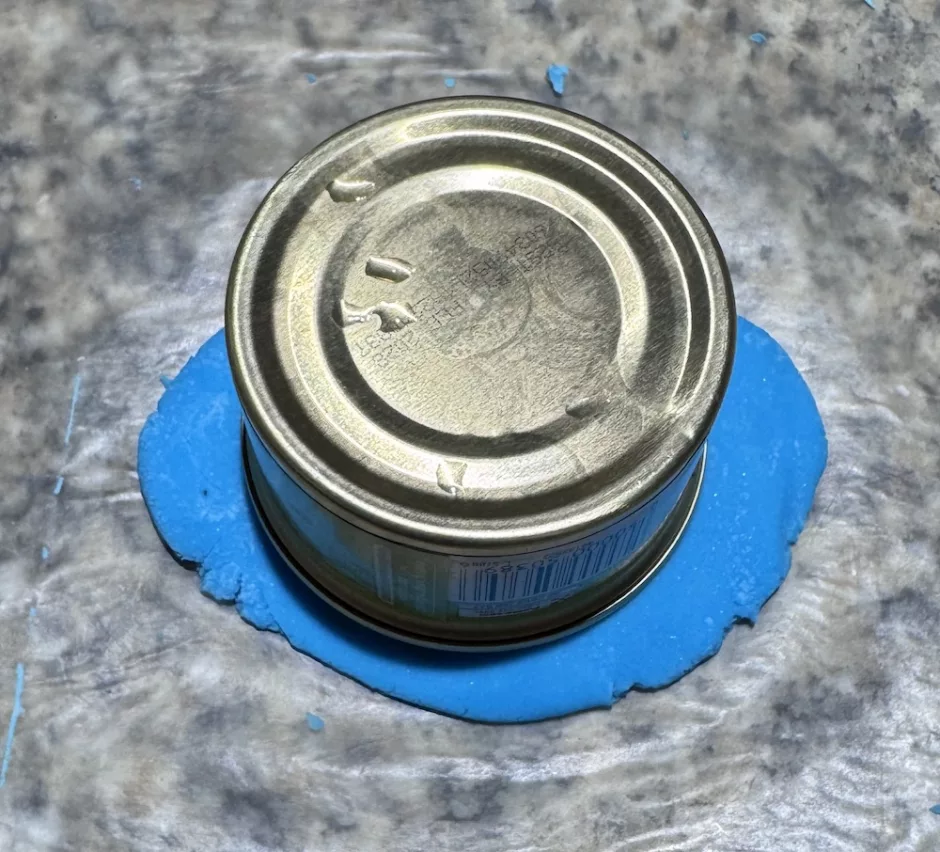
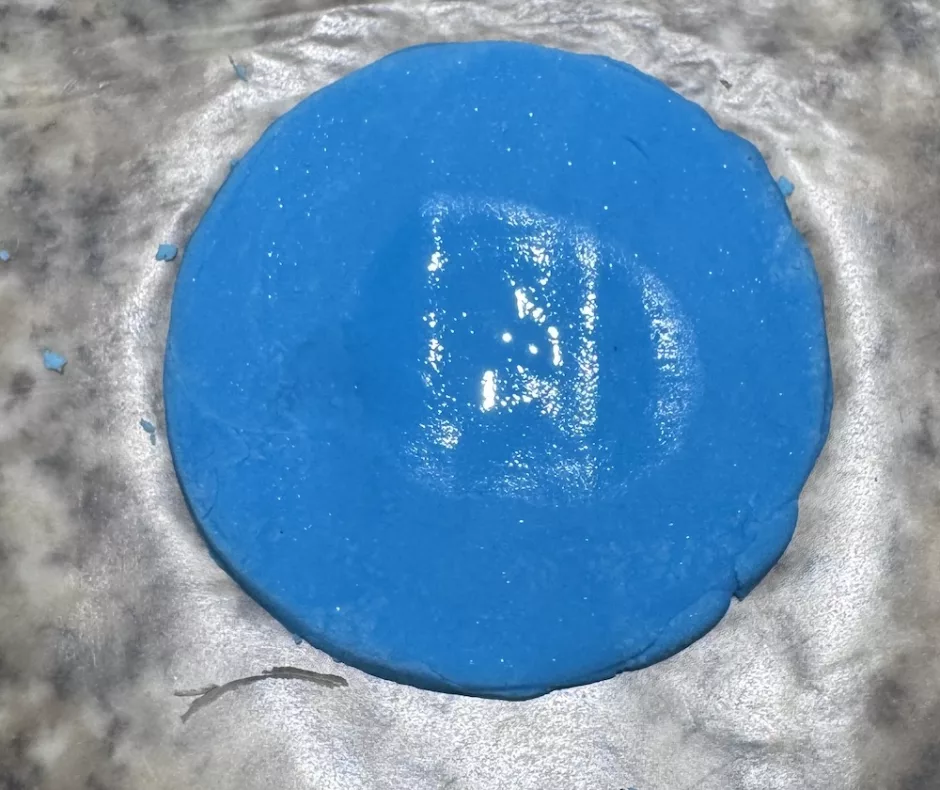
Use a cat food can or another object to score the clay in the size and shape you want your candle holder to be. Or just freehand a shape if you’d rather.
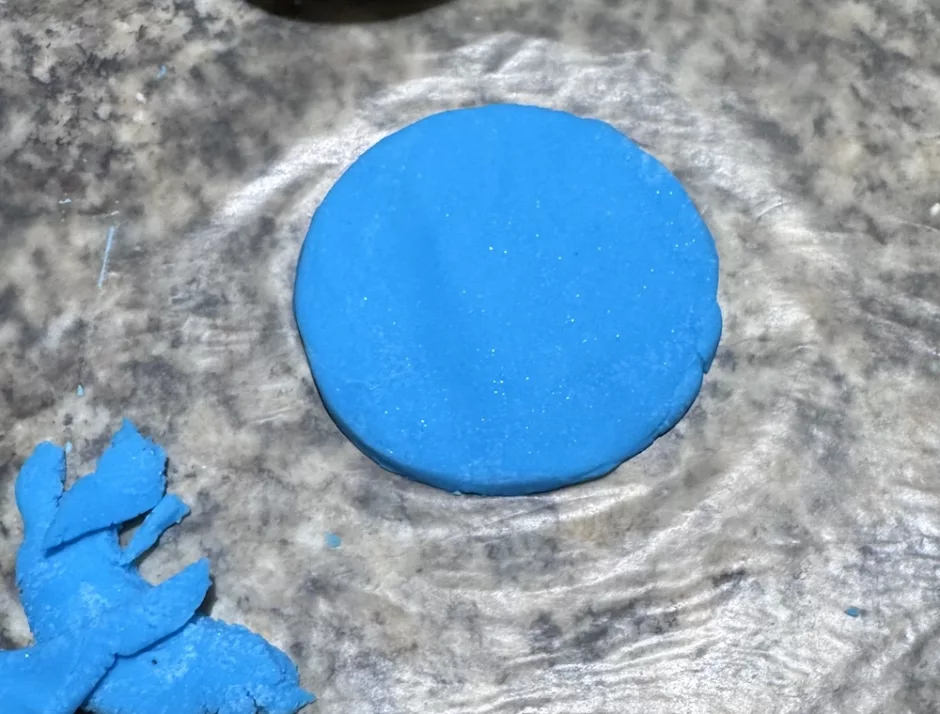
Trim/pull away any excess clay and smooth the edges.
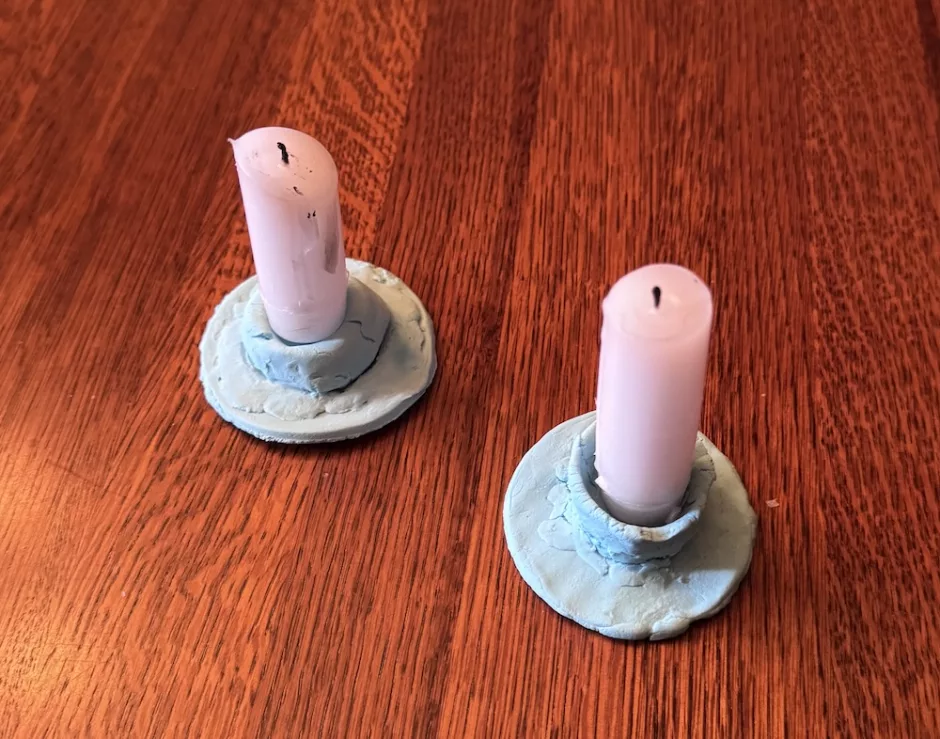
Make a little cup to hold the candle. On the first one shown here I used the candle to shape the cup more, and on the second one which you’ll also see in the some of the pictures I made more a pinch pot and then put the candle in to do the final shaping. This made a shorter but thicker walled vessel.
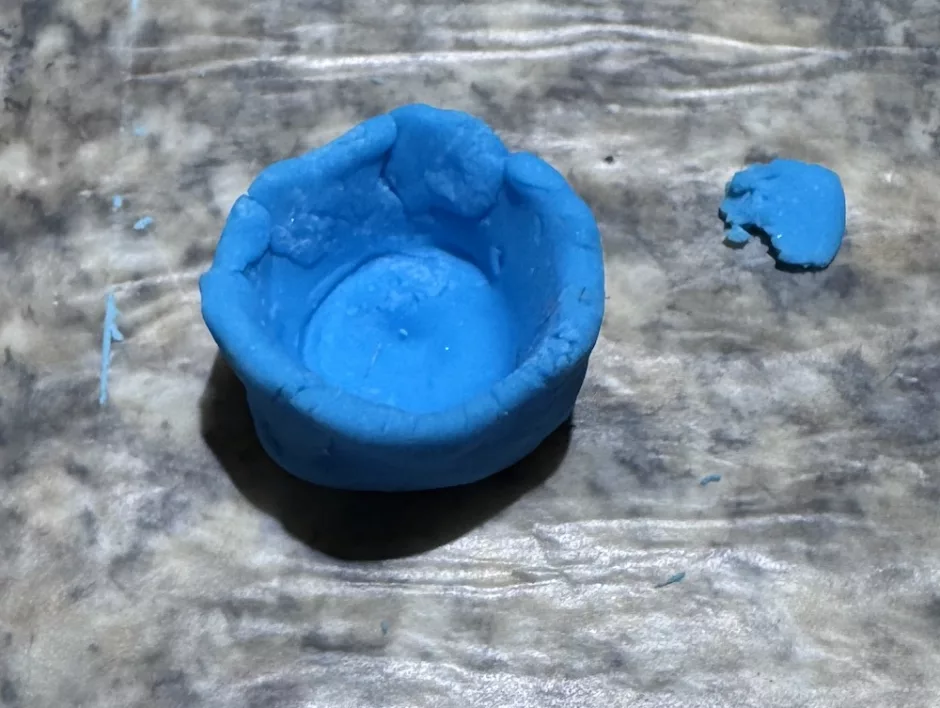
The main thing is that you want your chosen candle to fit in it and feel stable. The shorter cup I actually feel is more stable because it hugs the candle a little more closely, but you can experiment and see what you like.
And of course if you want to make a candle holder for a votive or a fatter candle, you can do the same thing just make the cup to the size and shape it requires.
Attaching the Cup to the Base
The only thing remotely time consuming about making an air dry clay candle holder is getting the cup attached to the base. To do that, make a little flange of clay (attach to the cup using a bit of water on your fingers).
I then wet the top of the base and the bottom of the cup and put the cup down.
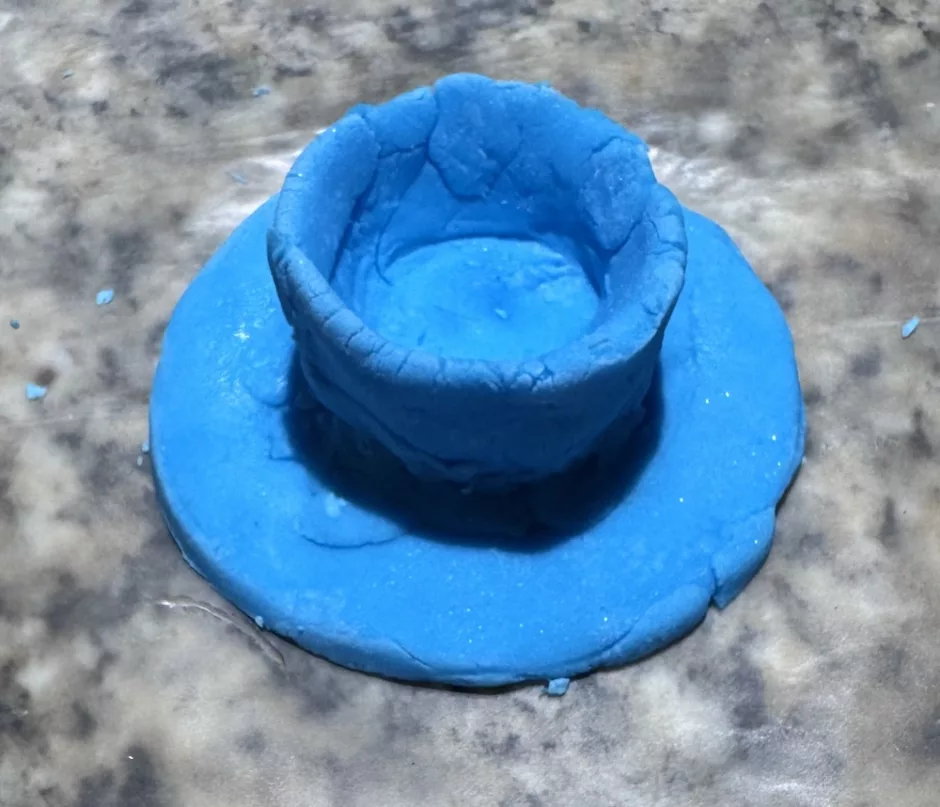
Use more water and your fingers to press the flange into the base so the clay gets all nice and stuck together.
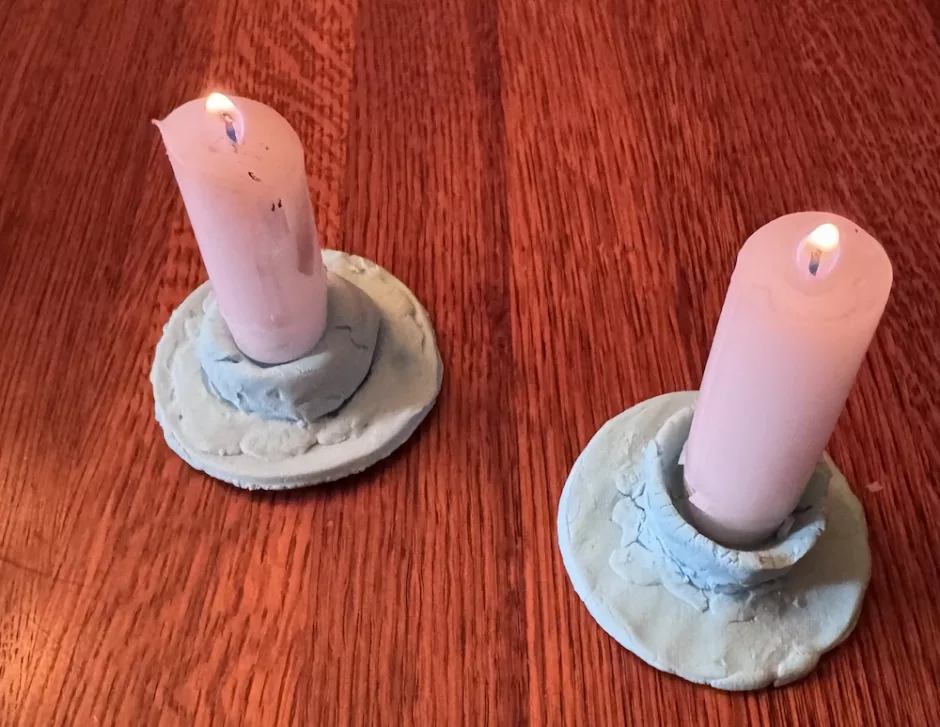
I also used more clay for the flange on the second version of the candle holder, which definitely game it a messier look, but we are not going for perfection here. If you are, you can take more time to ensure your flange reaches all the way to the edge of the candle holder so it looks like one integral piece.
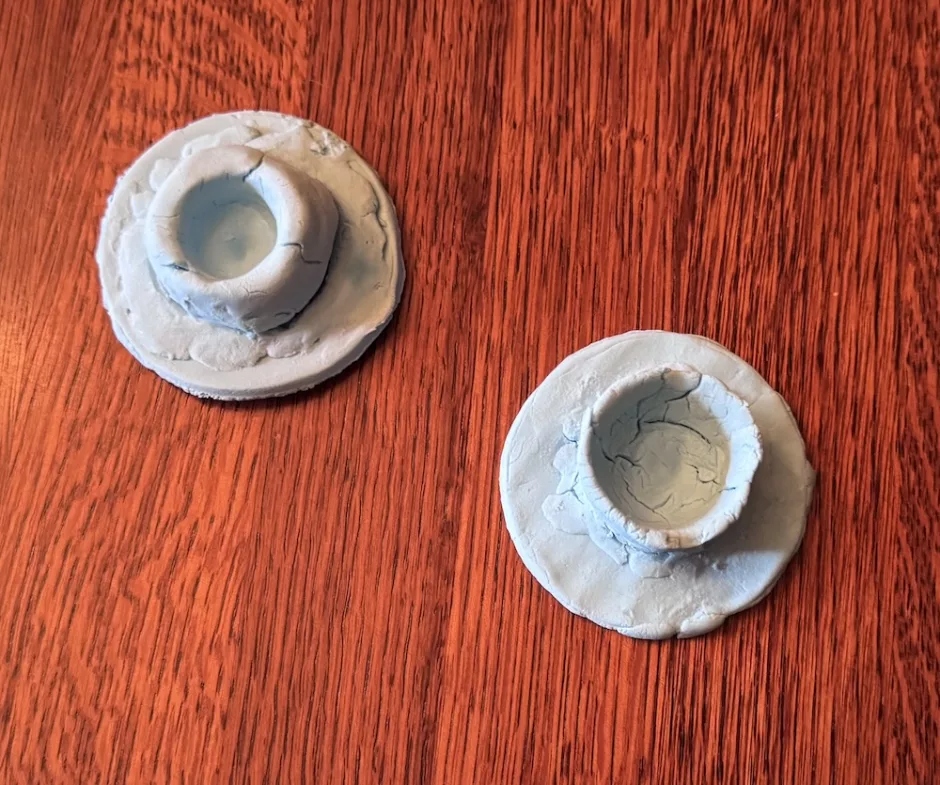
Allow your candle holder to dry. I did one just drying naturally and one in the oven. I don’t know that it got totally dried in the oven but it did speed up the process anyway.
Using Your Candle Holders
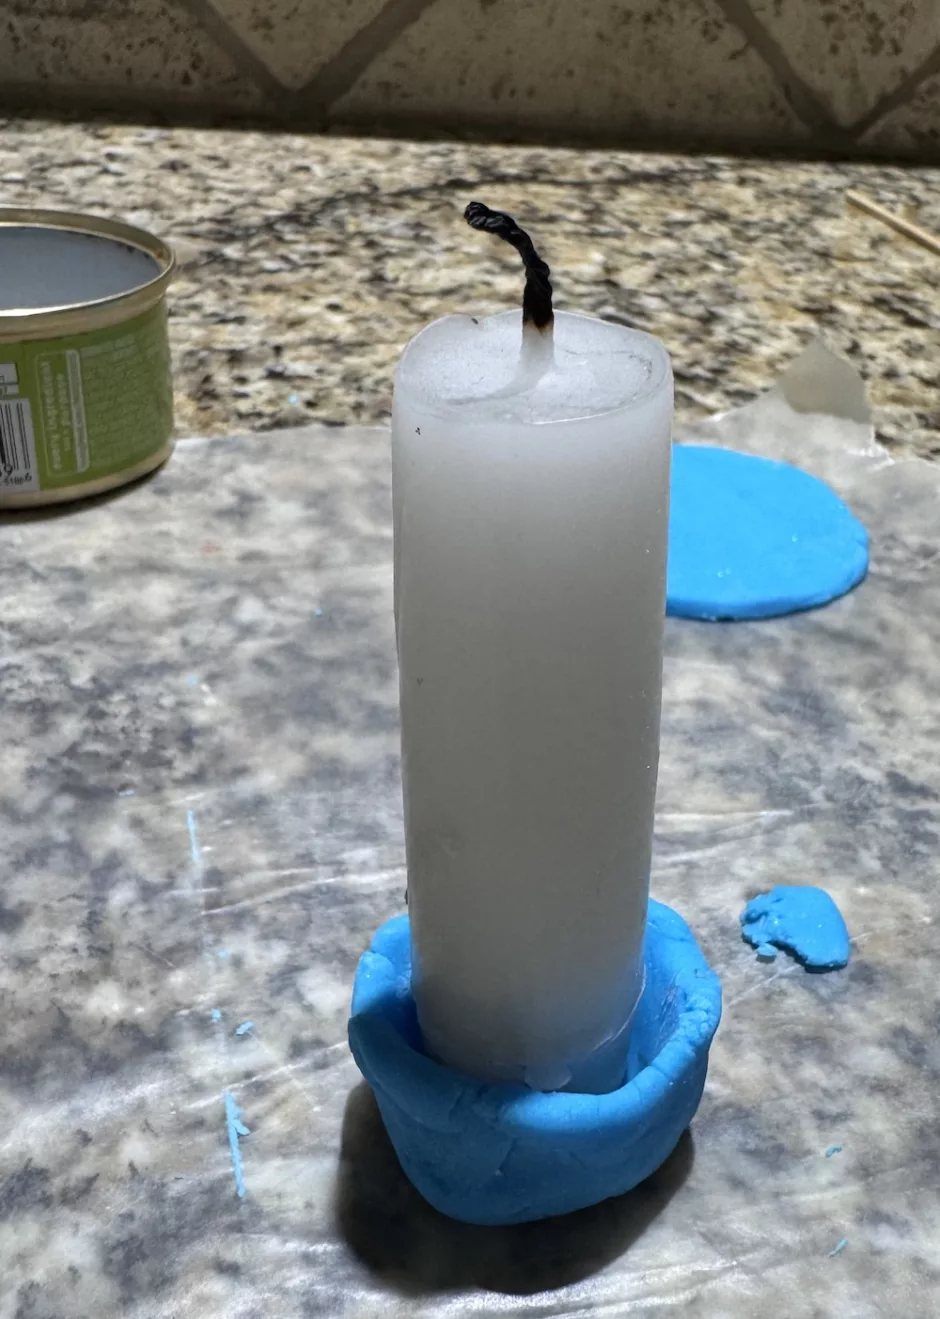
The candle is meant to sit in the cup and if you used a candle as a model for the cup it should fit nicely, but always ensure your candles are straight up and down in the holder and don’t leave them unattended while burning, as these would be pretty easy to knock over the candle from.
If your candle doesn’t want to stay in place, you can wrap a rubber band around the base to make it a little more stable and grippy.
Once you’ve made an air dry clay candle holder you’ll probably want to make them in different shapes for holidays and occasions. They’d make a great easy gift for someone, too.