Affiliate links may be included for your convenience. View our privacy and affiliates policy for details.
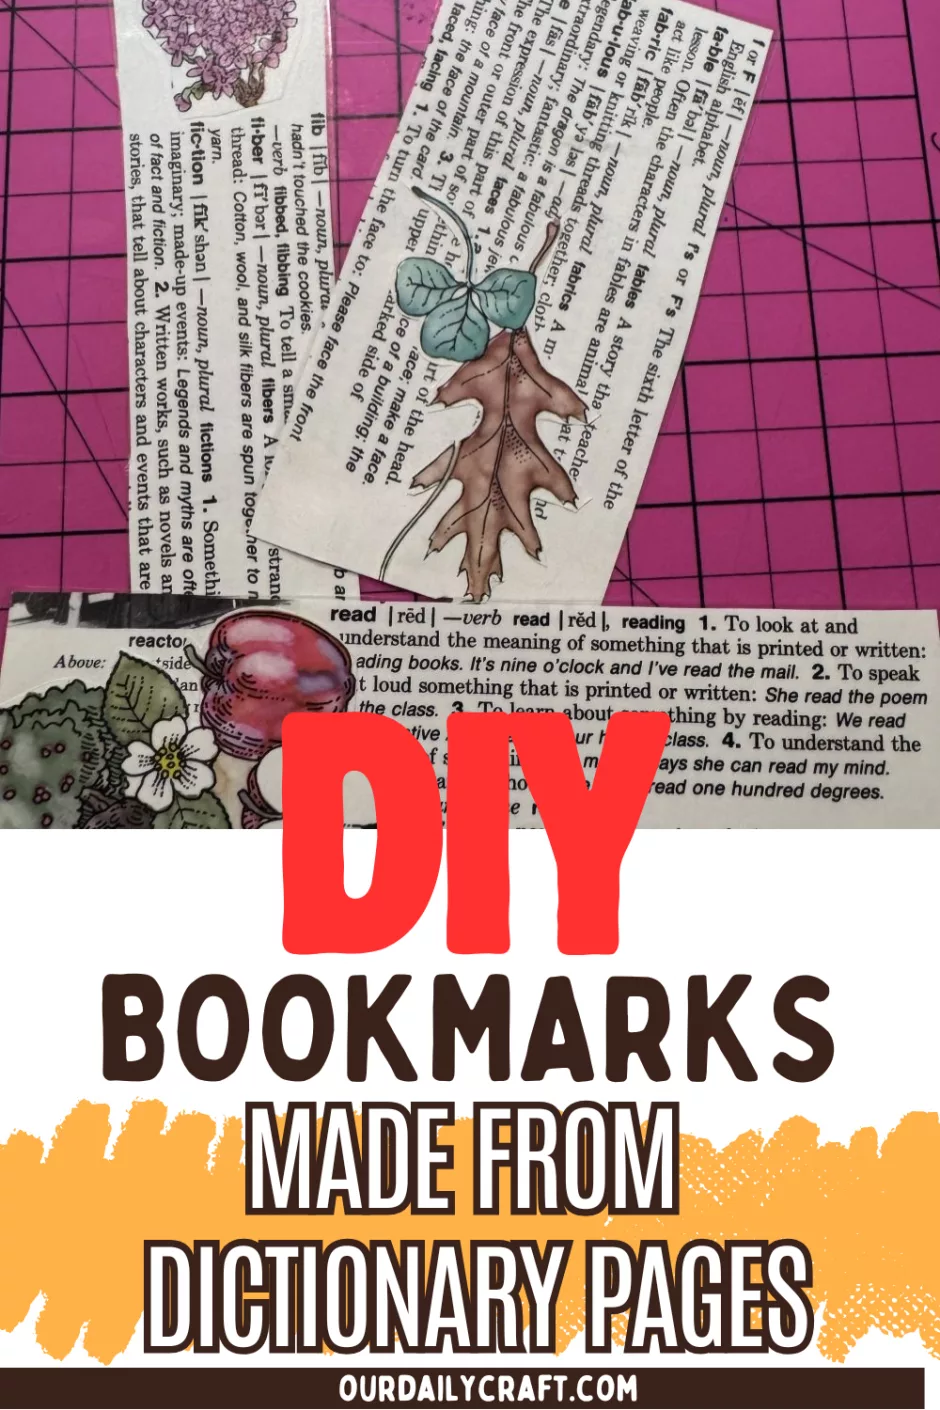
I’ve been on a bit of a DIY bookmarks kick lately, and I’ve got another easy one for you using pages from a children’s dictionary.
Supplies
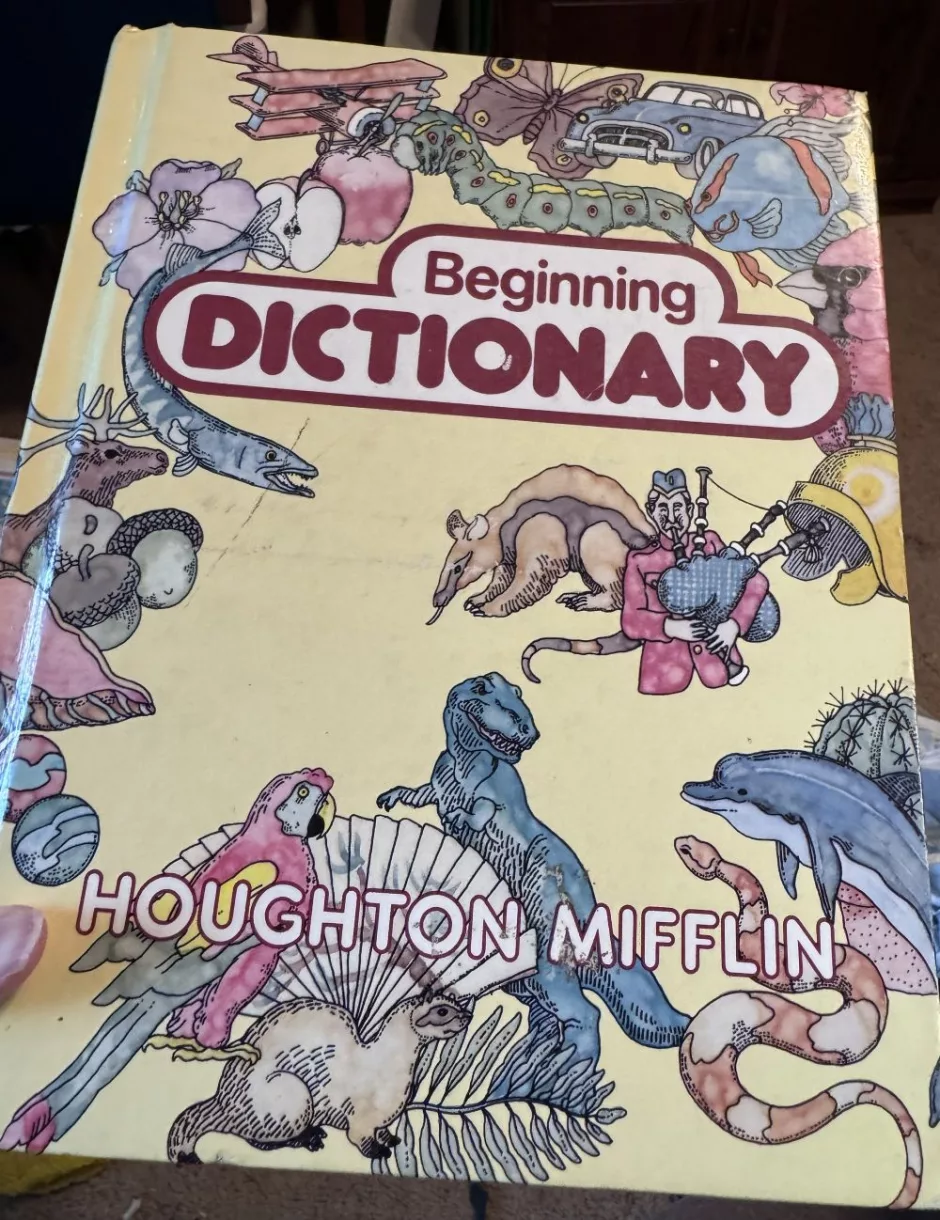
This dictionary was actually my brother’s, and I stole it from him somewhere along the way. It was published in 1979 and has these cute illustrations along with the text.
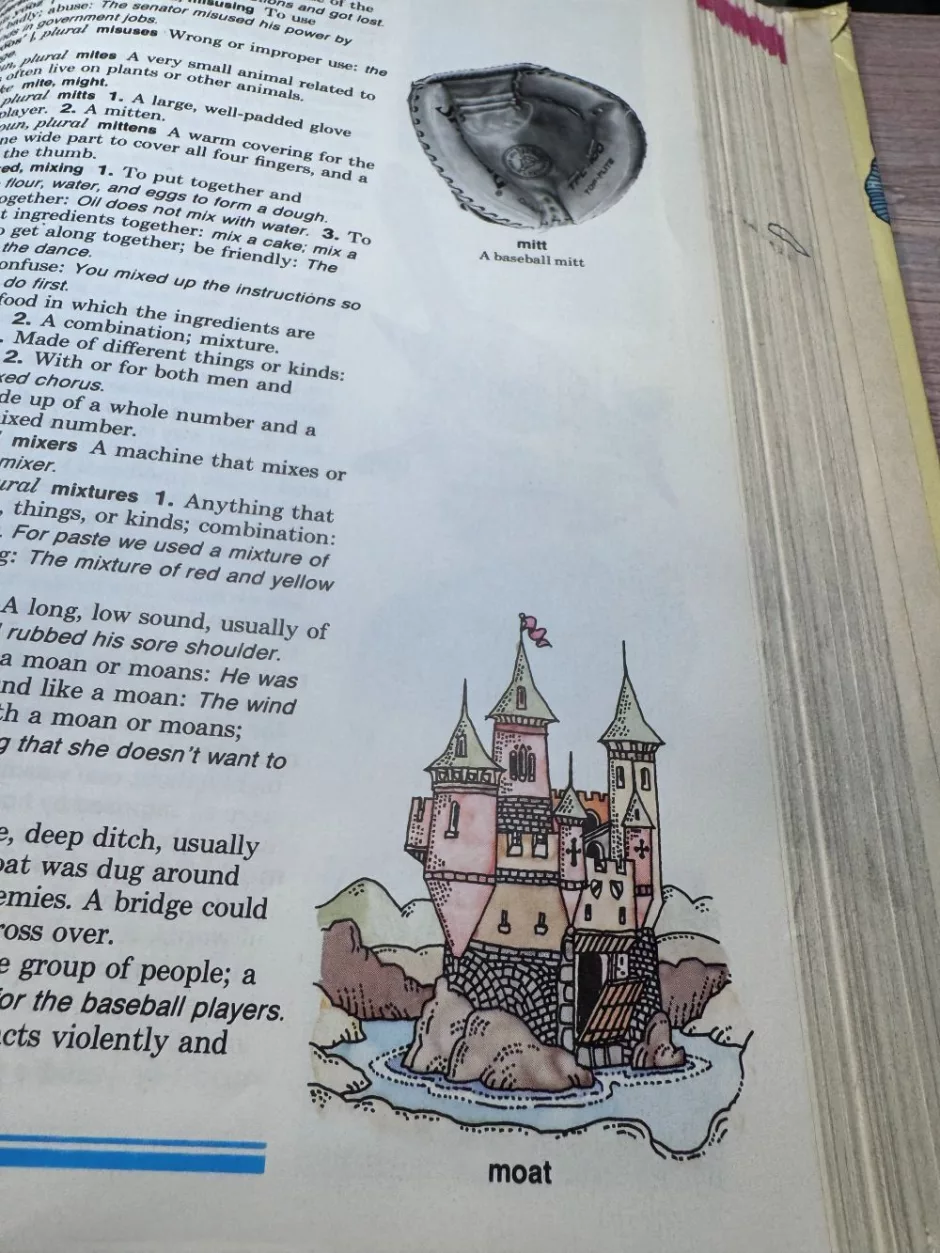
If you don’t have a kids’ dictionary already, you can probably find one at a thrift store or your local library’s store (or check one out and make copies of text and images you want to use.
You could also use a grown-up dictionary and add images from another source (from another old book or online).
Or you can just use words, add rubber stamps, stickers, etc. This is just a very basic method. You’ll need scissors and maybe a craft knife and cutting board if you want to be precise. And some adhesive if you need to stick things down (I used a tape roller.)
It was also a chance to try out a (gifted to me many years ago and sitting in my closet all this time; sorry, Xyron!) Xyron Creative Station Lite, which can do all sorts of things, including lamination.
If you don’t have one of these machines you can use clear shelf liner or even packing tape to cover your bookmark. This just makes it more durable.
How to Make DIY Bookmarks from an Old Dictionary
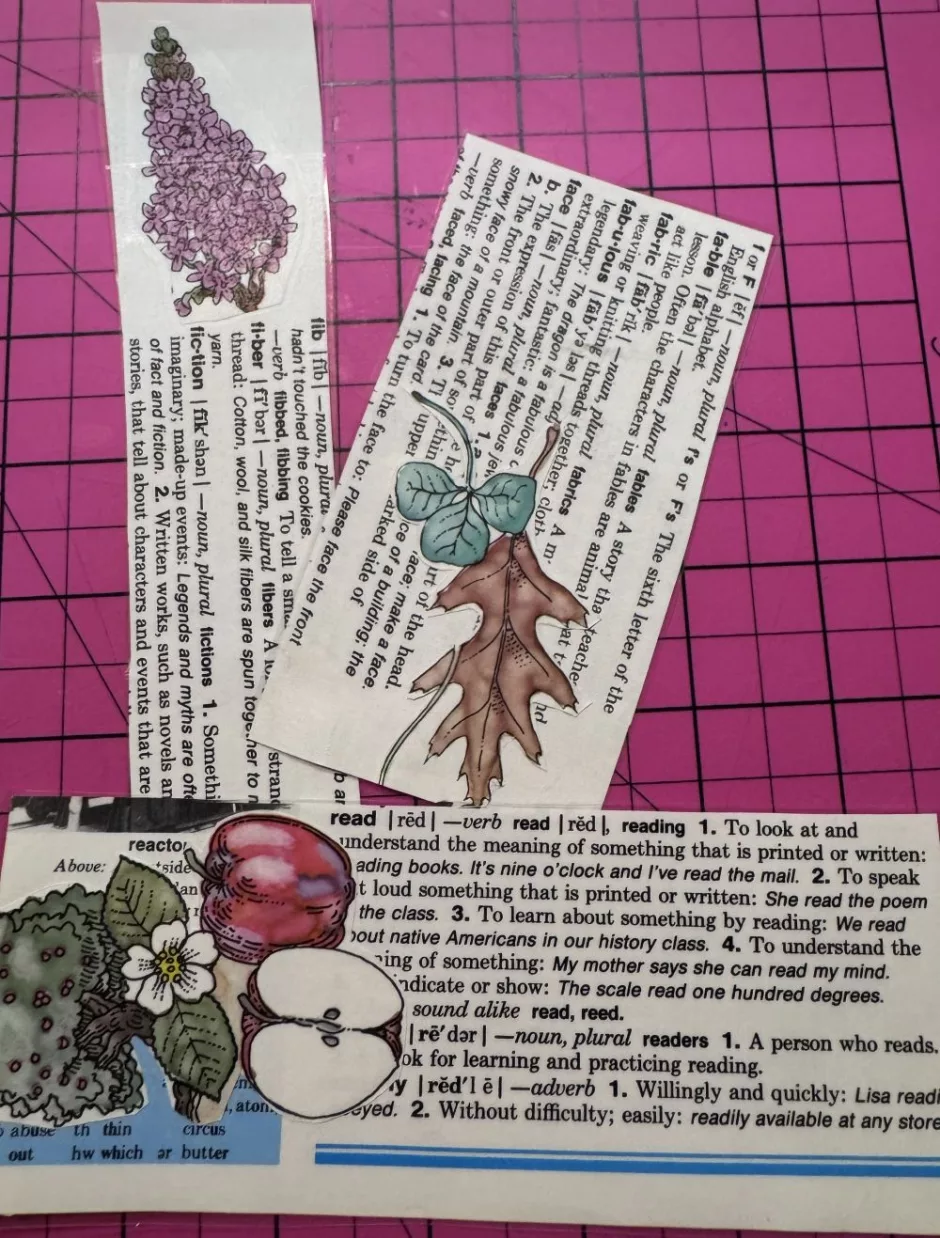
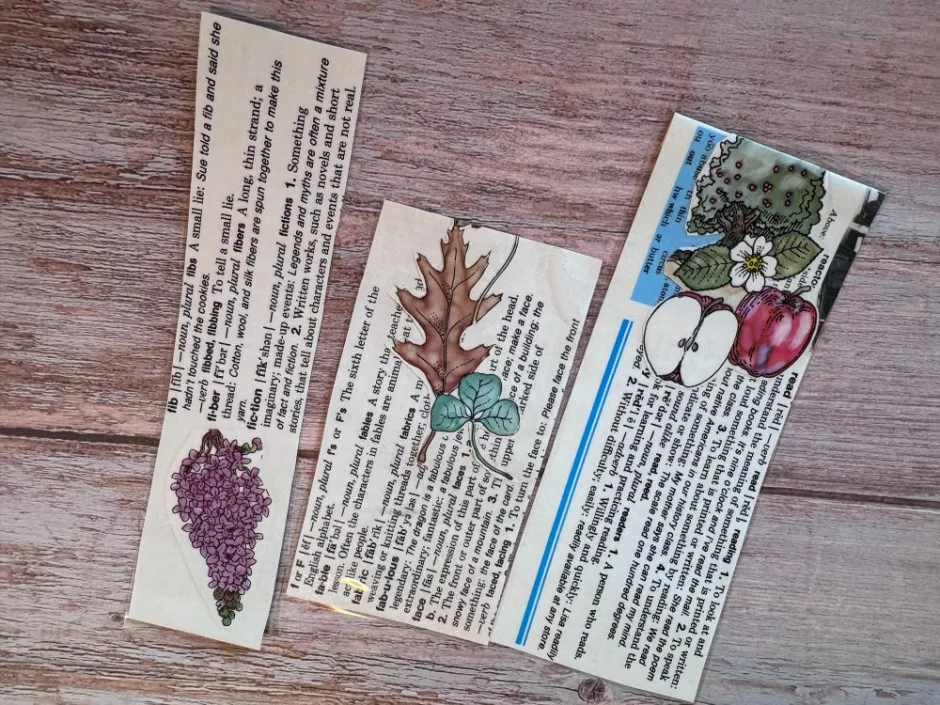
First, find some words that you like. I started with the word “read” and ended up also using “fiction” and “fable” for the other bookmarks I made. You don’t have to use reading related words, I just thought it was cute.
This book happens to have a wide margin where there are sometimes pictures or pronunciation guides or whatever so I used that as one end of the bookmark so I could add an image to that side.
Rip the page out that you want to use (I promise it’s ok) and cut out the piece you want to use for your bookmark. DIY bookmarks can be any size and mine all ended up different, for reasons that will become clear in time. Two of them are the same width, though, and that’s about 2.5 inches/6.35 cm, but I just eyeballed it. The narrower one is about an inch and a half/3.8 cm wide.
The two that are the same length are about 7 inches/17.78 cm long.
Pick out an image from the dictionary, or another book, or use stickers, stamps, paint pens or whatever else you like to decorate your bookmark.
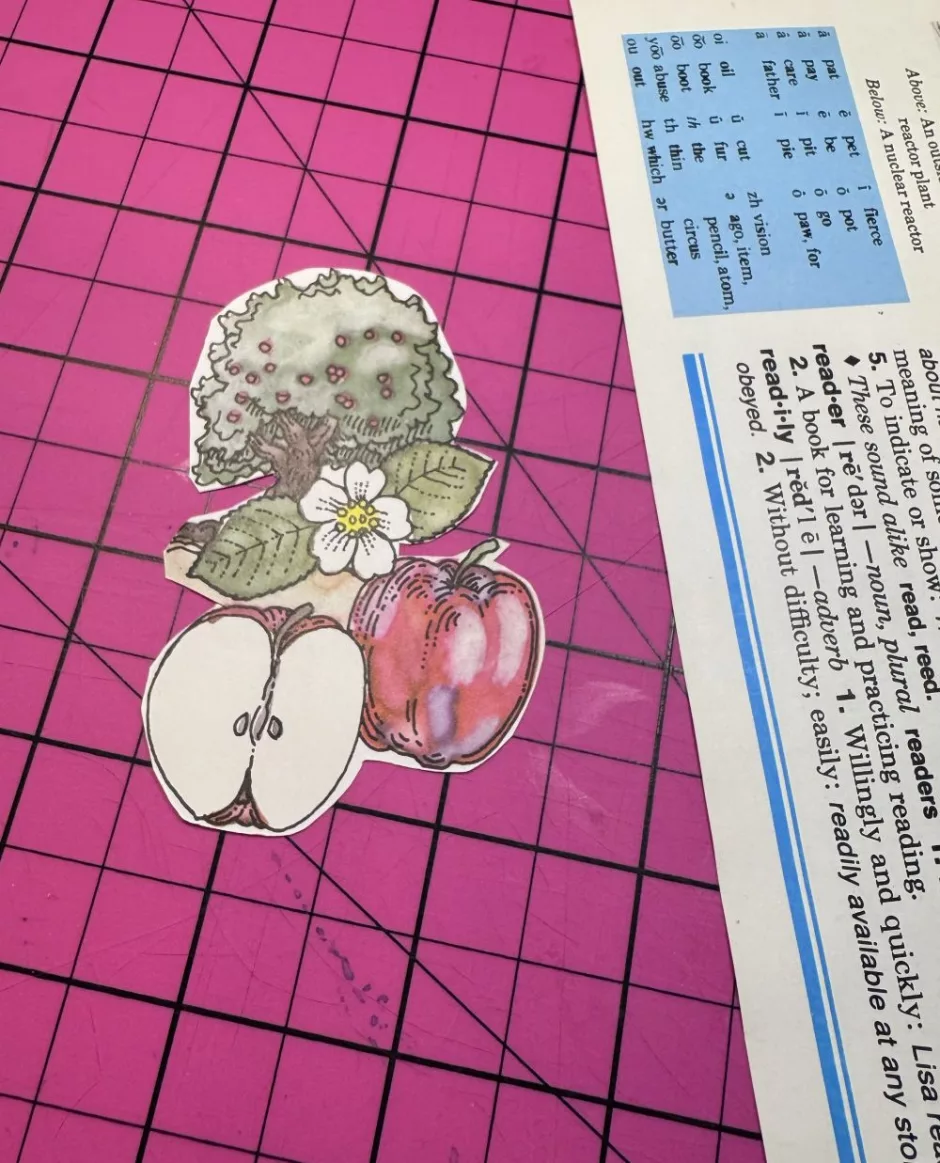
Here I cut out an apple tree with some apples because I was feeling back to school. A set of these would be a fun classroom gift for a teacher.
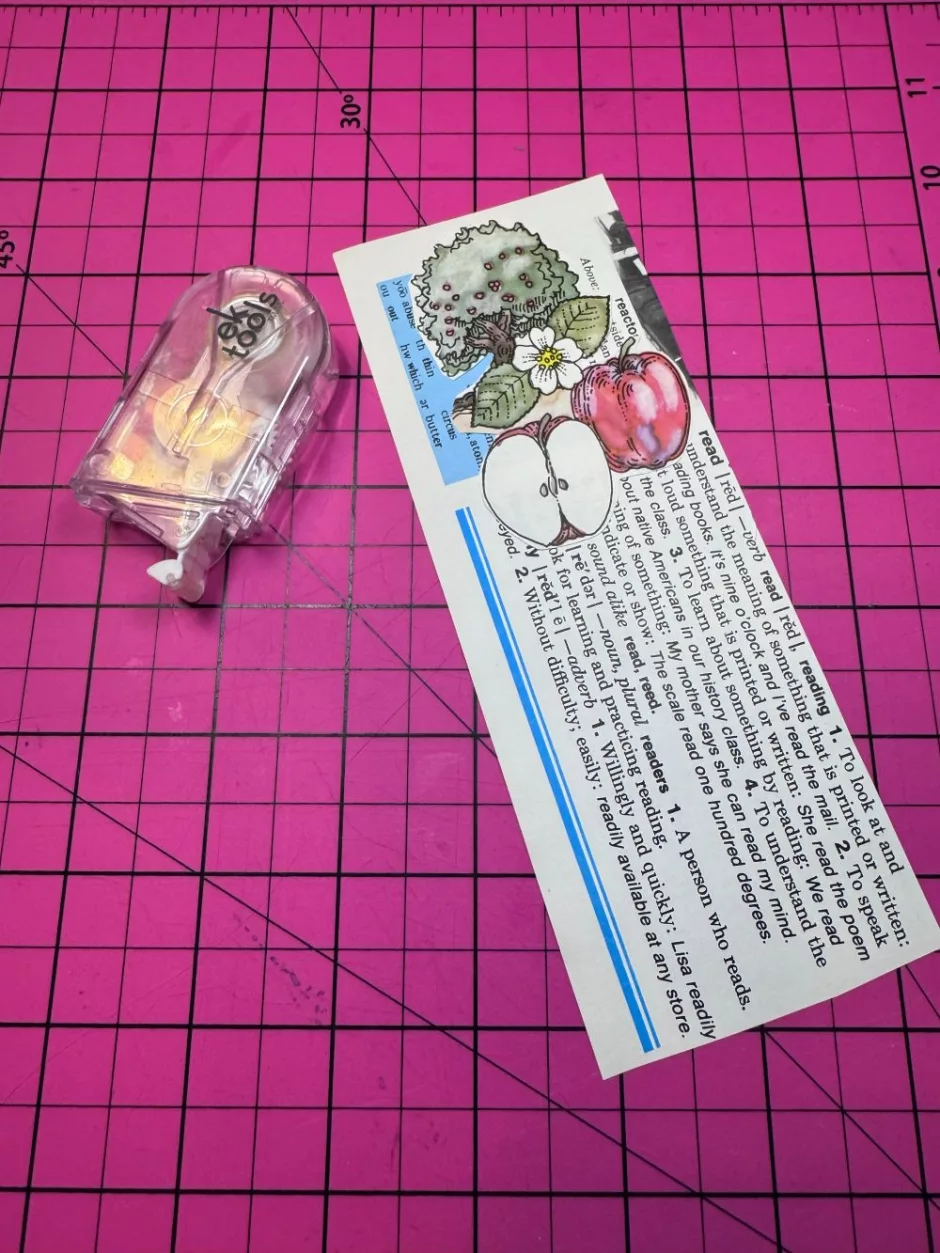
I used a craft knife to cut them out but wasn’t super delicate about it. And I used the tape roller to stick it to the top of the bookmark.
Then it’s just a matter of laminating or covering as you like if you like.
Adventures with Xyron
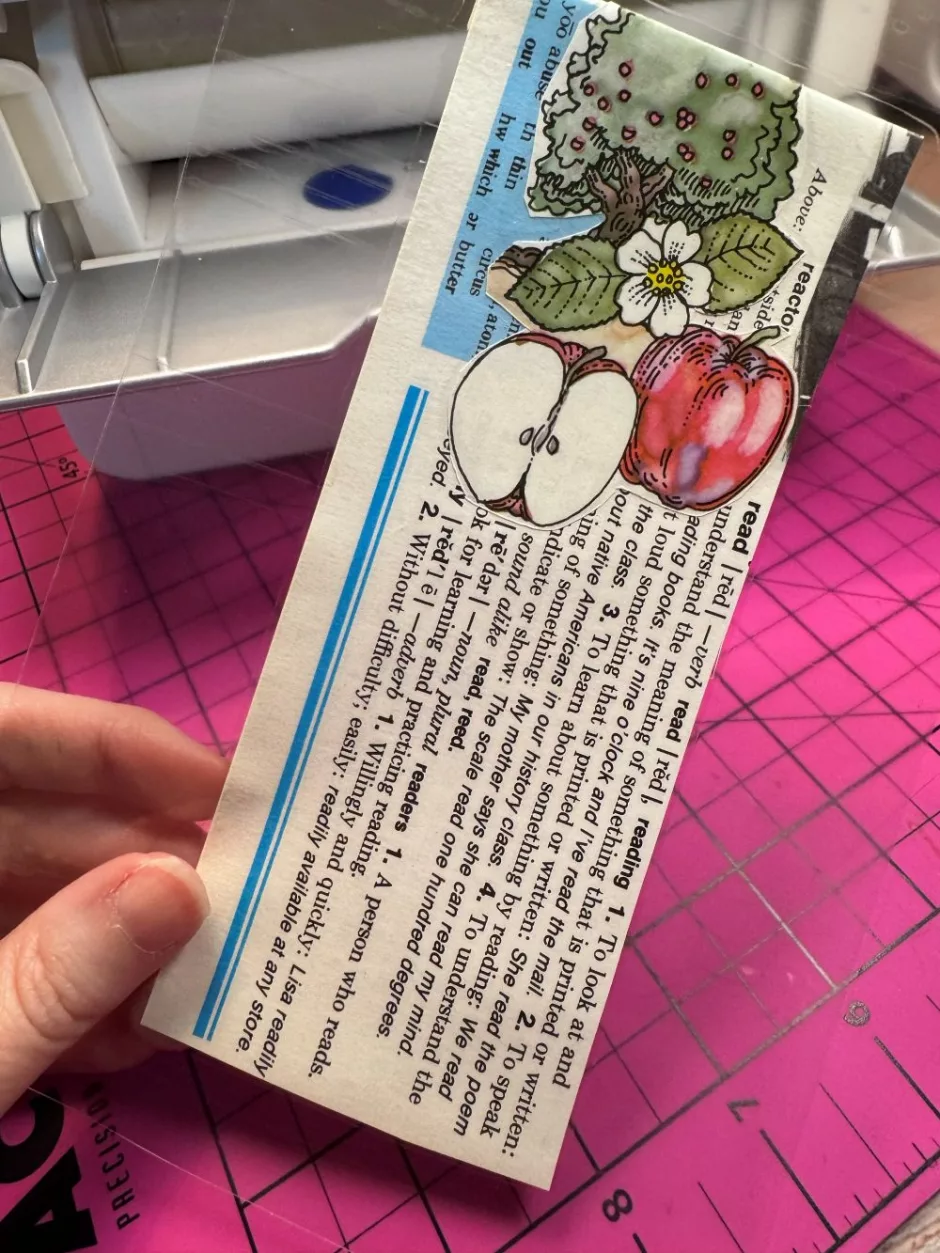
This is totally user error but I was having a hard time getting the machine to work with the laminating material, so on my first try the top of the apple tree got folded down when I ran it through.
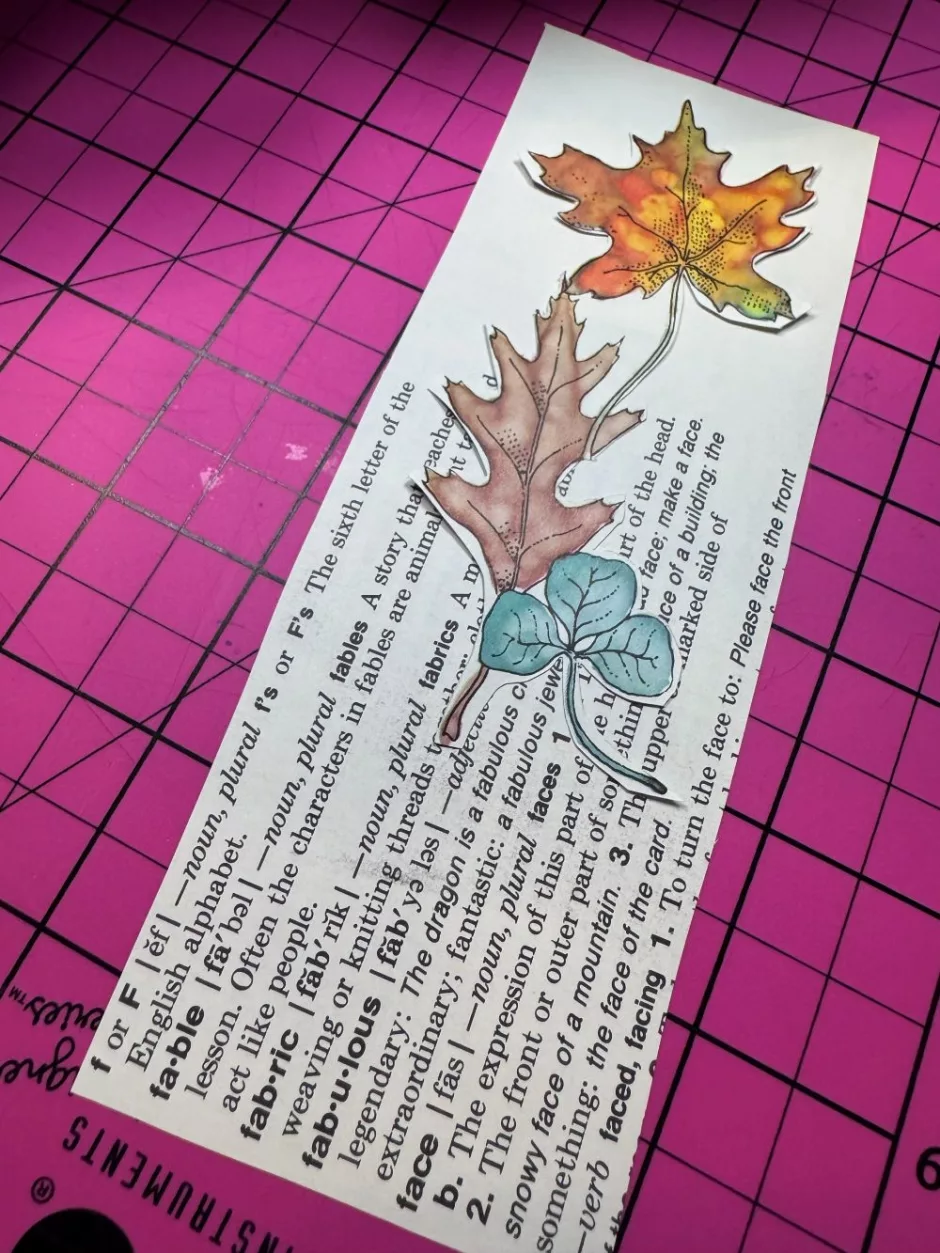
My second try was this cute set of leaves with the word fable.
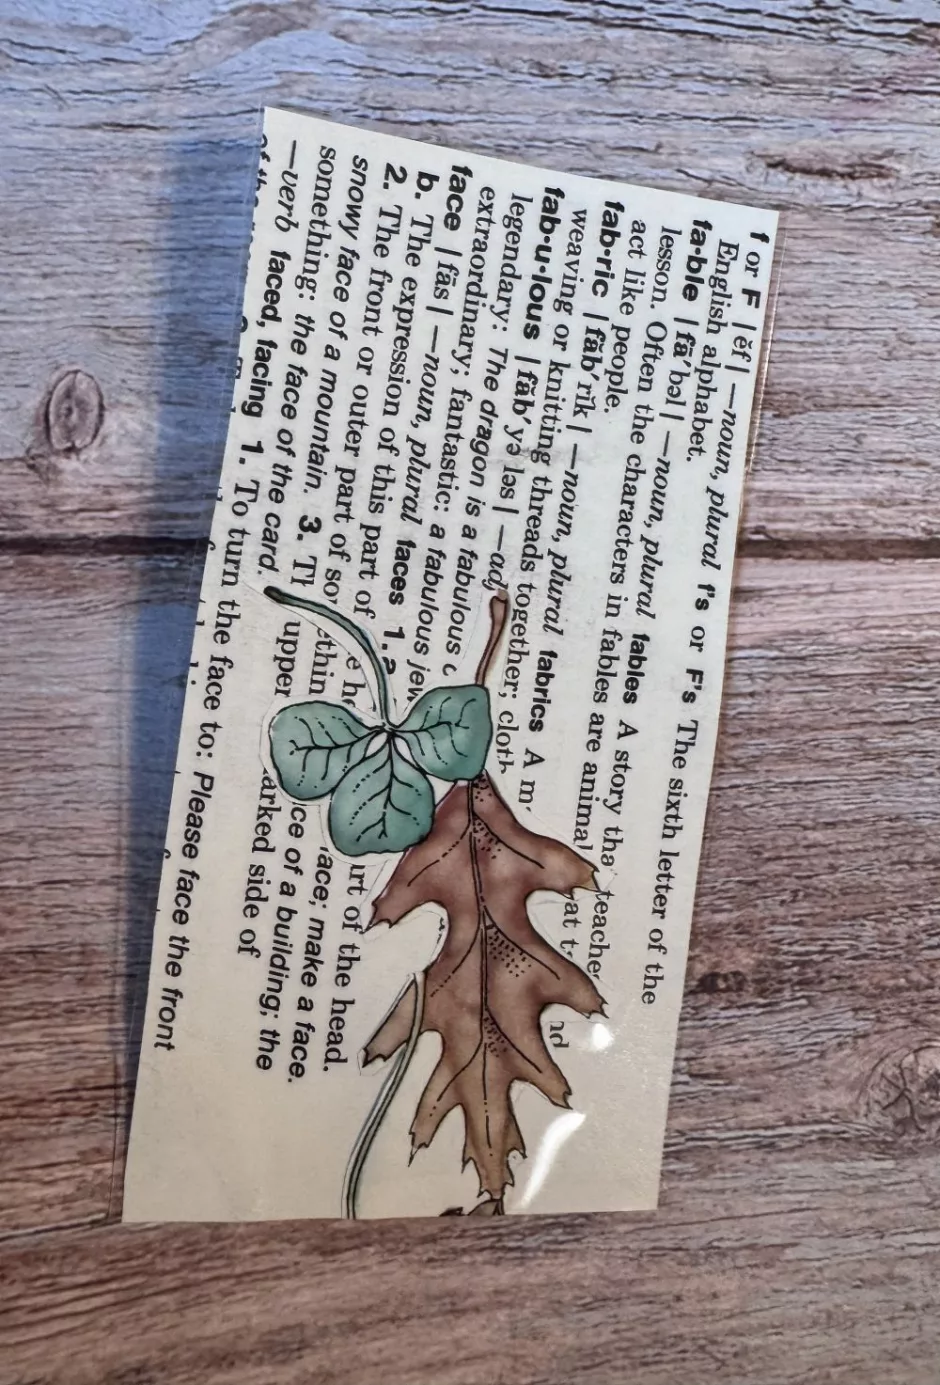
It got totally bunched up in the rollers (one of which was not rolling) so I had to cut off part of it. Ironically one of the words on the other side is failure, but ultimately it turned out OK.
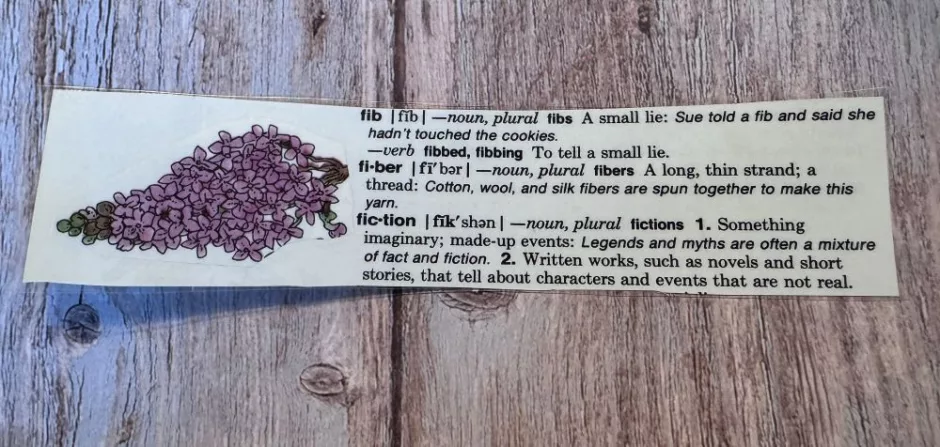
The final try was better, but the machine still wasn’t working quite right. It was fine with sticker paper so again, sure it’s user error and if you have one of these little machines this is a great use for it to make your DIY bookmarks last longer!