Affiliate links may be included for your convenience. View our privacy and affiliates policy for details.
For some reason I can’t explain, I have never bought the bit playdough. I made her some a long time ago that she was mostly interested in eating. When we moved to our new house I gave it to her to play with and it was really crumbly and made a mess all over our new wood floors. It got stuck in a drawer to eventually get dried out and thrown away. 
I know it’s time she can play with dough properly — she does it at school regularly — and there are tons of recipes out there, pretty much all claiming to be the best for whatever reason.
So I’m going to try some of them out, both to boost the girl’s supply of dough and so you don’t have to. We’ll let you know which one we think is the best when it’s all over.
First up: Jello Playdough, which I found at the appropriately named website Playdough Recipe.org.
I liked the idea of this one because it’s a little different from the plain, normal versions you find. It was easy to make, and relatively quick, but the near-constant stirring kind of wore me out (Jello burns easily, so the recipe advises constant stirring) and the stuff smelled really bad. that’s probably not the fault of the recipe and more the fault of my choosing a flavor (Great Value lime, to be precise) that I would never actually eat.
But I wanted green because it’s fun, and I had green glitter, but we’ll get to that. I am happy to report that as we play with it the smell is going away.
What You’ll Need
- 1 cup flour
- 2 tablespoons salt
- 2 tablespoons cream of tartar
- 2 tablespoons vegetable oil (any kind is fine)
- 1 cup water (the recipe called for warm water, which probably speeds up the process a bit, but I used cold and it was fine)
- 1 3 ounce package Jello
- a tablespoon of glitter (or more if you really like glitter!)
- saucepan, wooden spoon, waxed paper, plastic storage bag or container
What You’ll Do
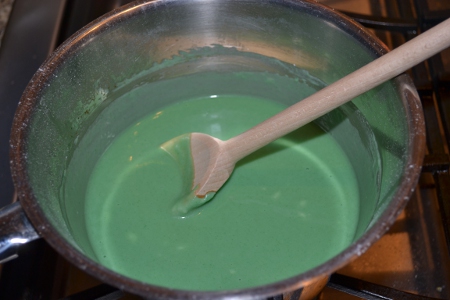
- Dump all ingredients but the glitter in a saucepan. All of this is food, so you can use a regular cooking pan, but on my next dollar store trip I’m going to get a dedicated crafty cookpan. I used a freebie wooden spoon that is now dedicated to craft projects, too. Stir it up and put it on low heat.
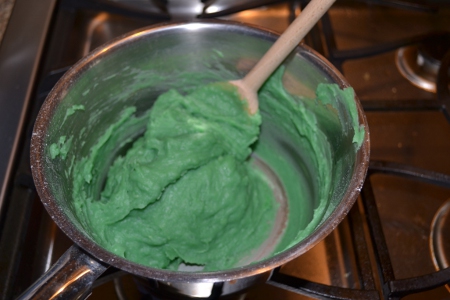
- Keep stirring. And stirring. And stirring. Try not to gag on the smell. The dough will start coming together; that’s when you know it’s about done.
- Dump the ball of dough on a piece of waxed paper and allow to cool a bit.
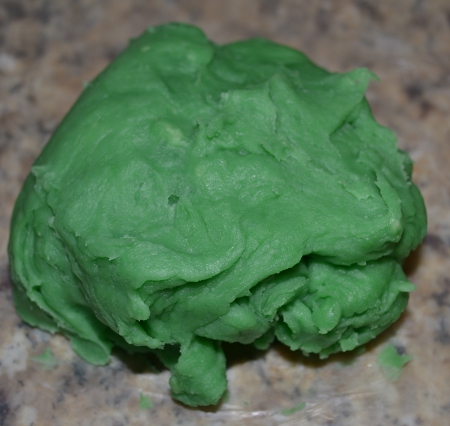
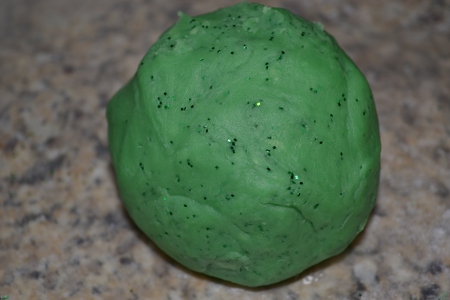
The dough is still a little rough looking, but holds together. - At this point the dough will still be pretty soft. I threw a handful (maybe a quarter cup or so?) of flour on top as well as a tablespoon of green glitter and kneaded both in while the dough was still warm but comfortable to touch.
- Allow to cool completely before storing in plastic container and/or playing with.
Assessment
I give the girl a decent-sized ball to play with at a time. It has a really nice feel, a lot like the real stuff, and once you get past the smell it is pretty nice.
The glitter is another touch I learned about on Pinterest. You can match the glitter to the dough like I did, or go with a contrast (I saw a cool one recently with black dough and multicolored glitter to make “galaxy dough.” Cool.). You can add the glitter in while you’re making it like I did, or give the dough to your kid and spill some glitter on the table and see what happens. Either way it adds an extra bit of fun.
The first few times we played with it, it didn’t make any mess at all, but after a week or so it started dropping some crumbs (and leaving a mess on hands).
The foul smell happily dissipated, leaving dough that mostly smells like dough. I like the addition of the glitter; it makes the dough a little more fun (but of course dough is always fun!)
Check out part two of the Great Pinterest Playdough Throwdown.
