Affiliate links may be included for your convenience. View our privacy and affiliates policy for details.
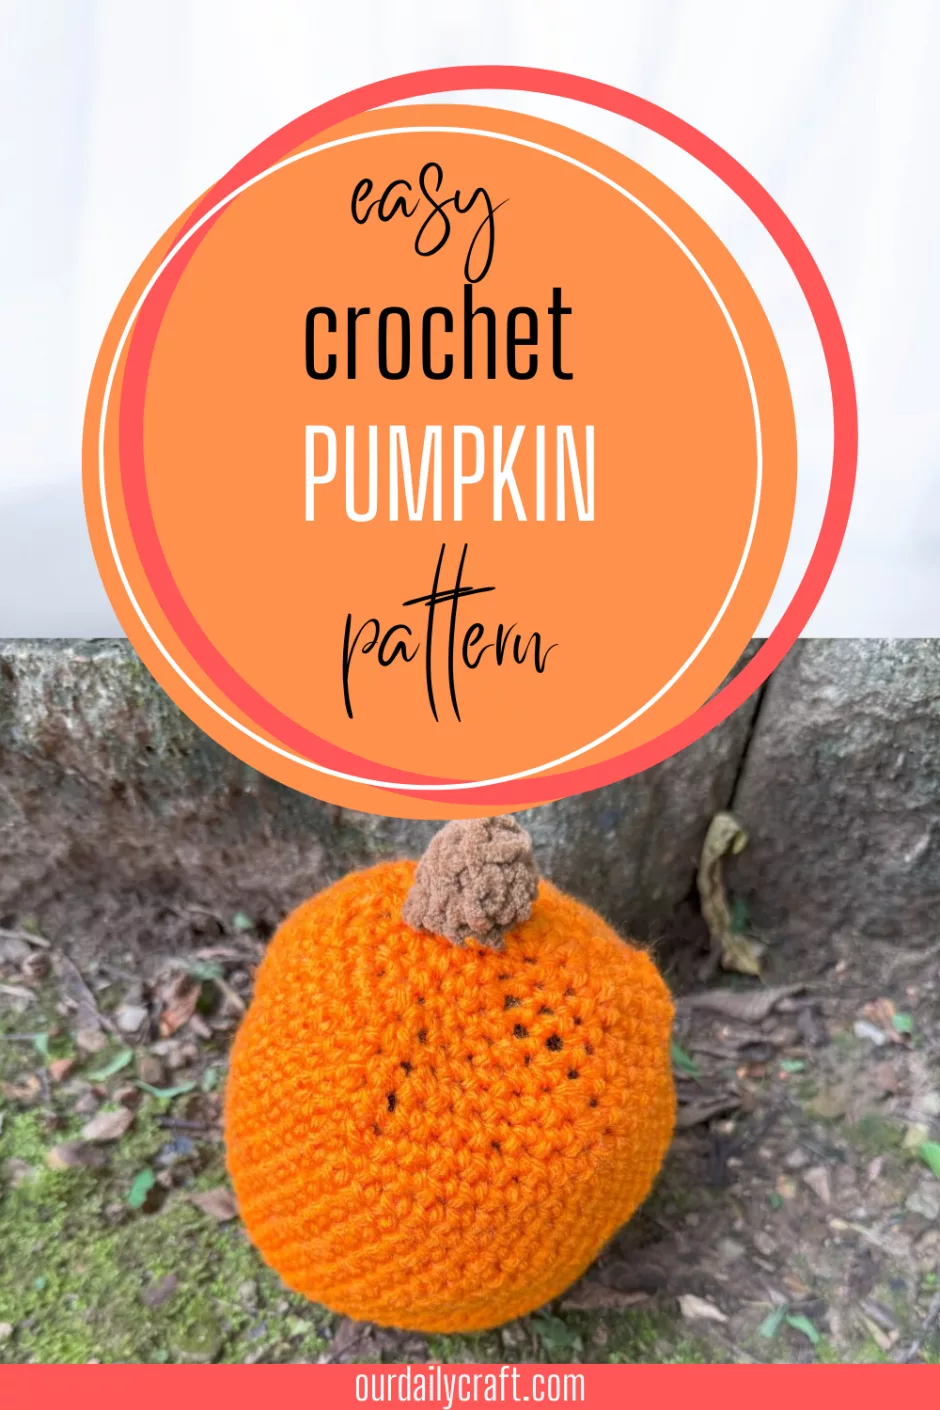
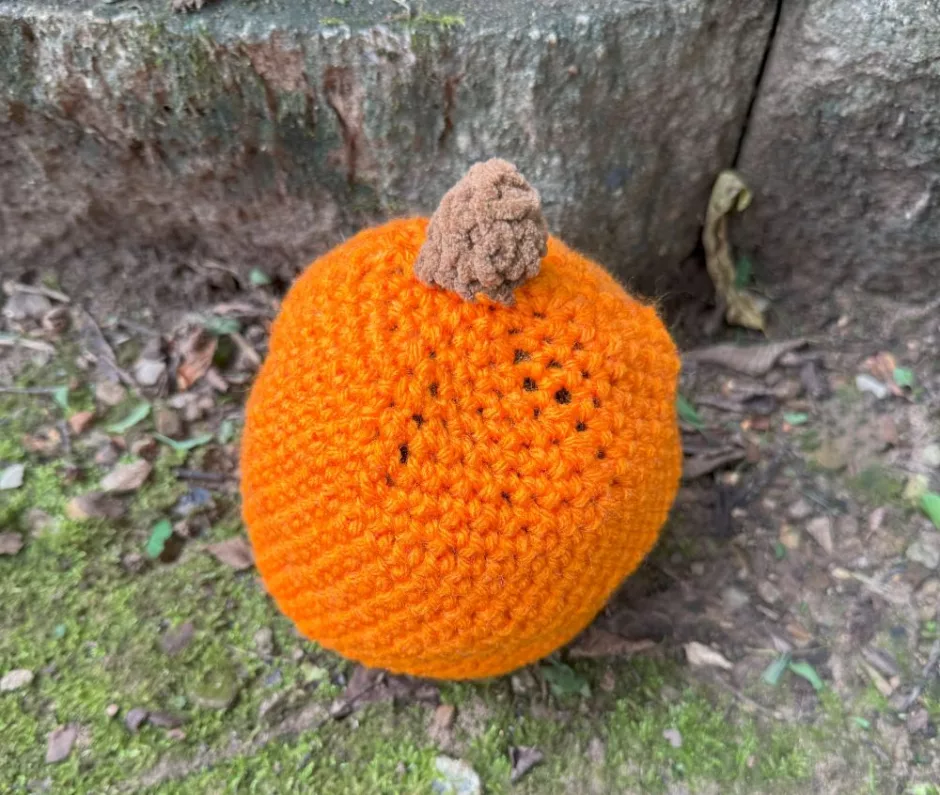
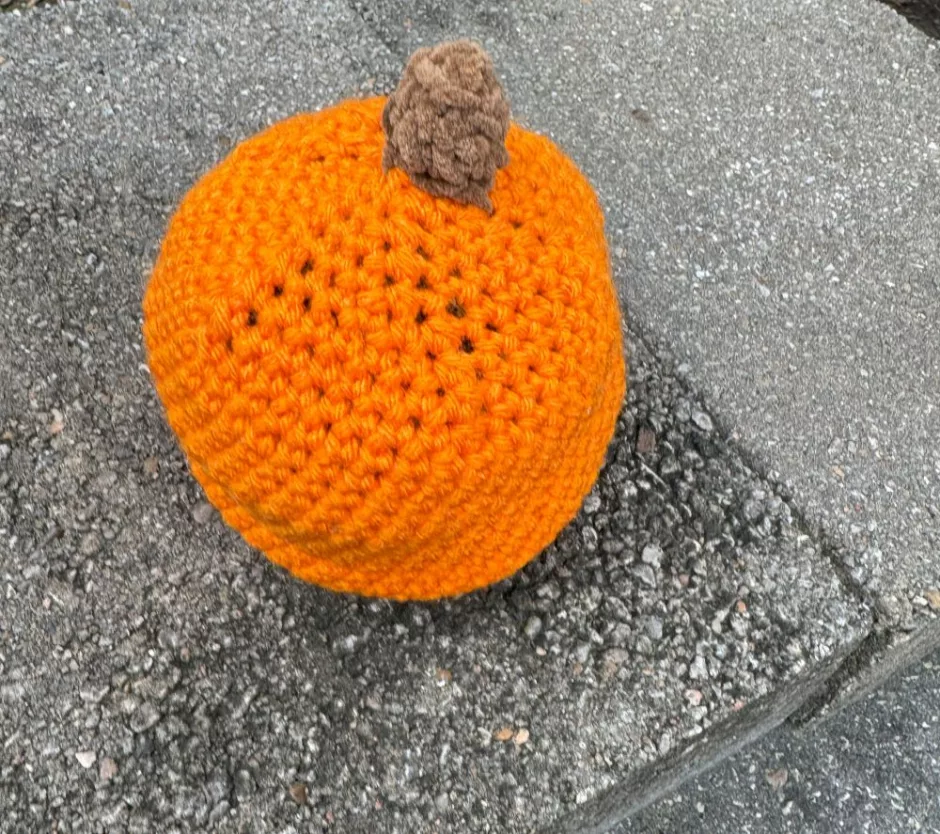
Make this easy crochet pumpkin with single crochet! The pumpkin has a flat bottom, then the sides are worked in the round and stitches are decreased at the top to finish. There’s also a little crocheted stem for extra cuteness.
Supplies
You’ll need about 75 yards of worsted/medium/weight 4 yarn. I used Red Heart Super Saver in color pumpkin.
The stem is a scrap of the old Lion Brand Suede yarn, probably two yards or so. You can use any medium or bulky weight brown yarn you have, or use something else as a stem.
We’ll work with a size 8/H/5 mm crochet hook, and you’ll also need a stitch marker, a sewing needle and whatever you want to stuff your pumpkin with (I used a bunch of old socks).
Size
Gauge isn’t that important on a piece like this, but you want your stitches to be relatively firm. The size of your finished pumpkin will vary based on your gauge and how much you stuff and shape it.
Mine is about 4 inches/10 cm across at the base, 6.5 inches/16.5 cm tall (including the stem) and 16 inches/40.6 cm around.
How to Make a Crochet Pumpkin
This crochet pumpkin pattern is worked from the bottom up. You can start with a magic circle or just chain 5 and work a slip stitch to join the chain into a round.
Work a single crochet in each chain around; 5 stitches total.
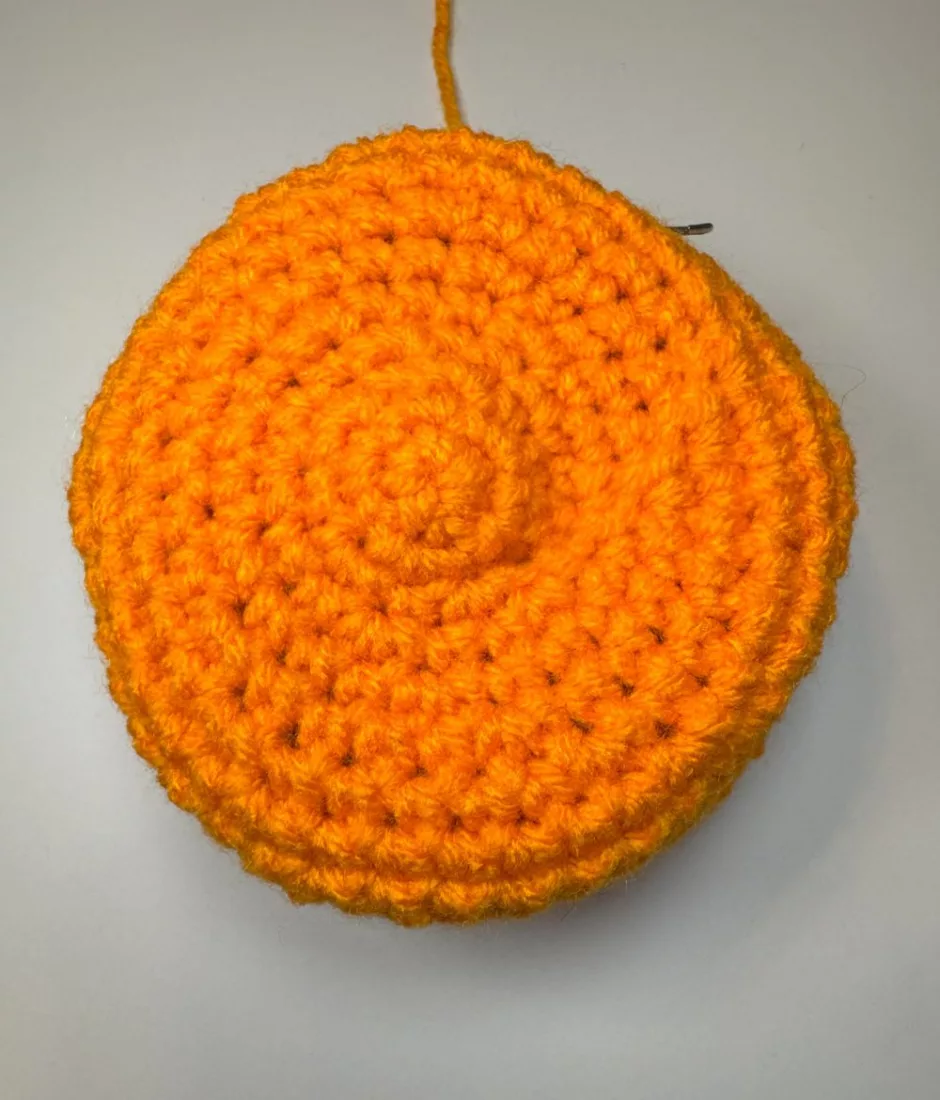
Work 2 single crochets in each stitch around; 10 stitches. If desired, place a locking stitch marker to note the beginning of the round and move it each round to keep track.
*Work a single crochet, then work 2 single crochets in the next stitch. Repeat from * around.
*Work a single crochet in each of the next 2 stitches, then work 2 single crochets in the next stitch. Repeat from * around.
*Work a single crochet in each of the next 3 stitches, then work 2 single crochets in the next stitch. Repeat from * around.
Continue in this manner, working 1 additional stitch between each increase, to desired width of the base of your pumpkin. Mine is about 4 inches/10 cm across and was 45 stitches (which is single crochet 7 stitches then increase around).
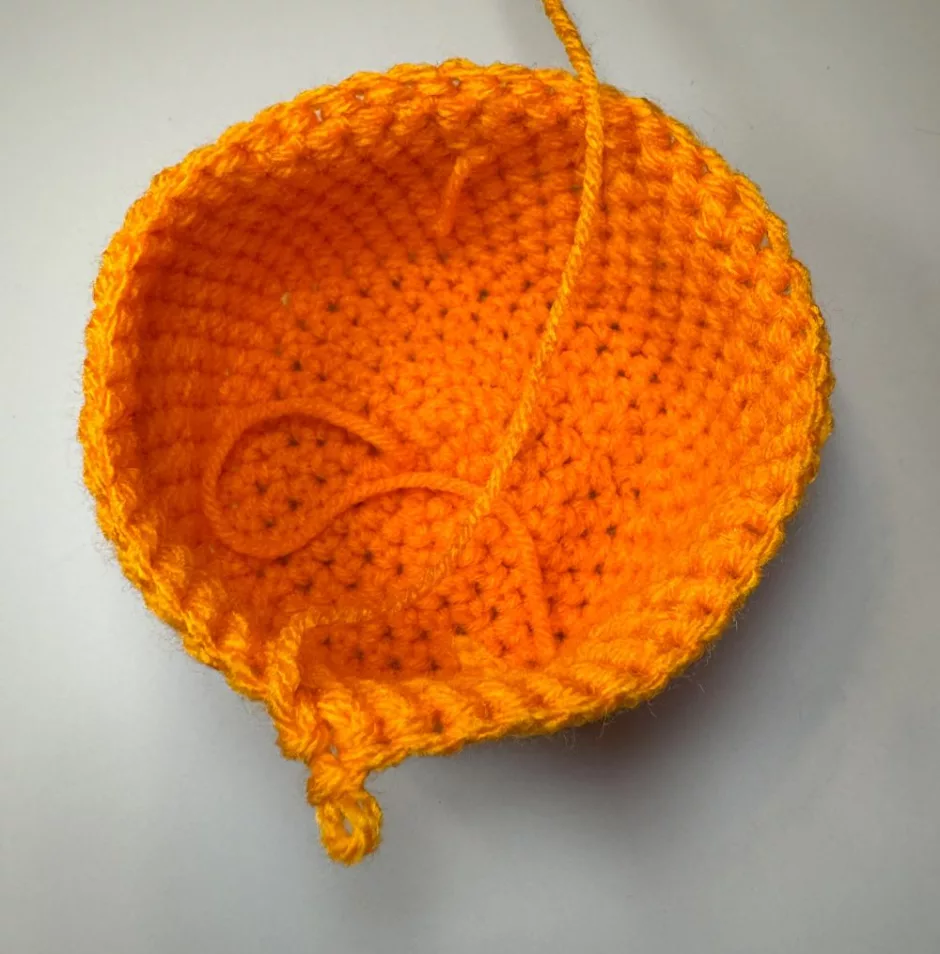
Use a stitch marker to mark the beginning of the round and single crochet around to about the desired height of your crochet pumpkin. I worked 4 inches/10 cm measuring from the base.
Shaping the Top of the Pumpkin
To finish this crochet pumpkin, I decided I wanted the top to be more rounded, so I worked decreases to shape it as follows.
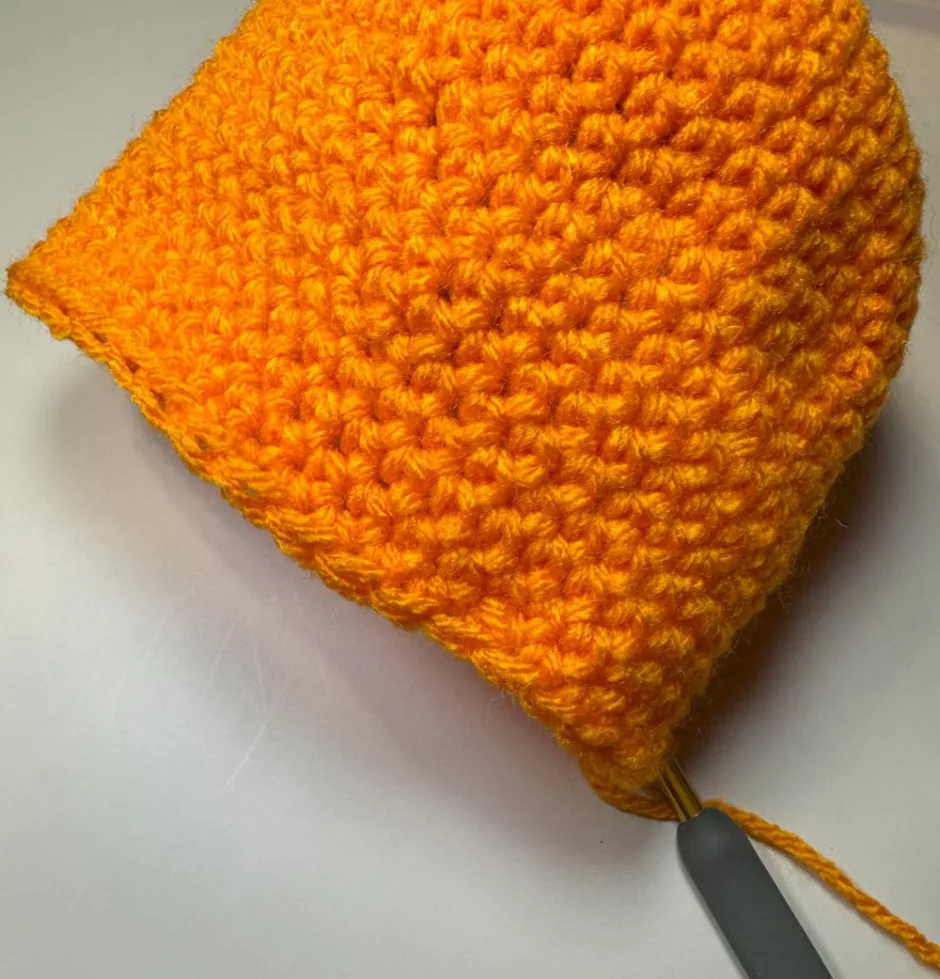
*Single crochet 7 stitches, then single crochet 2 together. Repeat from * around.
*Single crochet 6 stitches, then single crochet 2 together. Repeat from * around.
*Single crochet 5 stitches, then single crochet 2 together. Repeat from * around.
Continue in this manner, working 1 fewer stitch between the decreases each round, until you are working single crochet 2 together in every stitch.
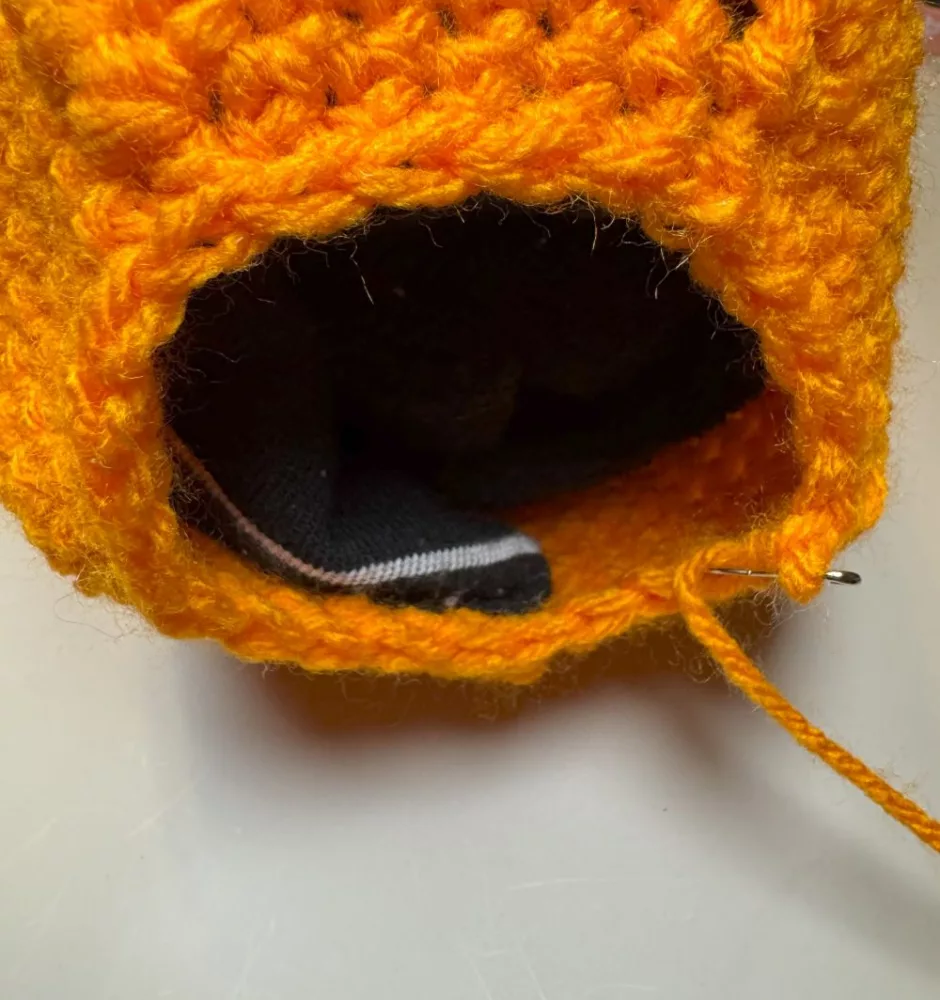
Note that you’ll want to start stuffing the crochet pumpkin at some point before the end. I started after the sc 4 stitches, sc 2 tog round.
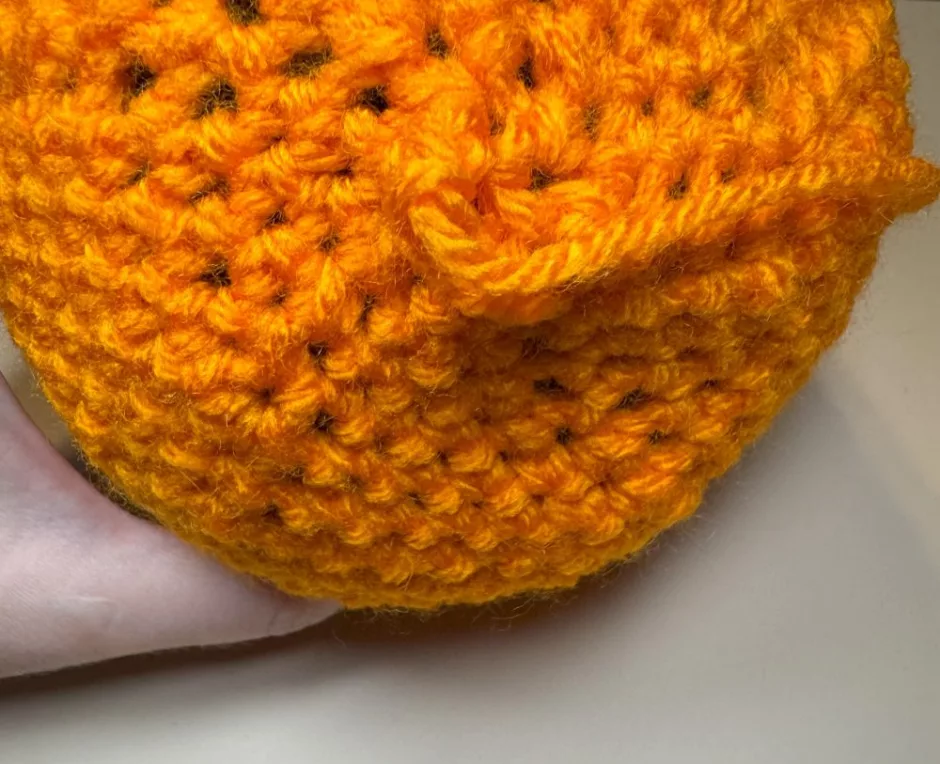
When the crocheting is done, cut your yarn and put it on a yarn needle. Close up the top of the pumpkin if you need to, then bury the yarn end in the pumpkin.
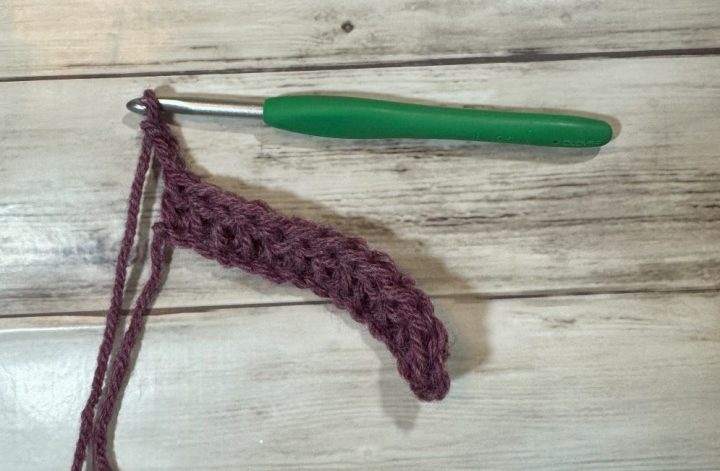
Crocheting a Stem
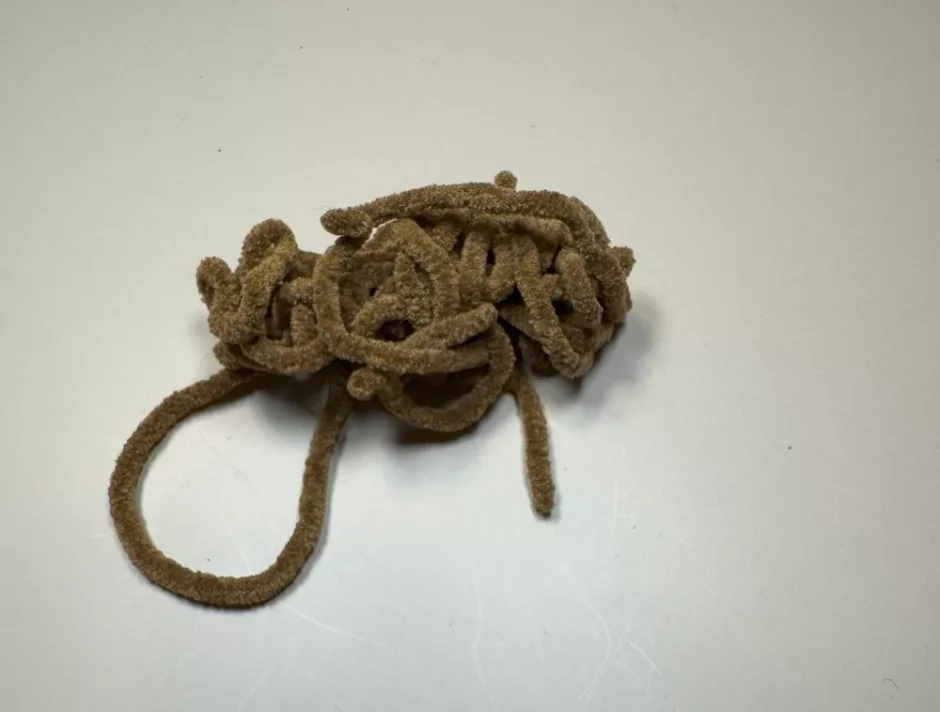
If you want to add a crocheted stem to your crochet pumpkin, there are lots of different ways to go about it. As I mentioned I used this little scrap of suede yarn but you can use whatever you have handy.
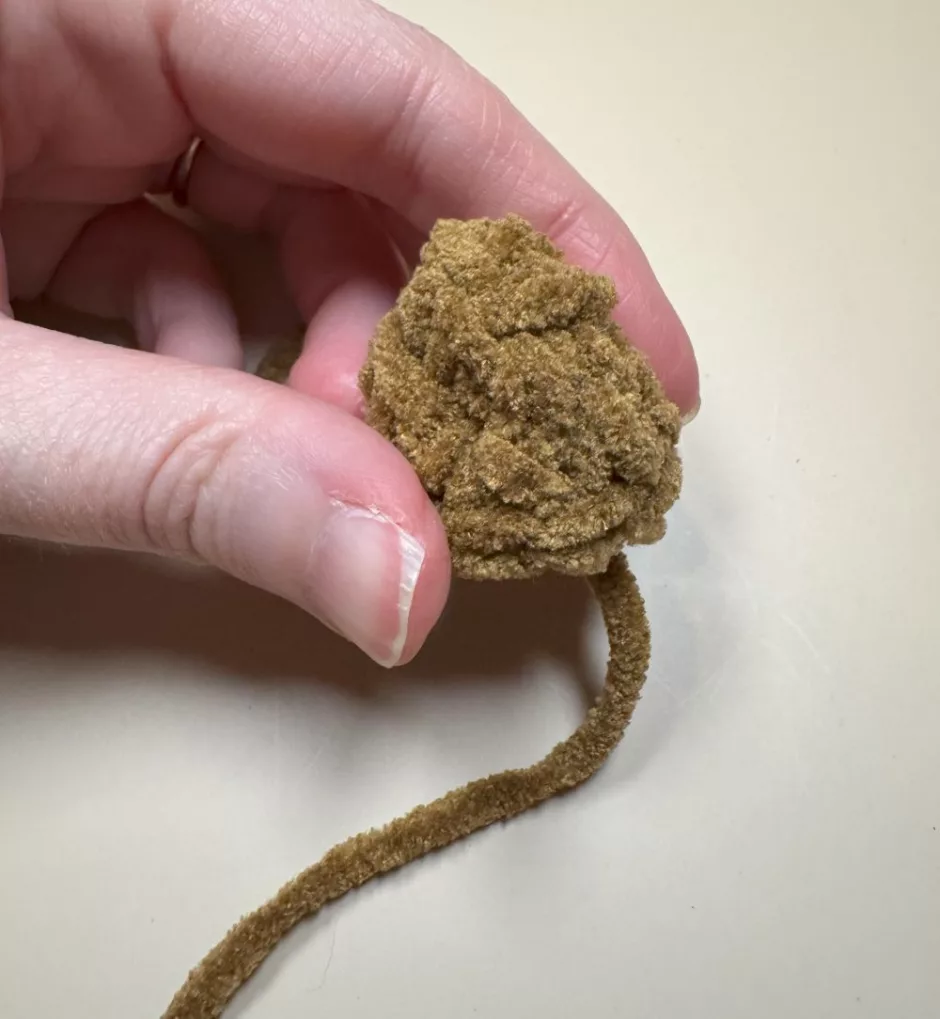
I started with a long tail to use for sewing the stem to the pumpkin. I did a chain 5 joined in a round again and then just worked single crochets around until I was about out of yarn. I think it was 3 or 4 rounds.
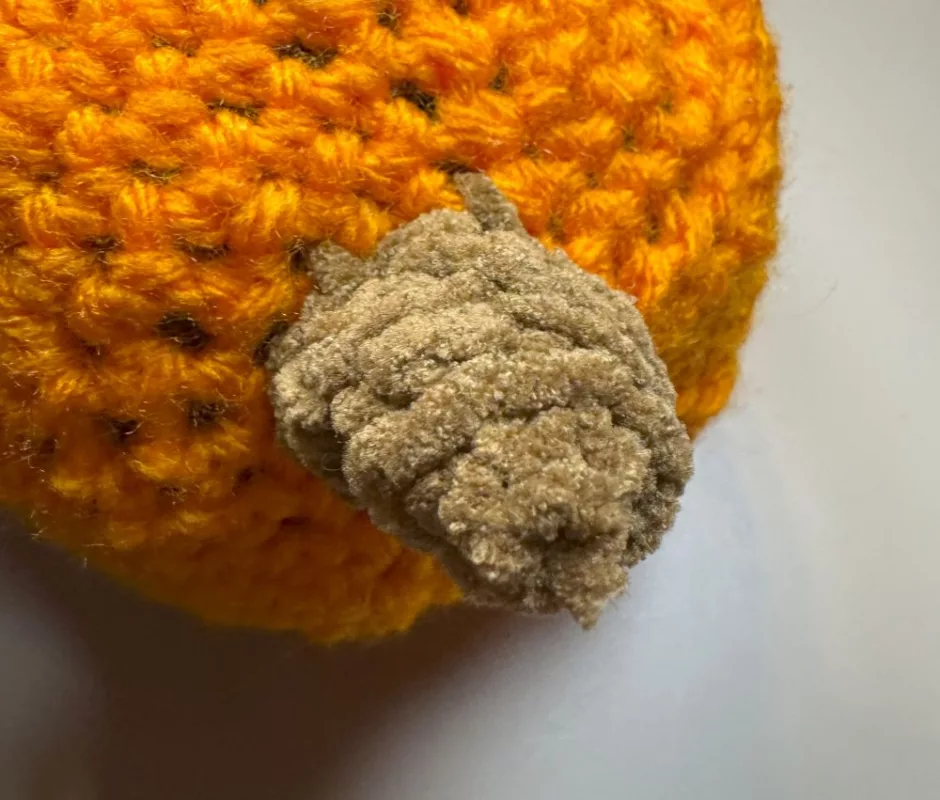
Make sure the right side is out and use the longer tail to sew the stem to the center top of the pumpkin. Bury any remaining end in the stem or the pumpkin.
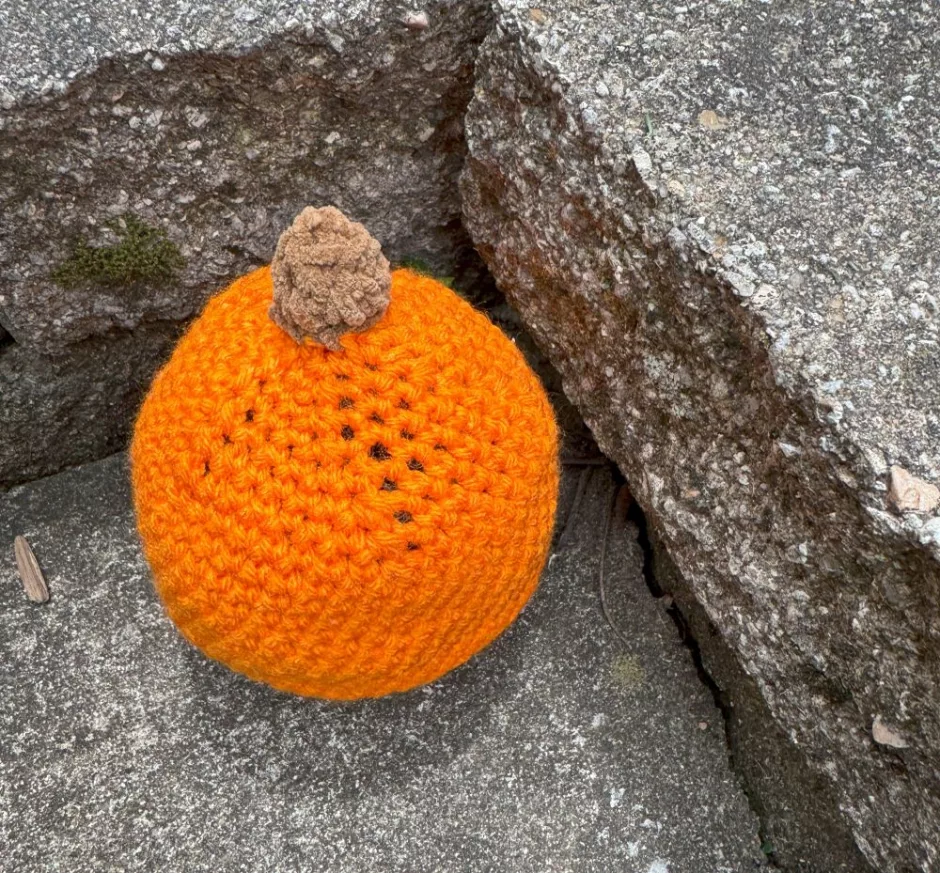
And that’s how you make a crochet pumpkin! You can easily adjust the size by making the base bigger or smaller, making the sides taller or working a round without decreasing between the decrease rounds. Of course you can also change colors, because pumpkins don’t have to be orange!