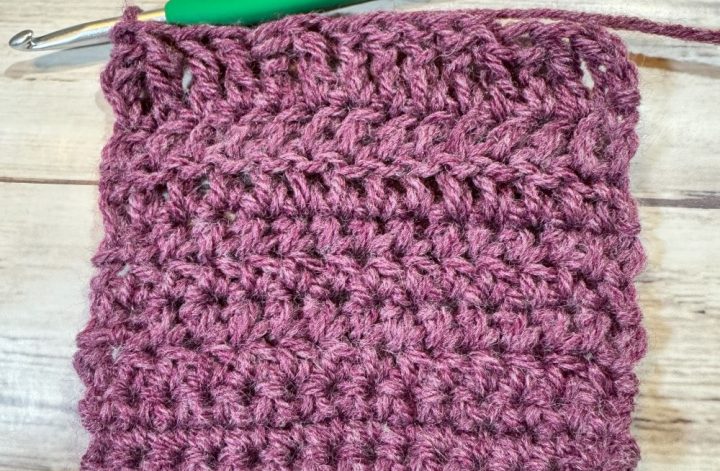
Affiliate links may be included for your convenience. View our privacy and affiliates policy for details.
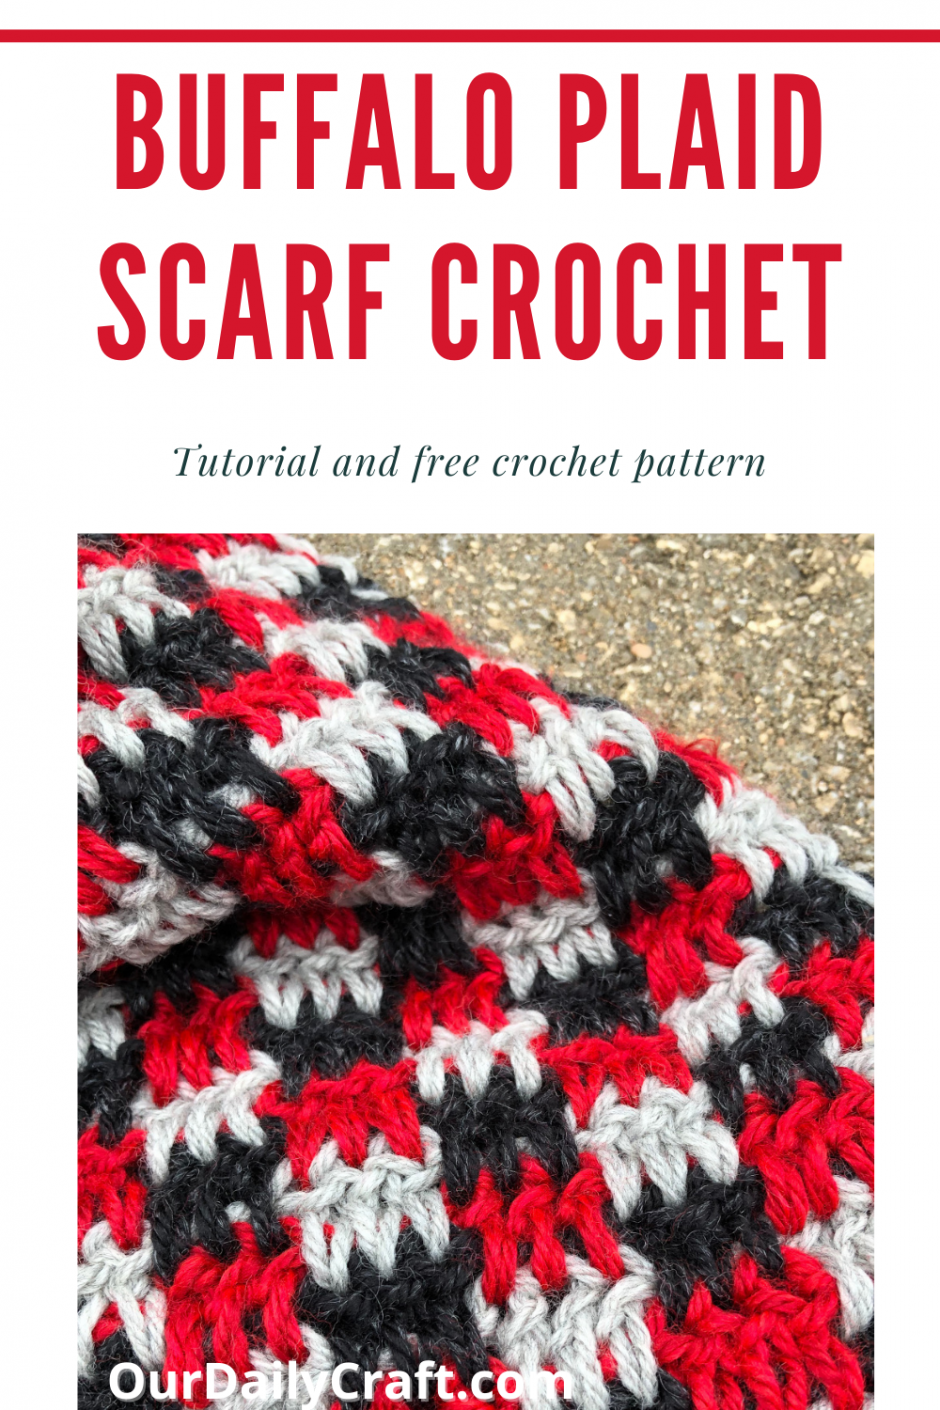
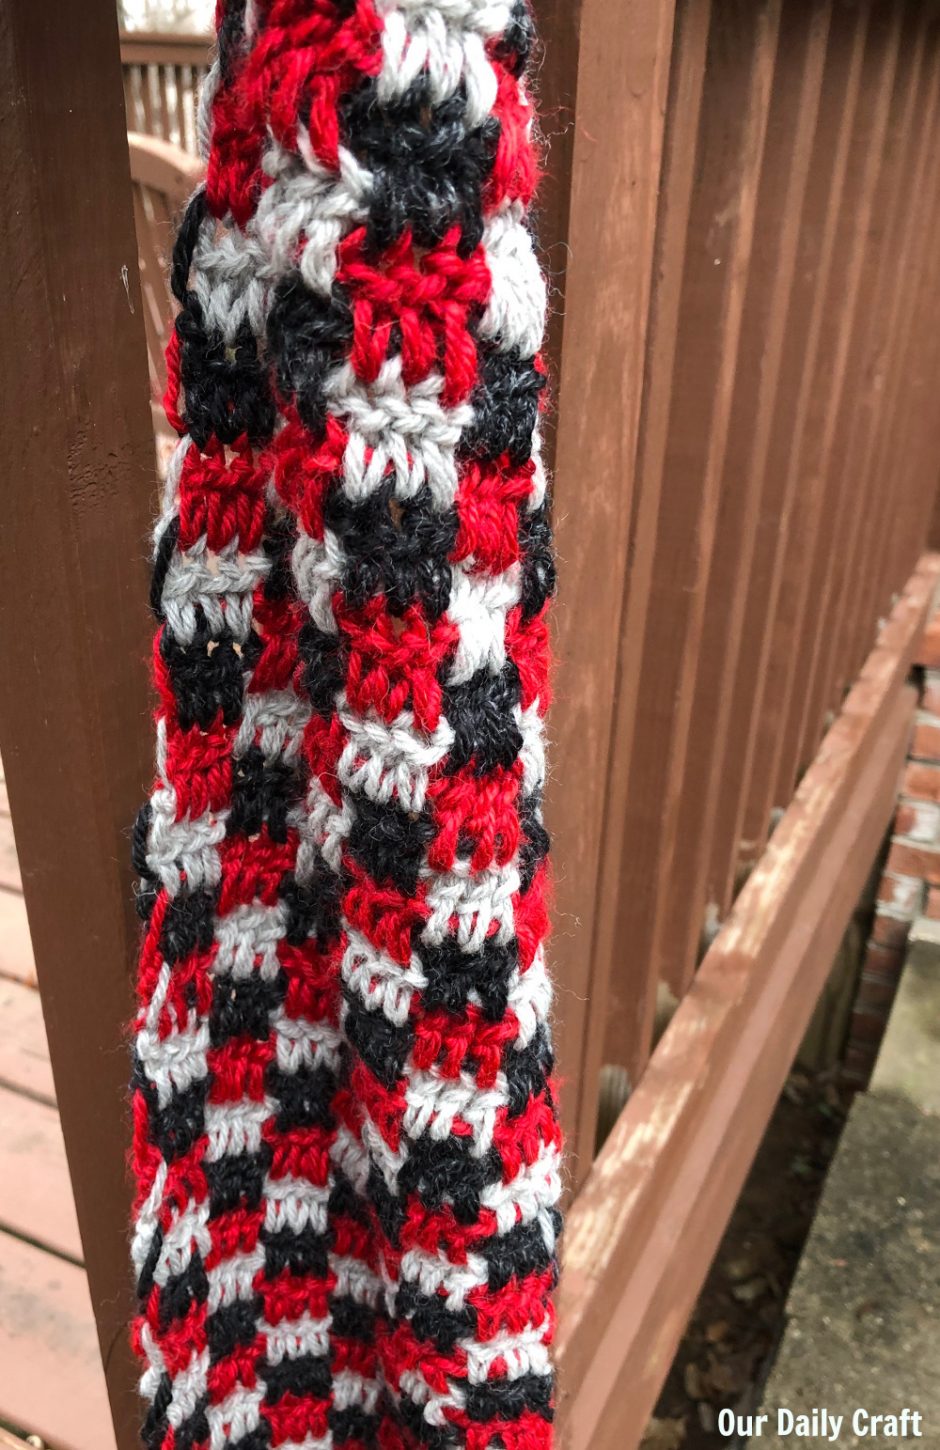
Ages ago I wrote a post all about crocheting buffalo plaid that featured photos of a scarf but I never actually shared my buffalo plaid crochet scarf pattern. Now’s the time.
Buffalo plaid crochet is actually a lot easier than it looks. There are a lot of ways to do it, but the way I did it is alternating double crochet stitches and gaps made with chains. You cover up the gaps in the fabric with the next color in the next row, which gives you the cool checkerboard effect.
You can make a buffalo plaid crochet scarf with any number of colors that you like. I used three for ease.
Materials
You need roughly the same amount of each yarn used. I used worsted weight yarn in three colors, about 360 yards total or 120 yards each.
The red and black are Lion Brand Heartland in Redwood and Black Canyon. I think the gray is Cascade 220 in Silver Heather.
Size I/5.5mm crochet hook (or size to go with your yarn if you use a different weight of yarn)
Scissors and yarn needle (or use crochet hook to weave in ends)
Gauge
Gauge is not critical if you like the fabric you are getting. I got 15 stitches and 7 rows per 4 inches/10 cm or 3.75 stitches and 1.75 rows per inch/2.5 cm in double crochet.
Size
You can make the scarf any size you want. Mine is 6 inches/15 cm wide and about 6 feet/1.8 meters long. If you want a wider or narrower scarf, add or subtract multiples of 3 stitches plus 2 for the turning chain.
Buffalo Plaid Crochet Scarf Pattern
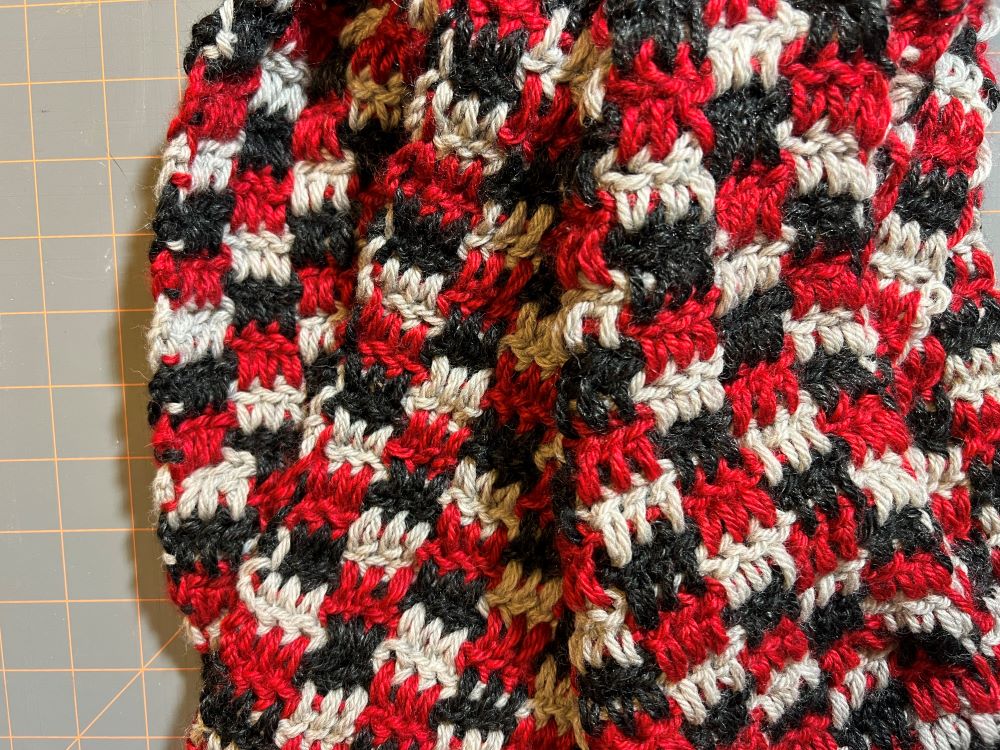
Decide the order of your colors. I did black as color A, red as color B and gray as color C. (The tutorial photos show different colors — beige, pink and purple.)
With color A, chain 23.
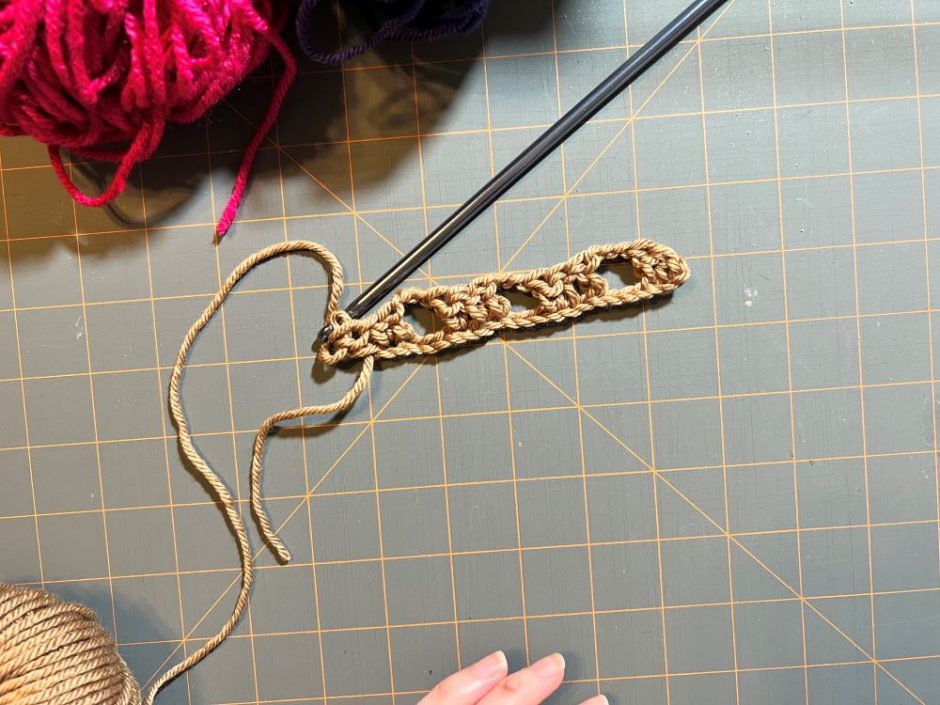
The first two chains count as one double crochet. Starting in the third chain from the hook, double crochet 2. *Chain 3, skip 3 chains, double crochet 3 in the next 3 stitches. Repeat from * across. You will have 4 sets of double crochet stitches separated by three sets of chains. Change to color B, chain 2 and turn.
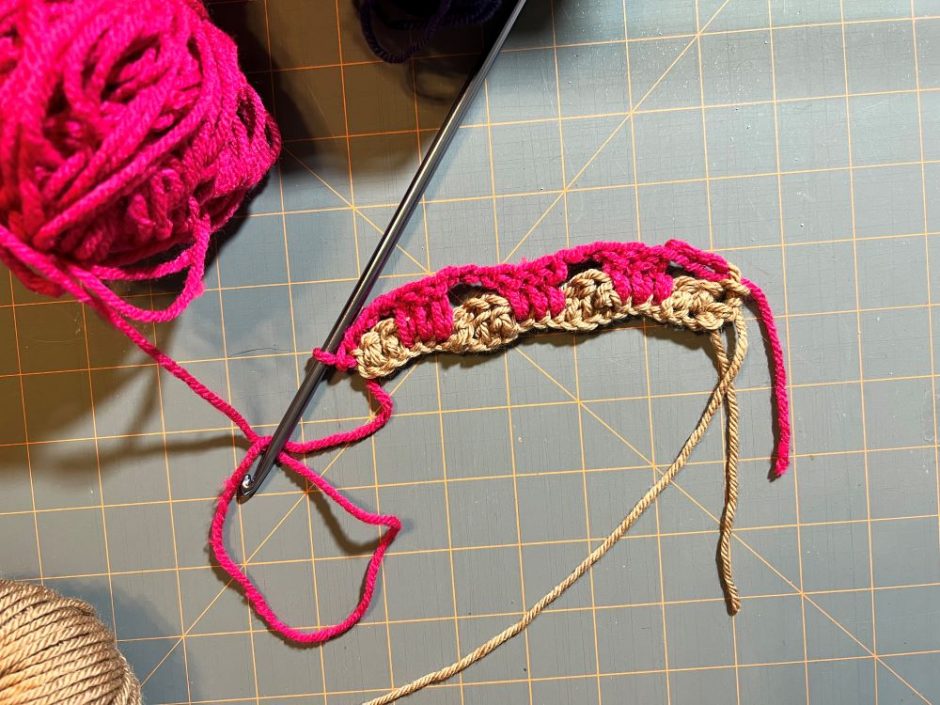
Chain 3, skip the next 3 stitches, *double crochet in the next 3 stitches (make sure you are covering up the chain from the last row and going into the stitches below), chain 3 and skip the next 3 stitches. Repeat from * across. Slip stitch into the last stitch of the row below. Change to color C, chain 2 and turn.
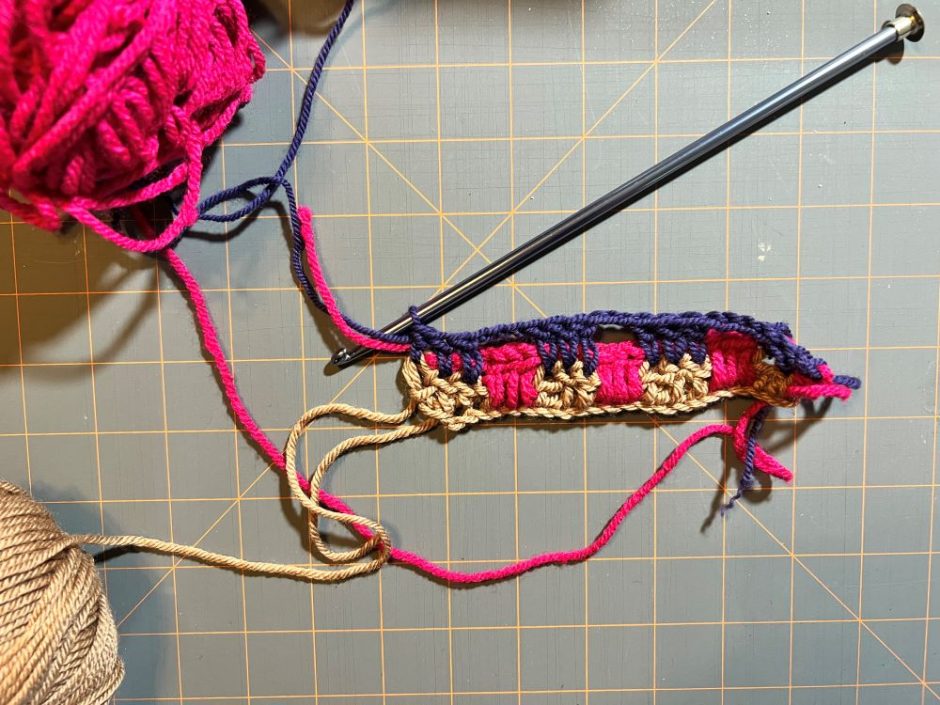
Chain 2 (counts as first double crochet), double crochet 2. *Chain 3, skip 3 stitches, double crochet in the next 3 stitches. Repeat from * across. Change to color A, chain 2 and turn.
Repeat these two rows, changing colors every row. You’ll know what color to work next if you never cut your yarn, just leave it hanging where you finished it and pick it up (a little loosely so it doesn’t cramp the previous row) when you get back to it.
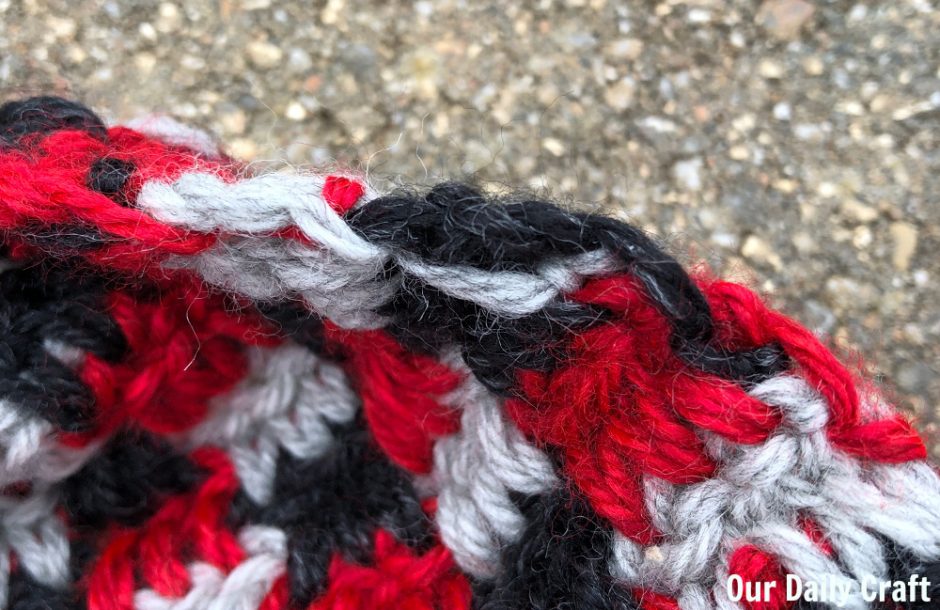
When you want to finish off your project, end with a color A row if you care about the ends matching. Instead of chaining and skipping the stitches as established, work a single crochet in the top of each double crochet from the previous row. When you get to the end of the row, fasten off and weave in ends.
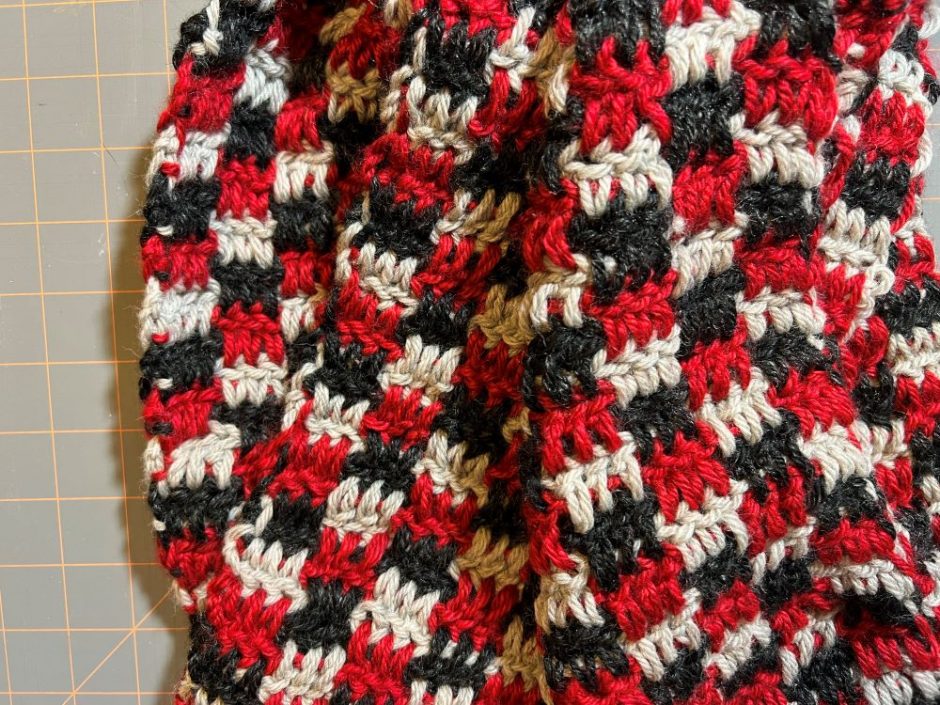
Because you carry the yarn up as you go, you can get out of this project with just six ends to deal with, which is pretty great. But after making that sample I kind of want to make a plaid blanket with a different color on every row. What do you think?
