Affiliate links may be included for your convenience. View our privacy and affiliates policy for details.
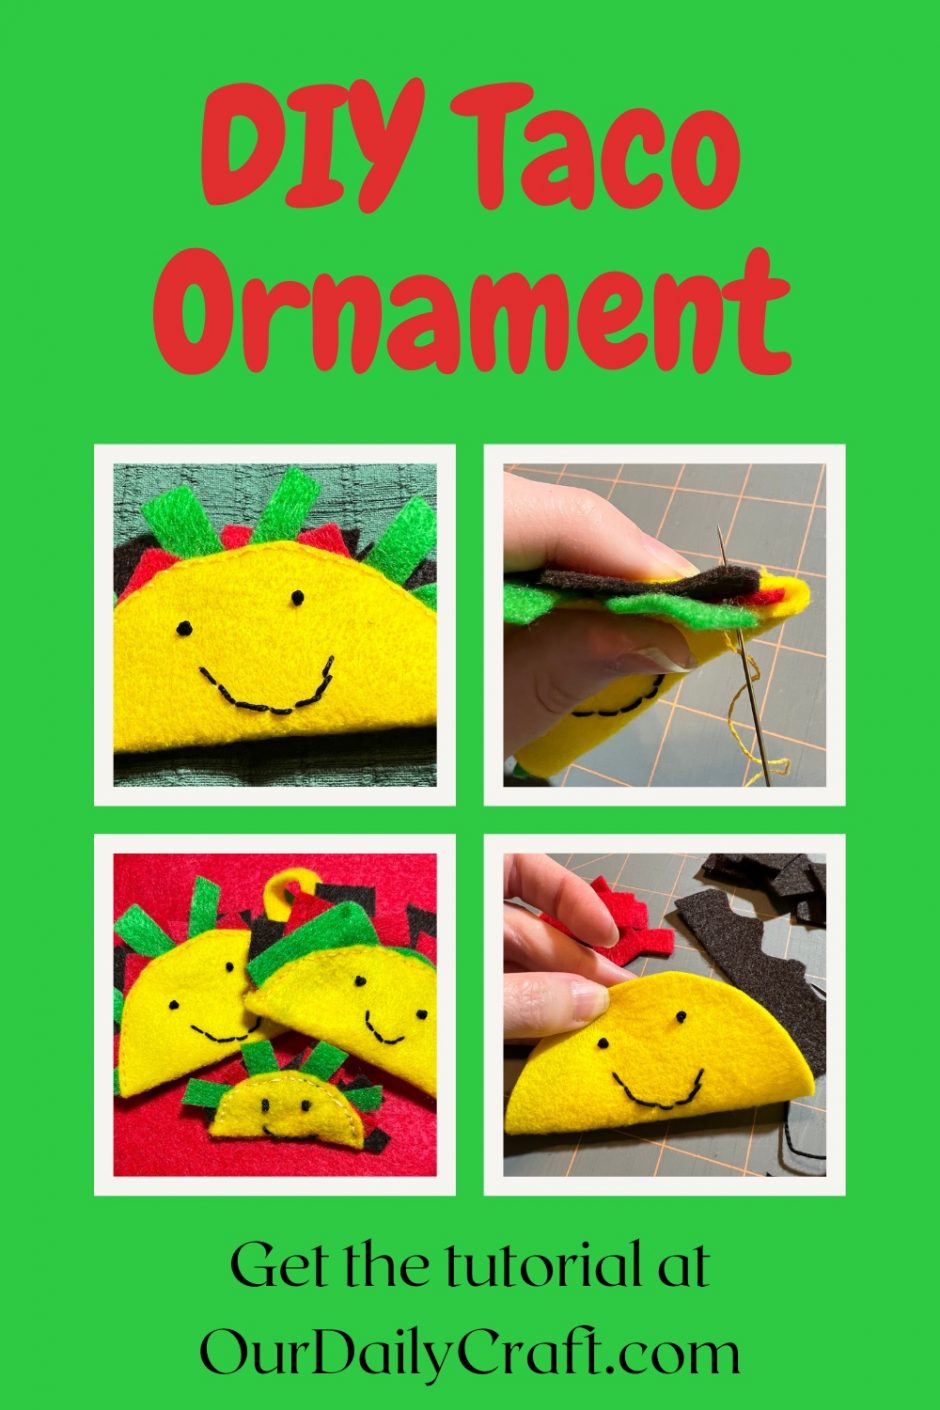
This whimsical DIY felt taco ornament is so fun to make and, for me, at least, it has a funny story attached.
One of my many jobs involves lots of communication via Slack, and we use an app that allows you to send people virtual tacos to thank them for their help with something or when they go above and beyond.
It’s actually pretty fun and feels a little more special than just saying thank you to someone one-on-one.
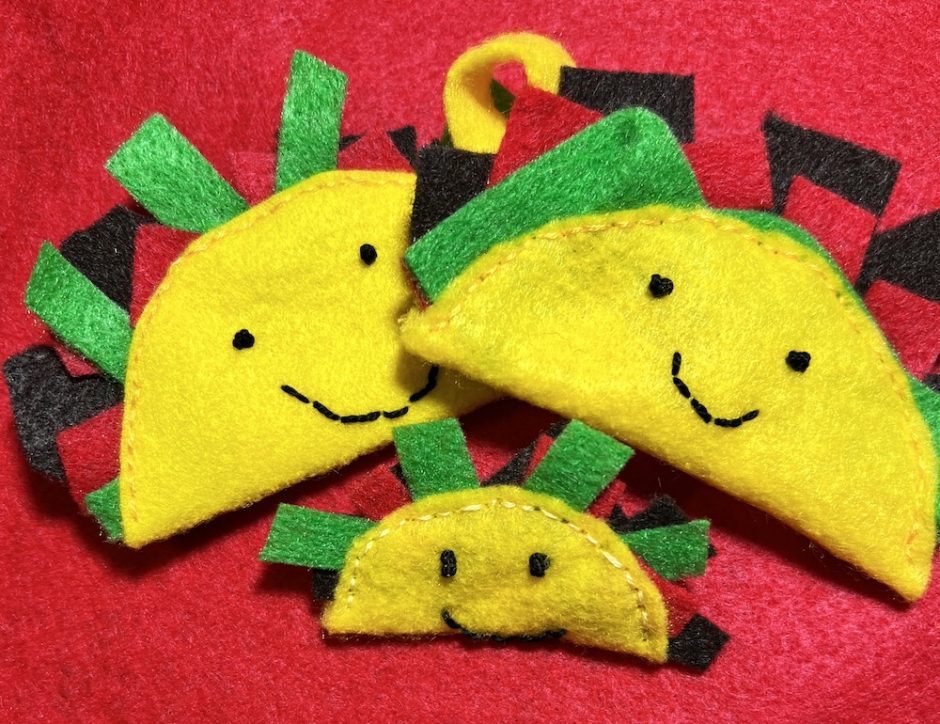
But sometimes I wish I could give someone actual tacos. Maybe not the edible kind, since those would get gross in the mail, but this DIY felt taco would be a fun way to send a thank you to someone, or make a cute ornament for the tree, refrigerator magnet, etc.
What You’ll Need
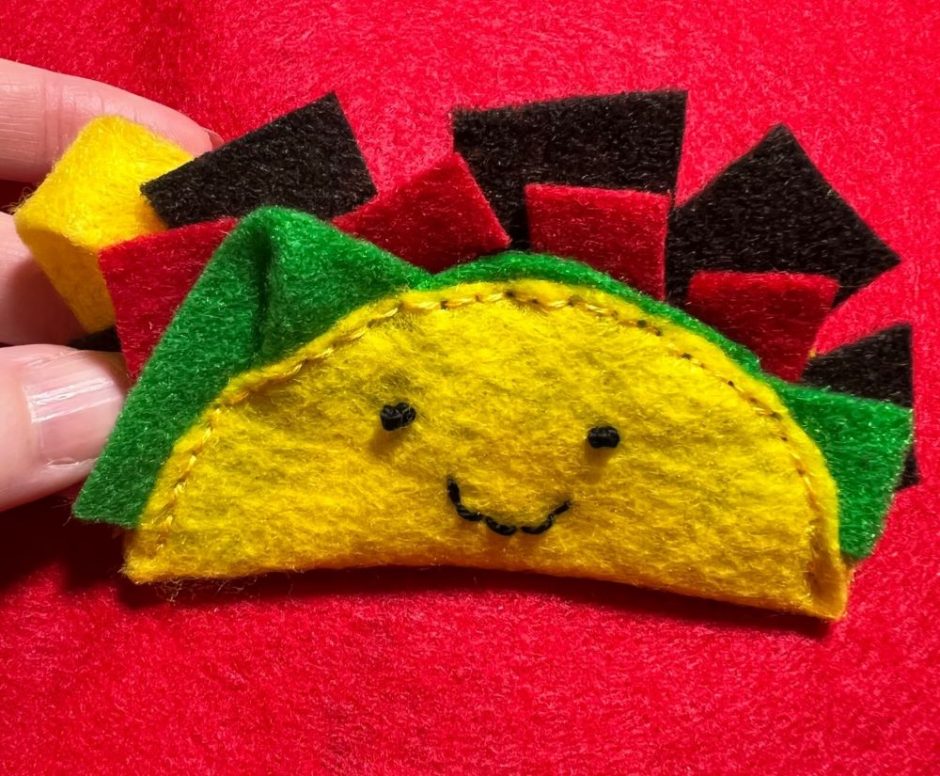
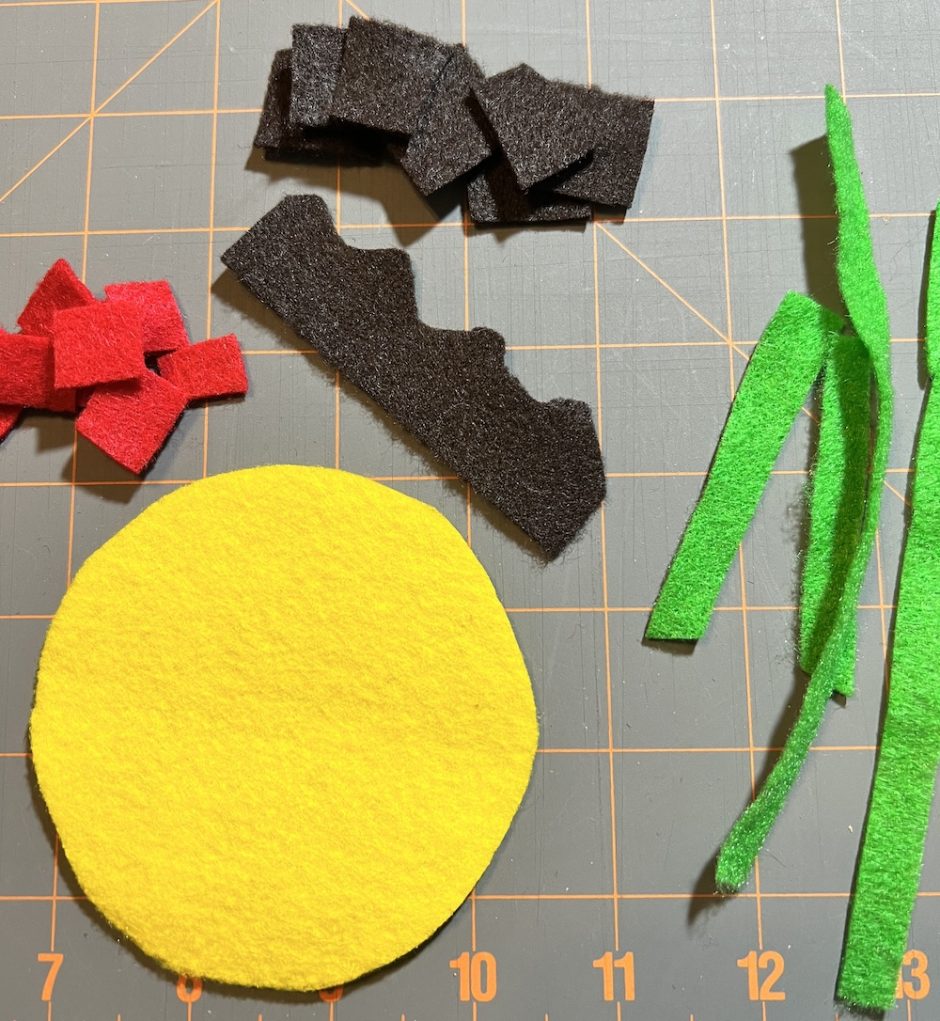
This felt taco uses four colors of felt: yellow for the shell, brown for the meat, red for tomatoes and green for lettuce. If I had orange or a different shade of yellow I might have included it as cheese, but I wanted to use what I had. You can use whatever colors represent the toppings you like.
I had regular felt sheets but also a stiffer felt in the yellow shade. I tried using both and while the stiffer felt did give a sturdier feel to the taco, I don’t feel it made a huge difference. Use whatever you have on hand if you have a stash of felt.
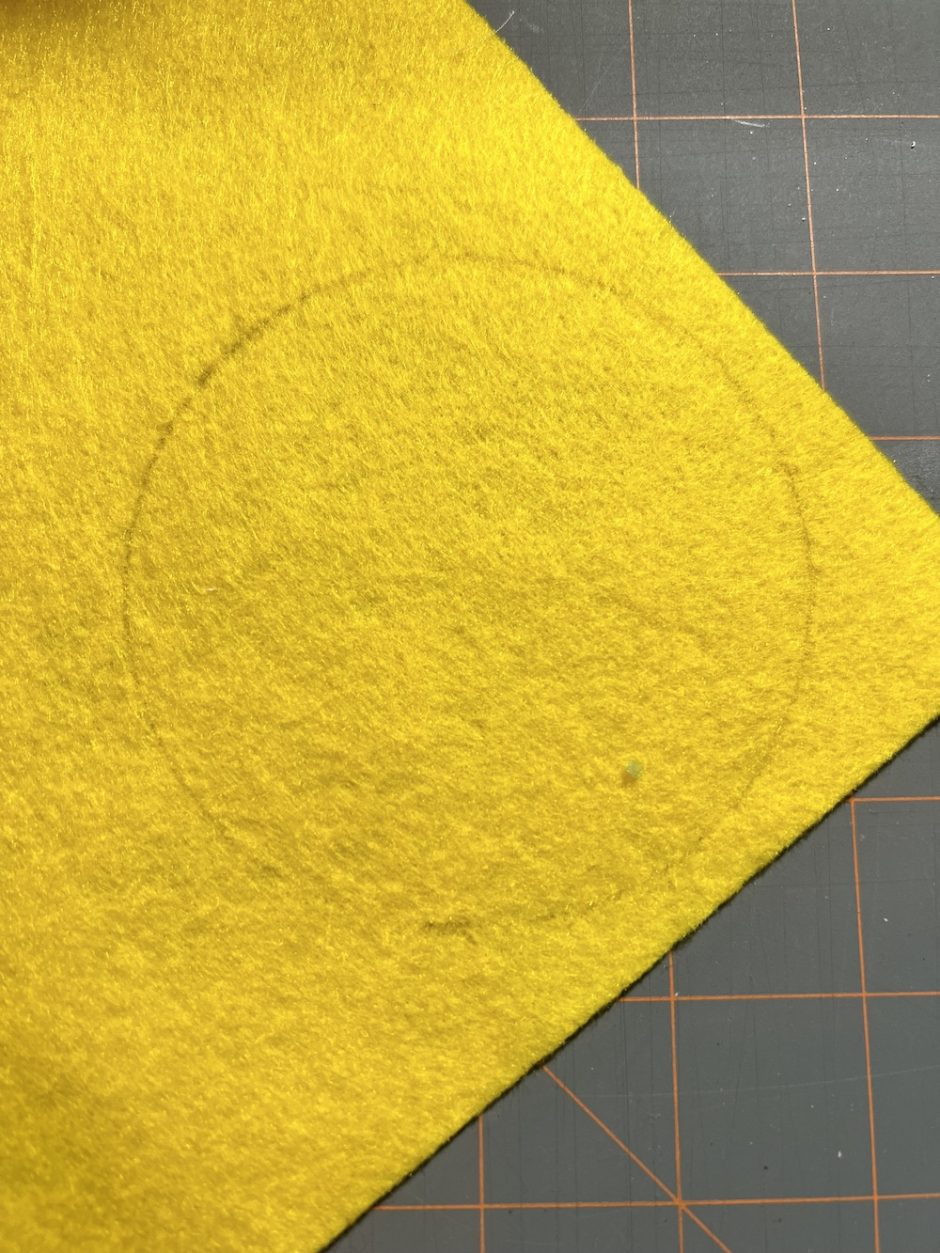
You’ll also need a round object to use as a template for your shell (I used the lid of my button jar for the large one and a balm lid for the smaller one), a pen for marking out the circle, fabric scissors, a sewing needle and embroidery floss. I used black for the face and yellow to sew up the taco.
How to Sew a DIY Felt Taco Ornament
Trace the jar lid or other round object on the yellow felt, wrong side up. Cut out the circle.
Cut your other colors of felt into shapes for the toppings. For my first taco I did larger rectangles for the meat, smaller rectangles for the tomato and one long piece of green to look like shredded lettuce.
For the second one I added a piece of brown felt with a kind of scalloped edge like a cloud to look more like a pile of meat. I made my lettuce narrower and shorter.
The little one is rectangles for the meat and tomatoes and even smaller pieces for the lettuce.
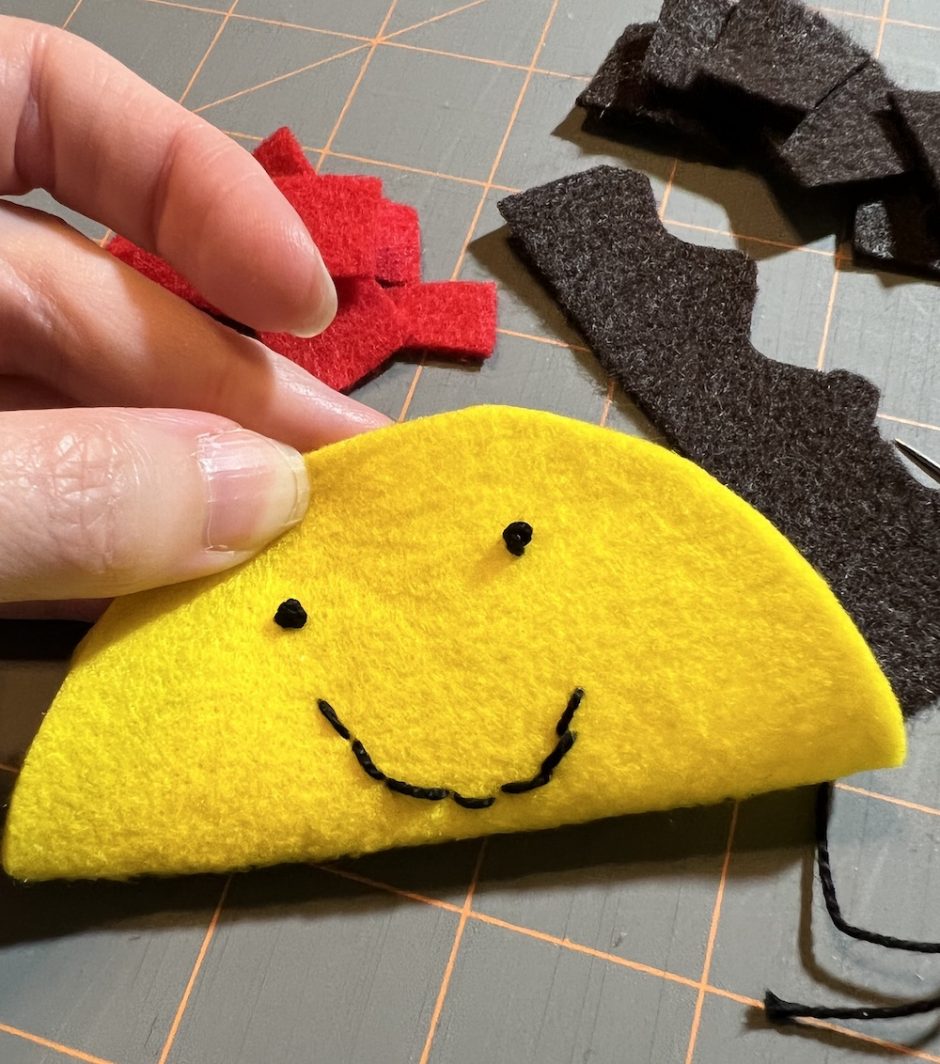
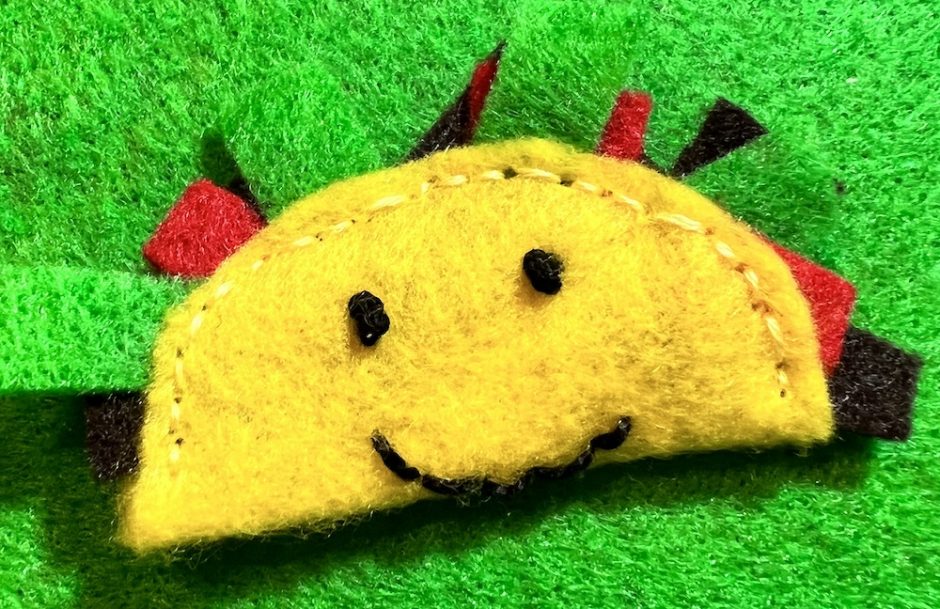
Before you add your toppings, give your taco shell a face. I like to freehand mine. The eyes are French knots with a little backstitched smile underneath.
Play around with how much of each you want and how you want it to look. You’ll want to distribute “toppings” all around the shell and make sure that all the pieces are sandwiched between the pieces of “shell” close enough to the edge so that when you sew it they’ll all be secured.
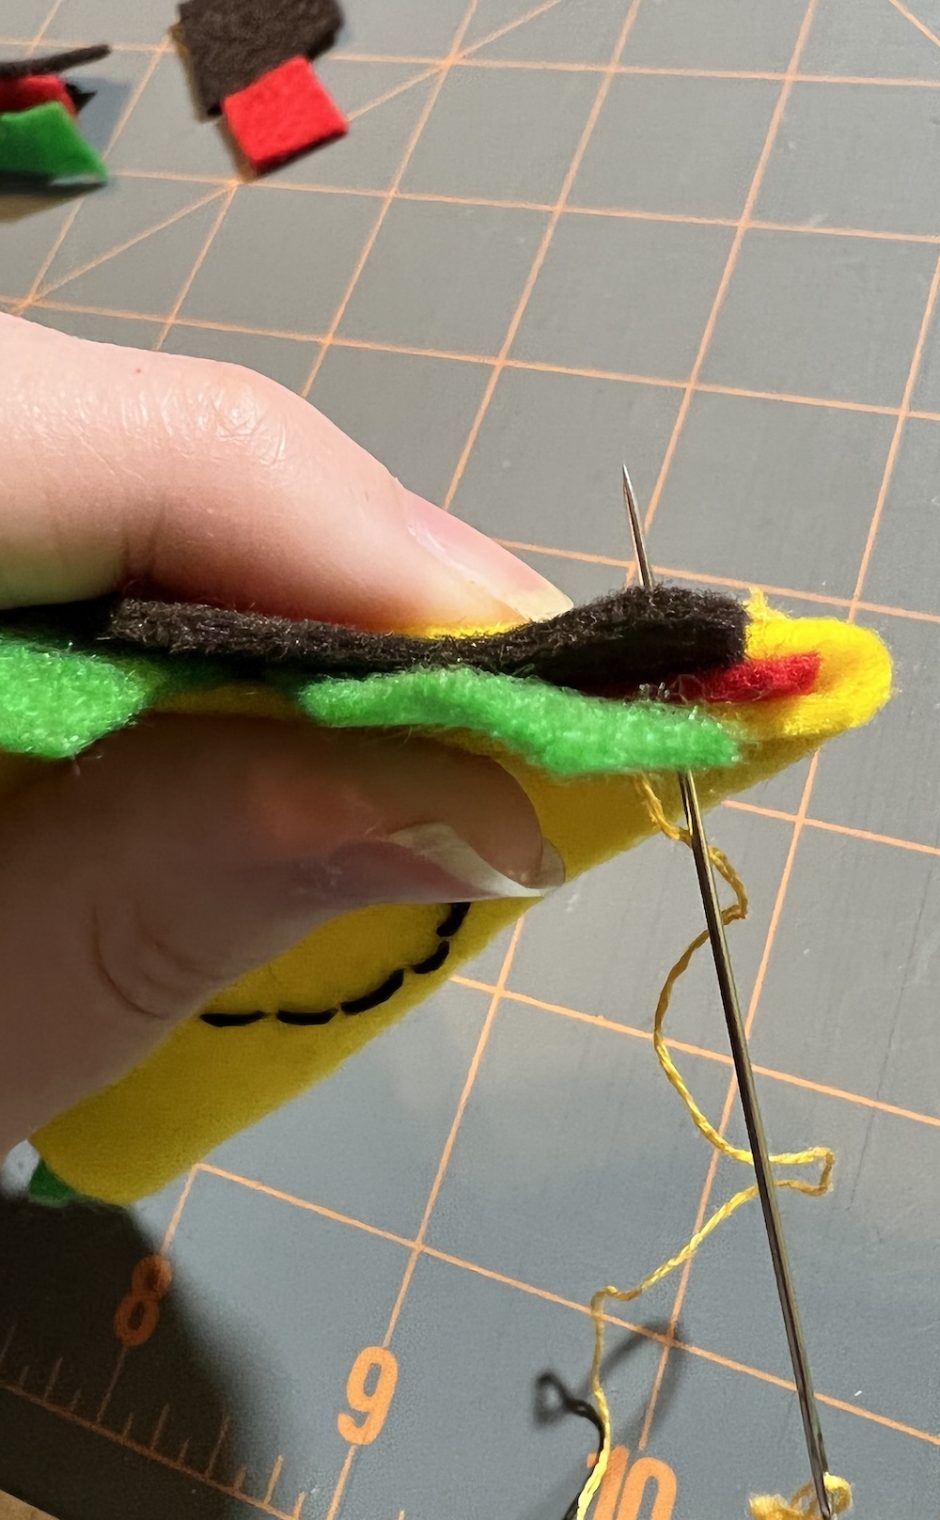
Once you’re happy with the look, use yellow thread to sew through all layers, close to the edge of the shell. I used a kind of backstitch for this, too, but you need to form one stitch at a time to make sure you’re sewing through all the layers. I used a pretty large needle for this.
DIY Felt Taco Options
Either size taco can be made into an ornament by stitching a loop of felt onto the back.
You could make them into magnets by hot gluing a round magnet to the back.
Or sew on a pin back and make yourself a taco badge.
You could make a really big one and have a taco pillow.
Use tiny buttons for the eyes instead of French knots. Add a nose or a bit of blush for more personality if you like.
These taco ornaments are so fun and easy to make and take such a tiny amount of supplies I just might have to make them for all of my coworkers!