Affiliate links may be included for your convenience. View our privacy and affiliates policy for details.
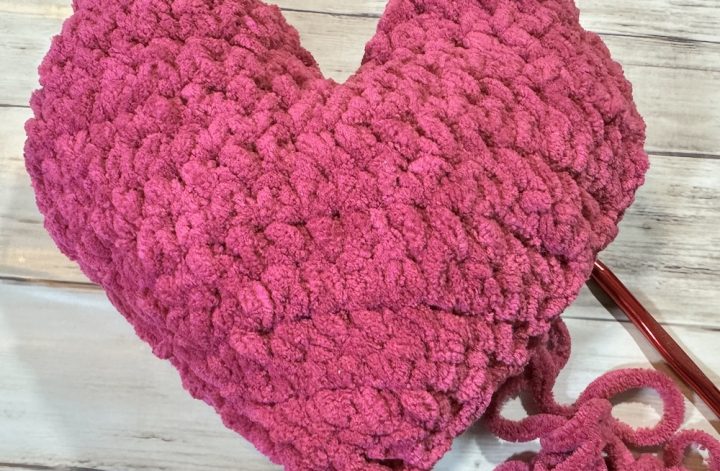
The magic circle crochet technique is a way to start a project that’s going to be stitched in the round from the center out. It claims to be a sturdy method of beginning a circle, with a smaller hole at the center than using a chain to start.
But some people find it’s not very secure and can come undone even after your project is finished.
So let’s take a look at how to crochet a magic circle (also known as a magic ring or a starting ring), as well as an alternative that might be stronger.
When to Use a Magic Ring
Some pattern will call for a magic ring, while others (usually those who have been burned by a failed magic circle in the past, I’d guess) will suggest using a chain and joining the chain into a circle. Then you can work your stitches around the chain to make a circle.
The chain circle might not close as fully as a magic ring, but you can close it up just fine when you weave in your tail.
You can use a magic ring any time you are working a project from the center out in rounds, such as for the top of a hat, an amigurumi head, even some kinds of granny squares. If the pattern calls for a chain instead, just make a magic circle and work however many stitches it calls for into the ring.
Likewise if you find you don’t like magic rings, you can chain and make a loop to work into instead.
Making a Magic Circle

There are a few different ways that people set up working a magic circle. You can wrap the yarn around your fingers for a little extra stability or just start on the table like you were making a slip knot.

They key for the setup of magic circle crochet is that you want your yarn in a loop so that the tail end is on the left hand side and the ball end loops up and over on the right hand side.

Take your crochet hook into the loop that makes, yarn over and pull up a loop. (It’s a little more stable to do on your fingers, but easier to see without them.)

Chain 1.

Work as many stitches of whatever type you want into the ring, making sure you’re stitching over both the tail end and the ball end of the yarn. I did 5 single crochets.

When you’ve worked all the stitches you need to for your pattern, pull on the tail end and the hole in the center should close up (shown in progress here).

Crochet on as usual. You can pull on the tail again to tighten more, and make sure you weave it in securely when you’re done.
Double Magic Circle Crochet
A stronger option than the regular magic loop is known as a double magic circle because you wrap the yarn around one more time so it has double the yarn as the foundation of the circle.
This one I do find a lot easier to do around fingers, and it’s still pretty fiddly so you might want to practice a few times before using it in a project.

Start by holding the tail end of the yarn with your thumb at the front of your hand. Wrap the yarn up and back around your fingers, then wrap two more times, for a total of three loops over top of your fingers.

Flip your fingers over and stick the crochet hook under all three loops.

Yarn over and pull up a loop.

Chain 1. At this point it’s a little more secure so you can take your fingers out.

Work as many of whatever kind of stitches as your pattern calls for to make the magic circle. Here I did 5 single crochets.

To tighten a double magic circle, pull the loop of the stitch you just made so that it’s bigger than usual and take the hook out. Pull on the tail end of the yarn and observe which loop moves.

Grab that string and pull it tight first. This will close up the hole but also leave a loop.

Pull on the tail end to eliminate the extra loop of yarn and fully close up the hole at the center of the loop.

Work your project as usual.
I have no evidence that the double loop is stronger or less likely to pull out other than my gut, which says it should be harder for it to come loose with two loops underneath. As always make sure you weave in the end well.
You also can’t tell in the project if you used a single magic circle or a double, so use whichever one you feel more comfortable with in your project.