Affiliate links may be included for your convenience. View our privacy and affiliates policy for details.
Air dry clay beads are a fun and easy way to play with air dry clay for kids and adults. You can finish them lots of different ways and then use them in other projects as well.
Materials
To make air dry clay beads, all you need is some air dry clay and a wooden skewer or toothpick.
You can of course buy air dry clay but I like to make my own air dry clay. It’s super simple and fast to do and makes a lot, so you’ll have plenty for exploring other projects when the beads are done.
Then you’ll also need whatever paint, markers, papers or other supplies you want to use to decorate your beads, which we’ll get into a little bit more below.
Making Air Dry Clay Beads
This feels like a silly thing to make a tutorial about because of course we all know how to make beads, right? It’s the same technique you might have used playing with playdough when you were a kid.
But it felt worth a post just to share some ideas of what kinds of shapes you might like to make and how to finish them.
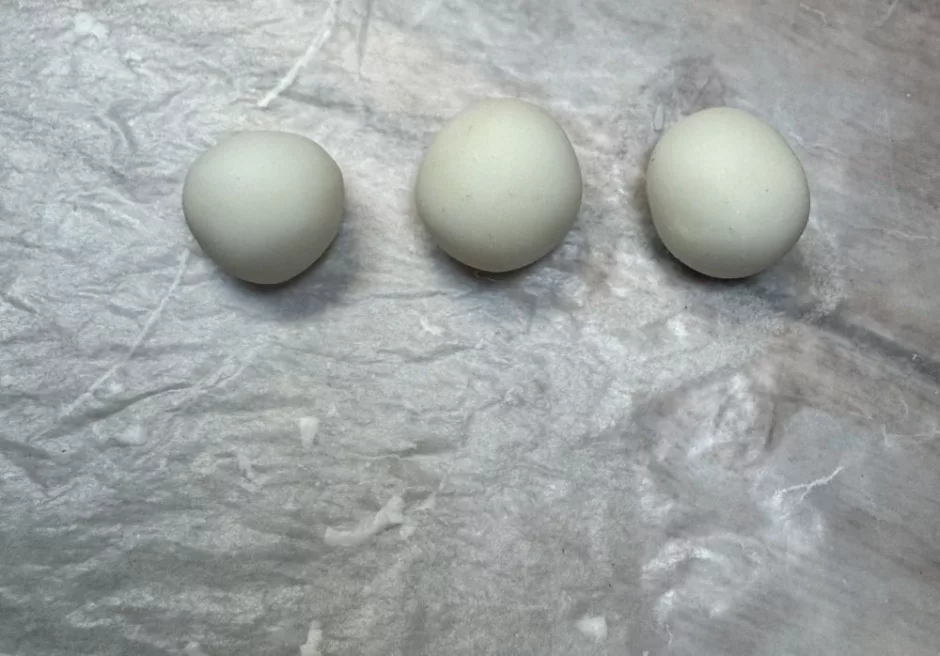
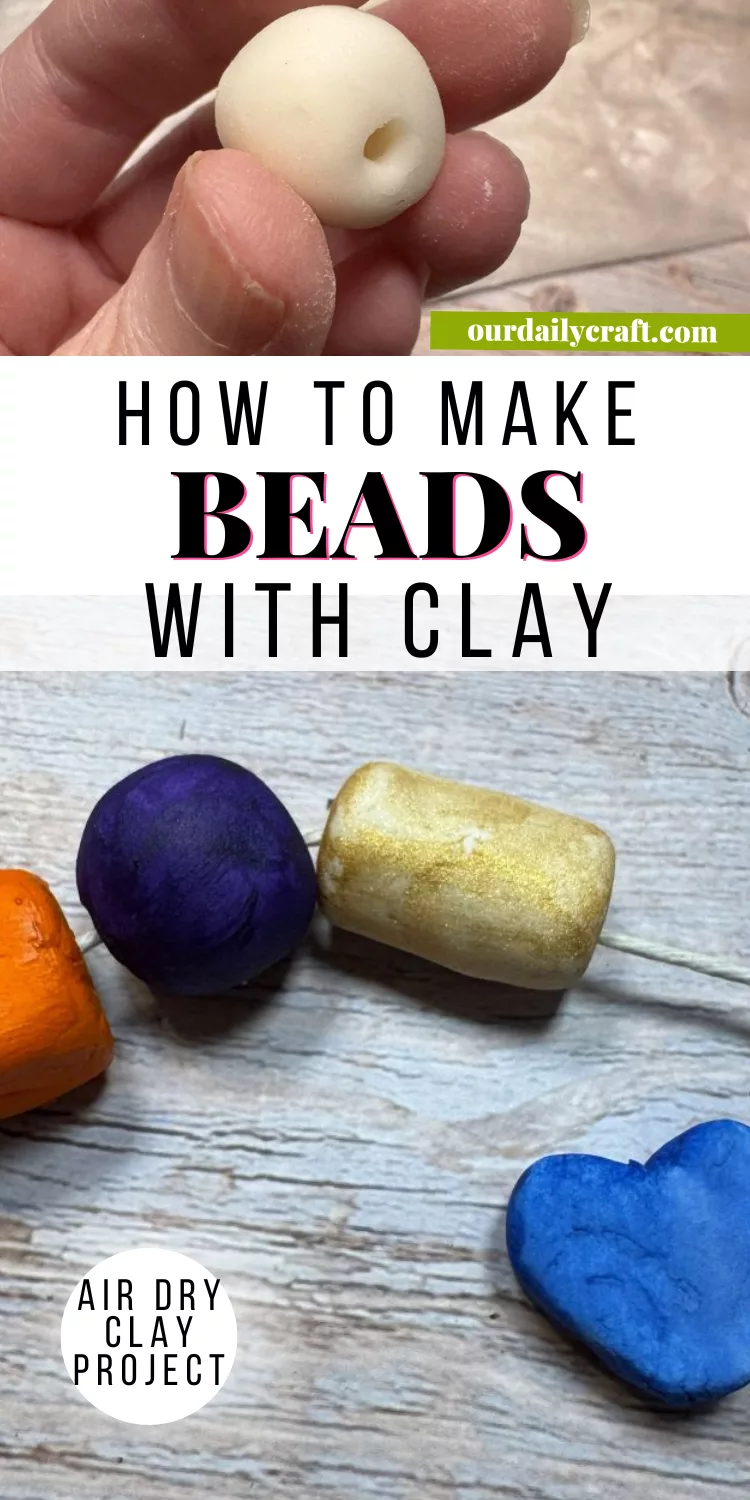
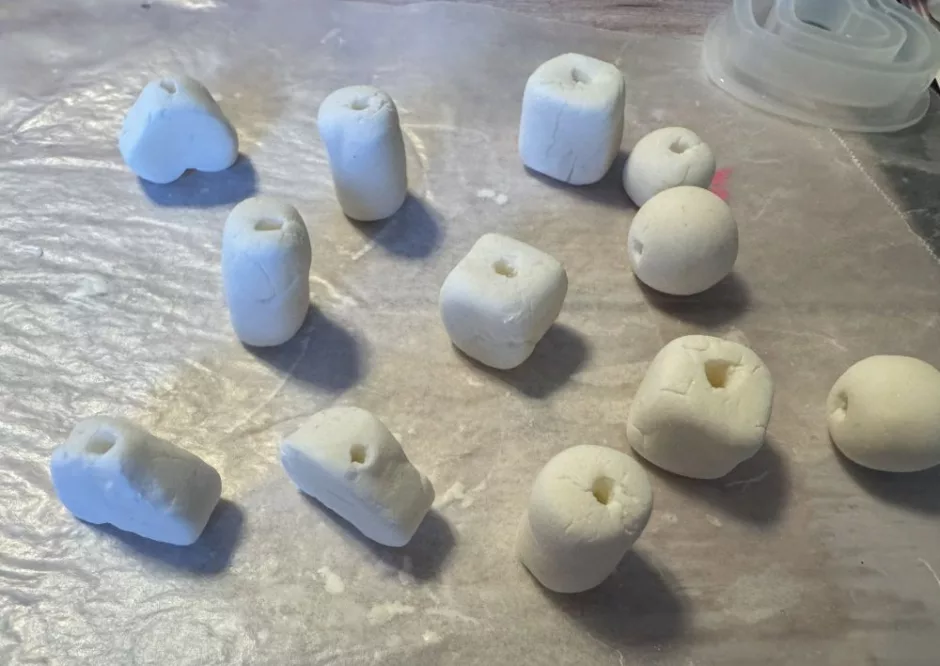
I started with round ones, which you make with a pinch of clay rolled into a ball in your hands. As with all of these, you can make them whatever size you like. One drawback to air dry clay beads is because each is made individually, it’s hard to make them the same size.
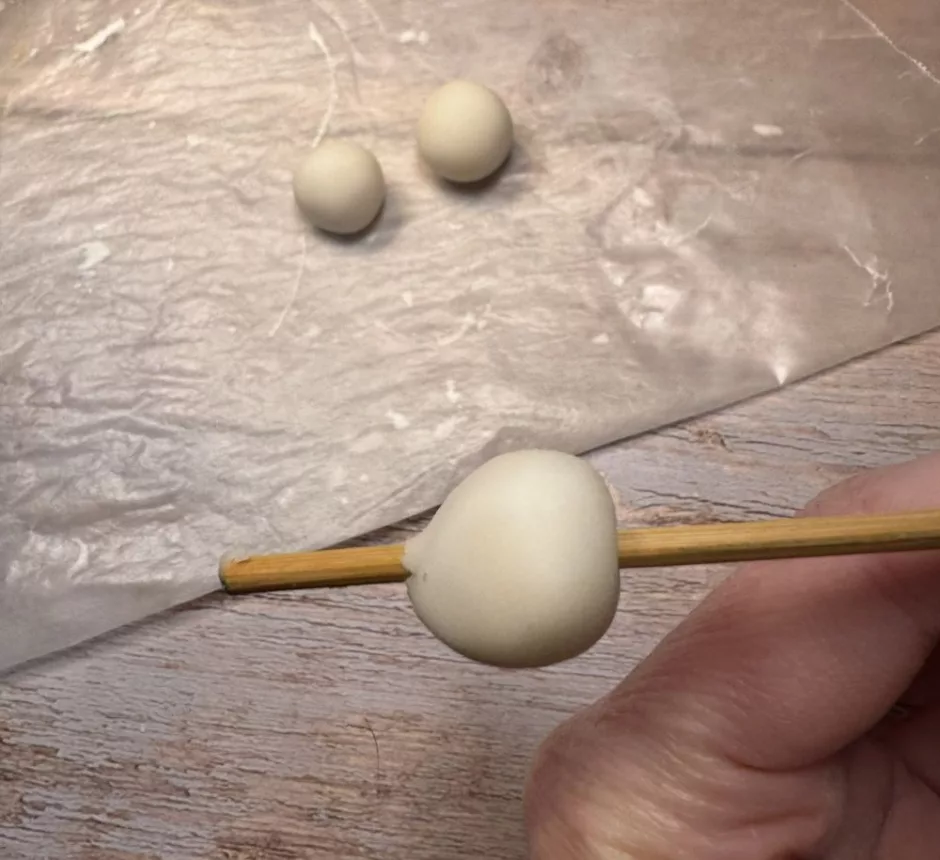
Take your skewer and poke it through the center of each bead. You might want to wiggle it around a little bit to make the hole bigger.
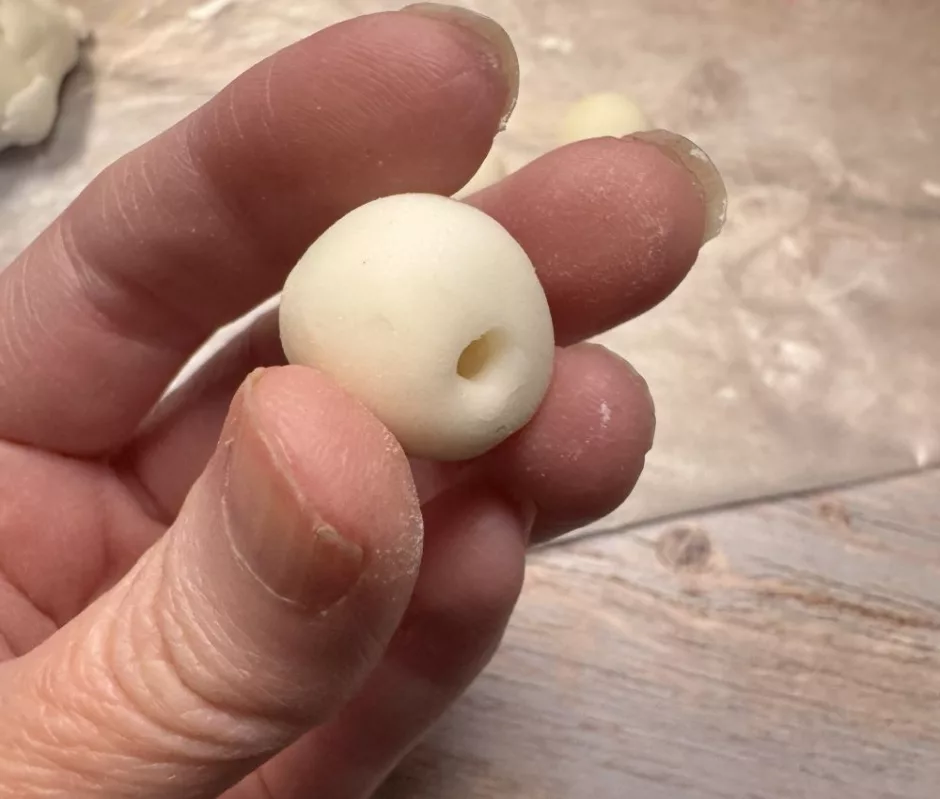
Remove the skewer and smooth out the bead around the hole if needed. A little water on your fingertip makes this easier.
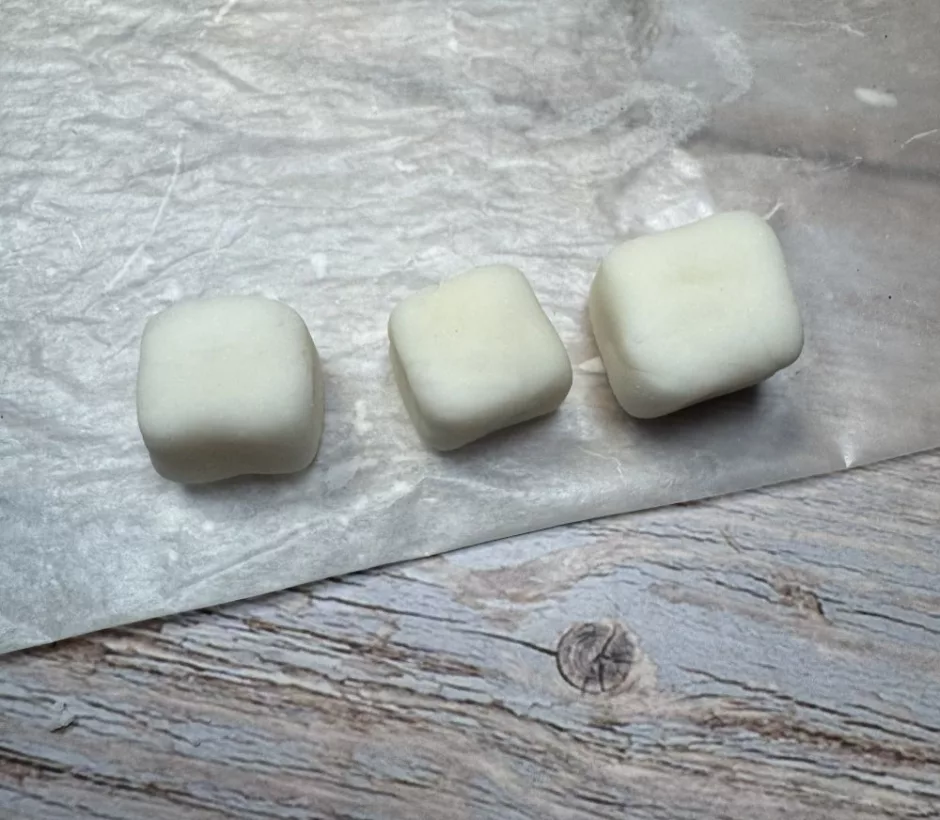
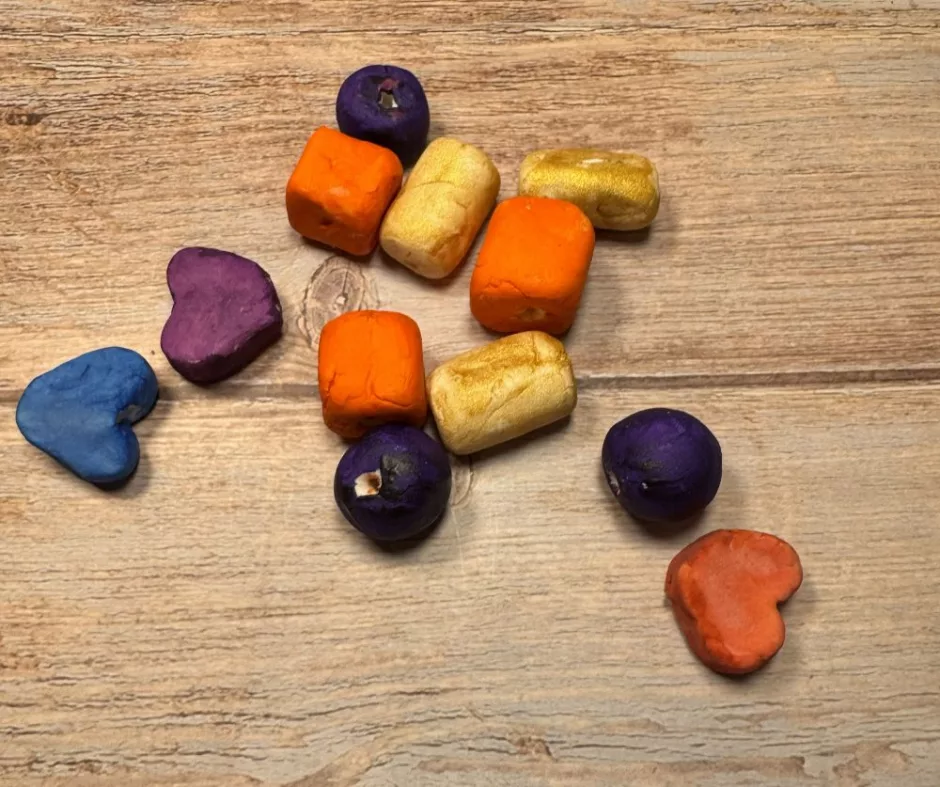
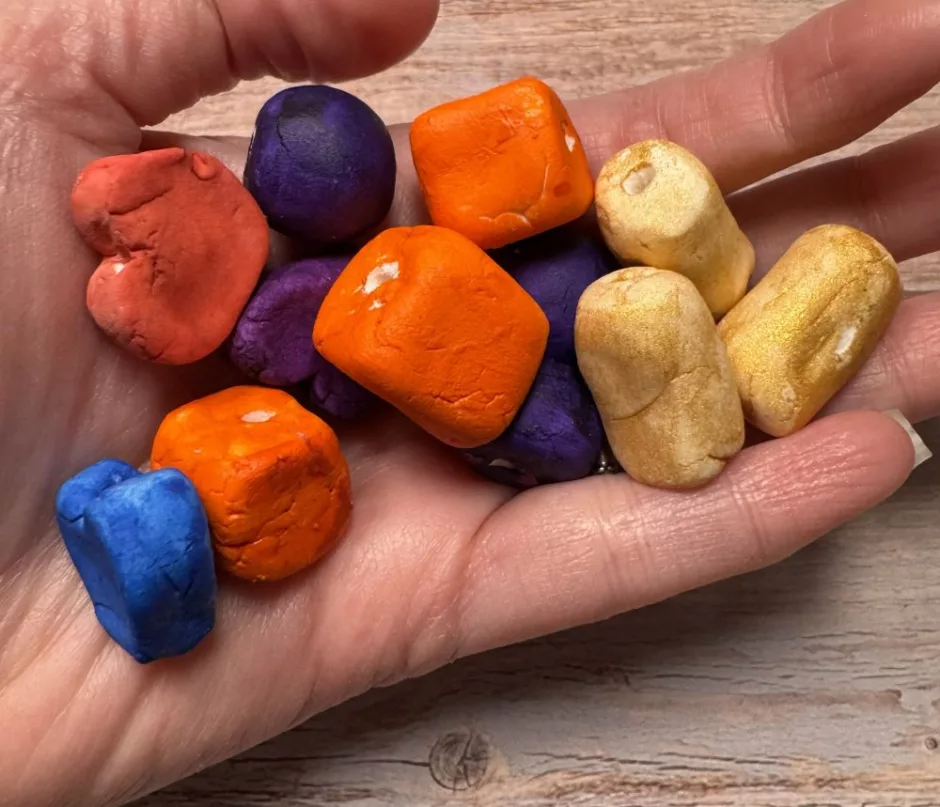
But why stop with spheres? I also made cubes in the same fashion. Start with a ball shape and press in the sides until you have a cube.
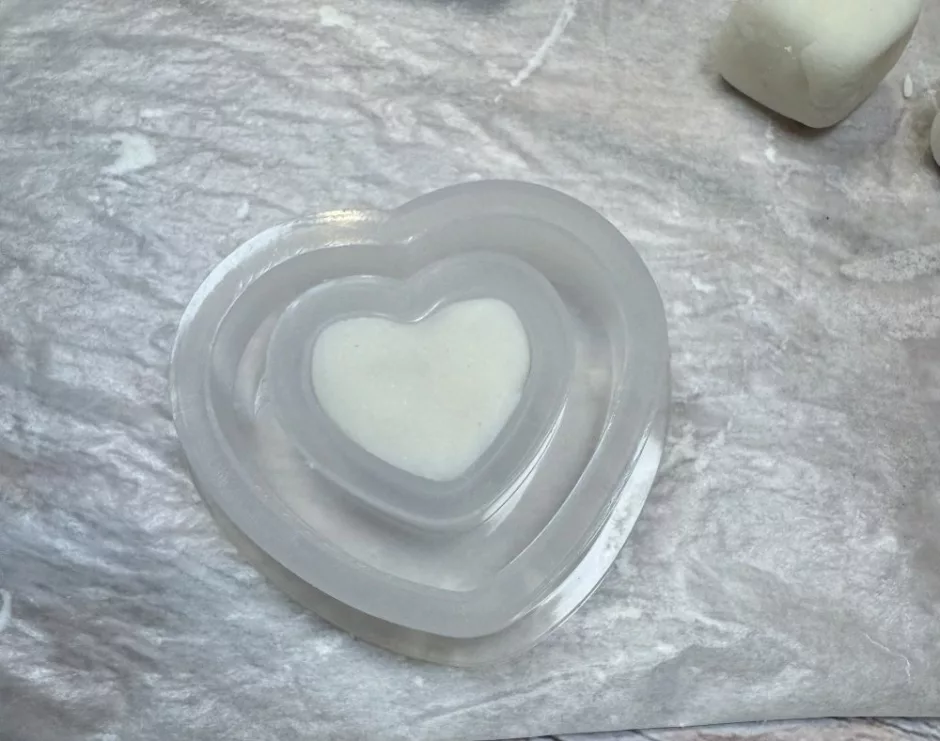
I used a tiny heart shaped mold that was made for resin (similar, though I think the smallest one in this set is still bigger than mine) to make a few heart-shaped beads. I poked the hole through the center but you could also go through the side of the heart, depending on how you want to use your beads.
Finally I made some sort of log/tube shaped beads (I’m sure there’s a word for this shape I can’t think of right now). These started like a sphere, too, then turned into making a snake and pressing on the ends to make them flat. I failed to take a picture of them by themselves but you can see a couple here.
I’m sure once you get started you’ll think of lots of fun shapes for your air dry clay beads.
Decorating and Using Air Dry Clay Beads
Once the beads are dry (I recommend drying in front of a fan to prevent cracks) you can finish them any way you like.
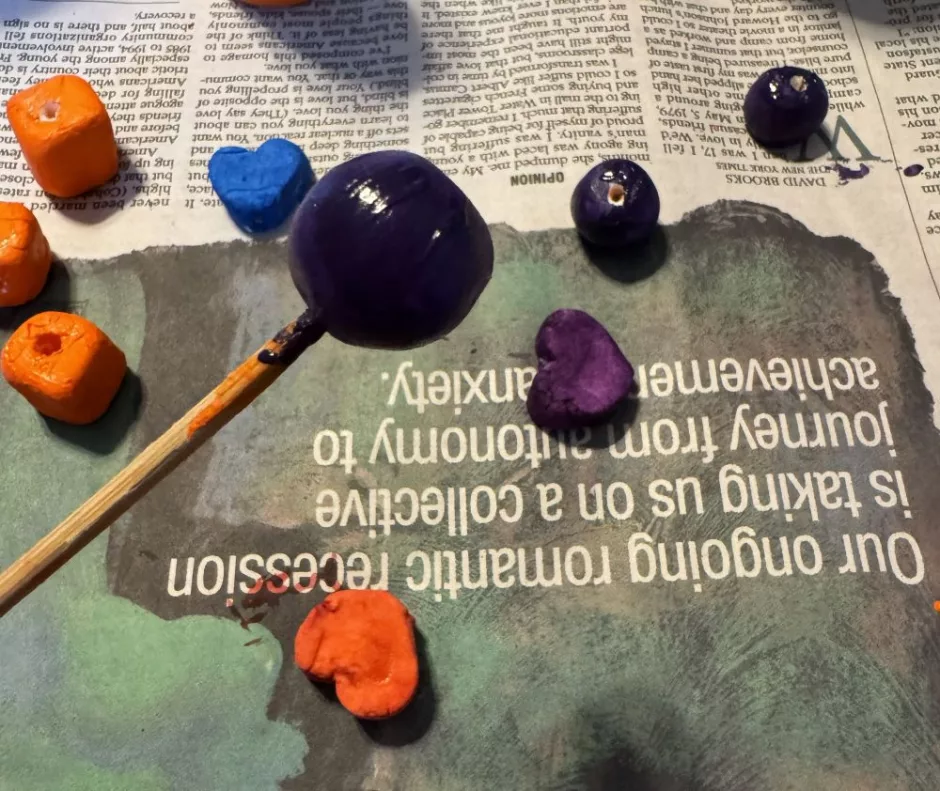
I used acrylic paint on the spheres and cubes. The skewer comes in handy again while painting.
The hearts looked like conversation hearts to me, which meant in my mind they needed watercolors. You could go back in with a fine-tipped marker and add sentiments if you want.
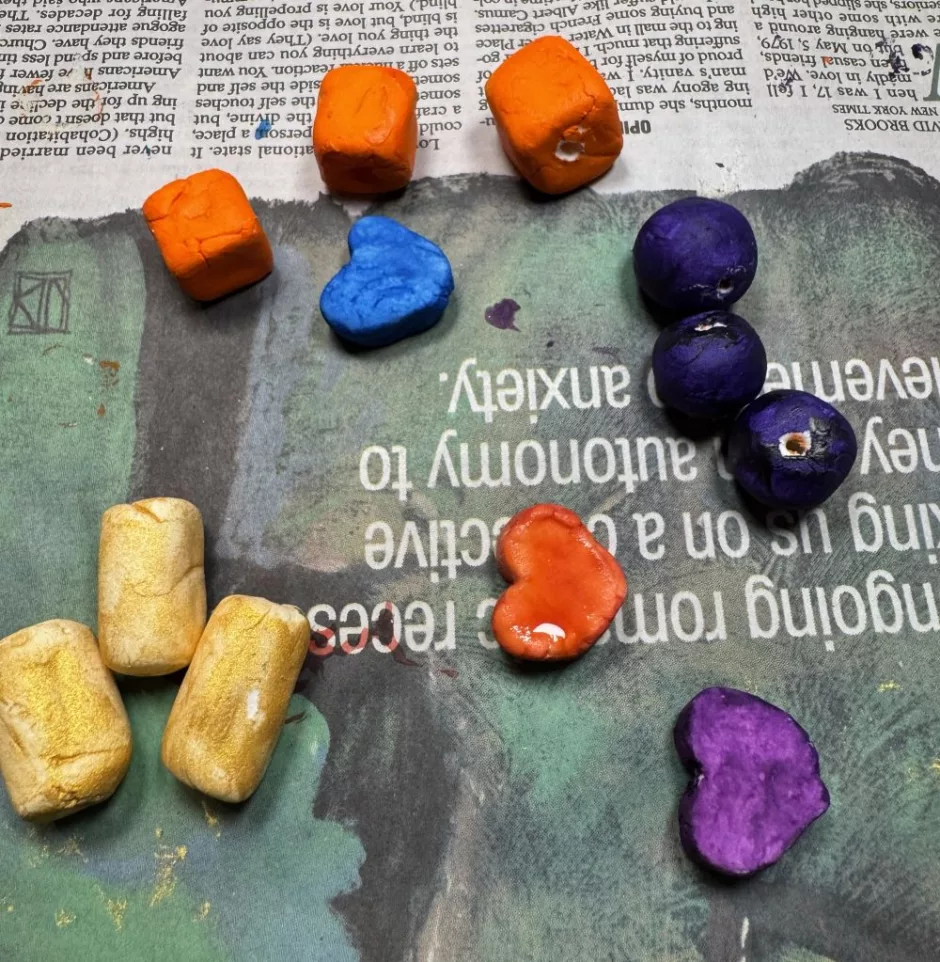
And the log ones I tried to do with gold paint pen, but my pen failed me, so I used gold ink instead. It gives a sort of watercolor effect, too.
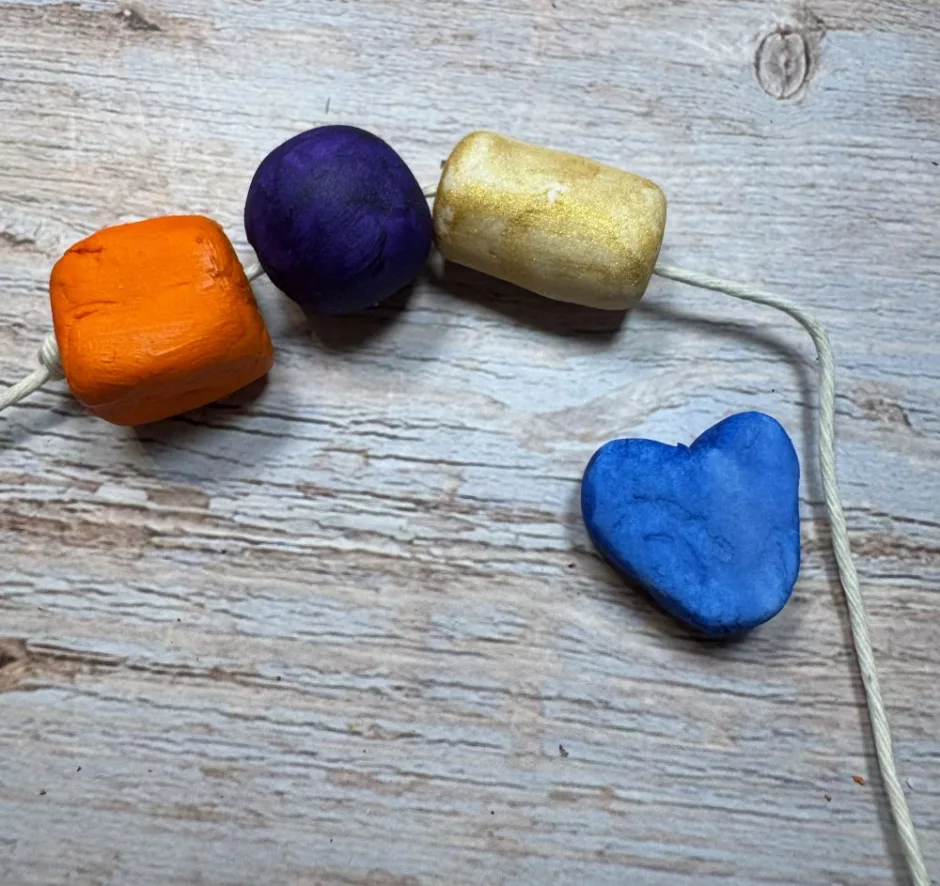
When it comes to using your air dry clay beads, you can use them the same way you’d use any other beads, including in jewelry, key chains, tassels or other projects. I’m thinking about some new curtain ties that will probably incorporate some of the beads in some way.
They’d also be cute in a garland or holiday project.