Affiliate links may be included for your convenience. View our privacy and affiliates policy for details.
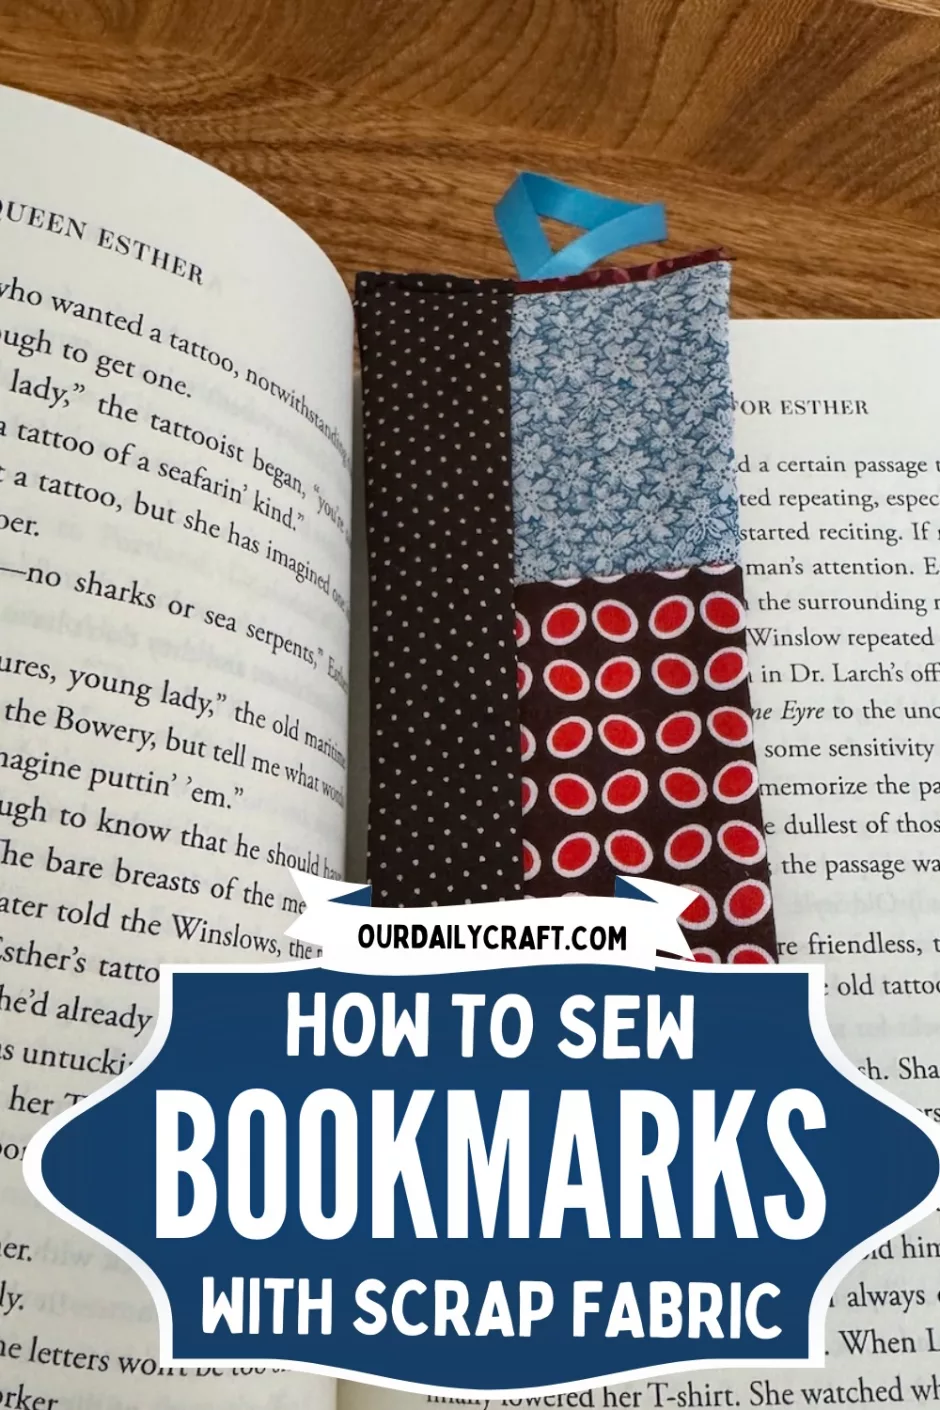
We all have little leftover bits from old projects, so let’s sew a bookmark (or several!) with our fabric scraps.
Materials
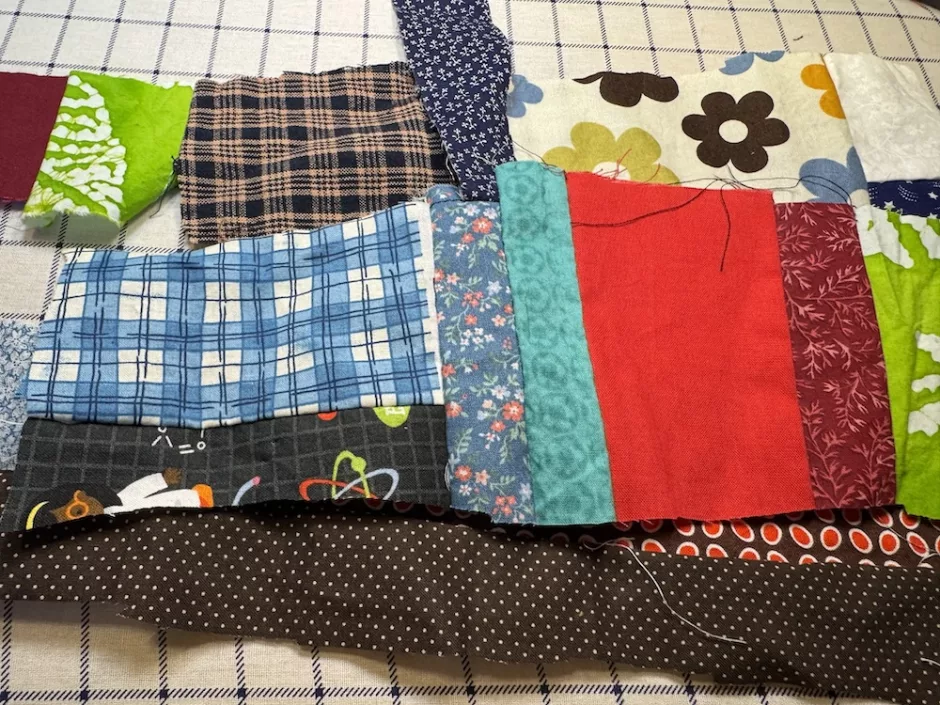
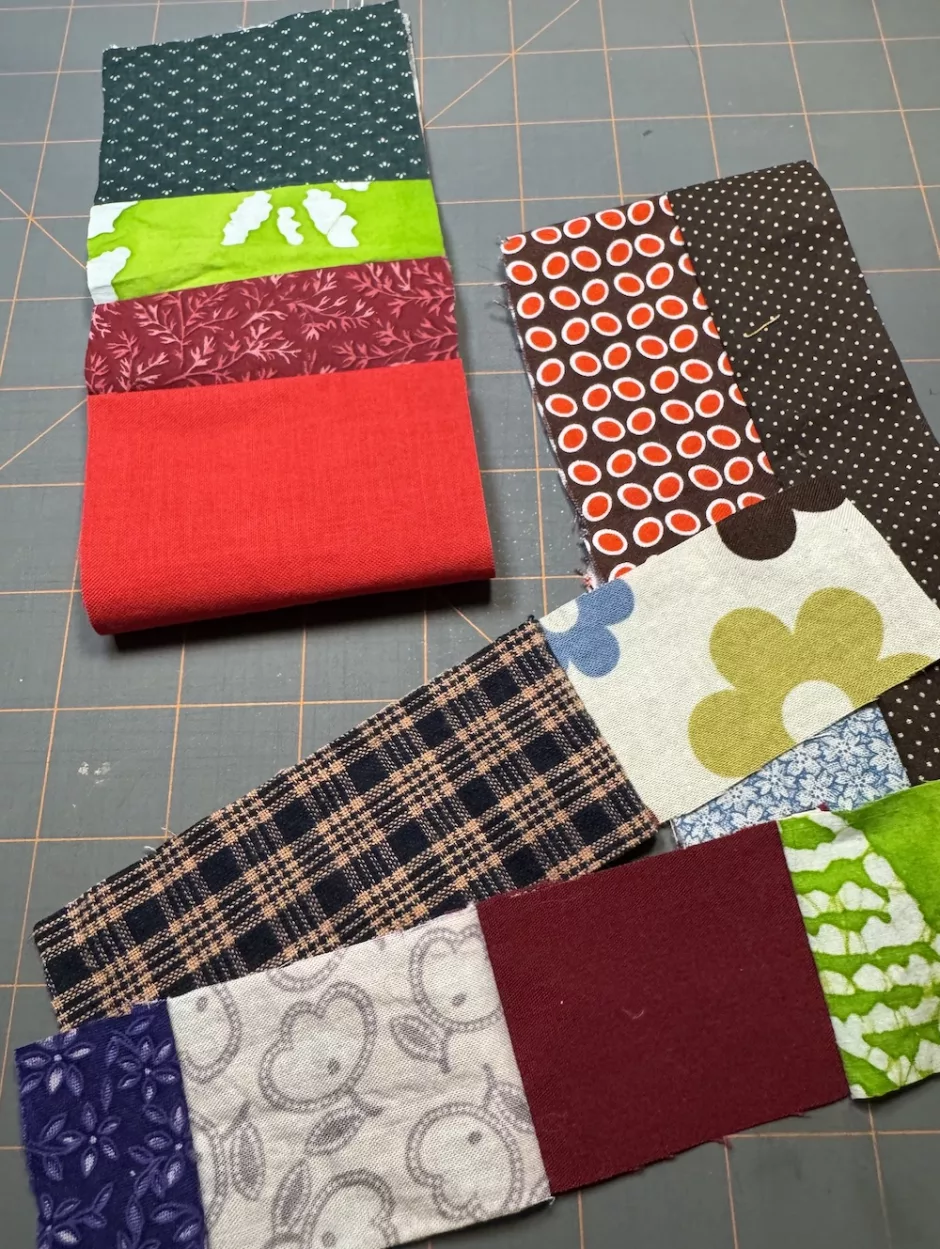
First you’ll need some fabric for your bookmarks. If you don’t already have some scraps that are sewn together, you can make patchwork fabric to make your bookmarks out of.
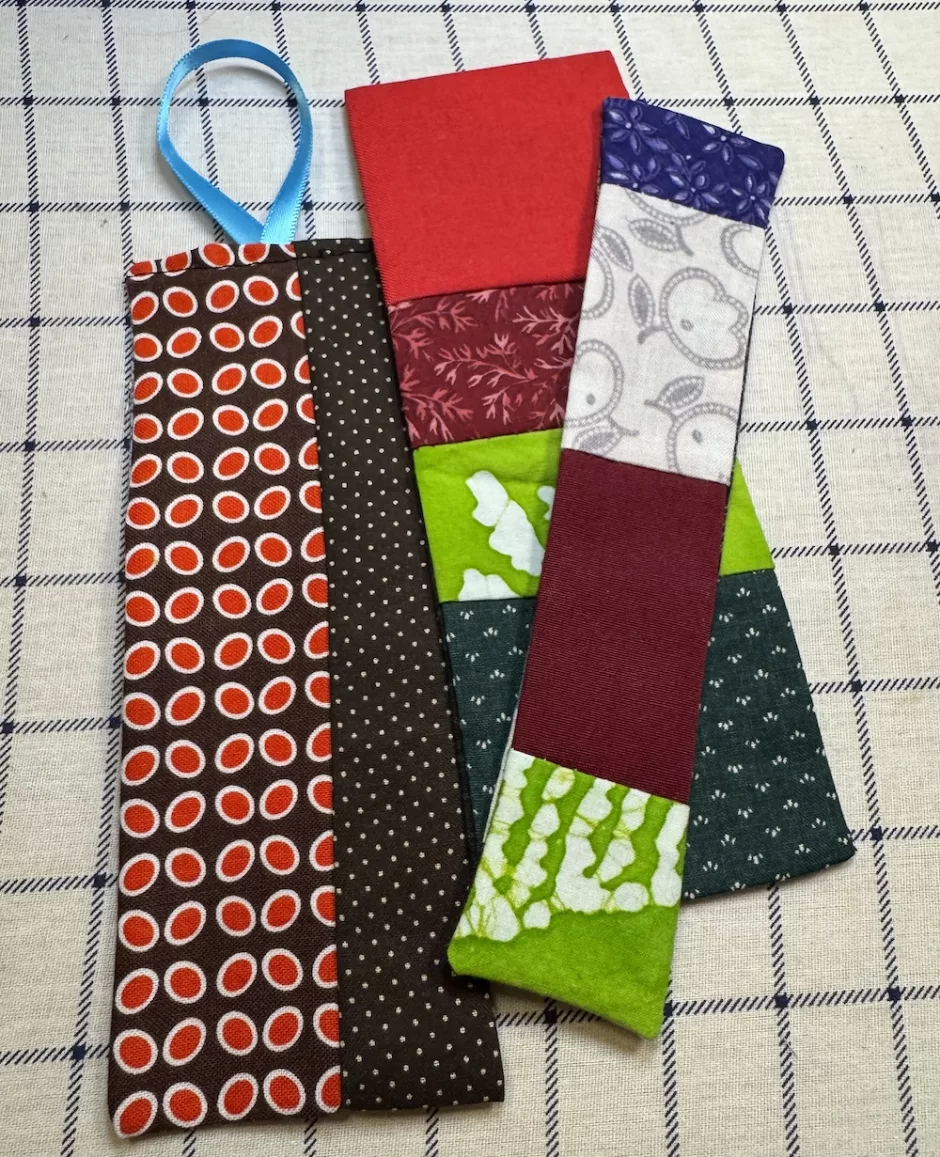
I happened to have these three pieces of already sewn together bits that I used to make three bookmarks of various sizes. You can also decide the size bookmark you want and make patchwork to fit.
You’ll need pieces for a front and back or one long piece that can be folded in half along what will become the bottom edge of the bookmark.
In addition you’ll need an iron and ironing board, a sewing machine, thread and scissors. Optionally you can use a bit of Stitch Witchery to finish the project, and you might want a ribbon or a thread tassel or something to embellish the bookmark.
How to Sew a Bookmark
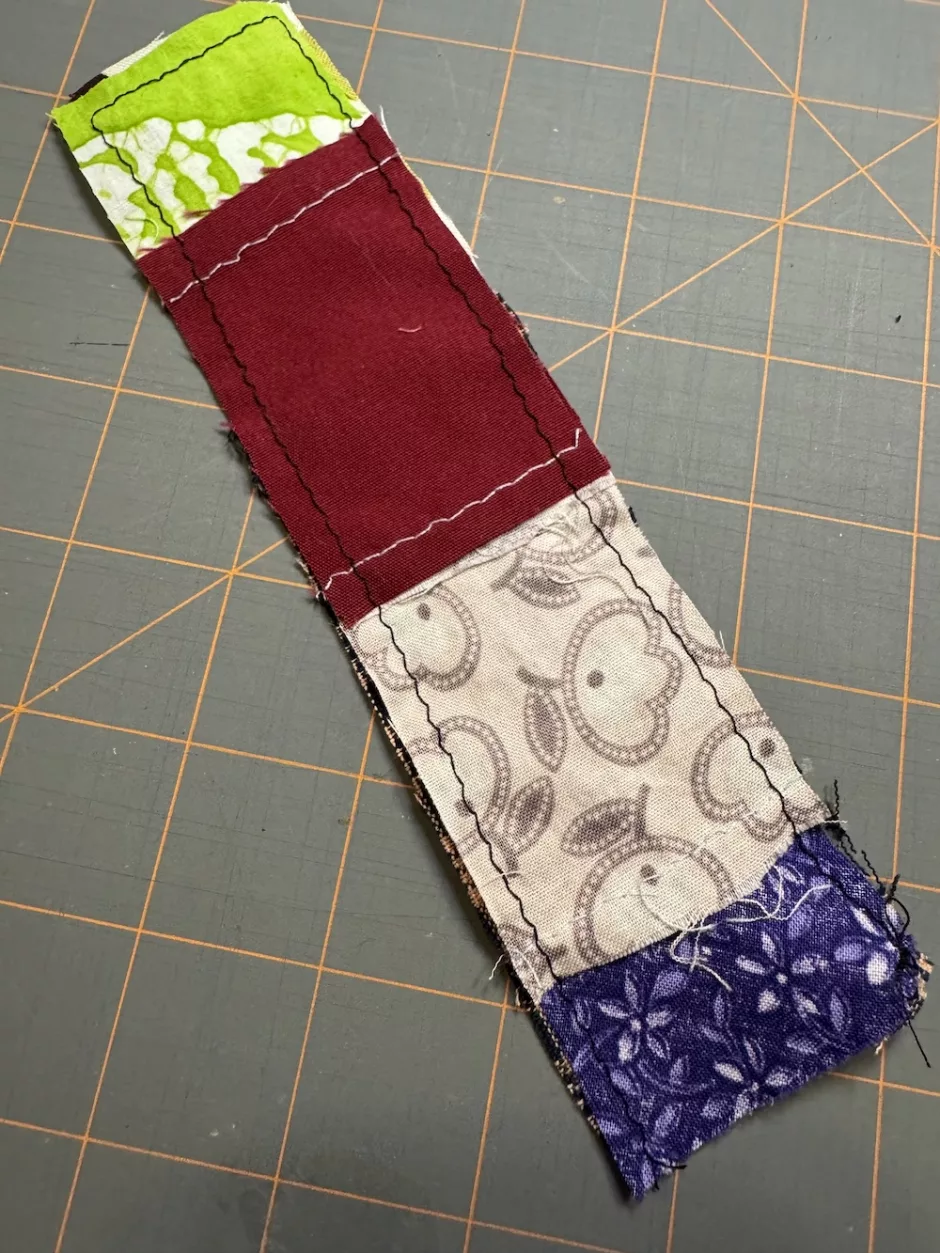
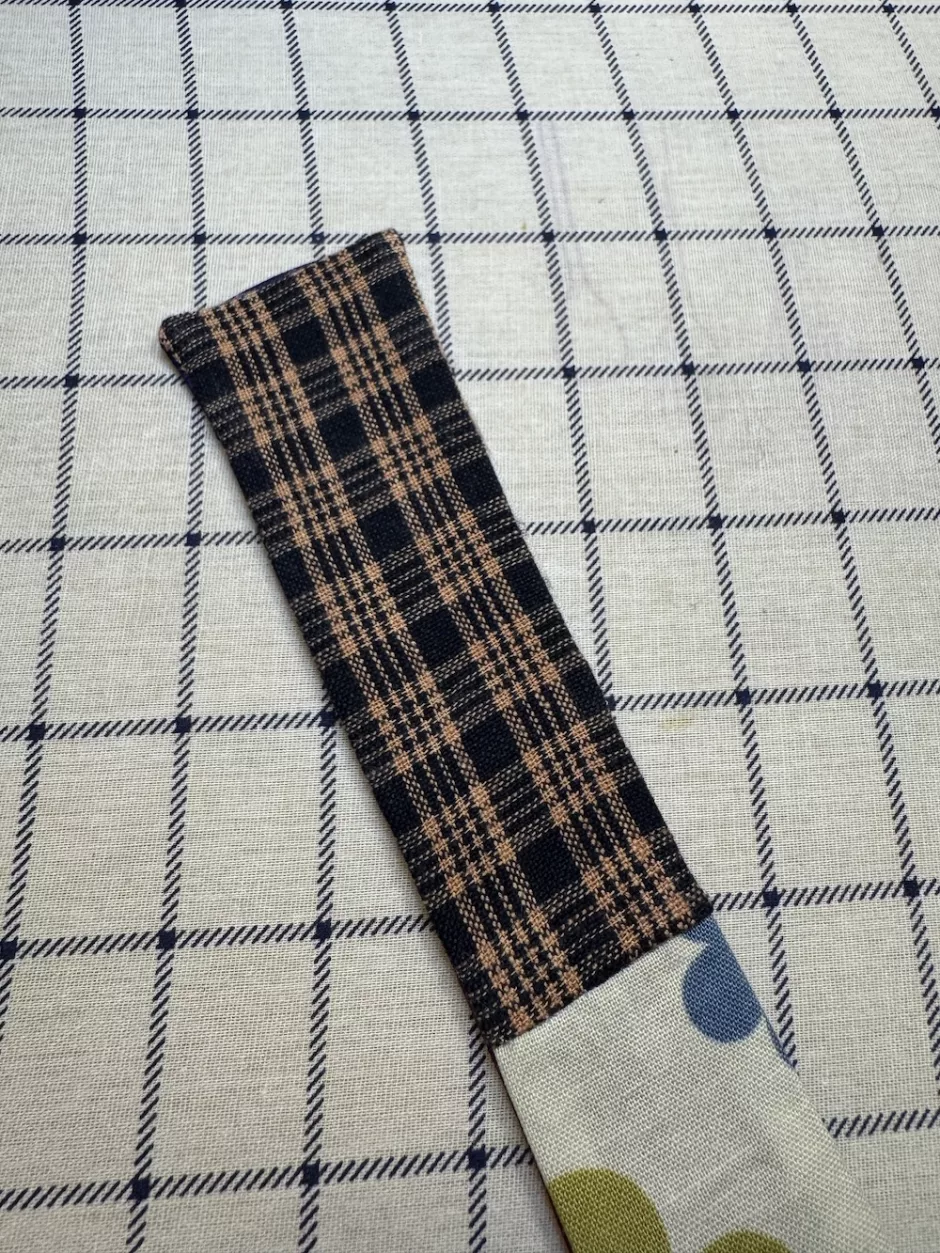
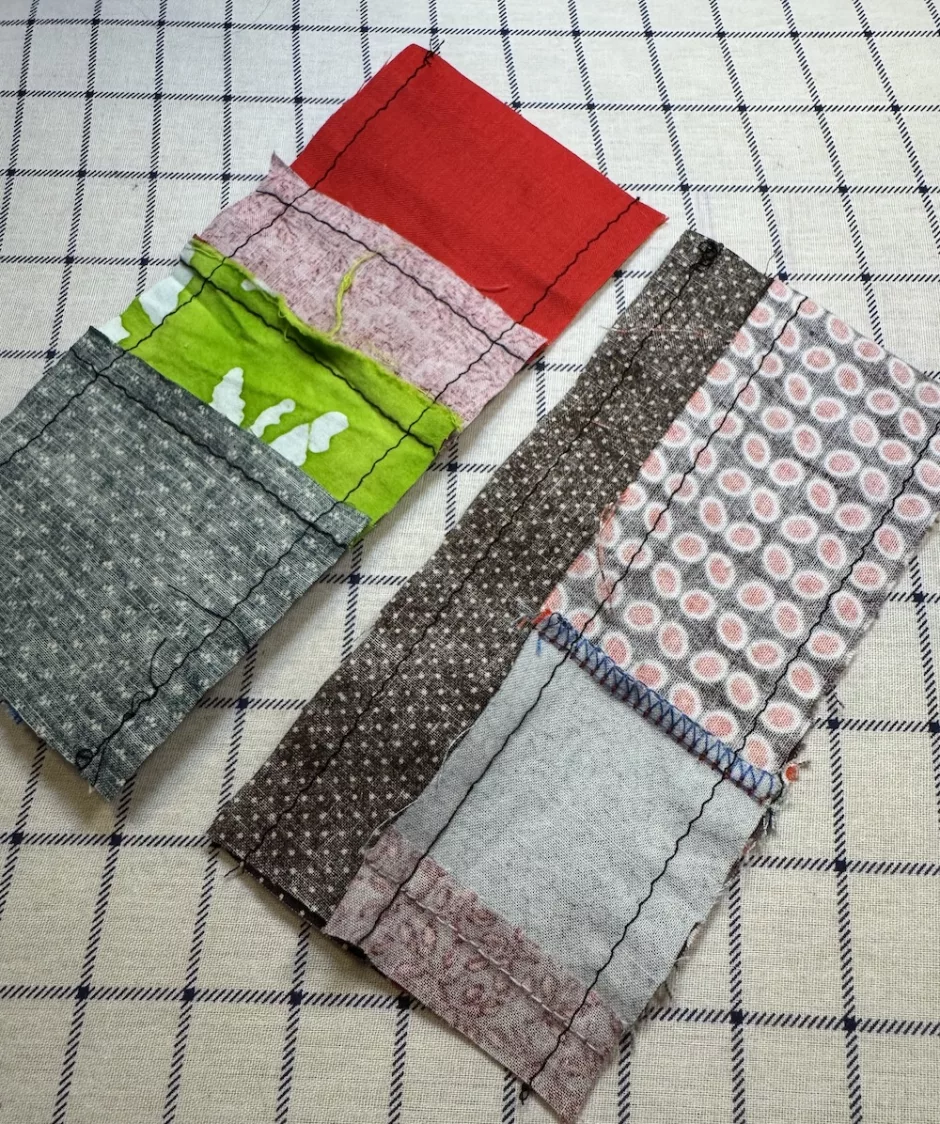
First I trimmed my fabric pieces down to rectangles. This piece had a skinny part at the top so I used that width for the bookmark and used a bookmark that was on my table to estimate length. Once that was cut down, I cut another piece to match. The finished size is 1.25 by 6.75 inches (3.2 by 17 cm).
The other two were larger, more uniform width pieces so I kept them long and trimmed the sides so they were straight and the fabric folds up at the bottom of the bookmark. One less seam to sew! The one without the ribbon is 2.5 by 6.75 inches/6.4 by 11 cm, and the one with the ribbon is 2.25 by 6 inches (that’s 5.7 by 15.2 cm).
For the bookmark that was made with two separate pieces, put the pieces right/outsides together. Pin or clip if desired. Sew around one long side, stopping a little before the corner. Hand crank the needle down into the fabric, lift the presser foot and turn the fabric so you’re facing the short side. Put the presser foot down, sew this side and repeat on the long side.
Trim the corners within the seam allowance. You can also trim the seams if you want less bulk.
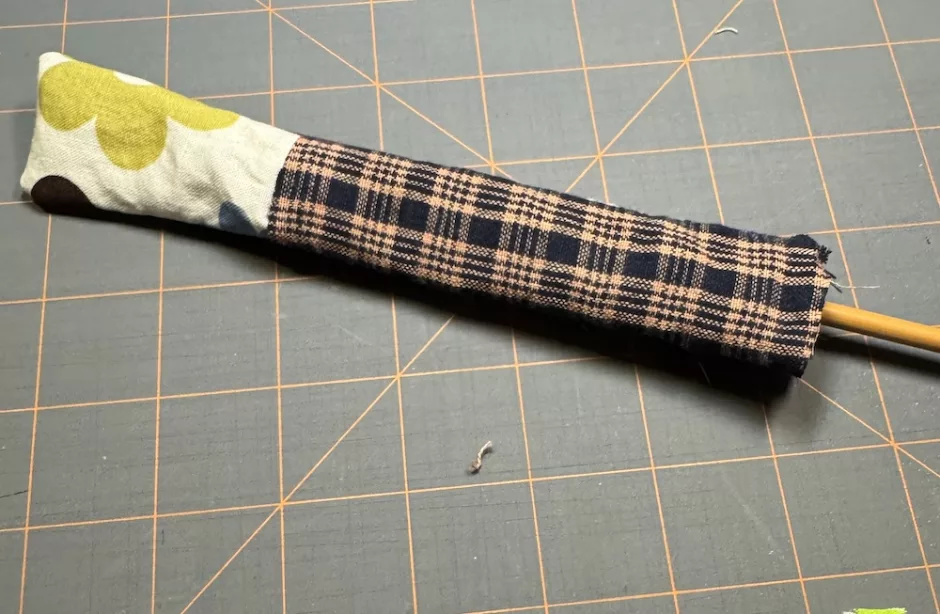
Turn the bookmark inside out. A knitting needle or wooden skewer makes it easier to get the corners pointy.
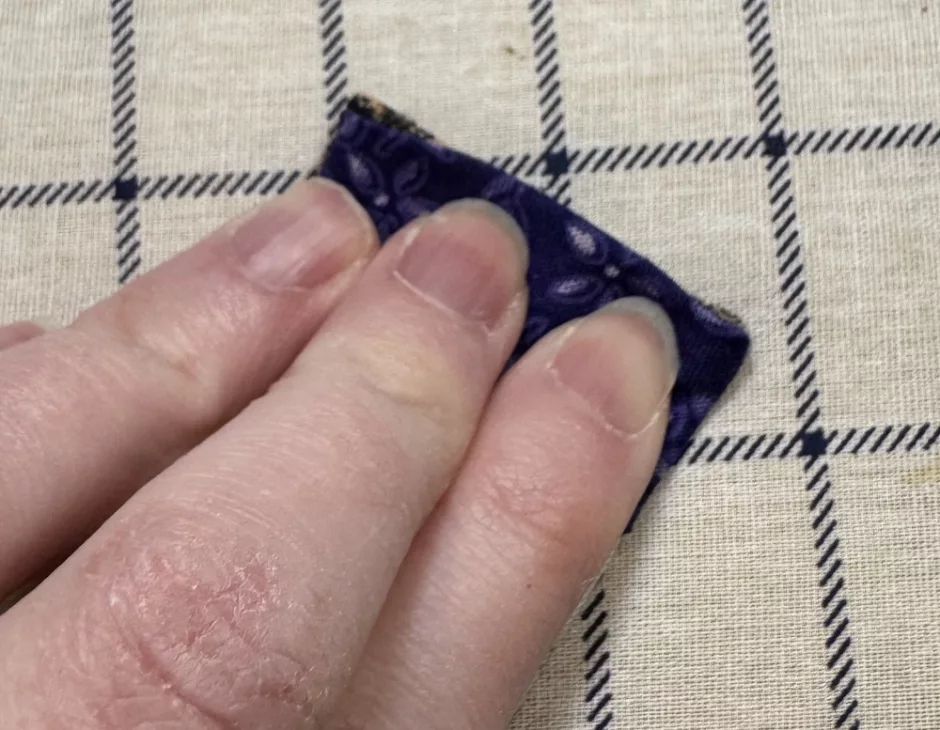
Iron the bookmark so it lies flat along the seams. Fold the edges of the unsewn side in and press to keep them there.
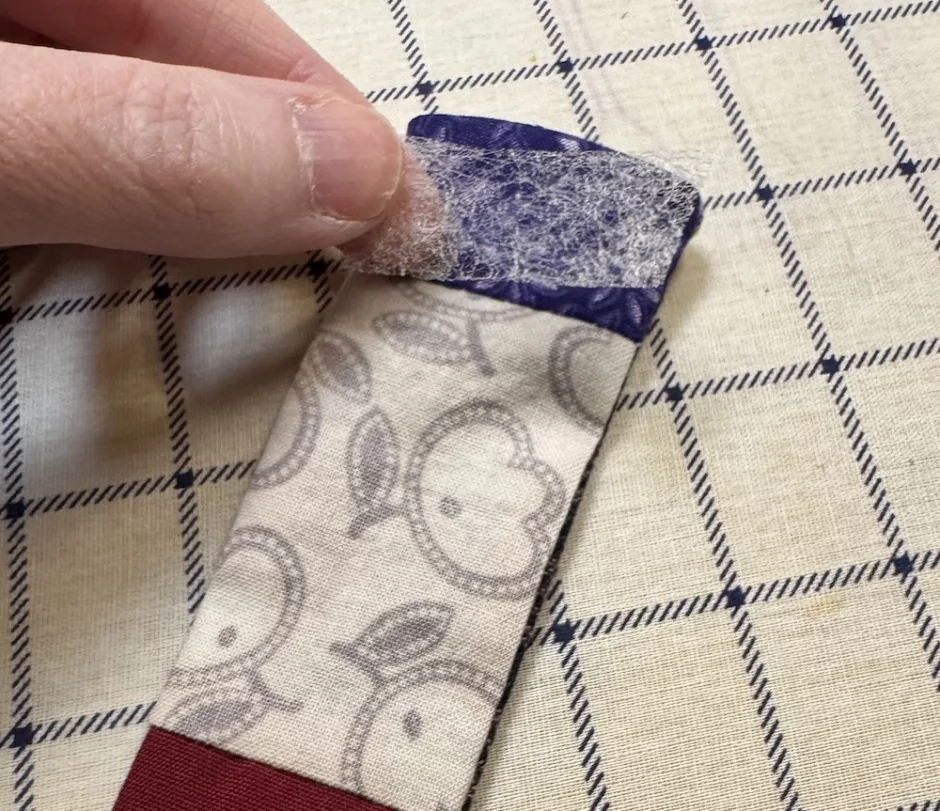
For this one I decided to use a little Stitch Witchery inside the bookmark to close that last edge. To use it, cut a small piece and slide it inside, then iron to fuse.
More Bookmark Options
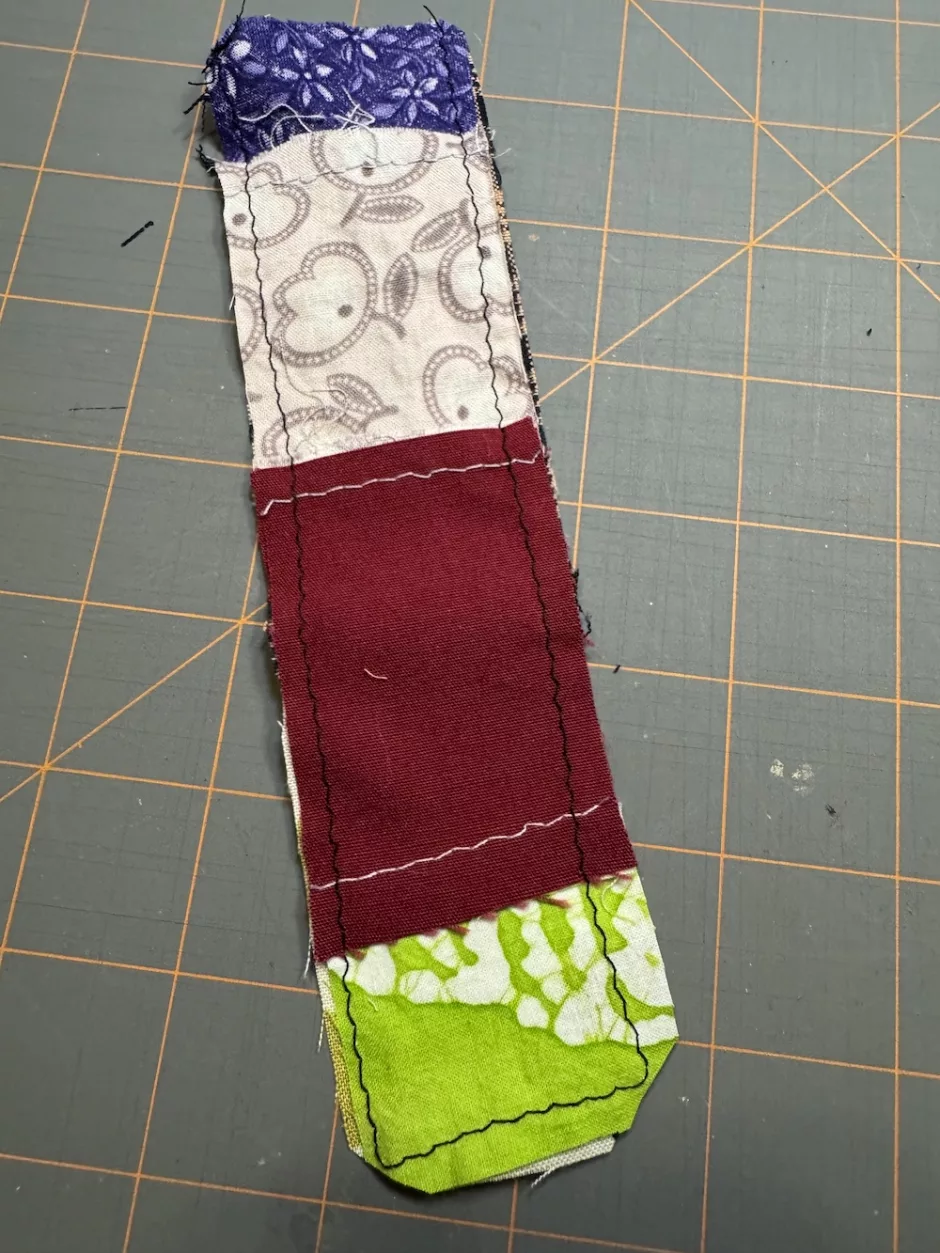
There are of course lots of ways to sew a bookmark. For the ones that were a single piece of fabric, I folded them in half, right sides together, and pressed it this way.
Sew along each of the long sides. If you’re making several you can chain stitch your pieces like I show in my post on batch sewing projects.
Again trim the corners and turn right side out. Press and finish the last edge. On one of them I did the Stitch Witchery thing again.
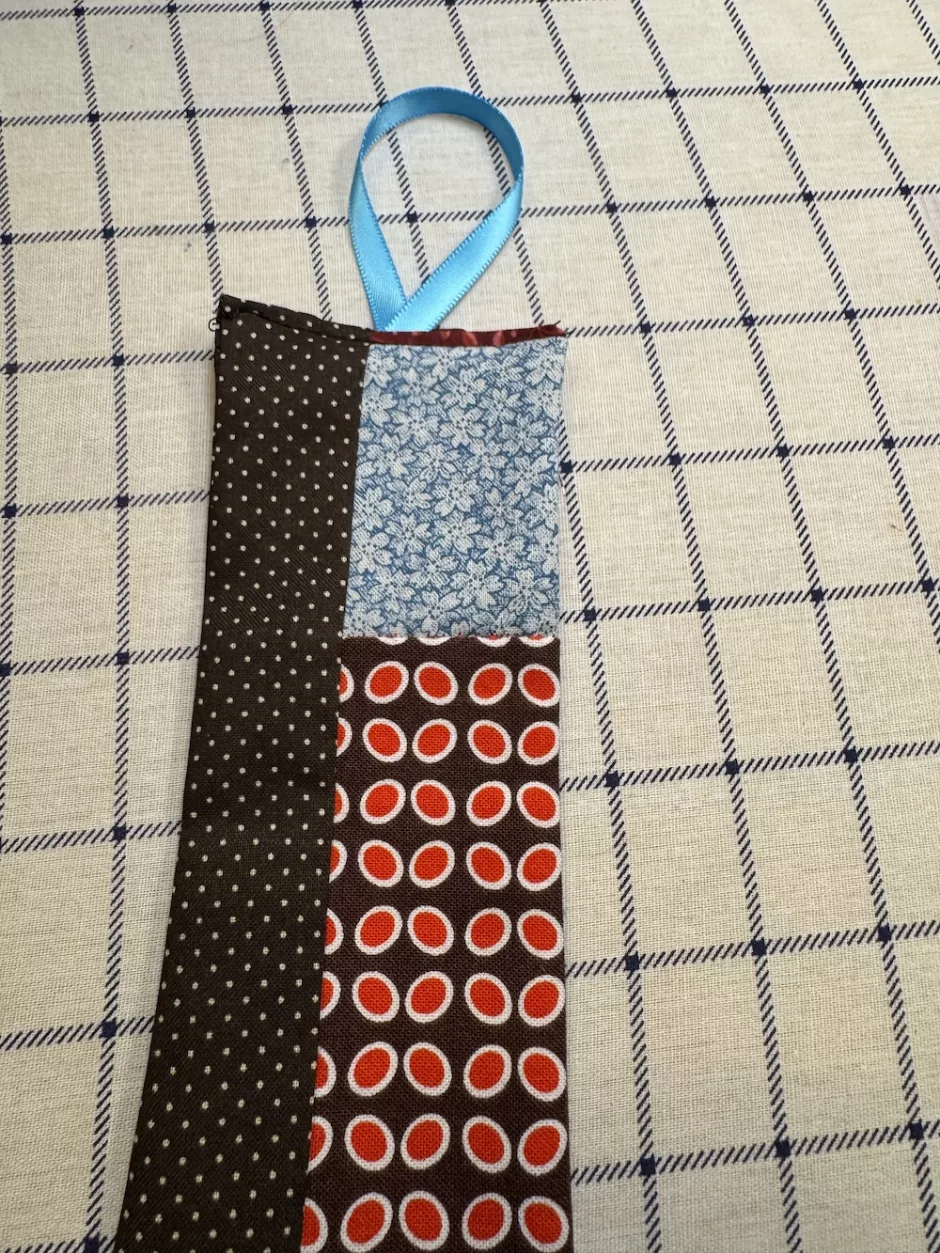
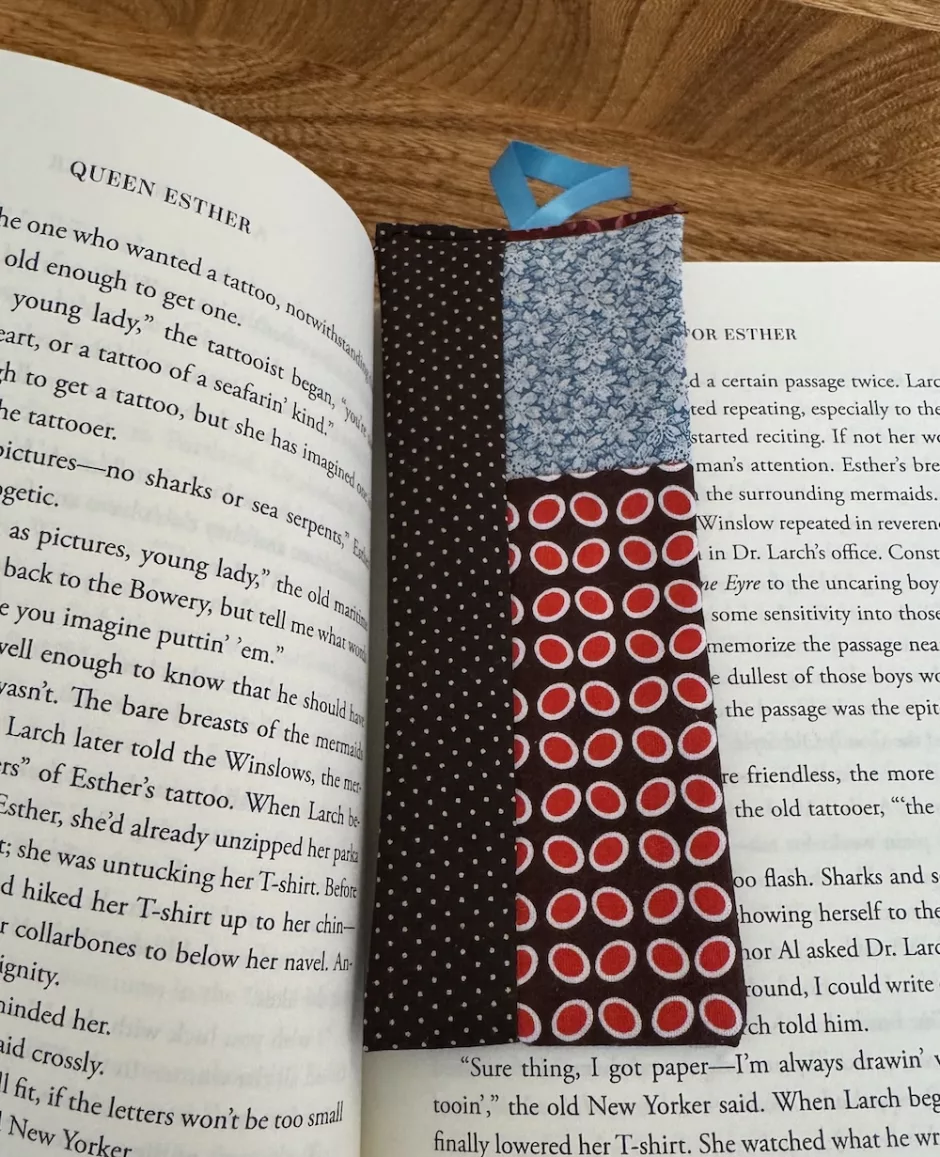
For the other I wanted to add a little ribbon so I cut a piece that looked right, tucked it into the seam (after I ironed the raw edges to the inside of the bookmark) and sewed the seam from the outside. I used the sewing machine but you could also sew this by hand.
You could also top stitch around all four sides if you like.
Another fun idea to sew a bookmark would be to play with some of the decorative stitches on your machine. Before you sew the pieces together, sew a line or several, using one color thread or many, using one or a few decorative stitches. Then put together as described above. I’ll have to try that one soon.
Knowing how to sew a bookmark is a great small sewing project you can make at a moment’s notice when you’re gifting someone a book or a gift card from a bookshop.