Affiliate links may be included for your convenience. View our privacy and affiliates policy for details.
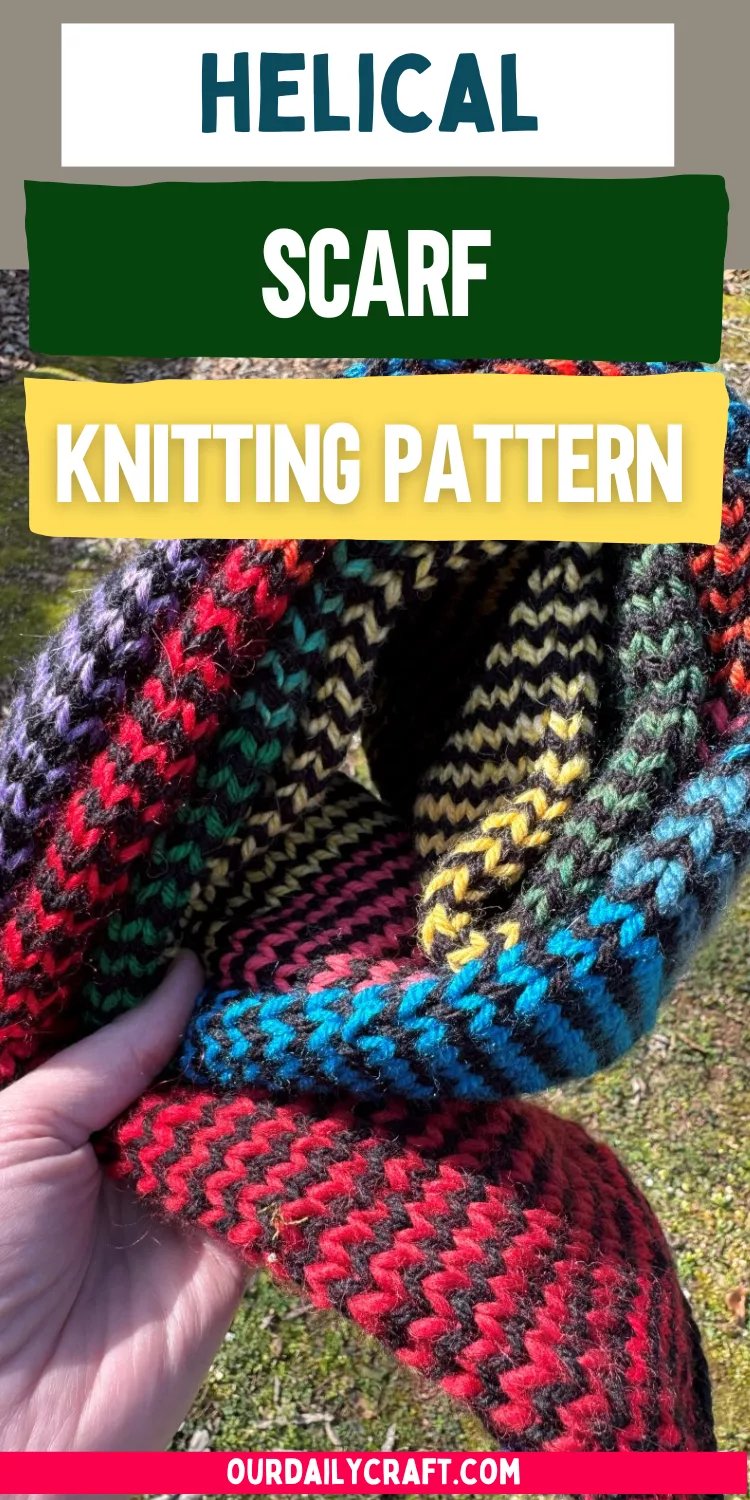
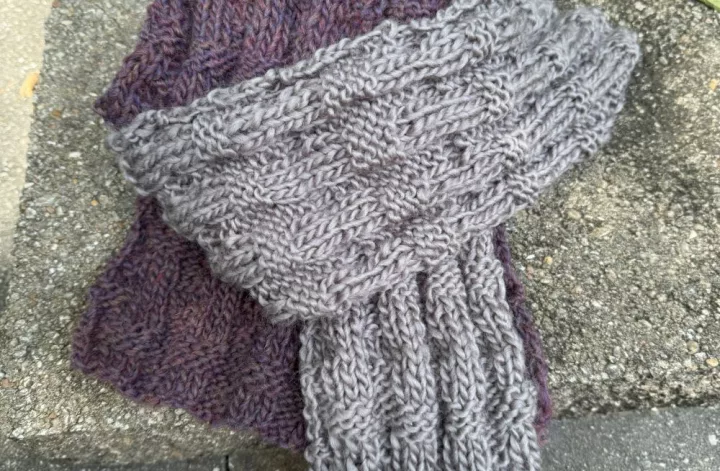
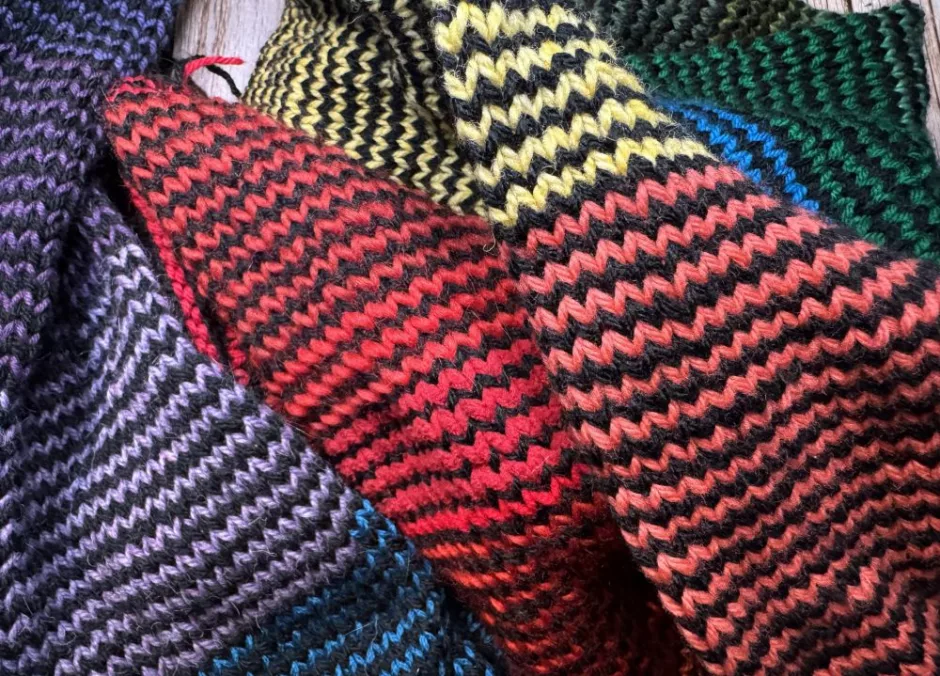
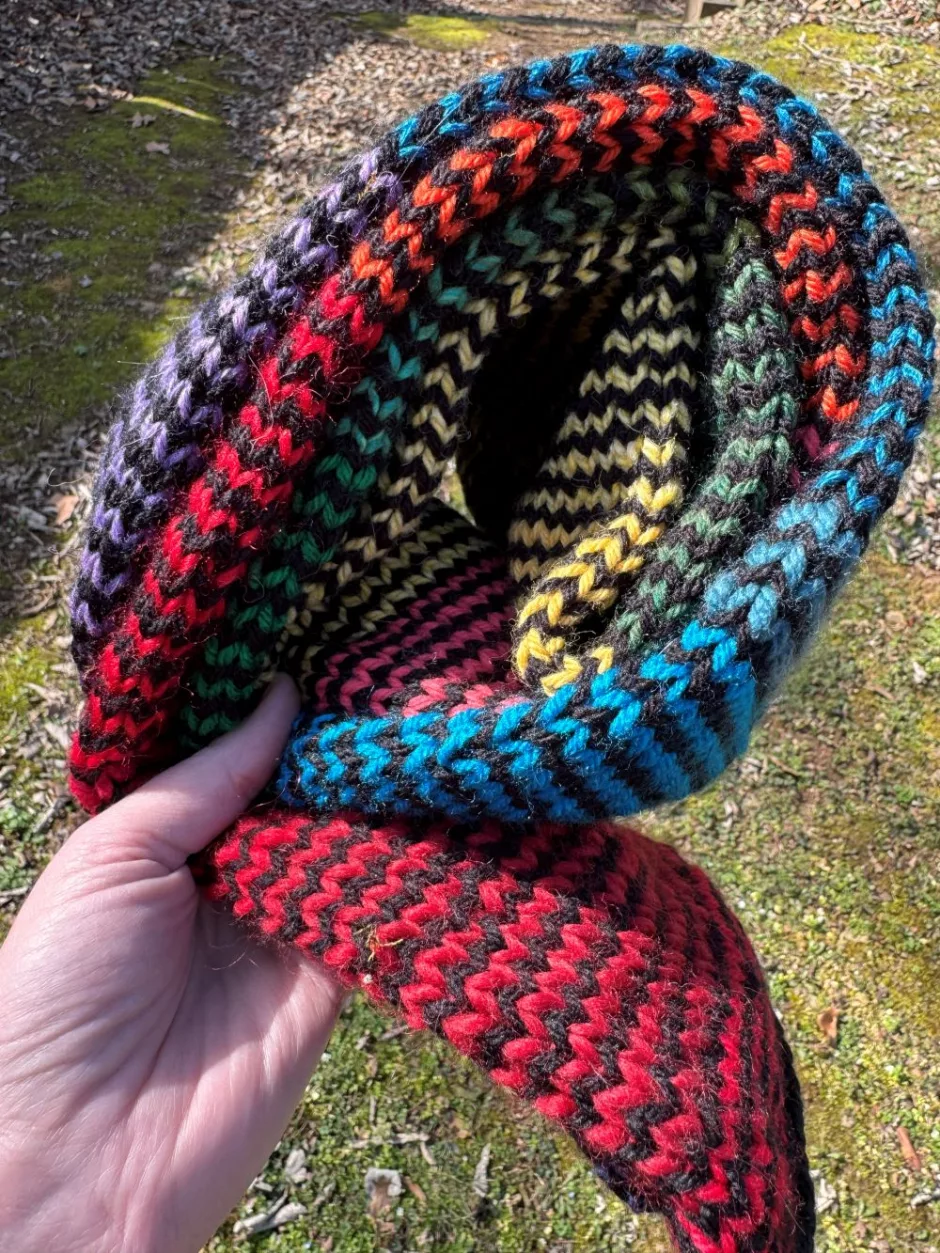
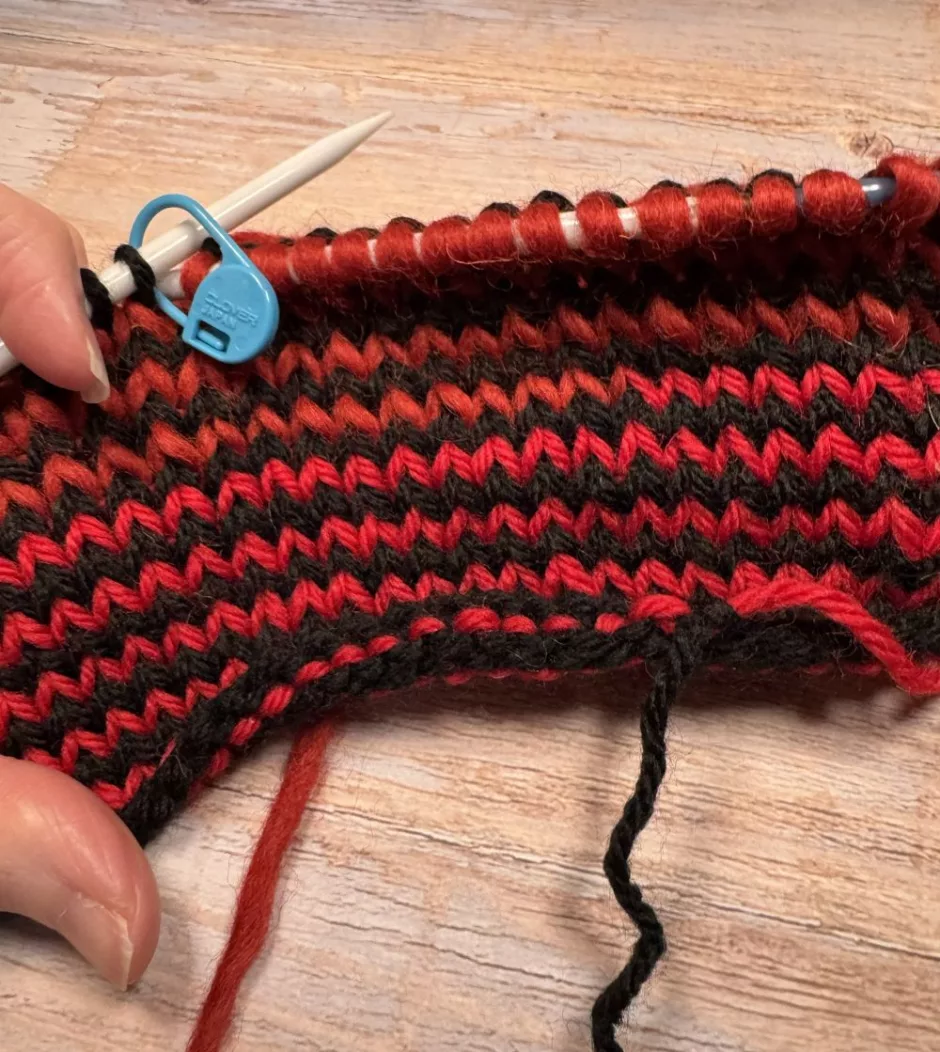
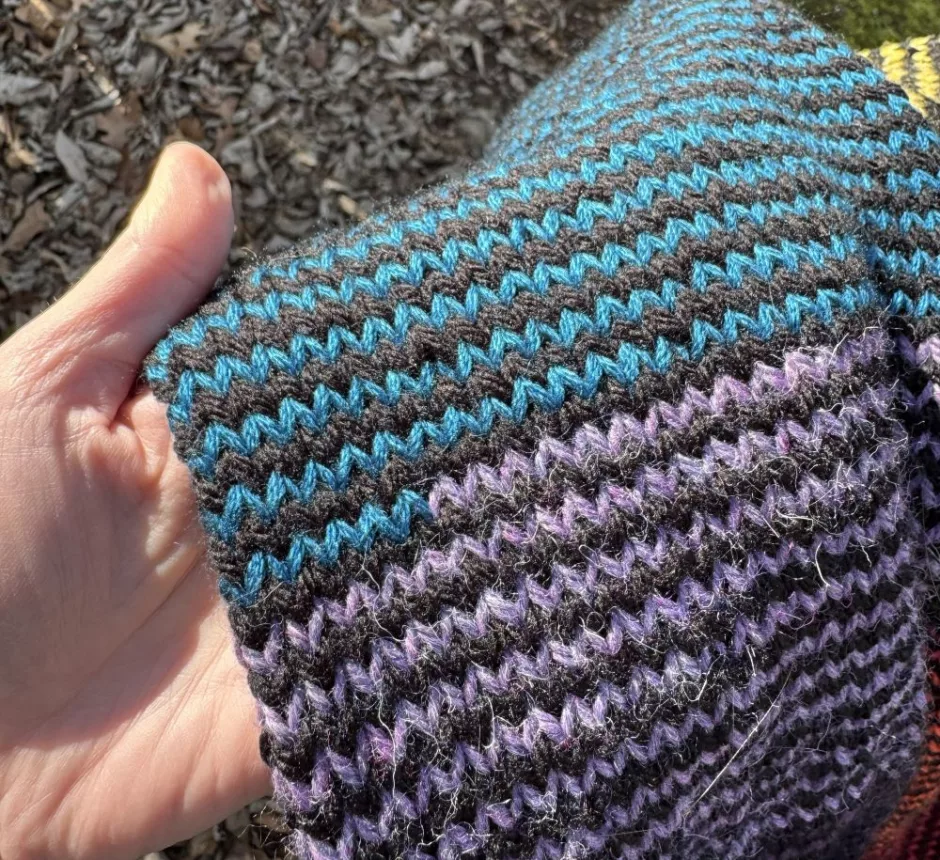
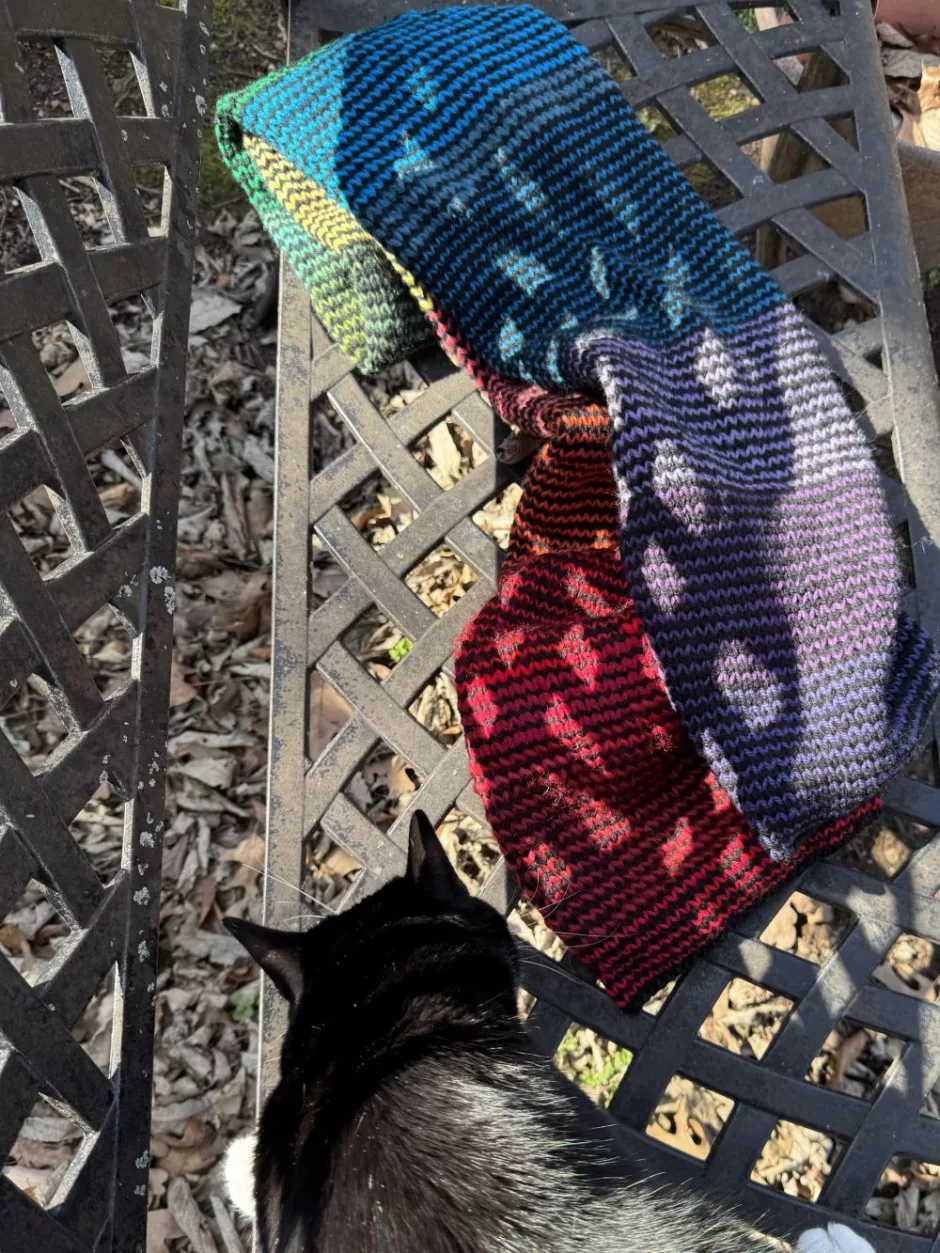
This helical knit scarf — or helix knitting, if you’d rather — uses one “background” color throughout while the other color varies through the rainbow across the length of the scarf.
It’s a great way to use a lot of leftover yarn and you can always do it with a single color family, change both colors or keep both colors consistent throughout depending on the yarn you want to use.
Materials
For my color A I used most of a skein (333 yards, to be exact) of Big Twist (one of my last purchases at Joann; you can find it now at Mary Maxim or Michaels). Assuming I used about the same amount of colored yarn, you’d need about 55 yards of each color if you use six colors. I mostly used worsted weight/medium/size 4 yarn but there are a few heavier ones in there, too.
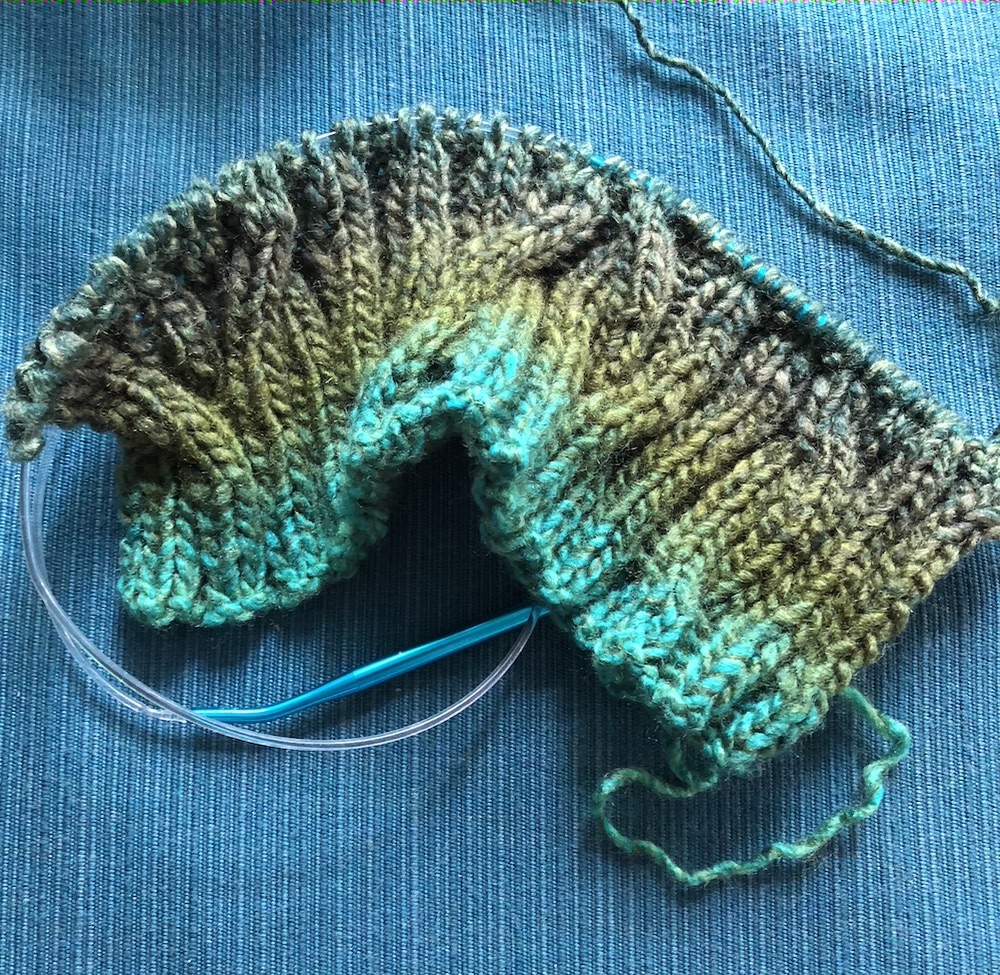
You’ll also need a circular needle. I used a size 8/5 mm, 20 inch circular needle but if you want to make your scarf wider or narrower you might need a longer or shorter needle. A stitch marker is helpful, as well as yarn needle and a pair of scissors.
Gauge
Gauge isn’t critical (and varies a little through the scarf because it’s different yarns) but I got about 16 stitches and 22 rounds per 4 inches/10 cm working helical knitting (stockinette stitch) in the round.
Size
The scarf is 14.5 inches/36.8 cm around (so 7.25 inches/18.4 cm wide) and 6 feet/1.8 meters long. Each color section is 12 inches/30.5 cm.
Add this project to your Ravelry queue.
How to Make a Helical Knit Scarf
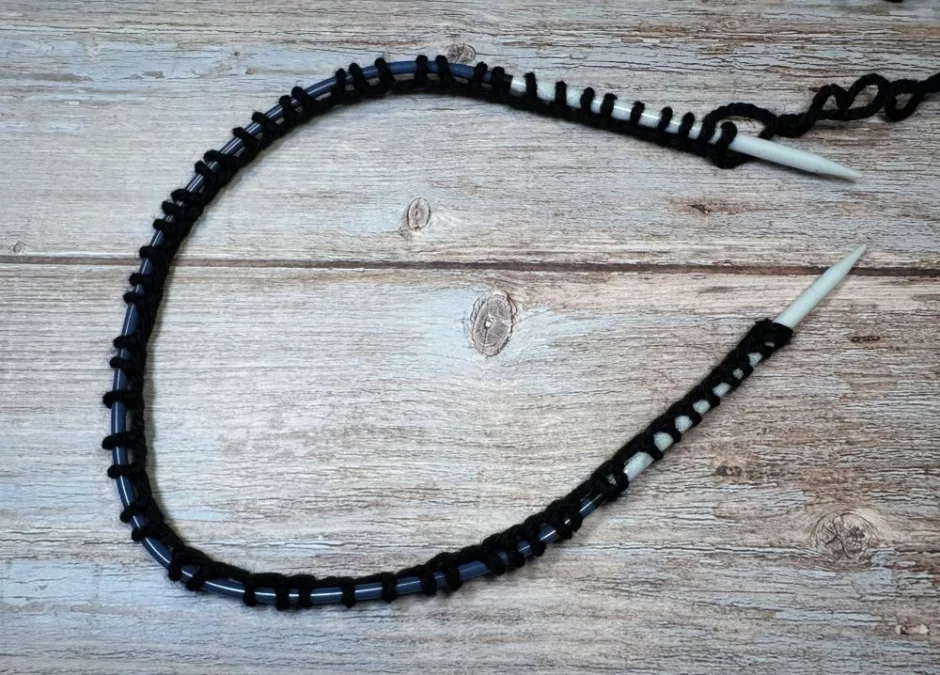
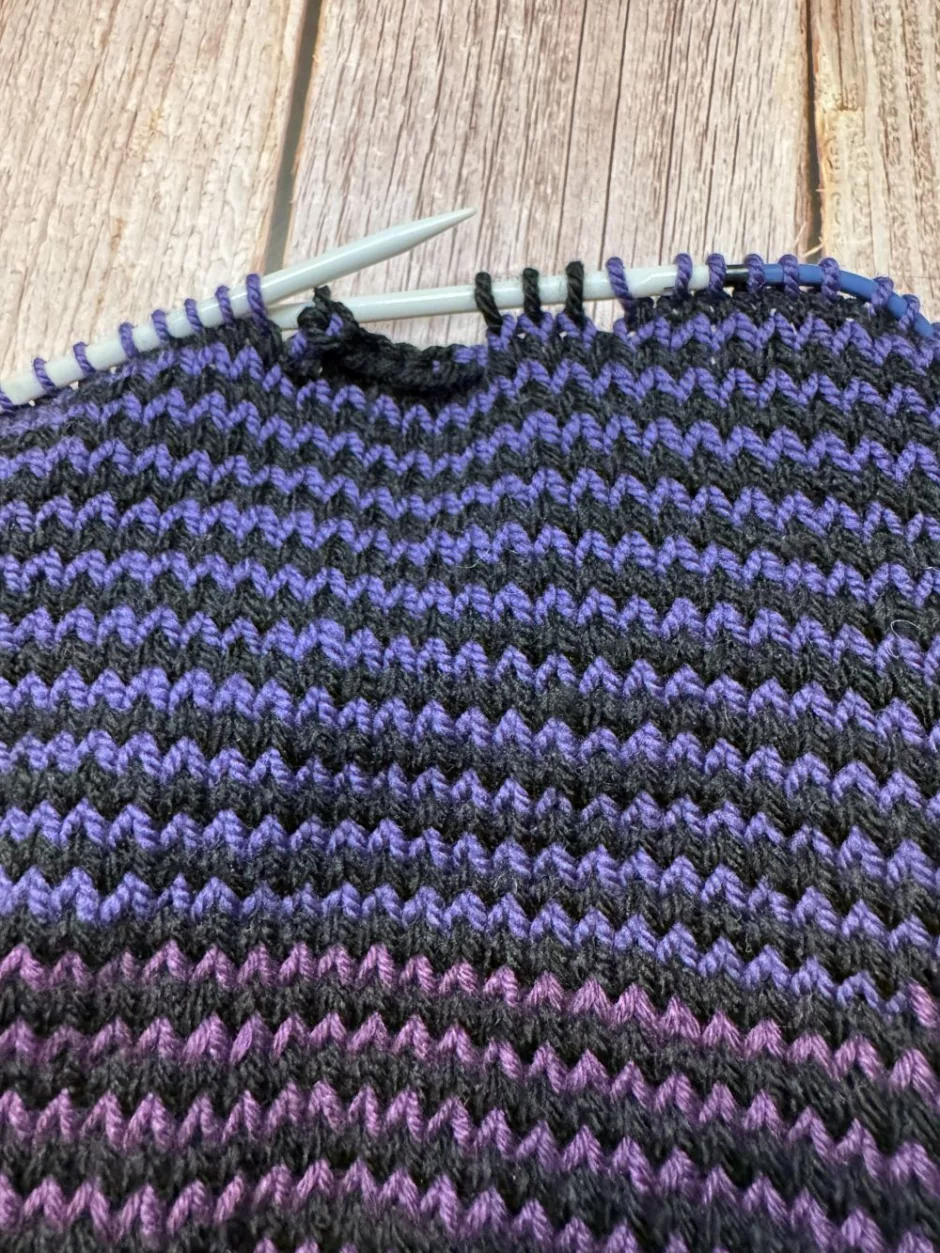
Using your color A, cast on 60 stitches using the long tail cast on and join for working in the round. Place a stitch marker 3 stitches before the end of the cast on if you want to use one.
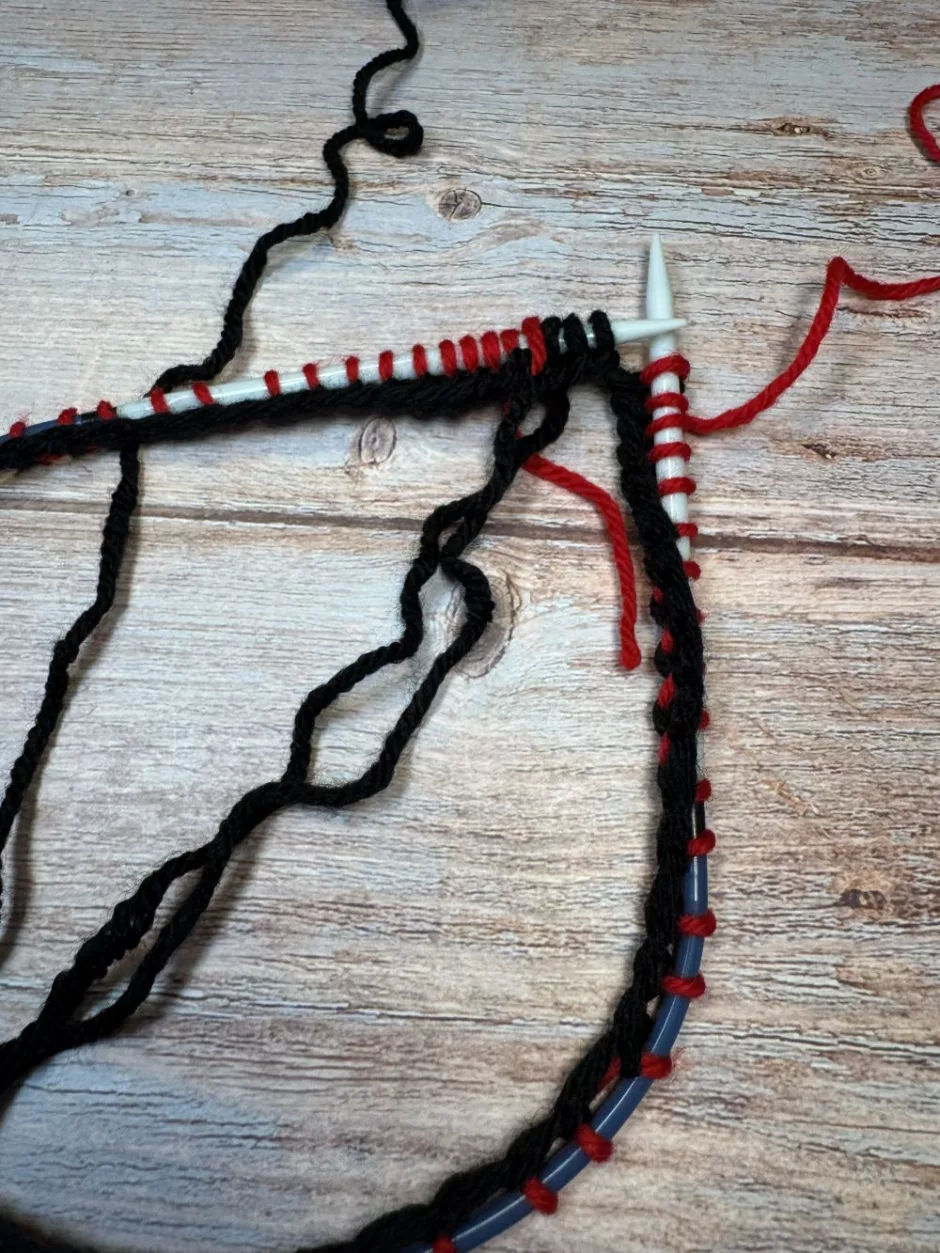
Join color B (I started with red), and knit to the marker, or 3 stitches from the end of the round.
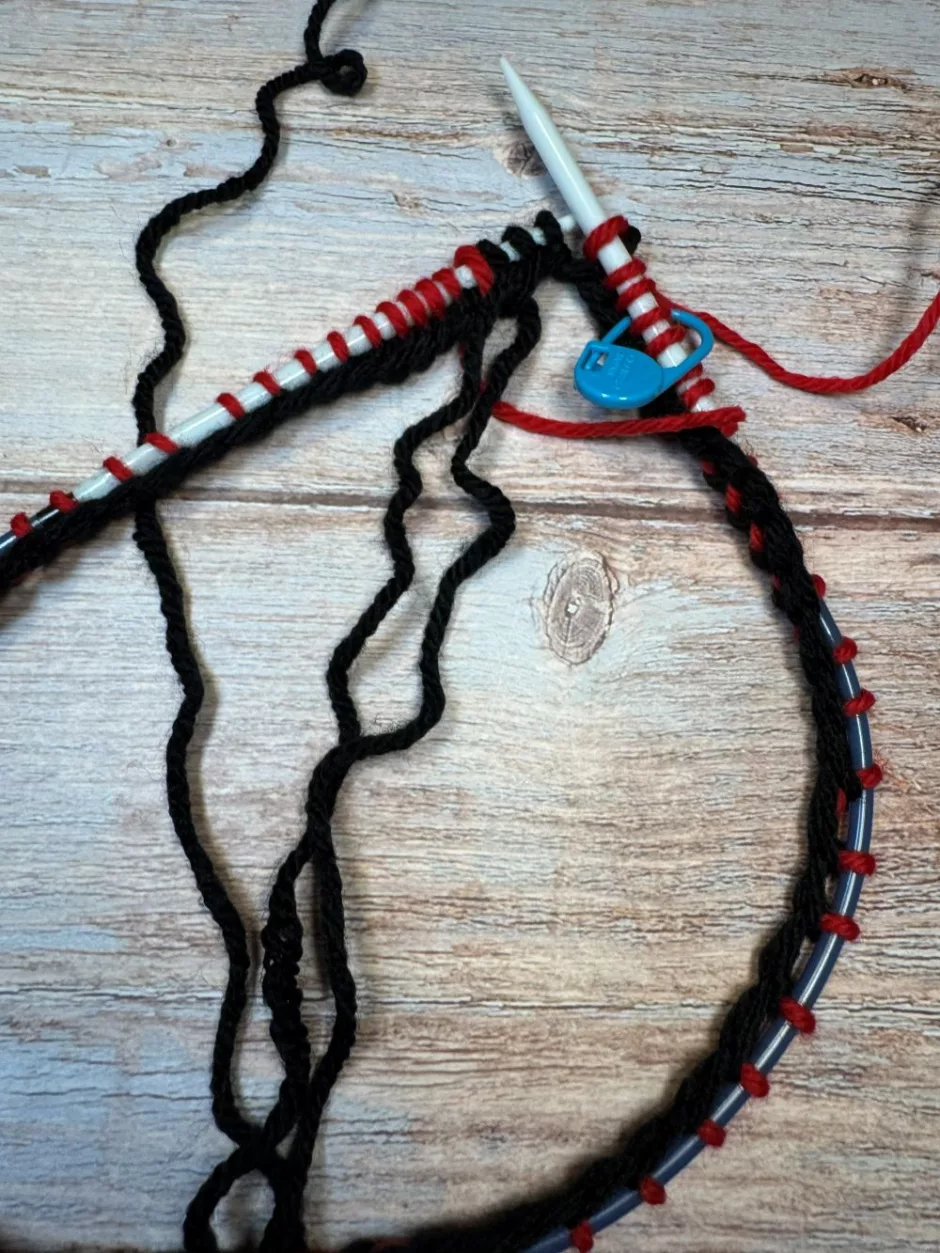
If you’re using a stitch marker, move it back 3 stitches (so it will be before the last 3 stitches of color B).
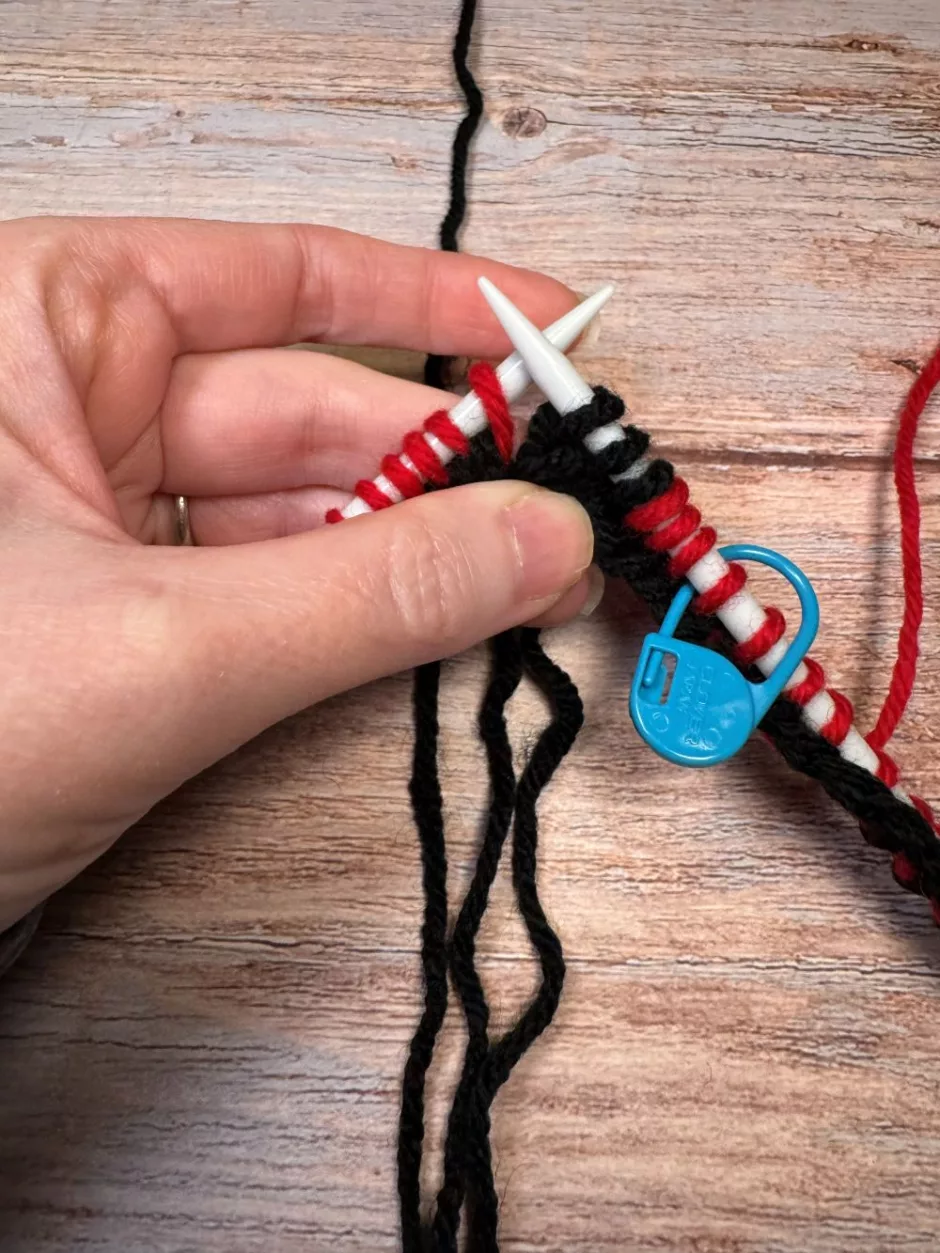
Slip the 3 stitches that are still in color A and knit the next round using color A to the stitch marker/3 stitches before the color change.
Slip the 3 stitches in color B and knit the next round using color B to the stitch marker/3 stitches before the color change.
Continue in this manner until you want to change colors. If you change yarns within the same color, just join the new yarn as you normally would (I tied knots, magic ball style, since you can’t see inside the scarf anyway).
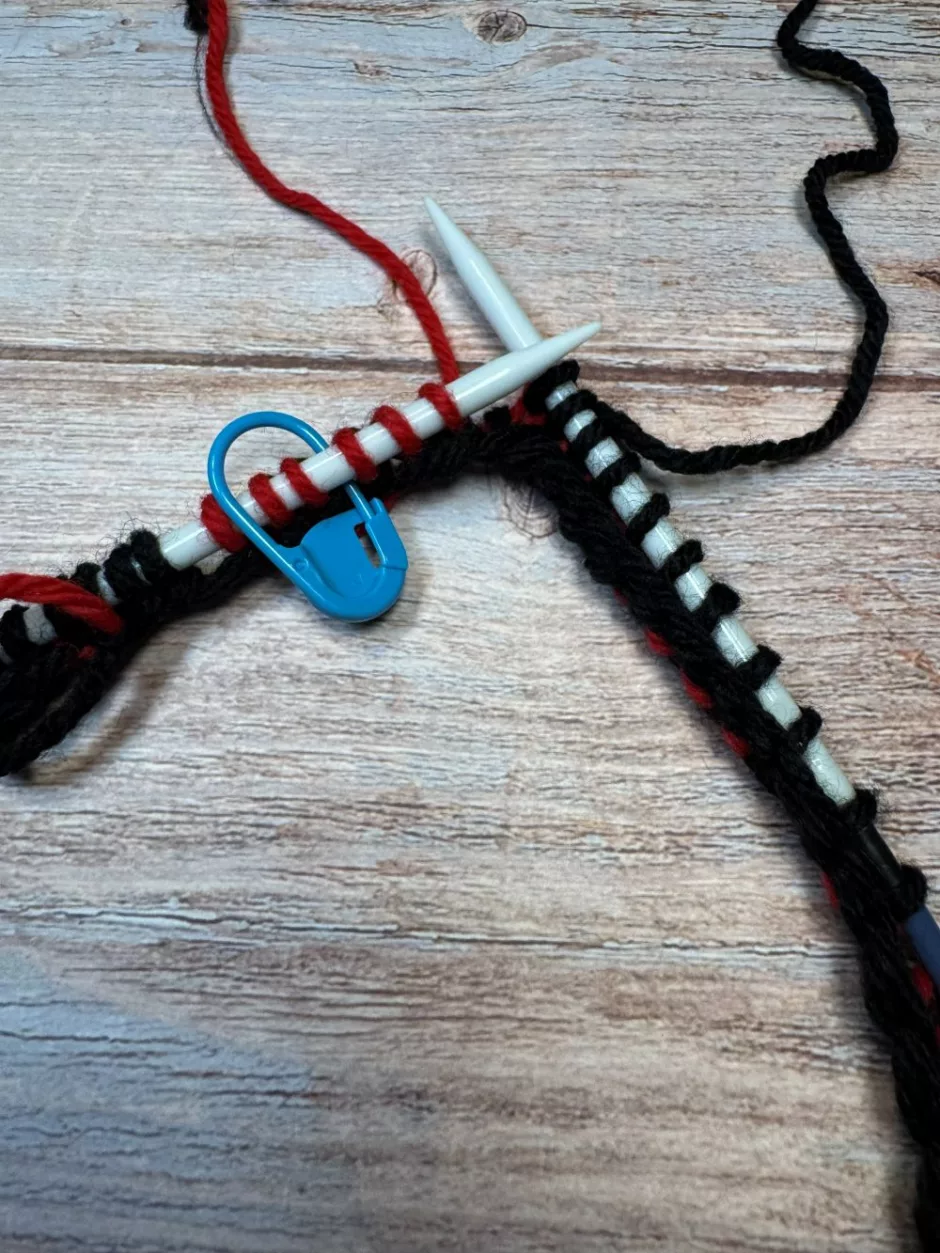
To change colors, work to the end of the color A round, slip the 3 stitches in color B, then join the new color B and work around to 6 stitches before where you changed colors. Slip the 3 stitches in color A and knit the next round as usual.
Make the scarf as long as you like. Since I wanted a foot/30.5 cm of each of six colors I figured out that was 35 rounds of each color B and just counted rounds as I went instead of measuring.
End with a color B round, slip the stitches as usual and bind off in color A.
Cut the yarn, leaving a long tail.
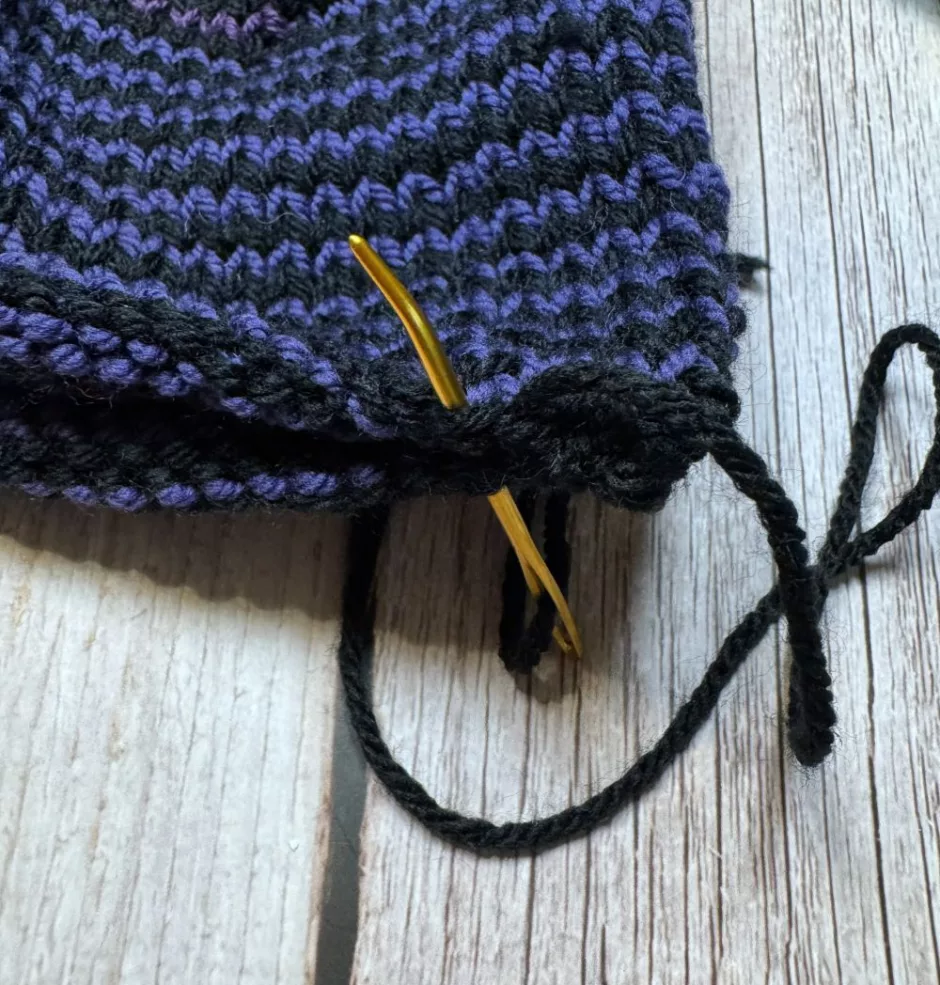
I didn’t want the stripes at the ends to read significantly wider than the stripes inside the helical knit scarf, so I whip stitched the ends closed. You could use another method if you’d rather.
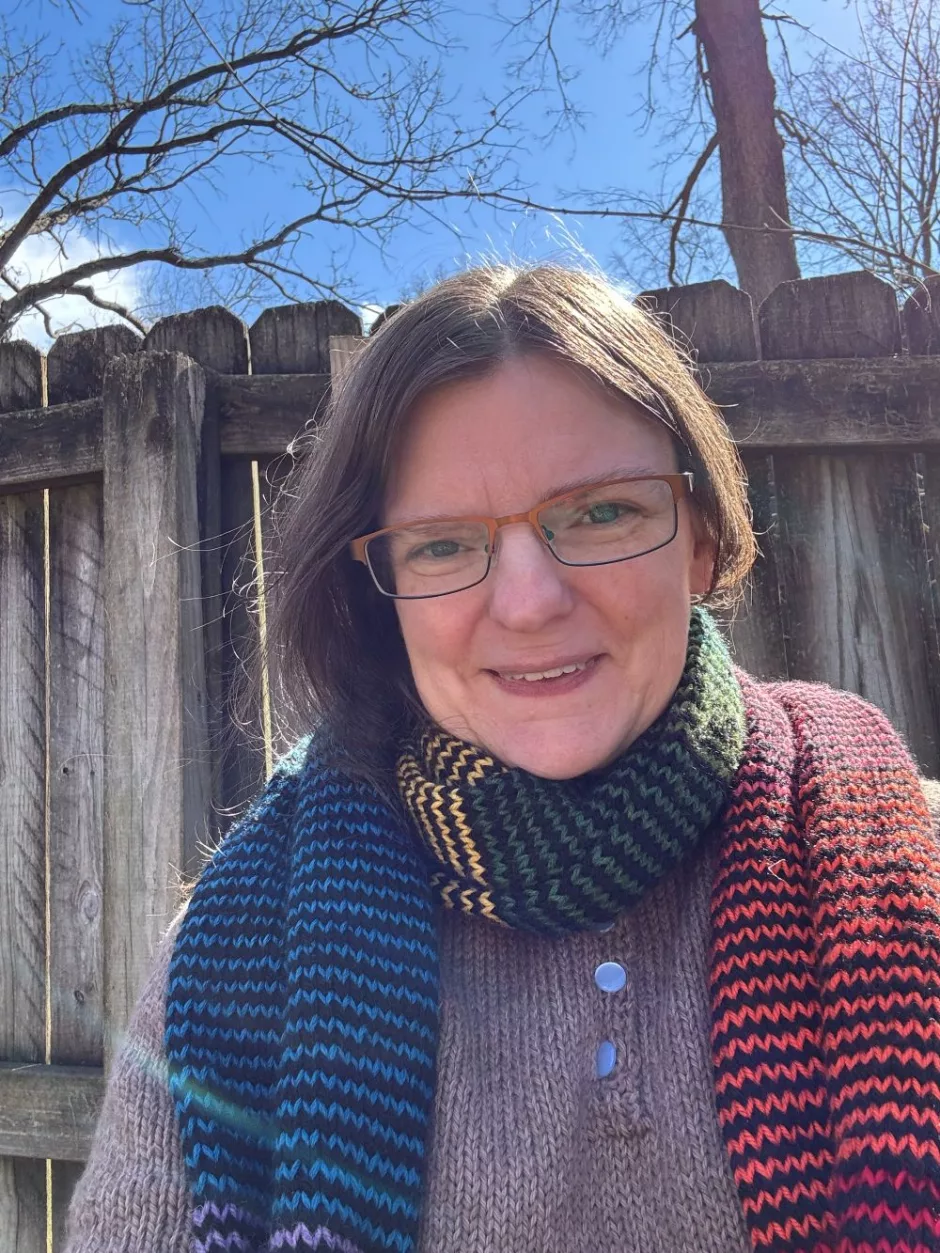
This helical knit scarf is so fun to make and an amazing use of stash. I want to make more of them using more random colors but I love the way this one turned out!
If you like this project I’d so appreciate if you liked it on Ravelry!