Affiliate links may be included for your convenience. View our privacy and affiliates policy for details.
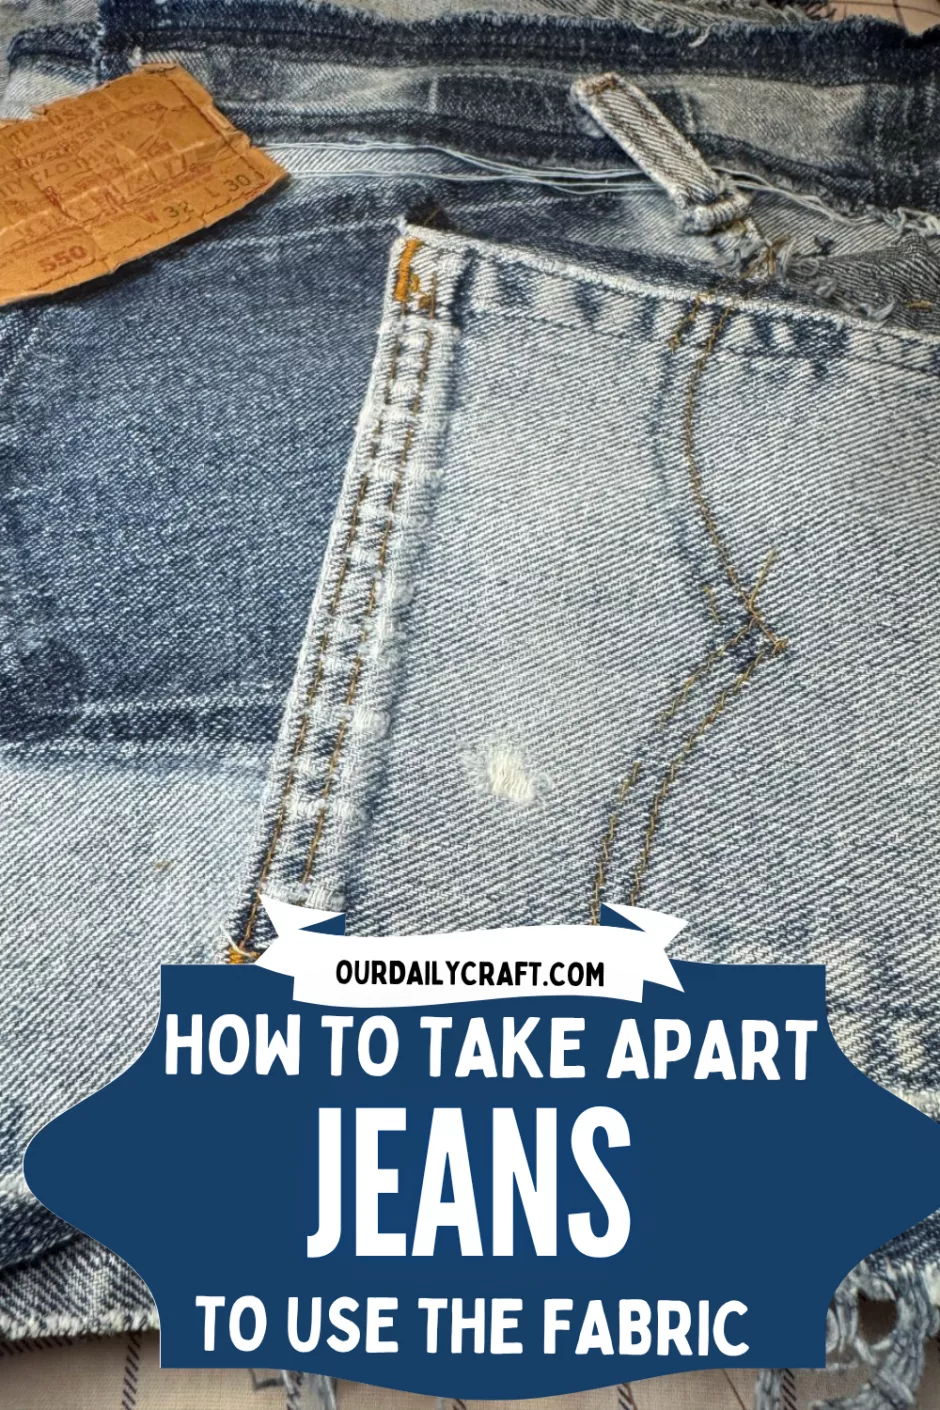
Often when we’re upcycling denim for crafts we just cut out the fabric we want to use, but it’s fun to know how to take apart jeans to use the fabric in different ways.
This isn’t a difficult project, but it does take some time and is a little messy with all the thread that will get everywhere. But it’s also kind of fun to think about how clothing is made and what went into the garments we’ve worn.
I consider it like a decommissioning ceremony for your old jeans (or jeans you grabbed from the thrift store). After long service don’t they deserve to be upcycled into something great?
Choosing Jeans to Take Apart
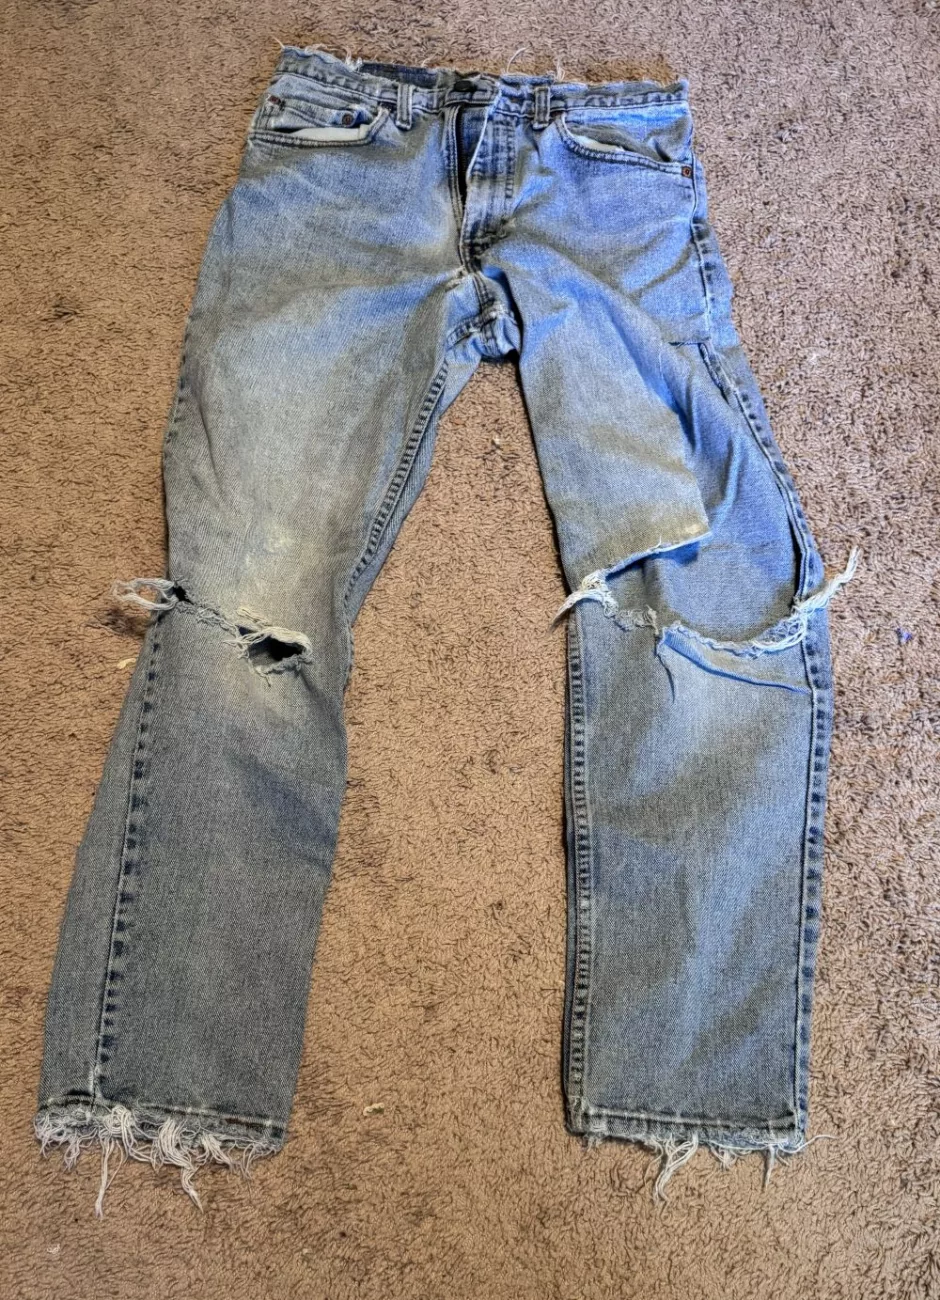
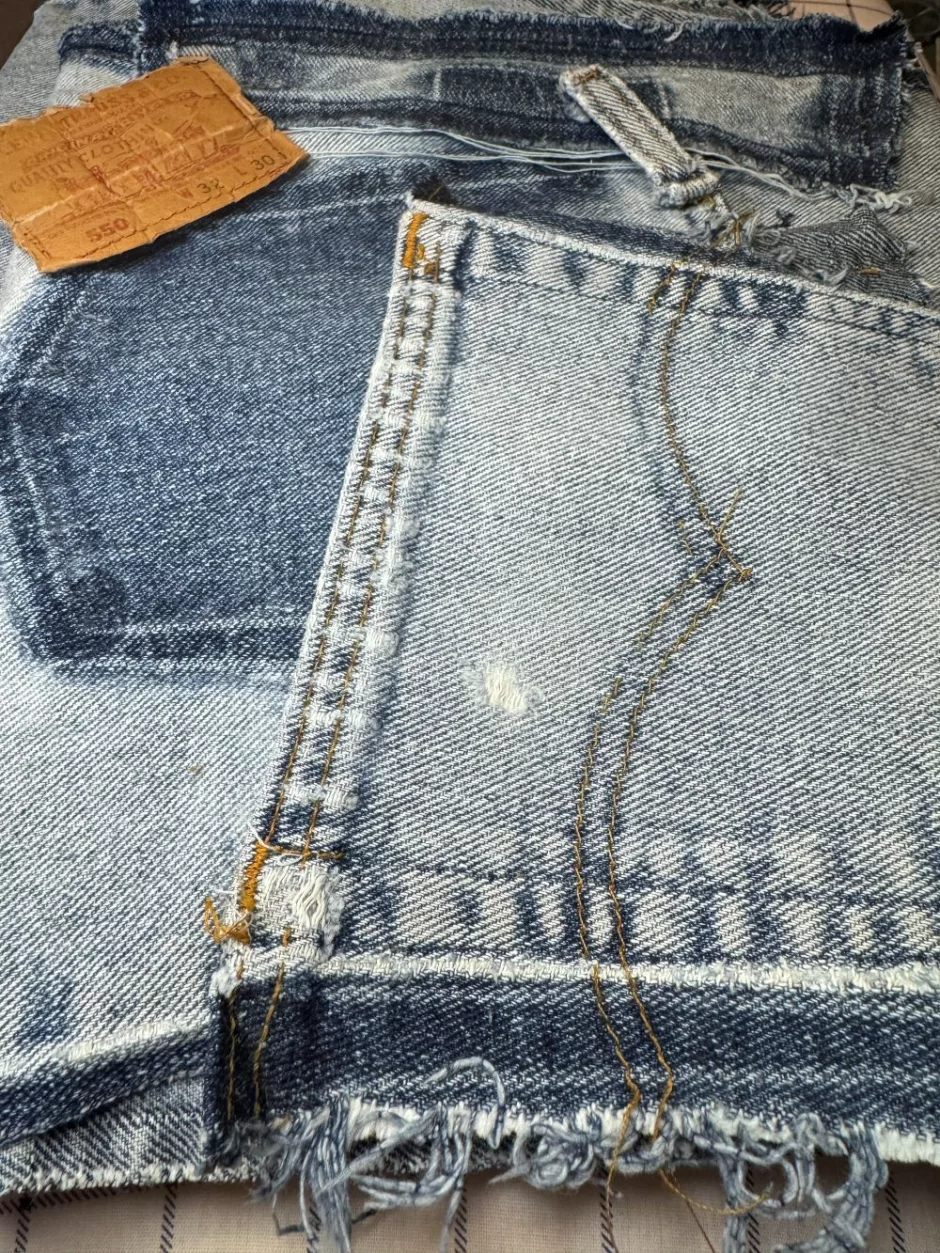
You can take apart any jeans you like for this sort of a project. As you can see the ones I’m using were already falling apart, and I’ve cut a chunk out of them to use for a project already.
Your jeans don’t have to be as battered, but it can be nice when you’re learning how to take apart jeans to start with something you don’t care about messing up. Something you already own but aren’t wearing is great. If there are holes, stains, a broken zipper, whatever, it doesn’t matter here.
As mentioned before you can also grab a pair of jeans from the thrift store, buy nothing or somewhere else, but it’s also ideal to do this with pants that can’t be worn by anyone. (Though of course thrift stores get way more clothing than they can ever sell, and if you need a lot of denim for a project buying thrift store jeans will be your best option.)

My preference is for 100 percent cotton jeans, but a little bit of stretch is OK, too. If you’re planning to use the fabric for hot pads, 100 percent cotton is ideal because polyester or acrylic fibers could melt when they come into contact with heat. It’s also great to have 100 percent cotton pieces because you can iron them on high heat, which helps open up the seams. We’ll get to that soon.
In addition to your jeans you’ll just need a good seam ripper (the ergonomic handle comes in clutch) and maybe a small pair of scissors for places where lots of threads pile up in one place.
How to Take Apart Jeans: The Sequence
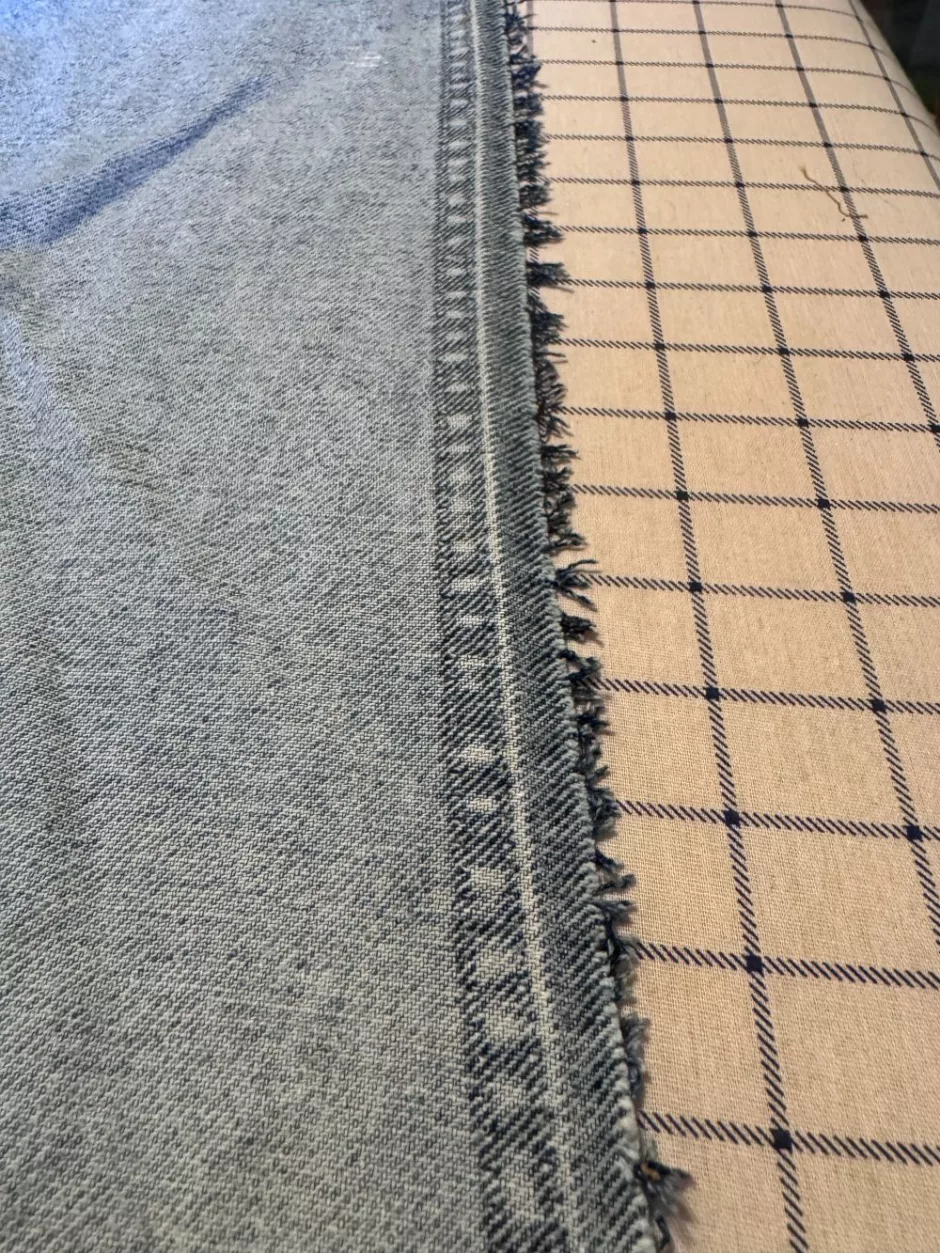
There’s not necessarily a standard order of operations for how to take apart jeans, but this is the way I like to do it:
- Hems at the bottom of the legs
- Outside leg seams
- Inside leg seams
- Waistband (which can include the label and belt loops)
- Back yoke
- Center back seam
- Back pockets
- Center front seam and zipper
You may decide to do the inseam first, then the waistband and the side seams. Or you can start from the top and do the waistband first. Whatever makes sense to you. And note for every seam there are at least two threads that will be removed separately. I like to work from the back and remove the blue/bobbin thread first. The gold topstitching thread will usually pull out easily once that has been removed.
Sometimes there’s also gold thread on the inside, and sometimes multiple seams intersect. Just keep ripping and you’ll get there eventually!
Taking Apart Jeans Walk Through
If you know how to use a seam ripper and evaluate the seams you’re looking at, there’s not much to learn about how to take apart jeans, and it may vary a little depending on how your jeans were constructed.

The hems generally will be a straight stitch that you just pick out one stitch at time. As much as possible I like to work from the inside of the fabric, but here the outside was just easier to see.
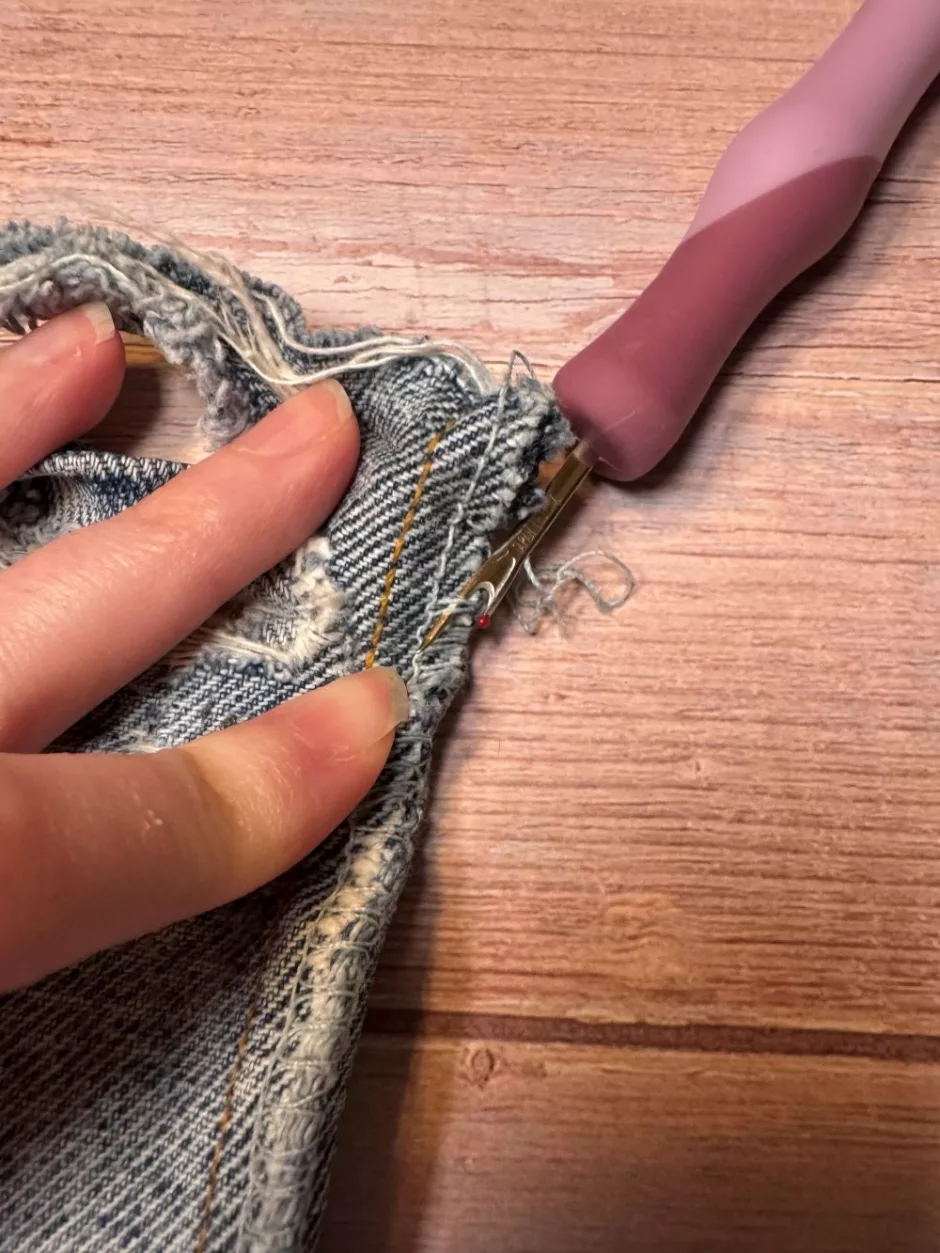
My outside seams had a serged edge, which I took care of how I described in my post on how to unravel serger stitches.
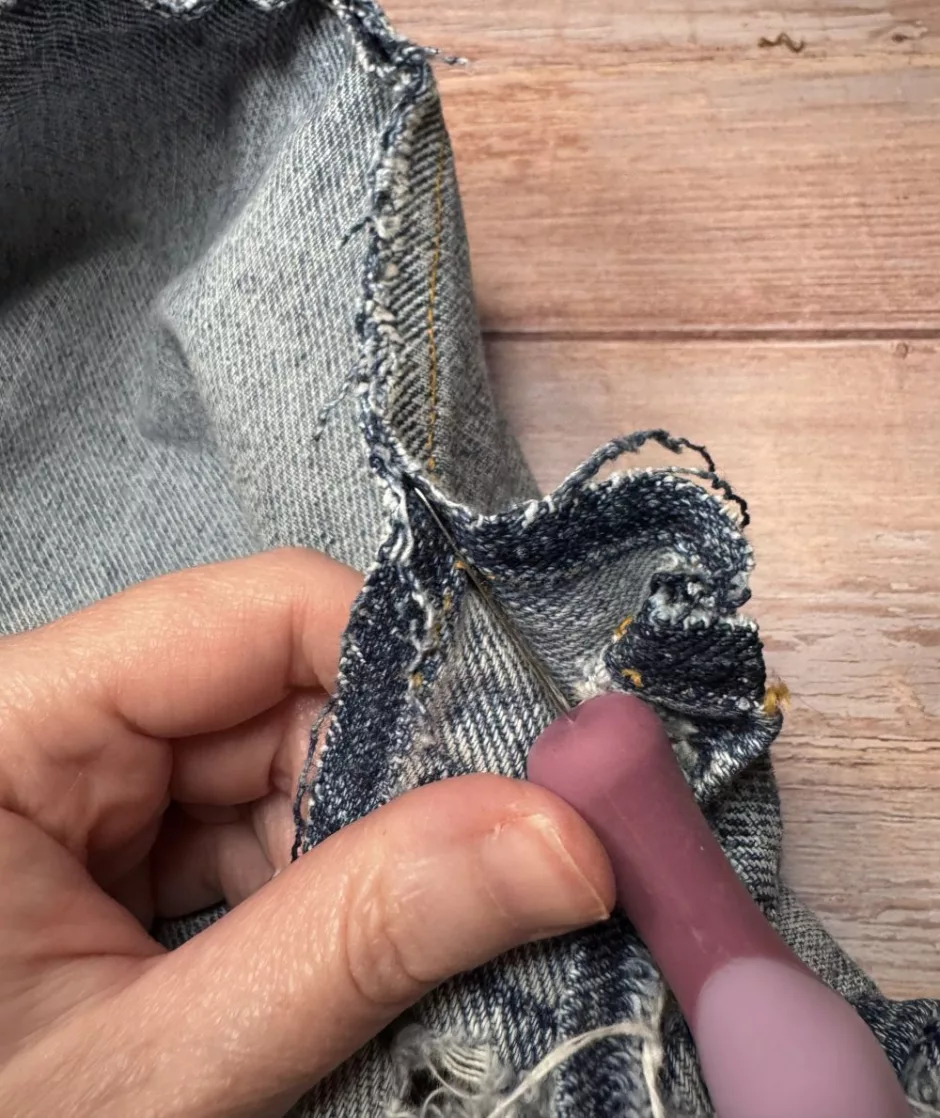
Under that was some straight stitching I ripped out with the old trick of using the seam ripper upside down.
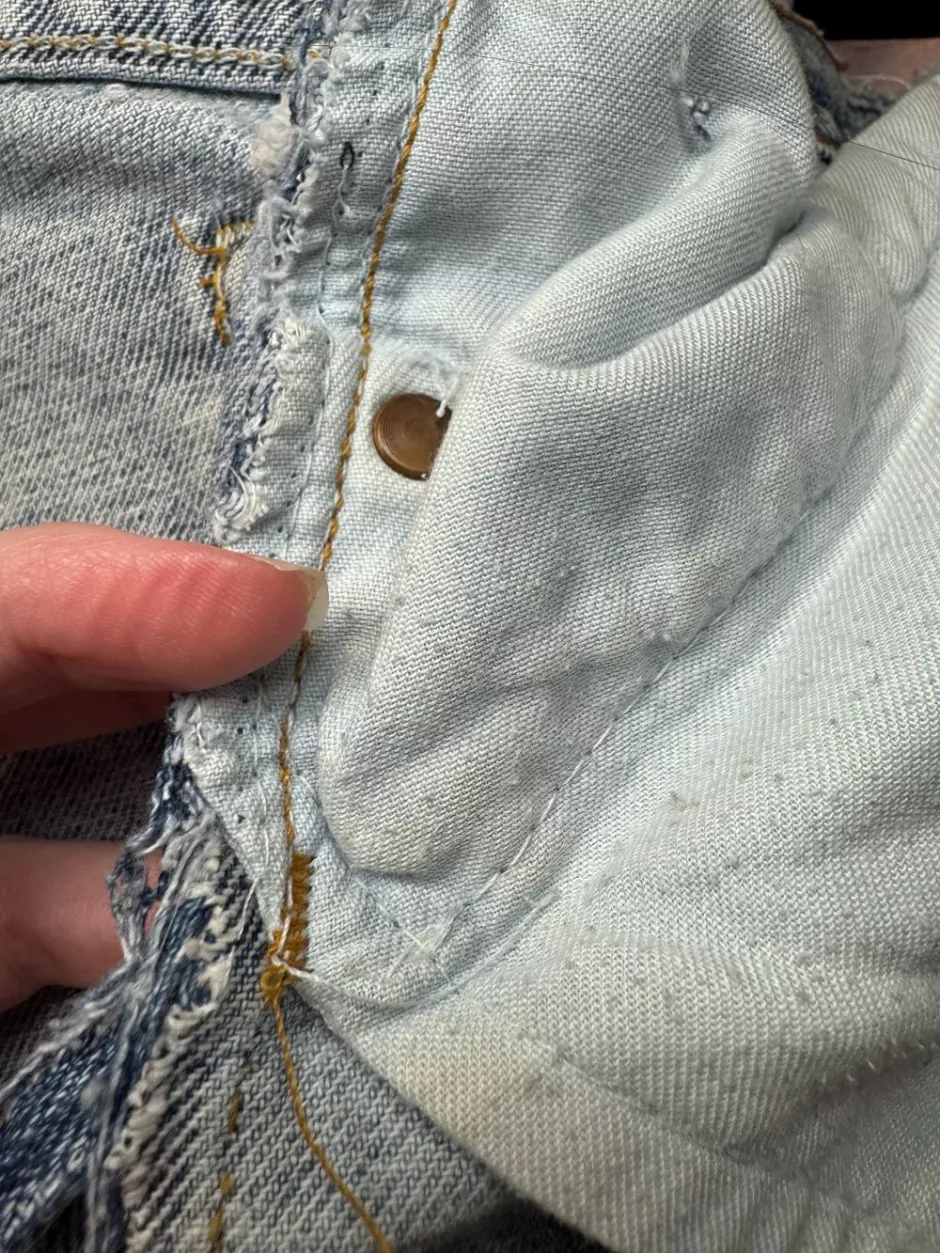
When you get to where the pocket is attached you’ll probably need to pick the stitches out more carefully because the pocket bag fabric isn’t as durable.
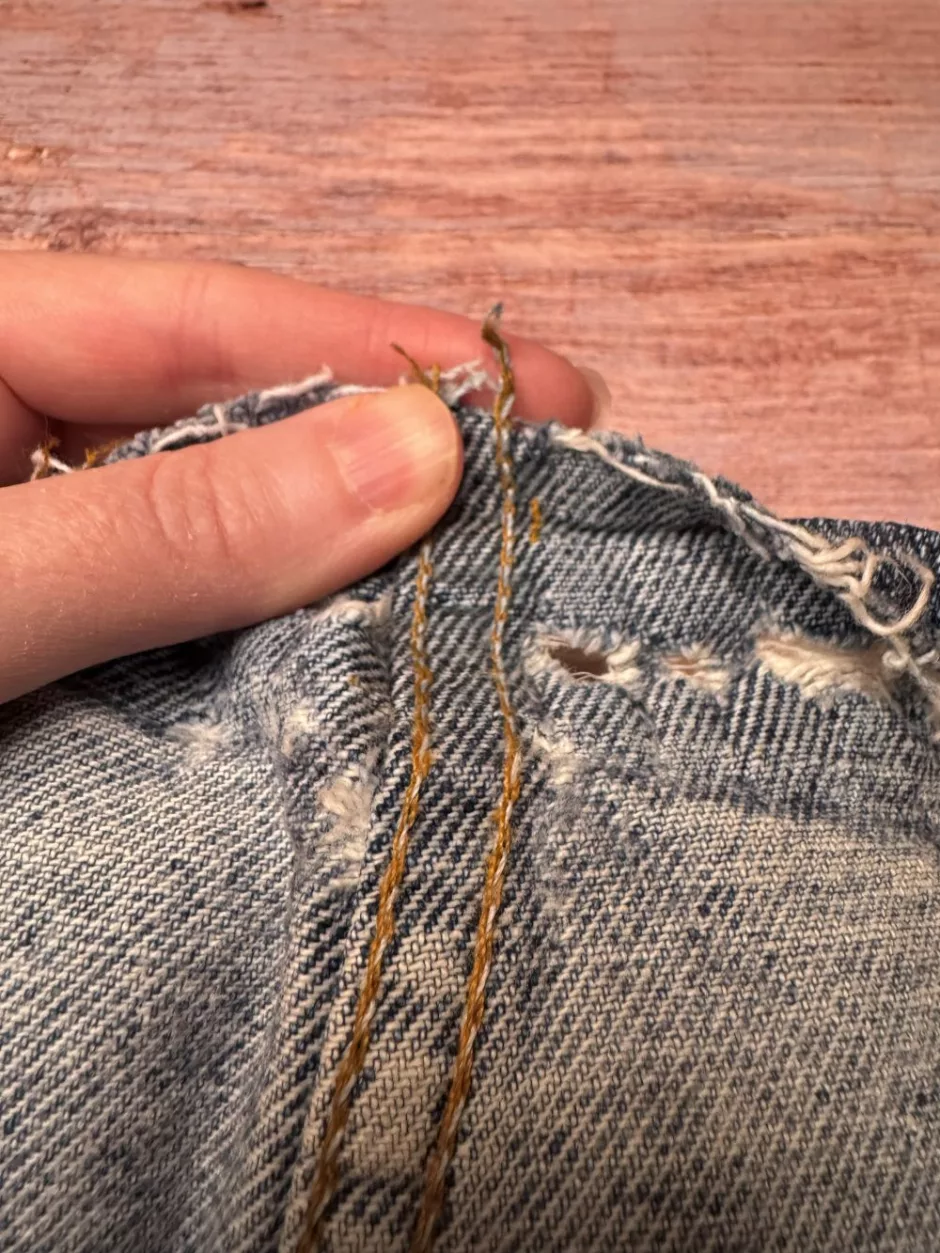
The inseam was a chain stitch on the inside. If your jeans have this you should be able to find a little chain of thread that was inside the hem. Unpick that part of the chain (and you may also have to unpick a bit of the seam by hand) then try to pull on the blue thread.
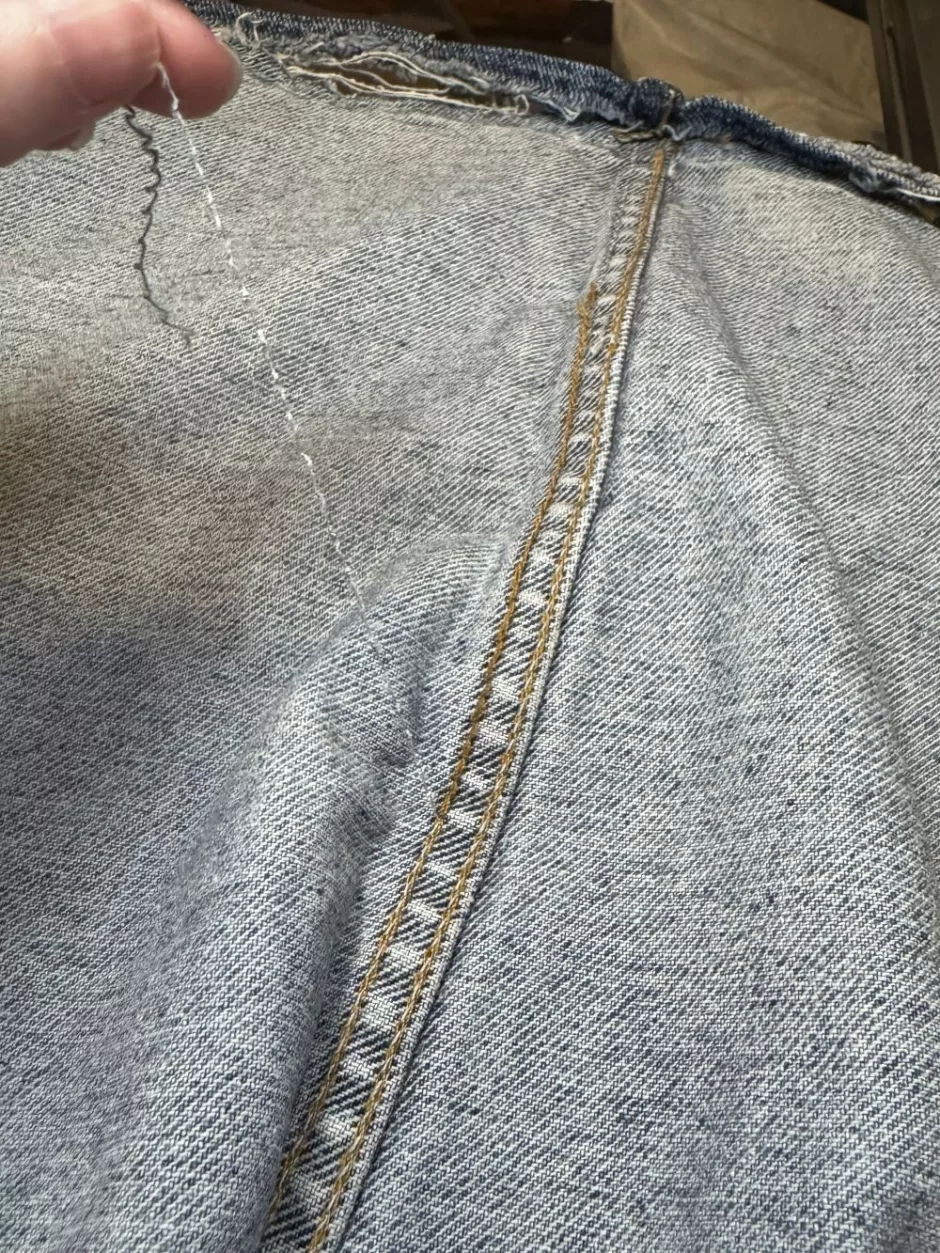
If you still can’t get it to pull, try starting from the other leg.
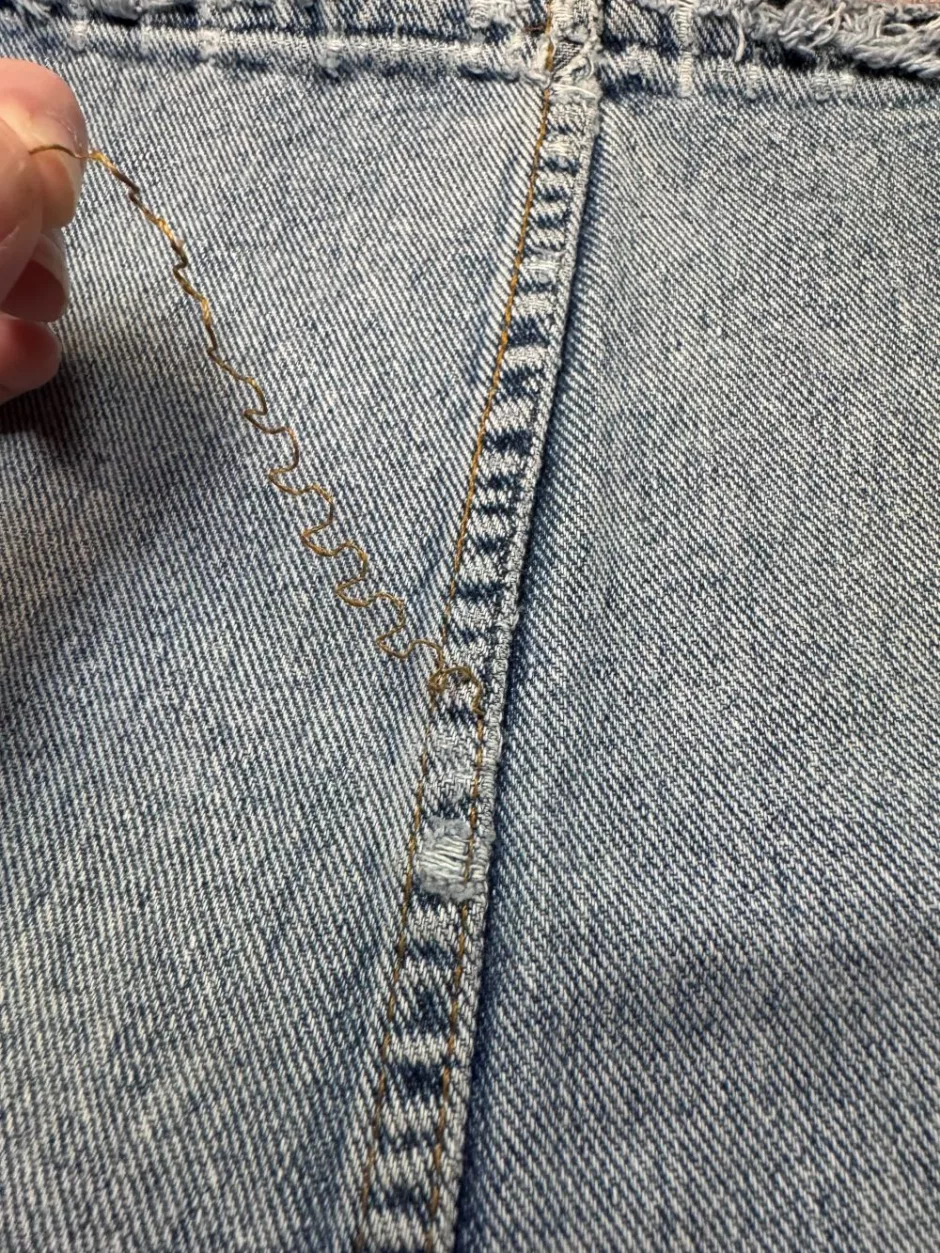
Once you get the blue thread pulled out, flip to the front and pull out the gold thread. Repeat on the other set of stitches, and on the other leg.
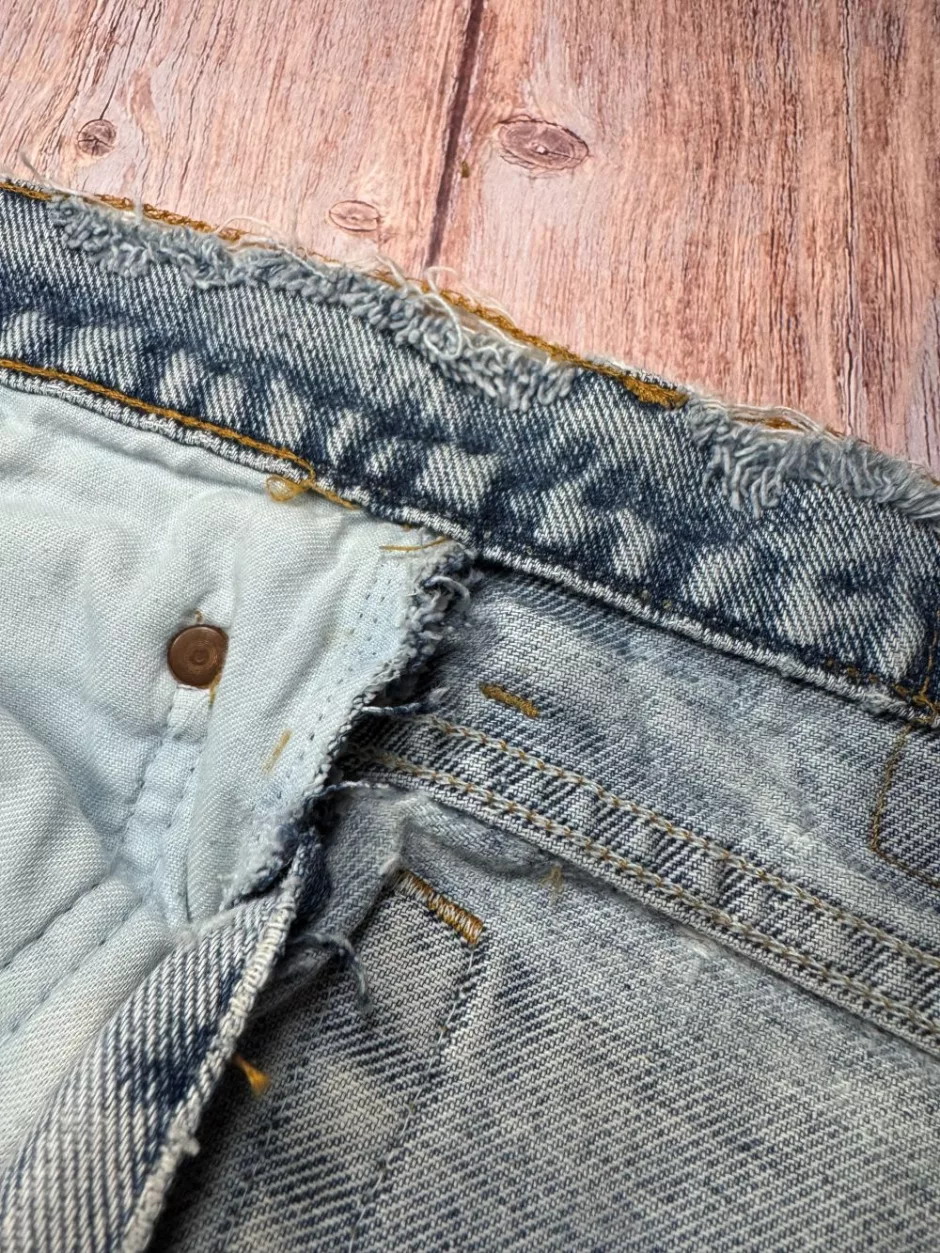
My waistband was a chain stitch, too, so I just picked a place to start and unpicked in both directions until I found the way it would pull.

As you work on the waistband you’ll come to the belt loops and the exterior label. You can leave the belt loops for now but go ahead and remove the label when you come it to. These can be fun to use in projects or your art journal, too.
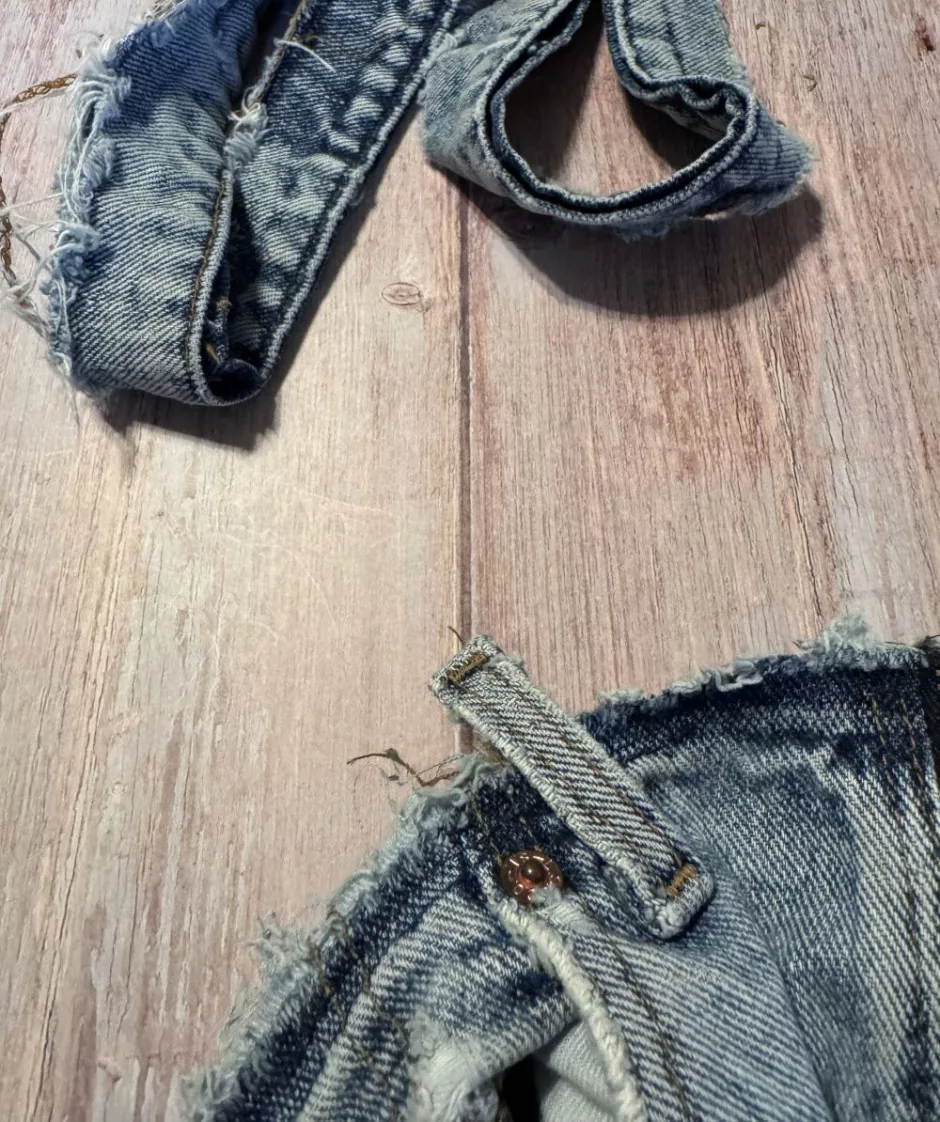
Once the waistband is loose you can remove the belt loops from the waistband, and rip out the little bit of seam that’s still holding the front and back of the legs together.
Then you can remove the belt loops from the legs, and then the yoke from the back of the legs, and here’s where I like to take off the back pockets, too. The front pockets are riveted into the pants, so I left them where they are for now.
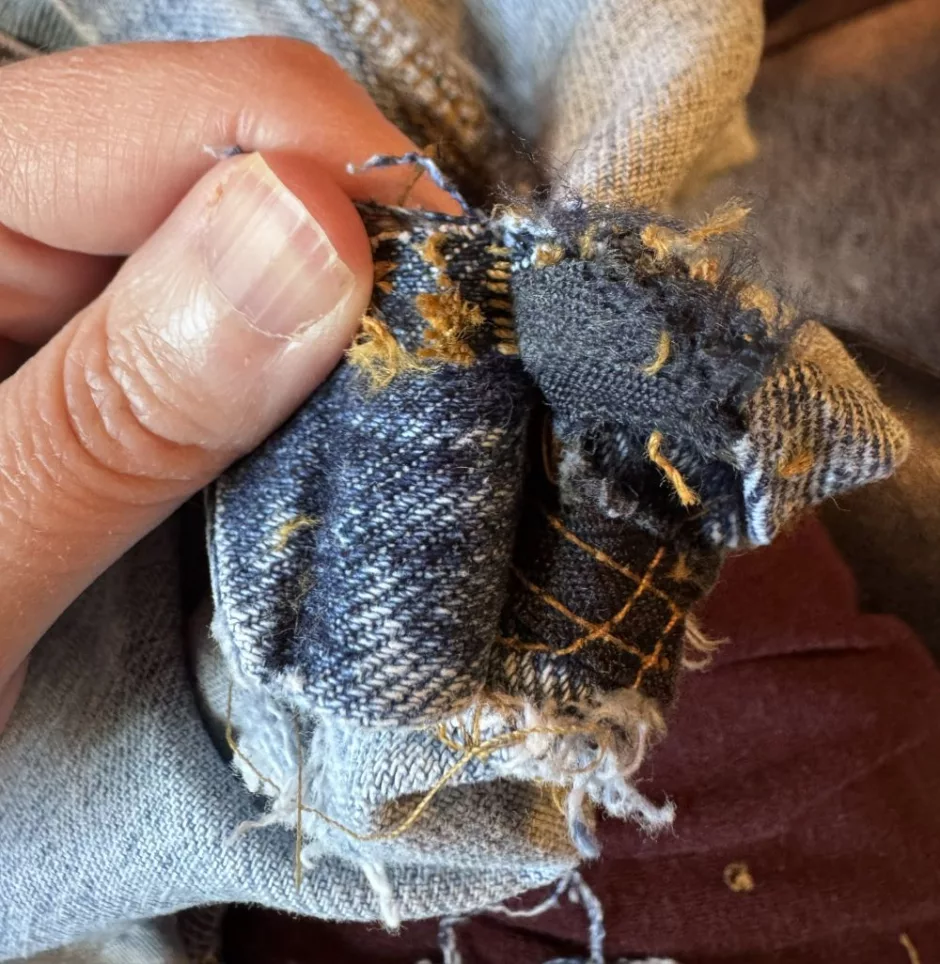
Maybe the trickiest part of how to take apart jeans is the zipper area. There’s a little seam here that holds the fronts of the legs together (a great place for using those little scissors) and in general there are a lot of seams happening here. Makes sense because we don’t want that part to fall apart!
I did a lot of ripping with the backwards seam ripper here because it was all straight stitches and I was out of patience.
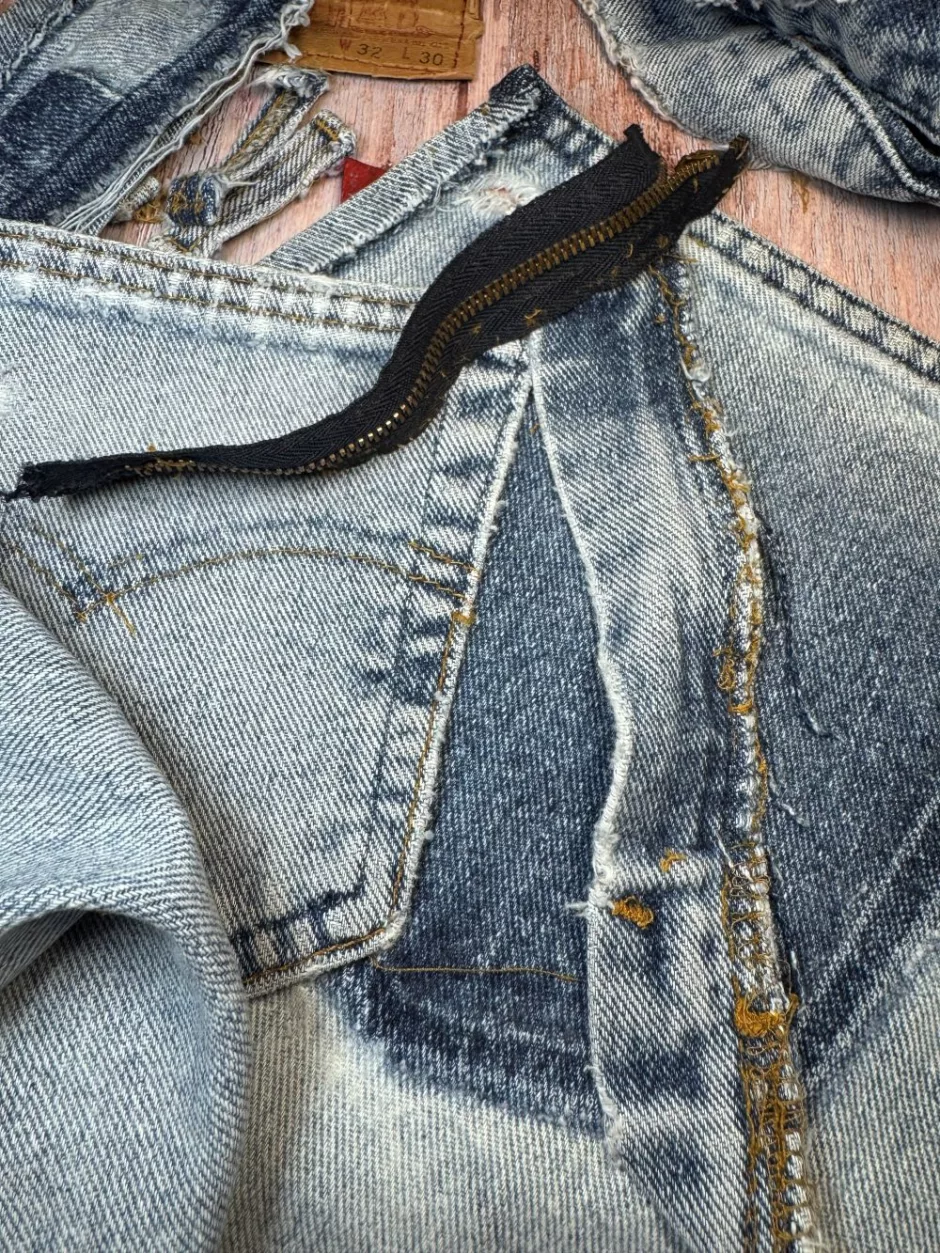
Which also explains why I zipped the zipper pull right off the end of the zip tape trying to get it out of my way. Maybe we’ll have a post on how to fix that soon.
Finishing Your Jeans Dismantling Project
I did all of this over the course of a couple of days, and to be honest I was kind of done by the time all the pieces were separate.
But there are a couple more things you should consider before calling this project complete.
First, there are going to be a lot of tiny threads to deal with if you ripped seams instead of unpicking them. I dealt with some of this, but there are still some things that need to be cleaned up.
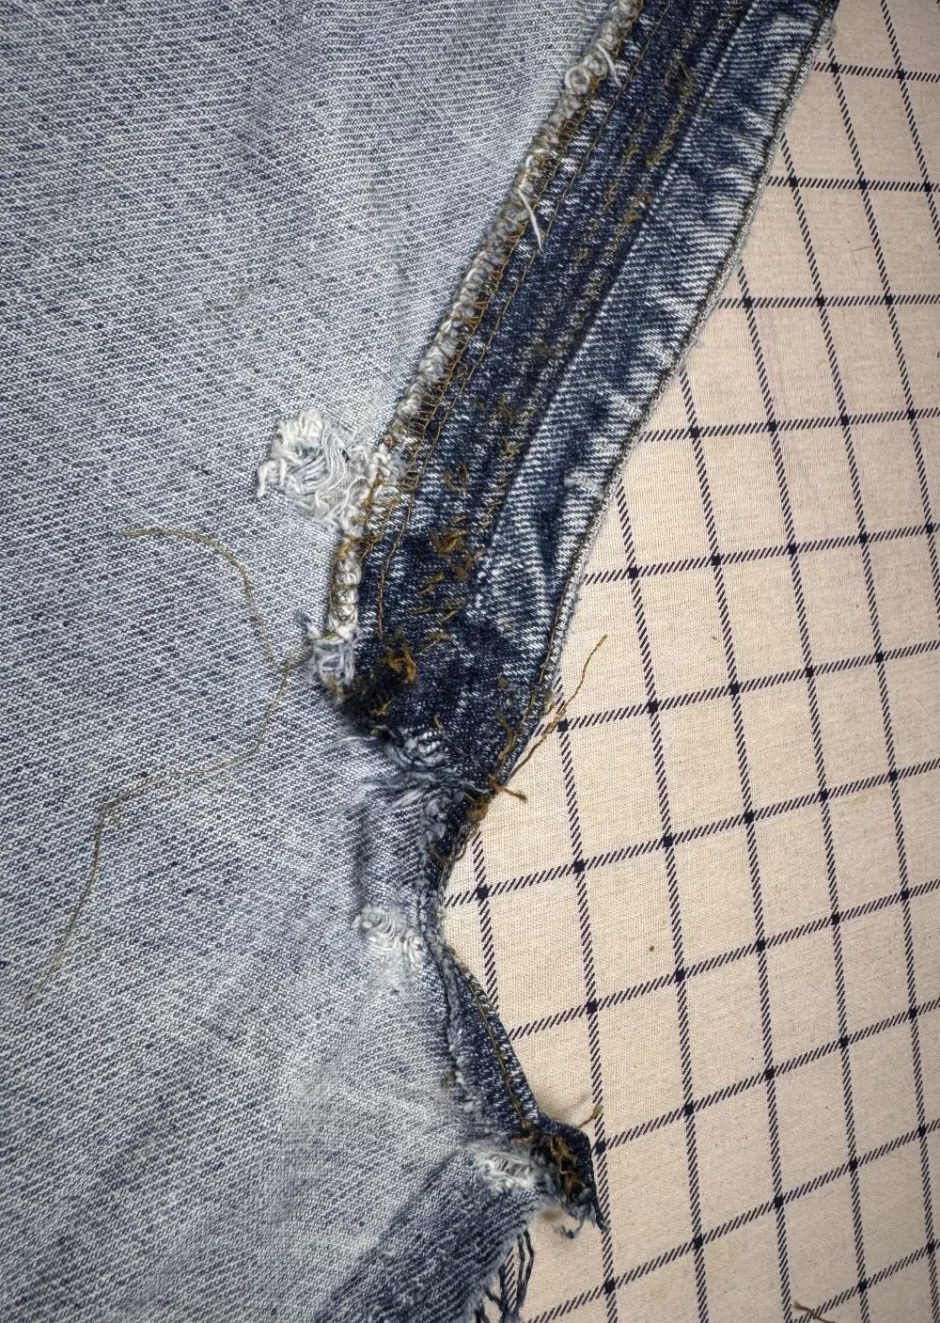
Likewise, there might be some seams that you want to take out that are keeping things from being totally taken apart, such as the top of the waistband or the stitching at the sides of the waistband, the tops of the pockets and any decorative stitching that is there, and possibly some parts of the fly where fabric is still sewn together even though it’s not holding anything together.
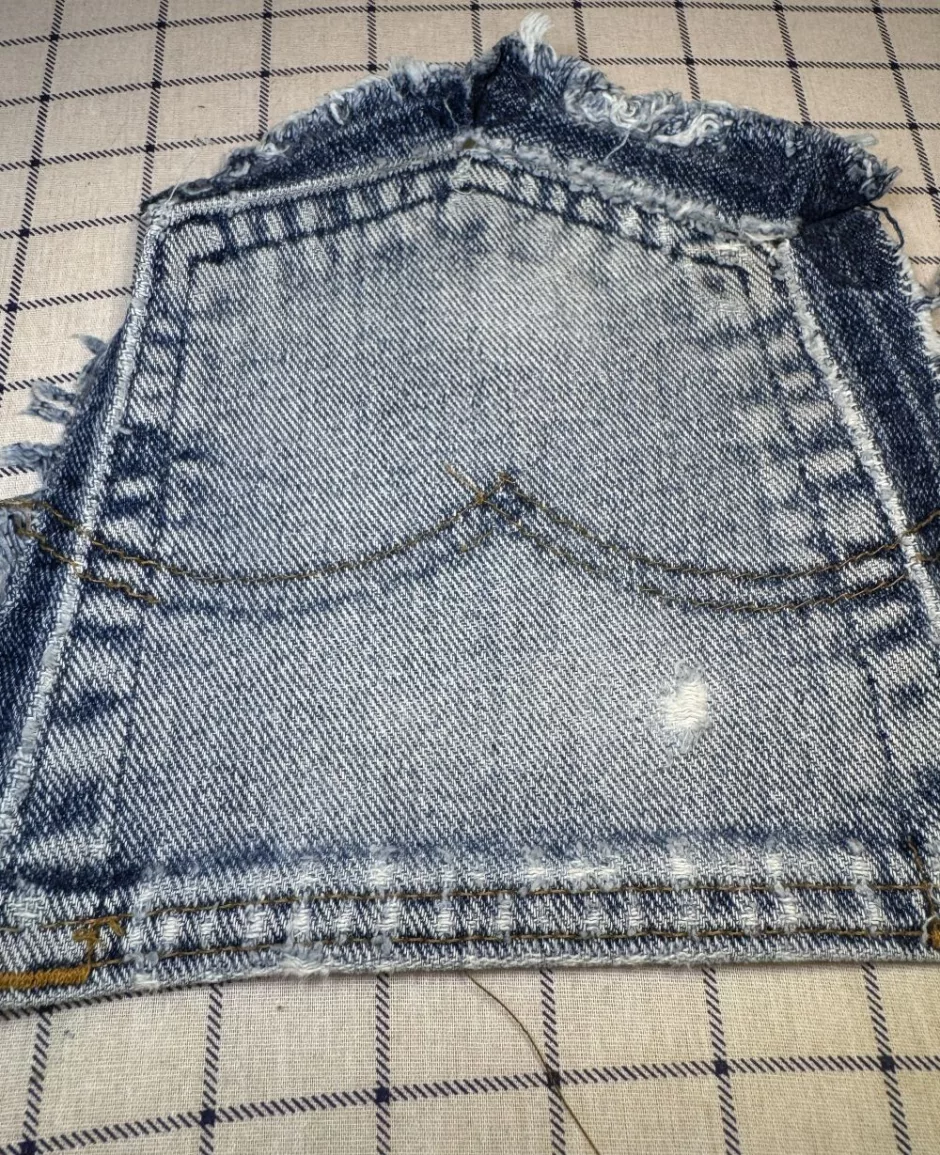
I like the stitching on the pockets but here it was already coming undone and it’s kind of fun to have the shadow of the stitching there, too. Maybe I’ll rip out the one thread that’s unraveling and leave the other?
Ironing Your Jeans
The final-final step in how to take apart jeans is pressing the seams so you can see that great contrast in the fabric and be able to use the fabric from the seams.
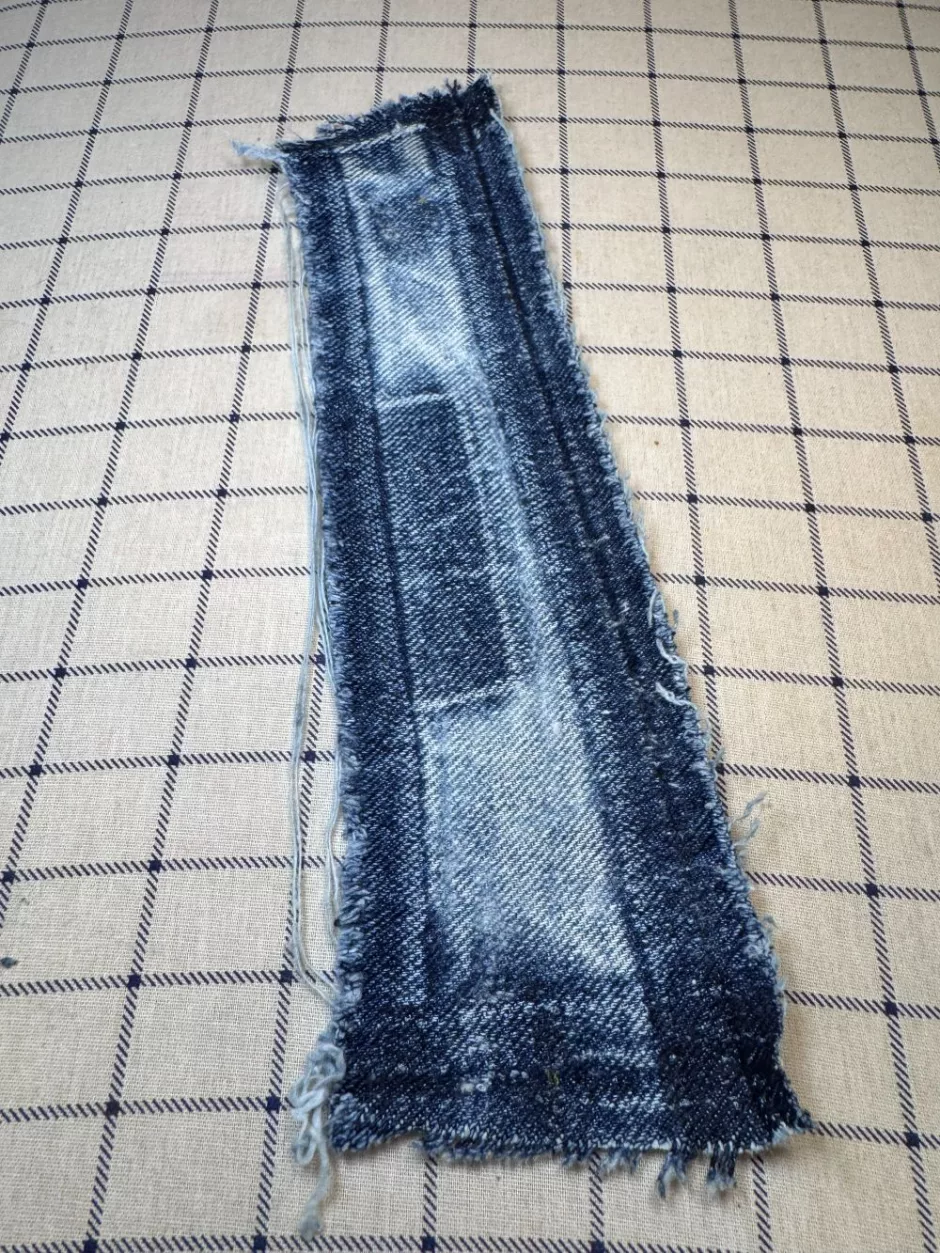
This takes a little patience so you might not want to do it right after you finish taking apart the jeans, but it’s nice to have done because then the fabric is ready to use whenever you want to use it.
The key is a very hot iron. The highest setting is generally for cotton (if you have an old iron it might even have a denim setting).
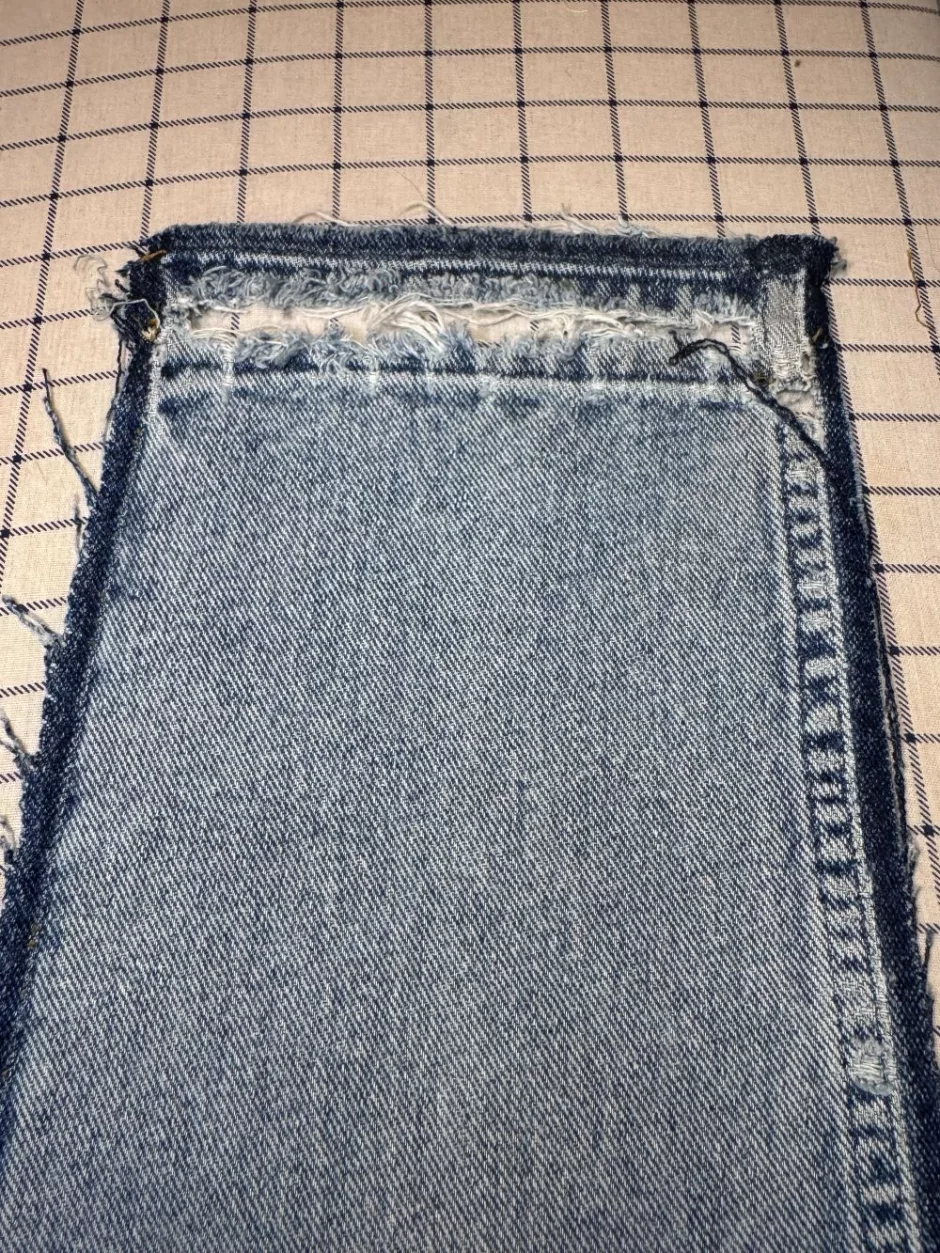
Open the seam up by hand and press on one side, then the other.
You might need to do this a couple of times to get it flat.
If you’re having trouble or want to speed up the process, use the steam setting on your iron or just spritz a little water on the seam before you press it.
Dealing with Rivets
I mentioned above that the front pockets on these jeans are riveted to the legs, so I left them attached to the pants as they were. Likewise the button on the waistband is riveted in.
These sections can be a design feature in whatever you are making with the denim. You could incorporate the pocket into a design, or cut off the pocket bag, sew the pocket closed and use it like regular fabric.
I’ve seen fun things done with the waistband button, too, but you can also just cut that part off (and maybe the button hole, too) and use the rest of the waistband as you would any other fabric.
Alternatively you can purchase a rivet removal tool (this one is meant for leather and fabric but there are lots of options) but there will still be a hole in the fabric when you remove the rivet, so it’s up to you what you need for your project.