Affiliate links may be included for your convenience. View our privacy and affiliates policy for details.
Knowing how to remove serger stitches the right way is a big help when you have to undo some sewing worked on a serger/overlocker machine. While the easiest way to deal with a serged seam you don’t want would be to cut it off, that isn’t always the best option depending on what you’re making and if there was extra fabric built in.
How a Serger Stitches
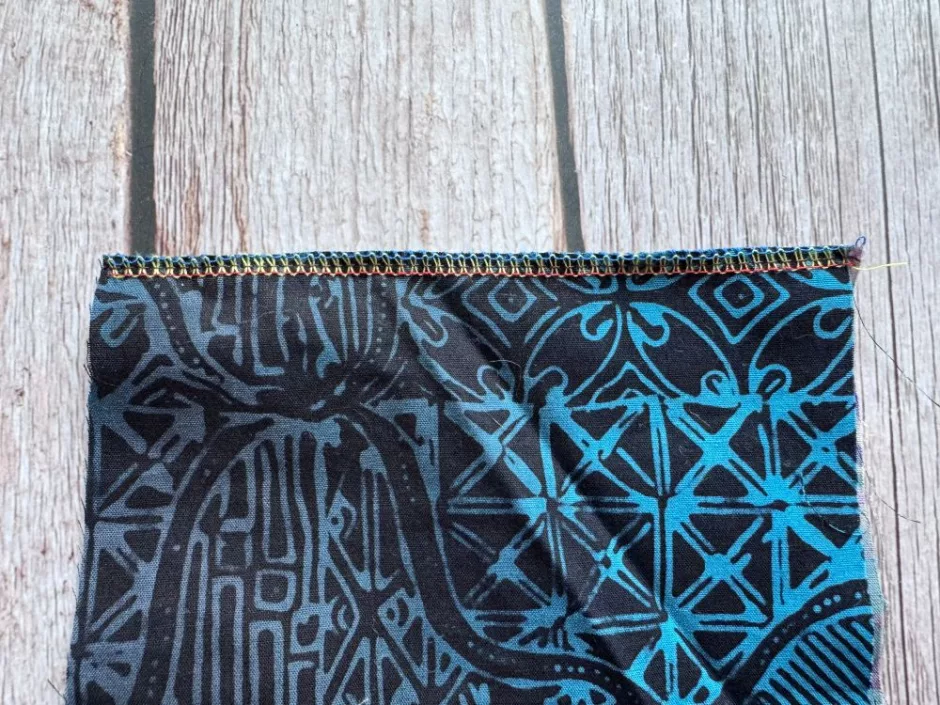
Home sergers generally use four threads at a time. Two of those threads are the loopers, which make the loopy stitch around the edge of the fabric that is what you think of when you think of a serged seam.
The other two threads go to needles that make a straight stitch on the fabric, just like your regular sewing machine does. (Technically you can sew with just one needle at a time, but that’s not something I’ve ever done.)
If you’re looking at your machine, the two threads on the right are the loopers and the two on the right go to the needles. There should be a little drawing on the machine to show you which is which.
Distinguishing Looper Threads
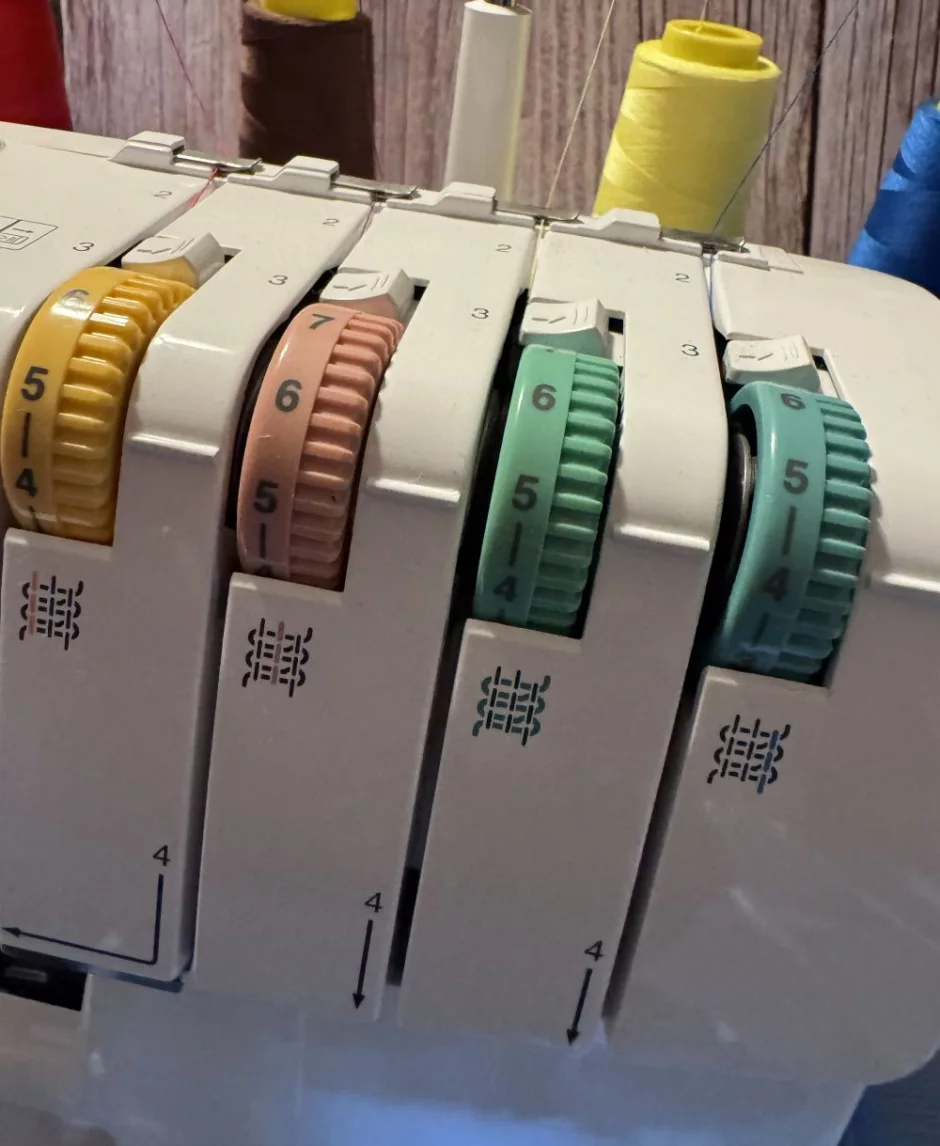
The looper threads are the ones that are involved in how to remove serger stitches easily, particularly the upper looper, which stitches on the top side of the fabric as it goes into the machine.
This is the thread that is the second from the right on your serger. Here on my machine it is shown with the yellow thread (though the tension dial is actually green, and if you have a new serger it may be pre-threaded with colored thread the corresponds to the colors used to mark how the thread goes through the machine).
Of course you can always use different colors from those the machine comes with or is labeled with, and if you’re sewing garments you will likely want all your threads to be the same color, but for learning about ripping out stitches having them be different colors is handy.
How to Remove Serger Stitches
For a long time I tried to avoid ripping out serger stitches because it seemed like such a pain, but once you know the better way to do it, it’s not too bad. (And if you do it a different way I’d love to hear it!)
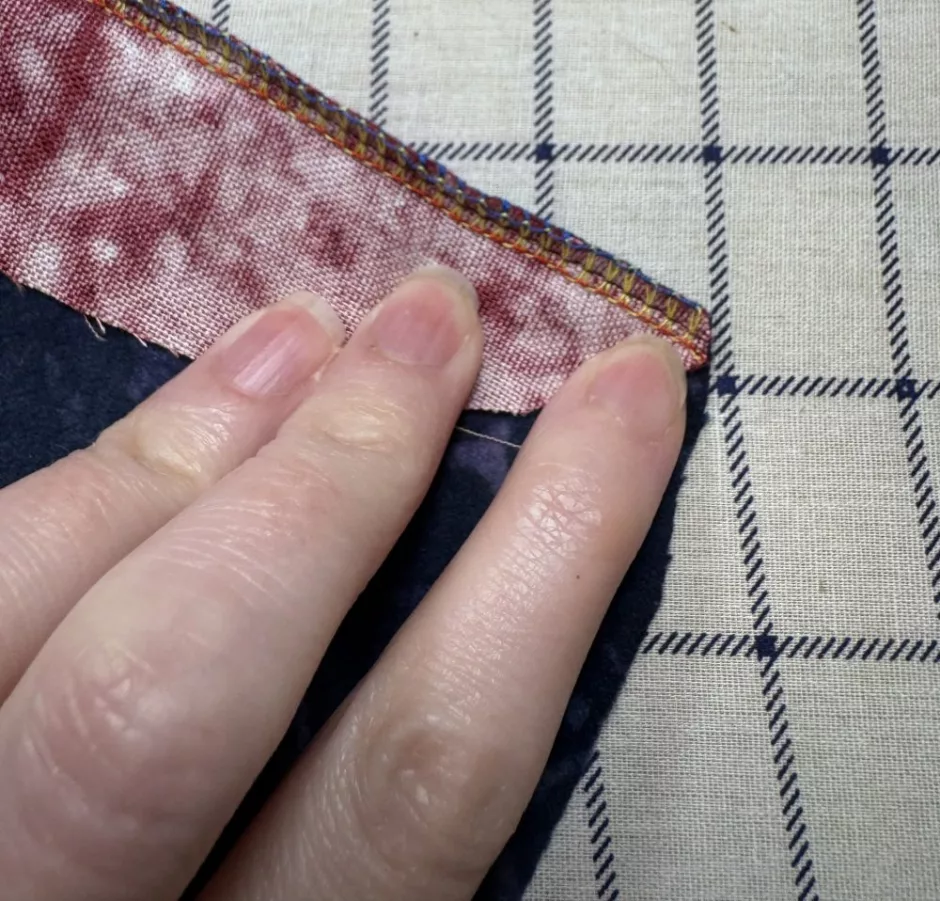
As mentioned above, the key thread we’re looking for here is the upper looper, which is yellow in this sample.
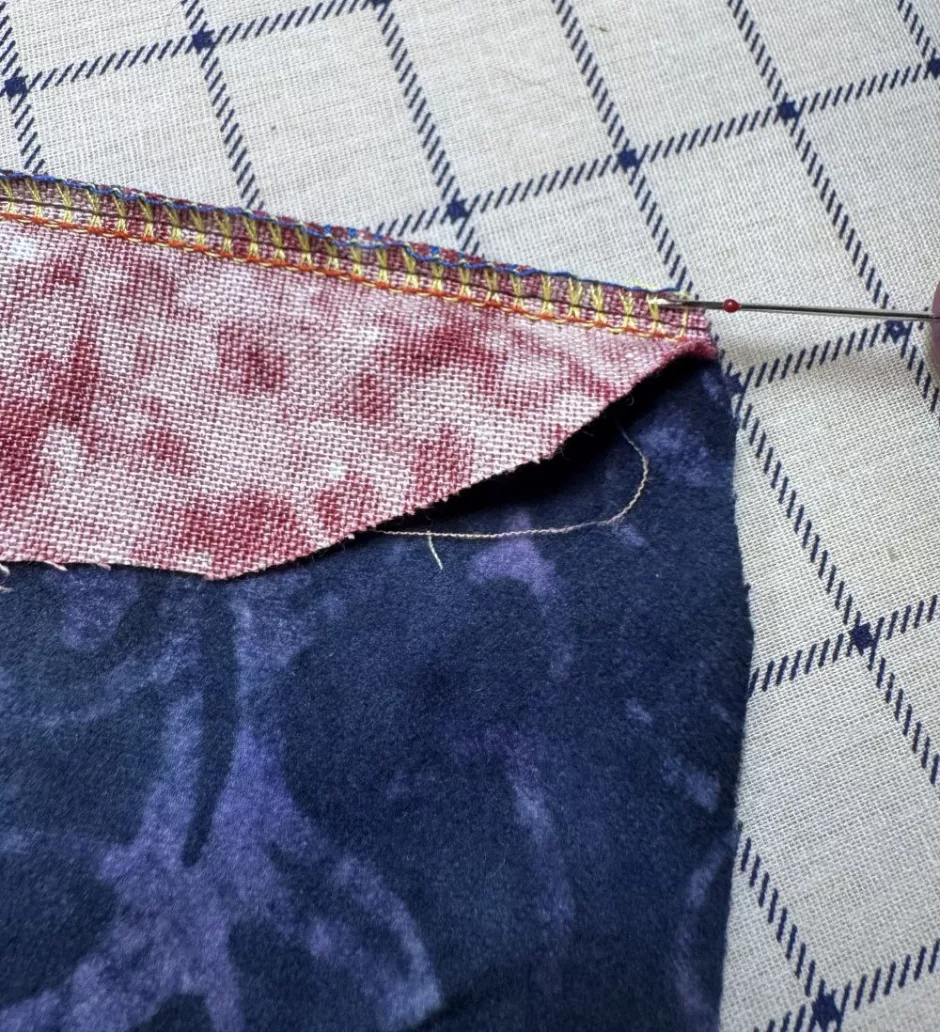
Use your seam ripper to pick this thread out stitch by stitch.
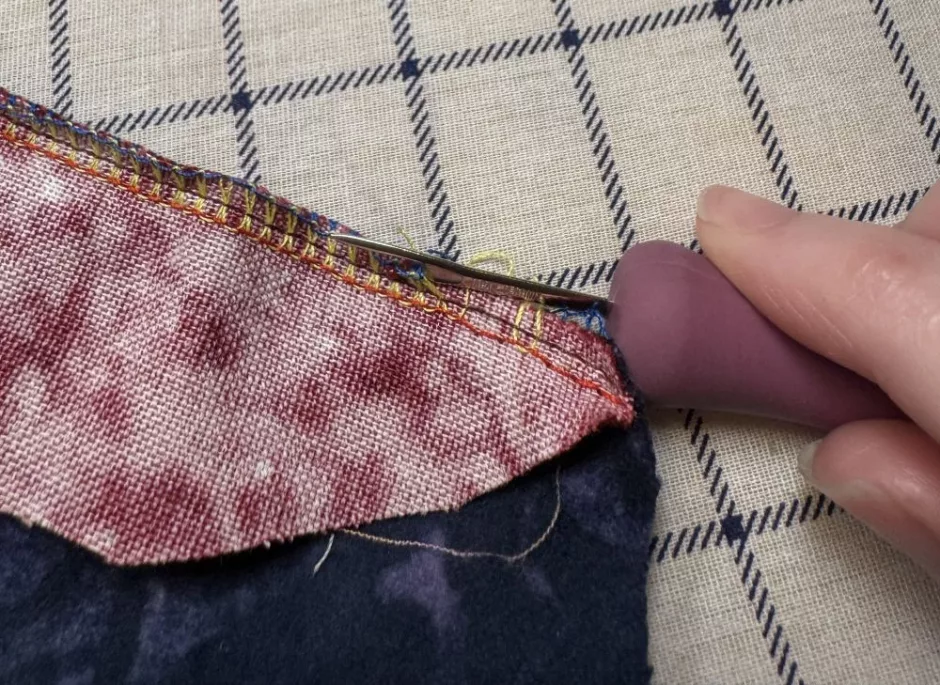
You can also use the “red ball down” trick, where you turn the seam ripper so that the red ball is facing down, to rip through the thread more quickly.
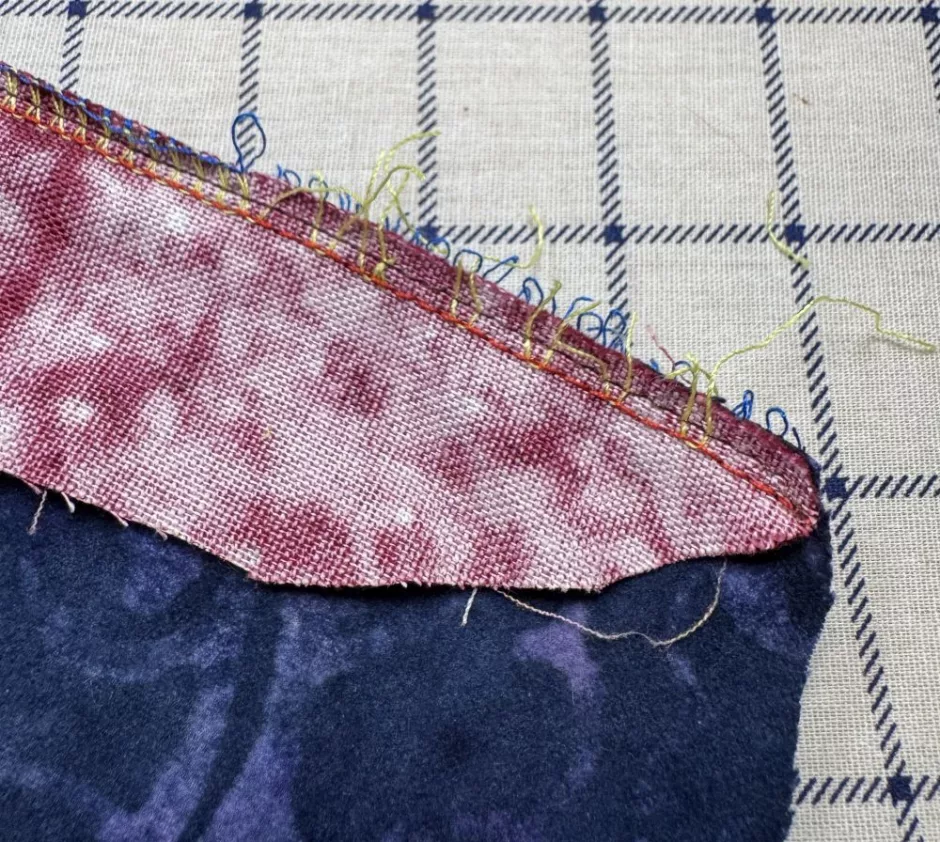
But you still have to unpick all the little bits of thread left behind, so I almost feel like unpicking a stitch at a time is faster and makes less mess.
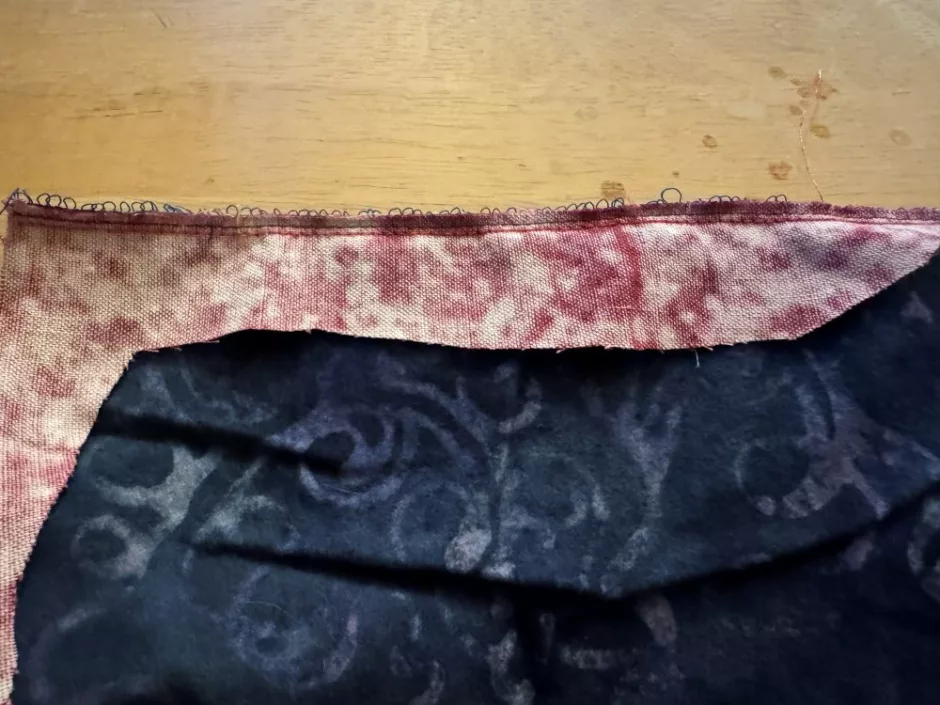
Once you have all of that seam unpicked/ripped out and cleaned up, the rest will go quickly.
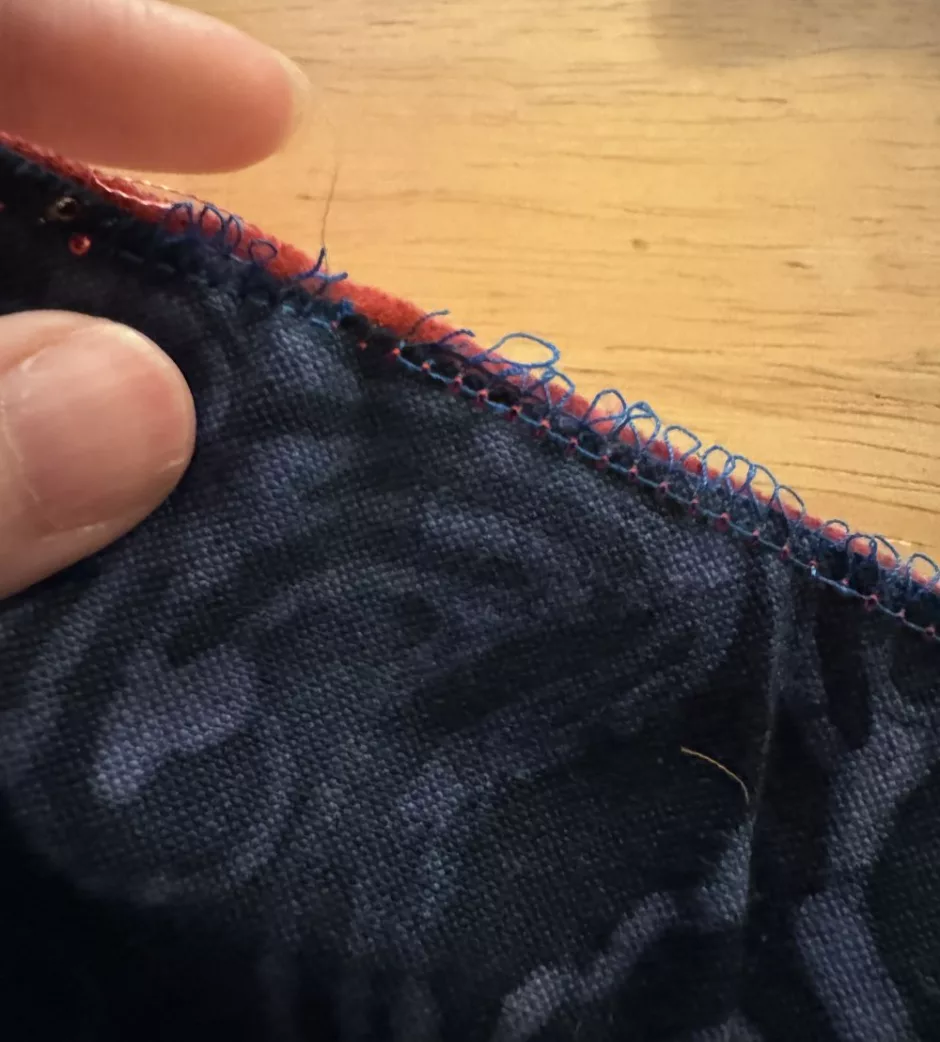
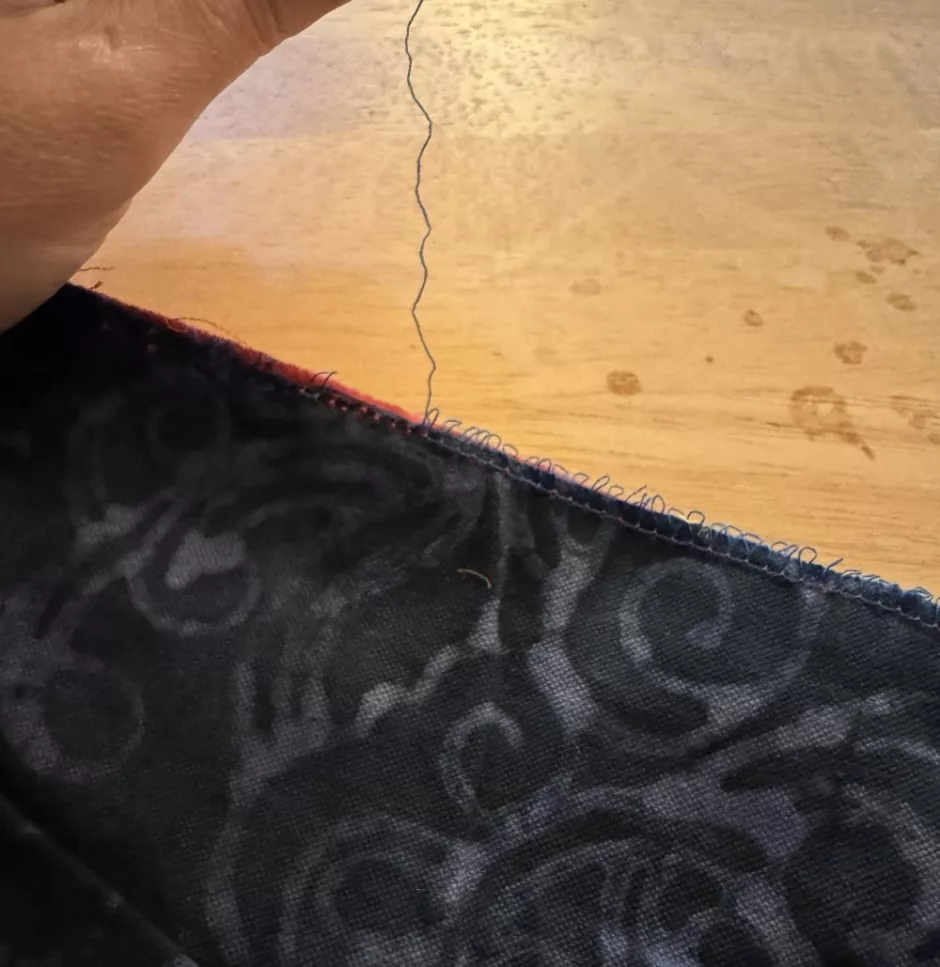
Next pull on the thread that was the lower looper. Here it’s blue, and you can see that where I used the red ball method for ripping out the yellow thread, the blue thread also got torn up a bit so it’s not as easy to pull either.
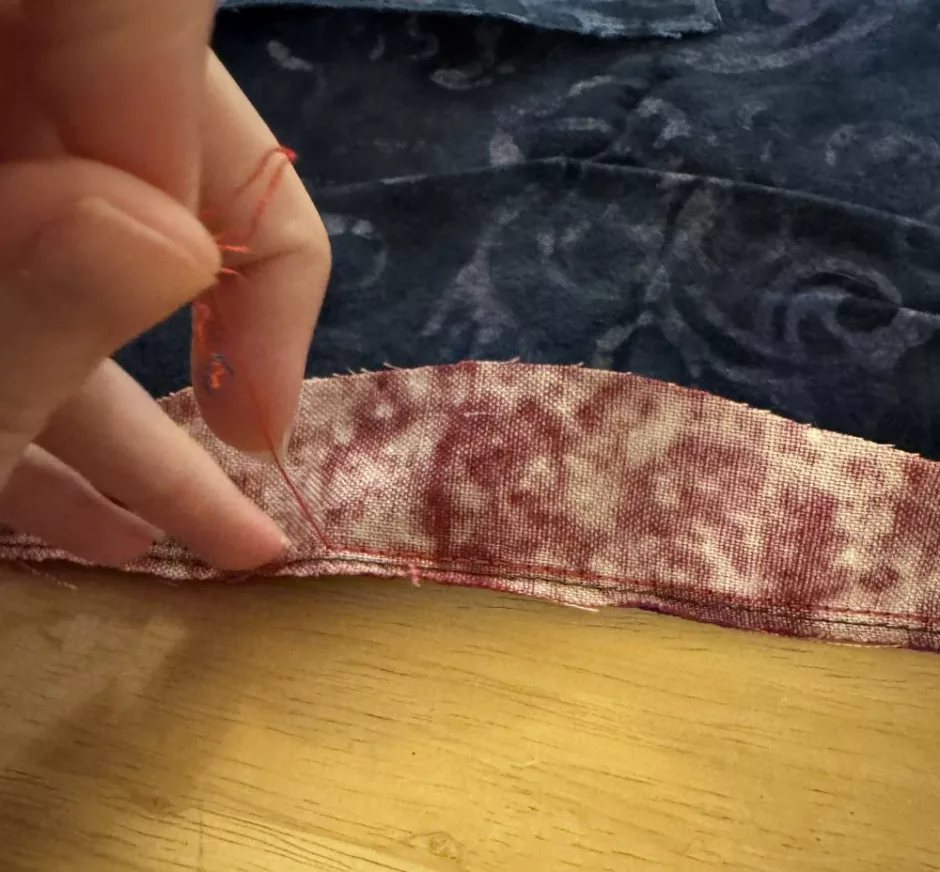
Then you can pull out the straight stitches, and these should pull out in one long piece, regardless of whether you used one or two of them.
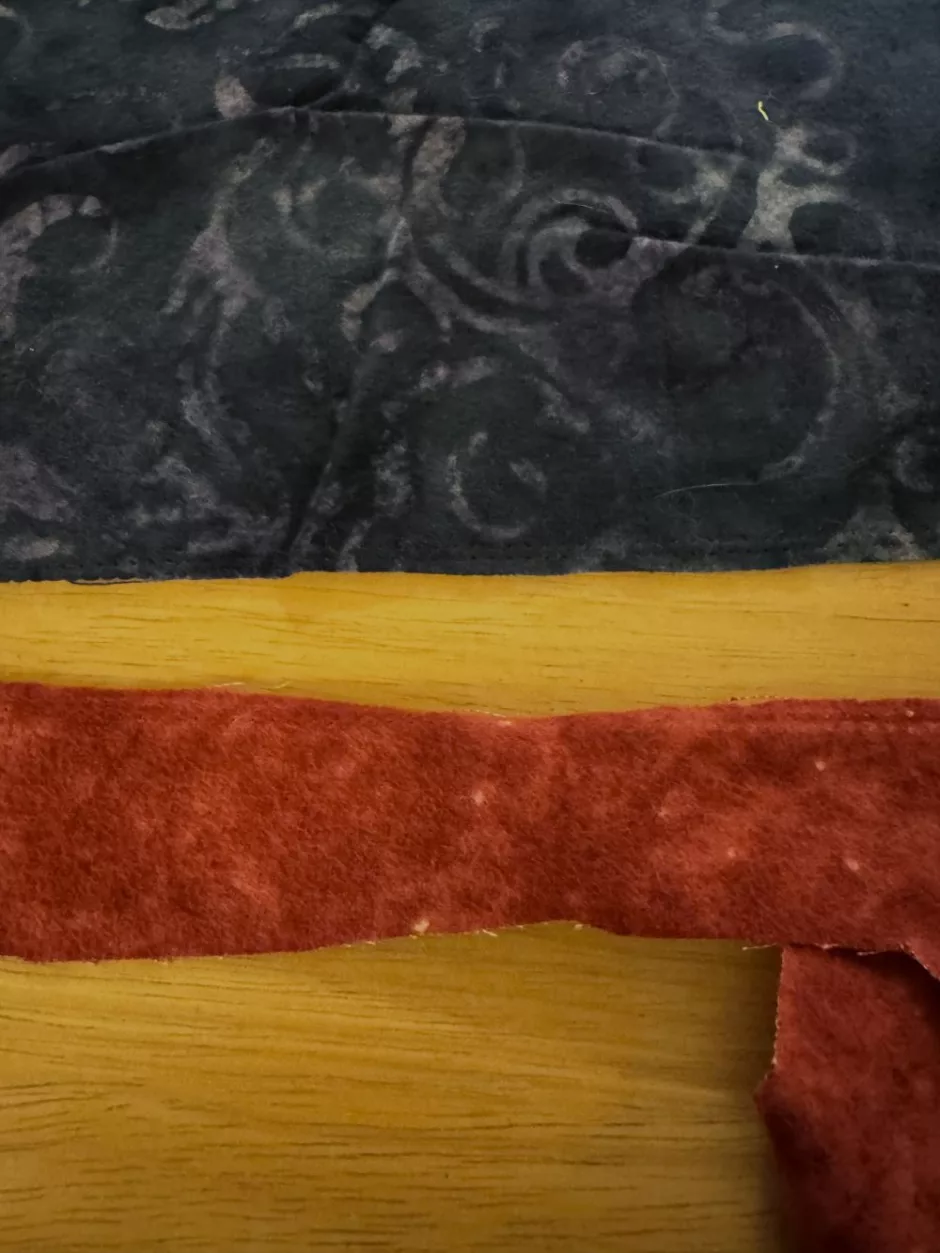
Ripping out serger stitches is a handy thing to know how to do in case you sew something together wrong or want to use fabric scraps for another project.