Affiliate links may be included for your convenience. View our privacy and affiliates policy for details.
These little cross stitch magnets are so cute and a fun beginner project when you’re learning to cross stitch. They’re also a great subtle way to add a little homemade something to your fridge or your magnet board at work.
How the Cross Stitch Magnets Work

These little designs are made with a scrap of cross stitch fabric. You’ll need about 1.5 by 1.5 inches (or 3.8 cm) for each magnet. You’ll also need floss, a needle, scissors, a tiny bit of fiber fil (or a cotton ball), a bottle cap (used is fine) and some glue.
Oh, and magnets, of course! Any disc magnet that is smaller than a bottle cap will work. Mine are about .75 inch/2 cm across.
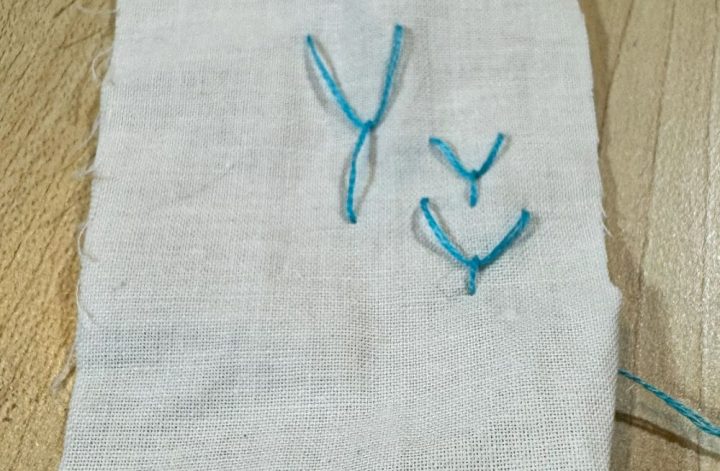
I have a few options for what to stitch on them below, but you can do anything you want that fits in a space of about 10 by 10 stitches. Hearts, stars, smiley faces, simple emjois, maybe a small letter, a tiny leaf or flower.
Anything that strikes your fancy is a great choice for this project. All of mine were made almost like doodling on the fabric, with a general idea of what I wanted to make but no plan charted out. The worst that can happen is you have to rip out a (very) few stitches and try again.
How to Make Cross Stitch Magnets

First, cut out a piece of cross stitch fabric a little larger than the outside of the bottle cap. You need some extra fabric on the sides to tuck under to finish the magnet.

If you want your stitching to be centered, fold the fabric in half both ways and mark the center stitch. Close enough is close enough for these.

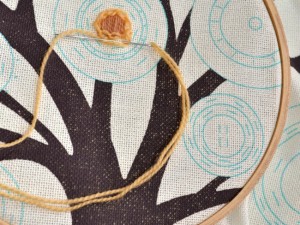
Begin stitching your project. Here I’m making a star. Need help with the basics? Check out my guide to cross stitch!

When the stitching is done, finish off the thread.

Grab a tiny bit of fiber fil or maybe half a cotton ball and place it in the middle on the back side of your project.

Squish all the edges to the back and stuff it into the bottle cap to see how it looks.

Put a layer of glue on the bottom of the inside of the bottle cap.

Fold all the edges to the back again and press the back of the cross stitch to the inside of the bottle cap.

You’ll need to do a lot of adjusting to make sure all the pieces are tucked in and the pattern is mostly centered. A long sewing pin helps with pushing things in and pulling things out without getting glue all over.

Once you’re happy with the look, allow it to dry.

Add a magnet to the back. Because bottle caps are magnetic you literally just have to put it on there and it will stick.
More Cross Stitch Magnet Options
I made a few of these because they are just so fun. You might find yourself making a bunch of cross stitch magnets, too!

The heart was the first one I made and probably my favorite. It’s 7 by 7 stitches and I made it while chatting with my daughter.

I made the star (above) next. This pattern is 9 by 6 stitches.

This was supposed to be a circle but that’s hard in cross stitch. I still kind of like it! It’s also super fast at 4×4 stitches, and only 12 stitches total.

Even faster is this smiley face, which is all of 8 stitches. (It was supposed to be 7 but I was talking instead of counting when I made it.) It was so fast I made it from start to finish in this video!

I hope these ideas for cross stitch magnets are a jumping off point for you to design your own. If you do, I’d love to hear what you make!