Affiliate links may be included for your convenience. View our privacy and affiliates policy for details.
This fingerless gloves knitted pattern is easy enough for almost brand new knitters to make. If you know how to knit and purl, cast on and bind off, you know everything you need to knit them.
Worked flat in one piece, they are folded in half and seamed up the side (also totally doable for a new knitter) leaving a gap for your thumb.
You probably don’t even need to swatch for these, especially if you’re making them for yourself or aren’t afraid to rip out if they aren’t perfect the first time.
Materials
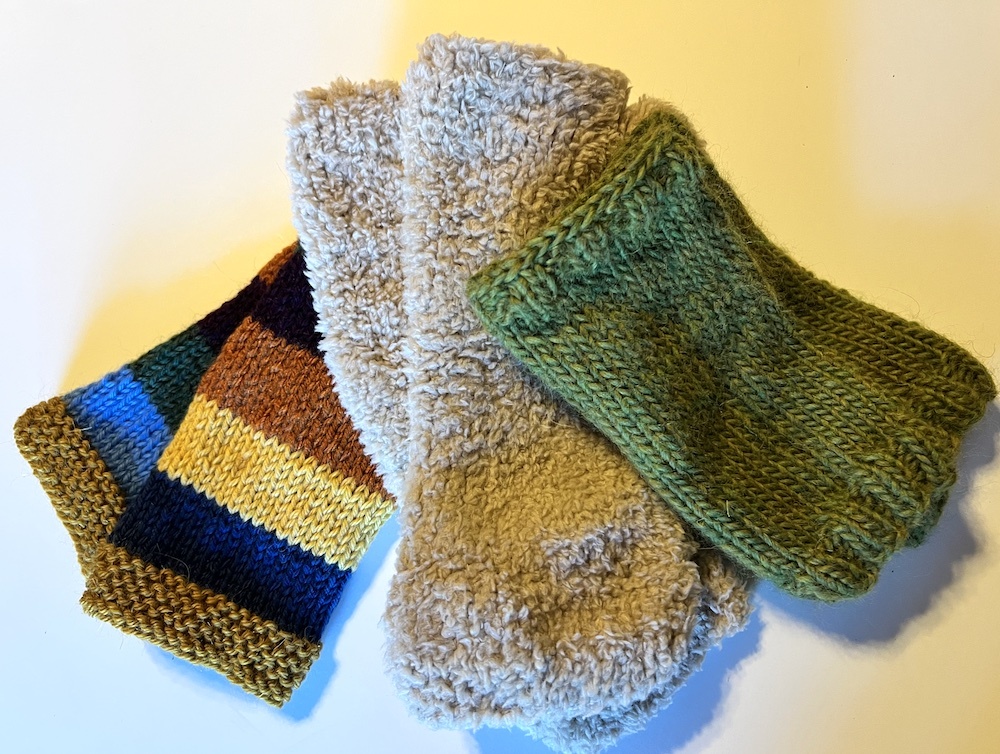
For these knit fingerless gloves you’ll need about 80 yards total of worsted weight (that’s also known as medium or weight 4) yarn. I used Lion Brand Jeans in color Brand New. You can use whatever yarny leftovers you have handy or even make with odd balls for a scrappy look (more on that below).
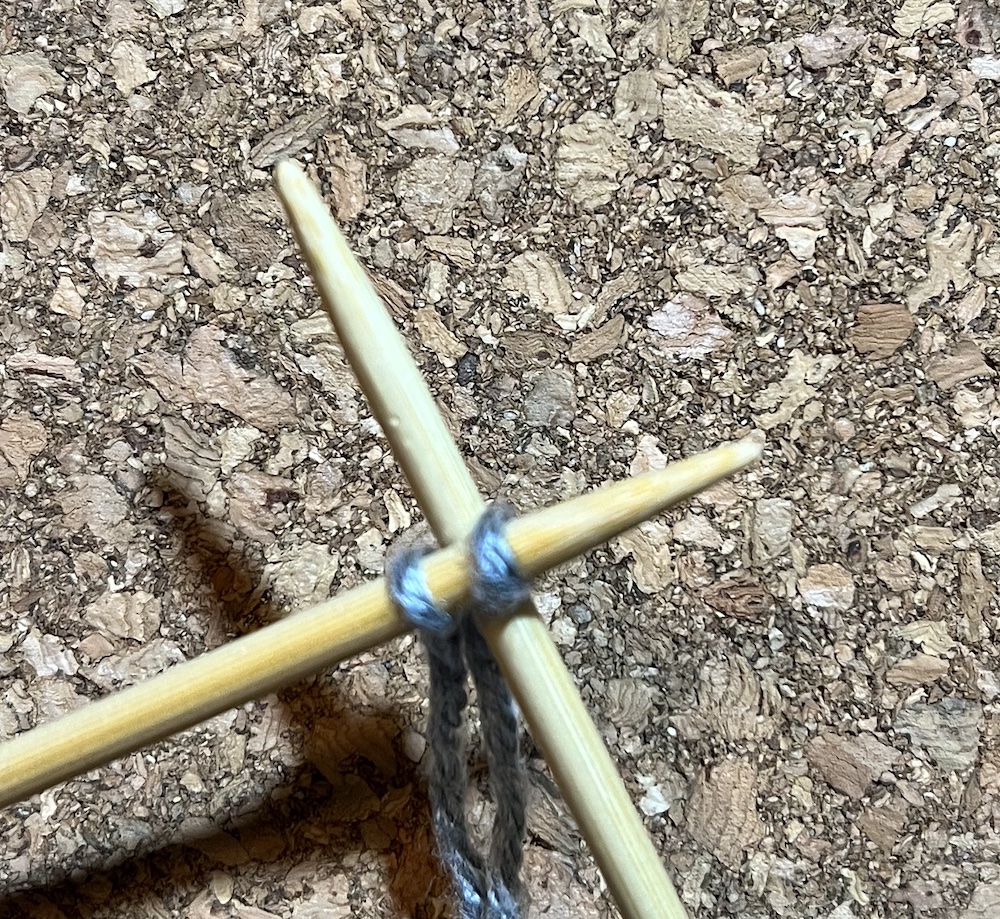
You’ll also need size 7 US/4.5 mm knitting needles. You’re knitting flat so you can use straights or circulars if you prefer them.
For finishing you’ll need scissors and a yarn needle, and if you want to embroider on them you’ll need yarn or thread for that. A locking stitch marker is also handy for figuring out your thumb hole.

Gauge
I used the gauge listed on the ball band (5 stitches per inch/2.5 cm) as my basis for deciding how many stitches to cast on. I actually ended up closer to 4.5 stitches per inch/2.5 cm in Stockinette Stitch worked flat, but that worked out OK for me.
I got about 6 rows per inch/2.5 cm, but you will be measuring as you knit so row gauge doesn’t really matter.
Size
My mitts are 6.75 inches around (that’s just over 17 cm) and 7 inches/17.78 cm long. Fit should be based on the widest part of your hand, which on me is about 7 inches/17.78 cm
Planning Your Knit Fingerless Gloves
If you want to guess at how many stitches to cast on (and you can indeed cast on any number of stitches), measure your hand at the widest part (near the knuckles).
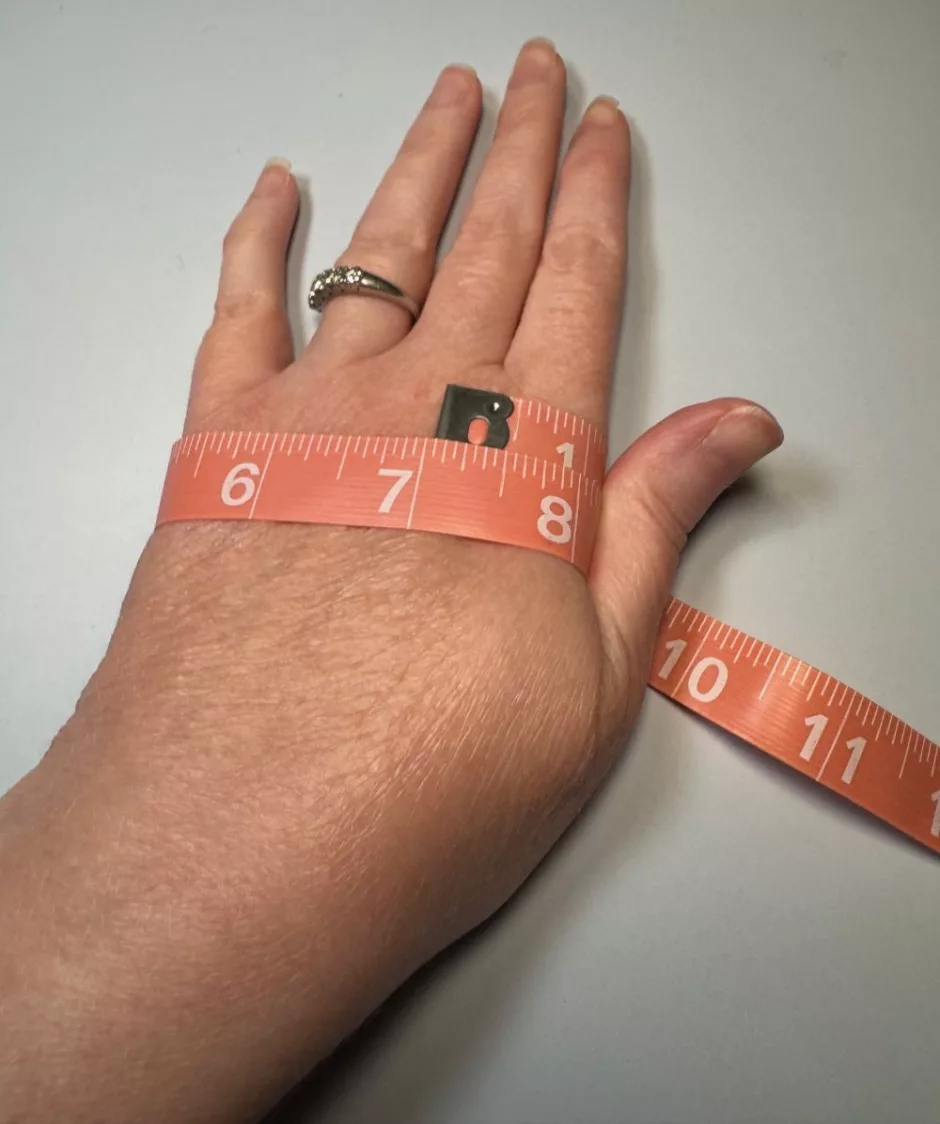
You may also want to measure your wrist to make sure it’s not hugely bigger or smaller. Mine is around 6 inches/15.24 cm, which is a small enough difference the stretch of knitting can accommodate it. If your measurements differ by more than a couple of inches/5 cm, you may find the gloves are looser or tighter in one area, depending on which measurement you base your calculations on.
I was aiming for the 6 inch/15.24 cm measure on mine, knowing that the yarn would stretch just fine over the wider part of my hand. I ended up closer to the 7 inch/17.78 cm measure, which makes them a little less snug around the wrist but still totally wearable. Serves me right when I know that I never get gauge.
Multiply the suggested gauge per inch/2.5 cm of your yarn (or your swatch) by the circumference you’re trying to hit and that will give you the number to cast on.
Fingerless Gloves Knitted Pattern
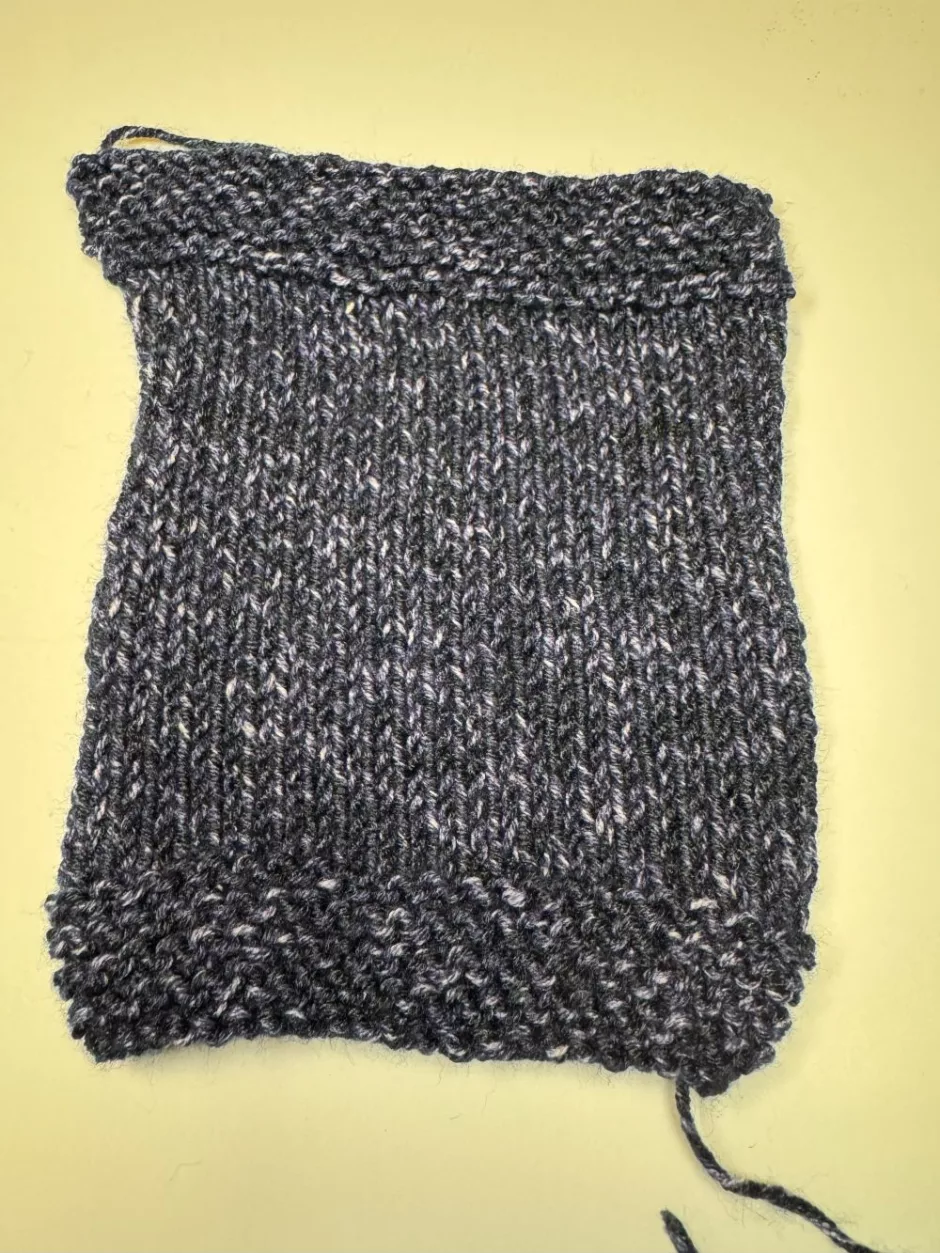
For me, I cast on 30 stitches (5 stitches per inch/2.5 cm times the 6 I was aiming for). Knit every row (aka garter stitch) for 1 inch/2.5 cm.
Change to stockinette stitch (knit one row, purl one row) and knit until the mitt is 1 inch/2.5 cm shorter than you want it to be. This is personal preference based on how far you want it to cover your wrists and how high up your hand you want it to go. Because mine are 7/17.78 cm inches total, I knit until I had 6 inches/15.24 cm total.
Work in garter stitch for 1 inch/2.5 cm. Bind off and cut the yarn, leaving a long tail for sewing.
Make a second fingerless glove the same way.
Finishing Your Gloves
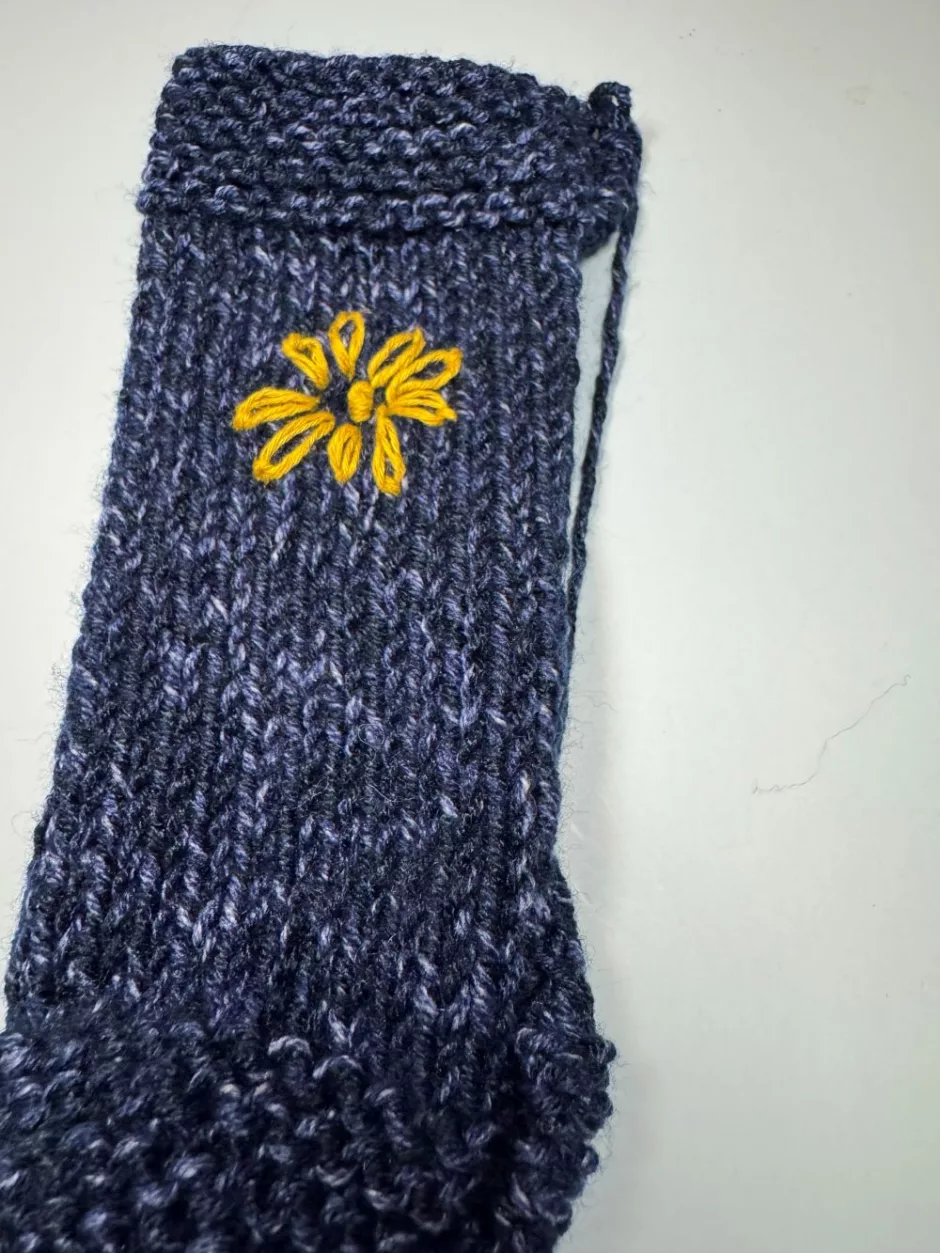
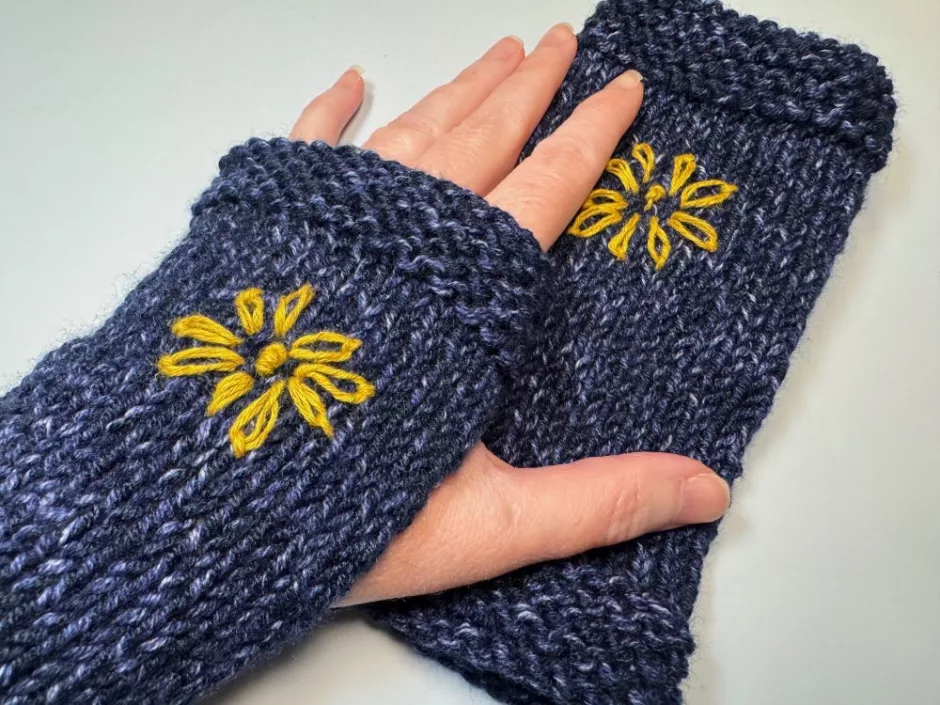
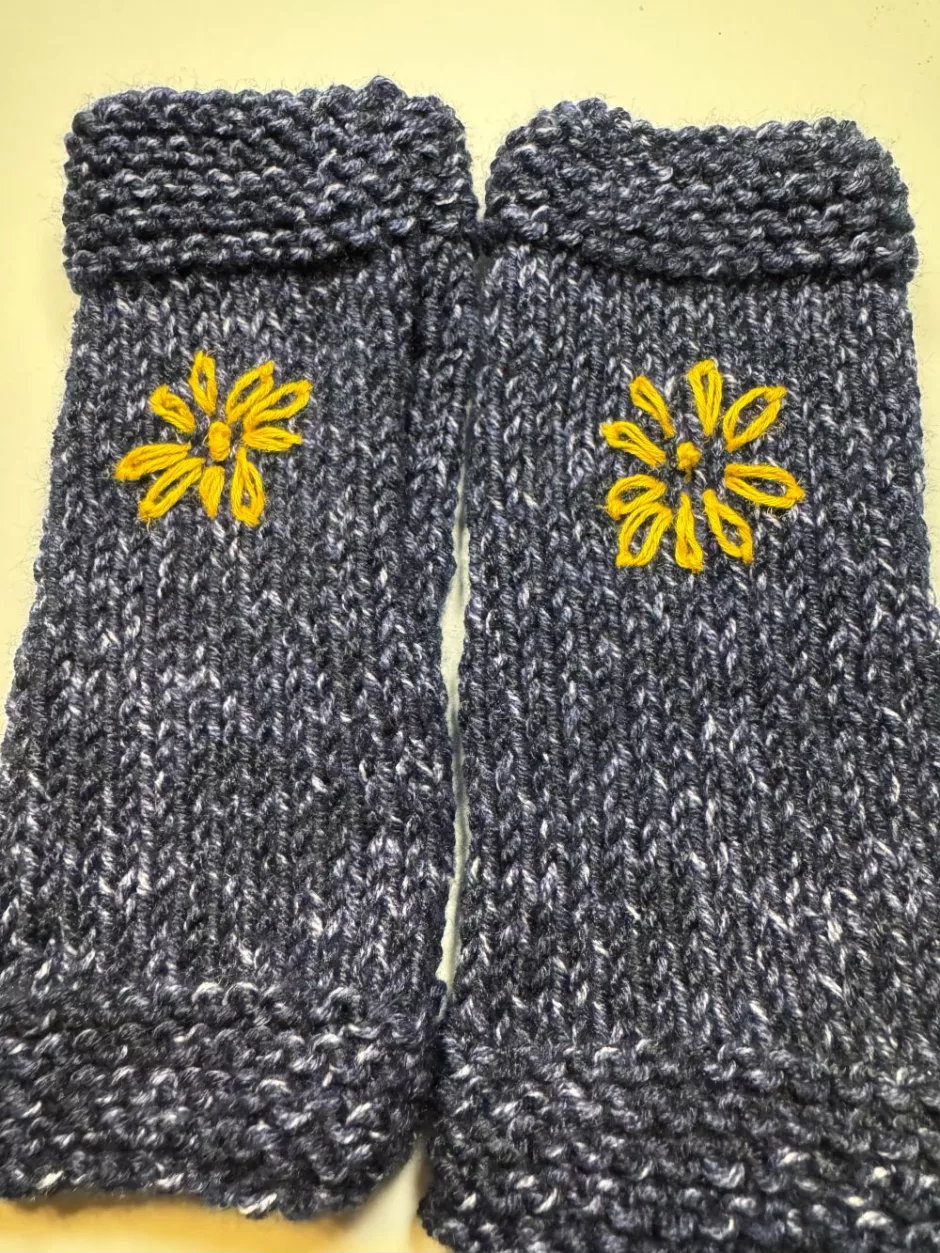
To finish the fingerless gloves knitted pattern, first decide if you want to embellish your gloves in any way. I decided mine could use a little embroidery to break up the sea of blue. I think this gold yarn is hemp but I’m not sure.
I did a three-wrap French knot and then worked lazy daisy stitches around it in a haphazard way. They don’t look the same but I like that because it makes them look like a person made them.
Remember if you are embroidering or adding any other embellishments to make sure you’re working on the correct side that will be the top after you sew it.

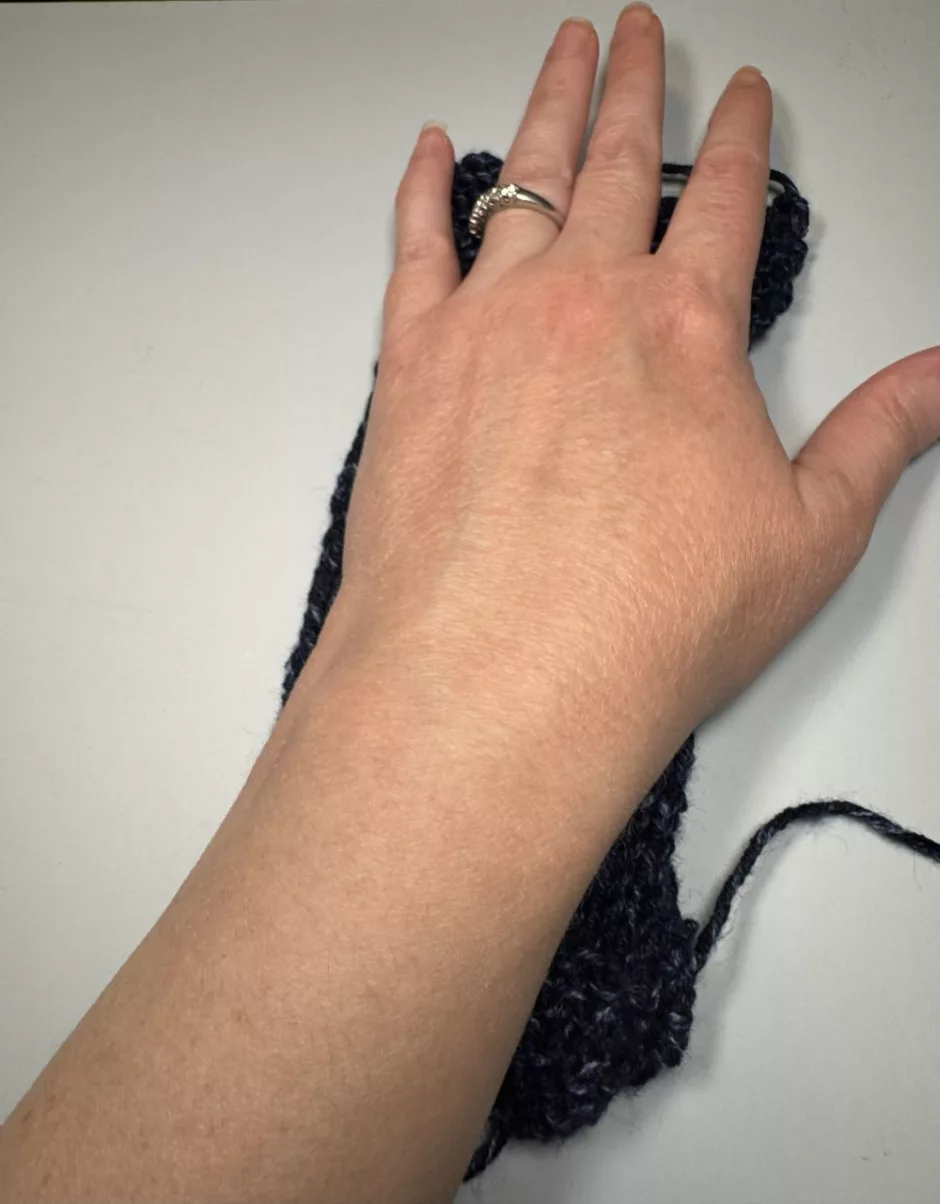
To sew the mitt seam, use the yarn tail from either end of the project. I ended up starting at the top of this glove, so I sewed up the garter stitch part and tried it on to determine how much more I needed to sew before my thumb hole started.
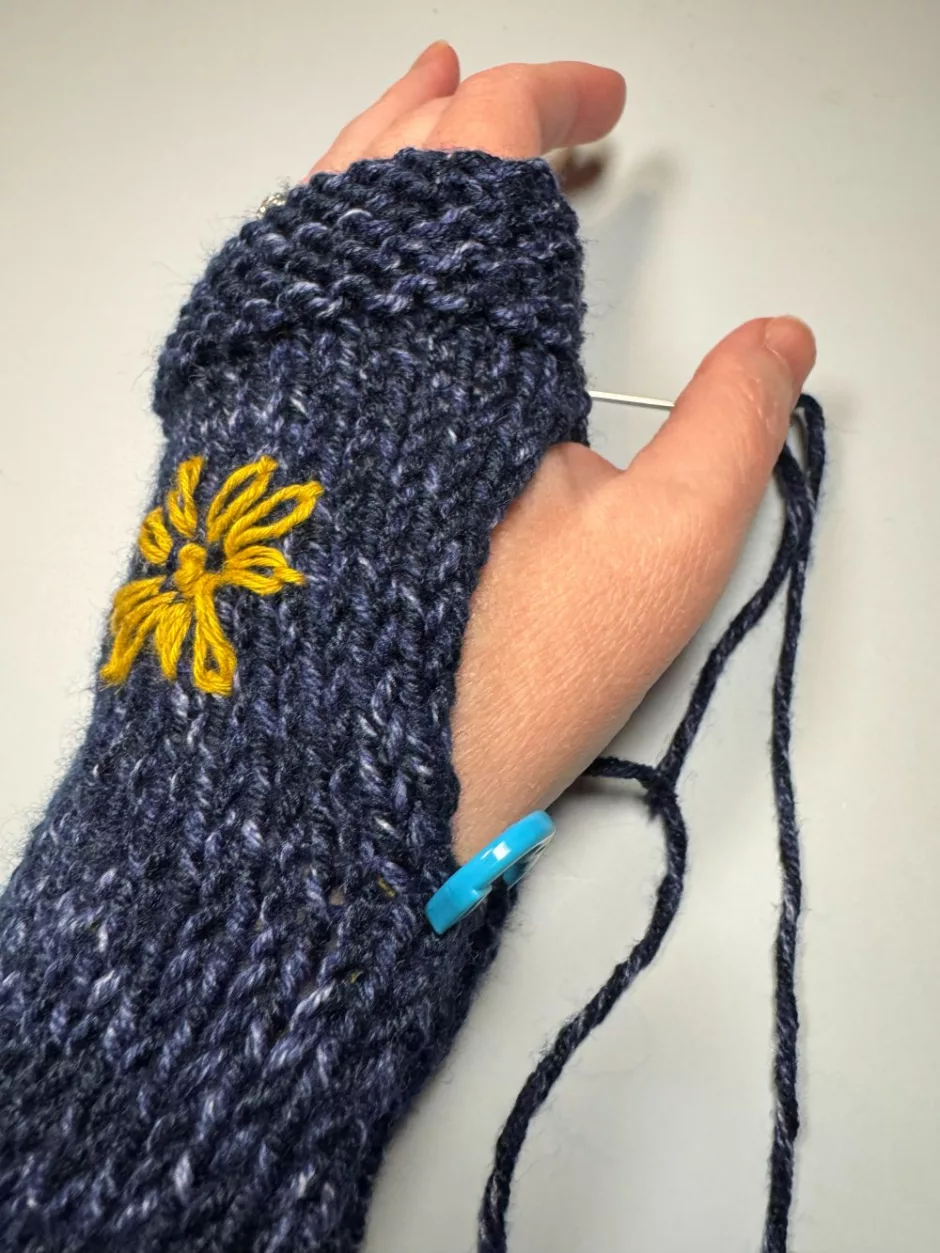
I determined I needed to sew 4 more rows, then tried on the glove again and marked with a locking stitch marker where the other end of the opening needed to be. I wove in the yarn like you would weave in an end to get to where the stitching started again, but you can also work your way up from the other end if your yarn tail on that side is big enough.
If you count rows on the first mitt you can easily make the second one match. I used mattress stitch for these but anything you can do to hold them together will work.
Weave in the remaining ends and trim the yarn tails.
Make Your Knit Fingerless Gloves Scrappy
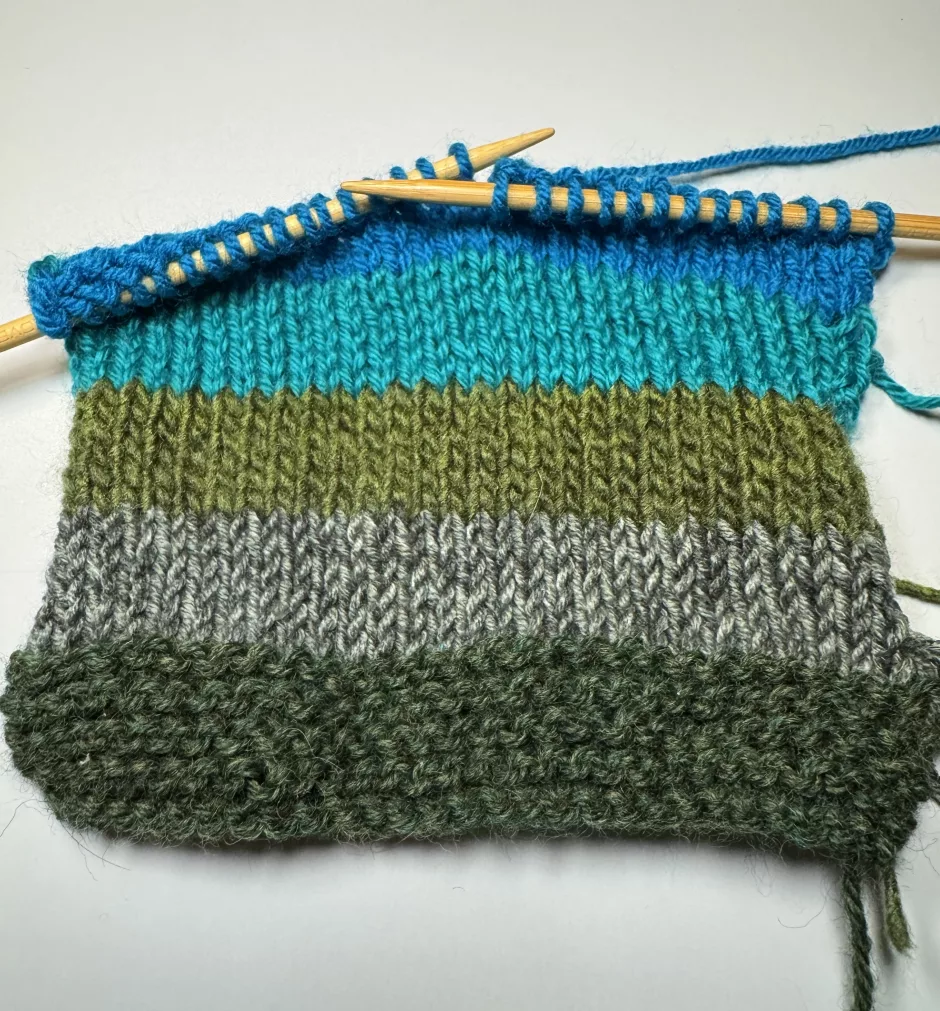
Because this fingerless gloves knitted pattern doesn’t use much yarn at all you probably have a random ball of yarn you could use (like I did!). But you can also make them scrappy if you want to or need to.
If possible I would work the garter stitch section all in one color, and change colors in the stockinette section on a knit row for cleaner color changes. Or ignore all that and lean into the scrappiness. Totally up to you and they’ll look great whatever you do.
In this sample I changed colors after 6 rows on the stockinette section to give it a uniform look, but you can change more or less often or make stripes of different width to add interest.
This fingerless gloves knitting pattern is quick and easy to make and a great lightweight pair to wear indoors when it starts to get cool. They’d also make a great knit gift (though it can be hard to guess at a person’s hand size, a glove sizing guide might help).