Affiliate links may be included for your convenience. View our privacy and affiliates policy for details.
Learning how to purl is generally the second big step in learning how to knit after learning how to make the knit stitch. Purling is essentially knitting but backwards, which doesn’t make sense until you see it done, so let’s dive right in.
Materials for Learning to Purl
As with learning to knit, to learn how to purl all you need is a pair of knitting needles and some yarn. You can use whatever you’ve been practicing with that you are comfortable with.
In these photos I’m using Lion Brand Basic Stitch yarn and Susan Bates aluminum knitting needles in size 7/4.5mm. These are good basic supplies to practice with, but whatever you have on hand is totally fine.
How to Purl Holding Yarn in Your Right Hand
Just like with making the knit stitch, you can purl holding the yarn in either your right hand or your left hand. Holding the yarn in your right hand is sometimes called English knitting, throwing or even right-handed knitting, though you use both hands to knit and purl regardless of where the yarn is.
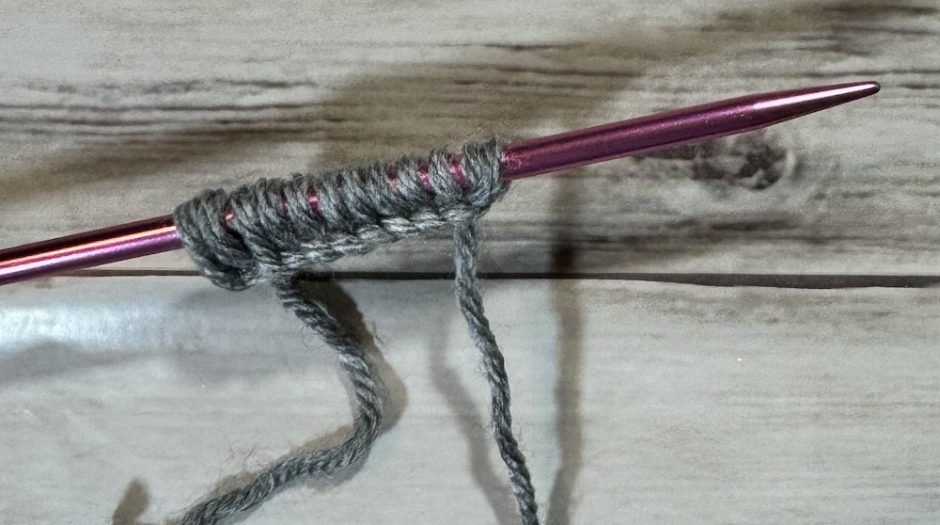
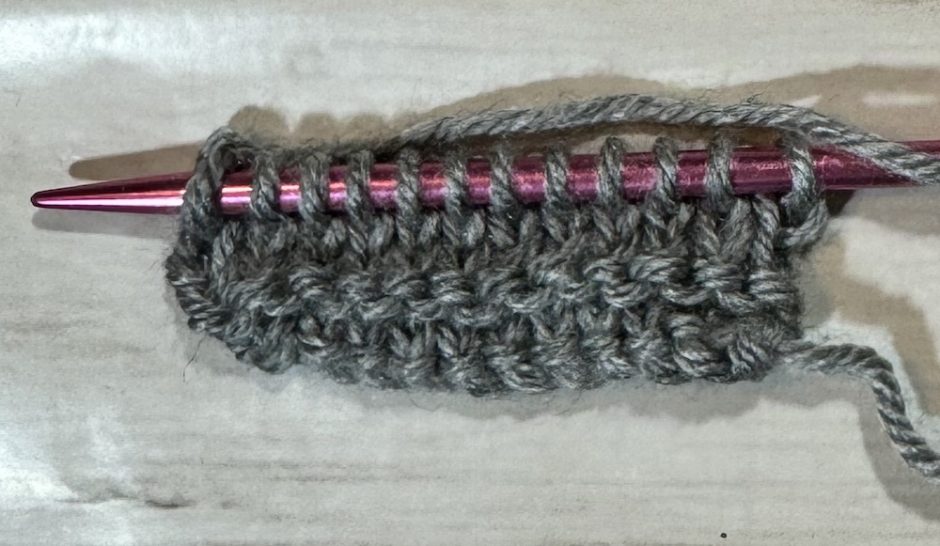
To get started learning how to purl, cast on a few stitches (I have 12) using a cast on method of your choice. I used the cable cast on but it doesn’t matter which one you use.
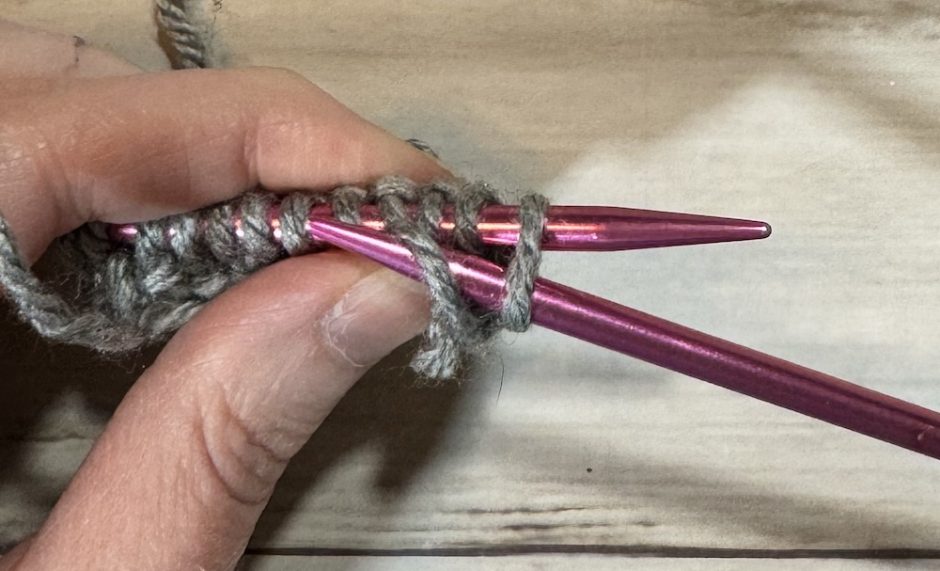
Put the needle with the stitches in your left hand and the empty one in your right, and hold the yarn with your right hand. The yarn should be in front of the stitches (see, opposite of knitting, where it’s in the back).
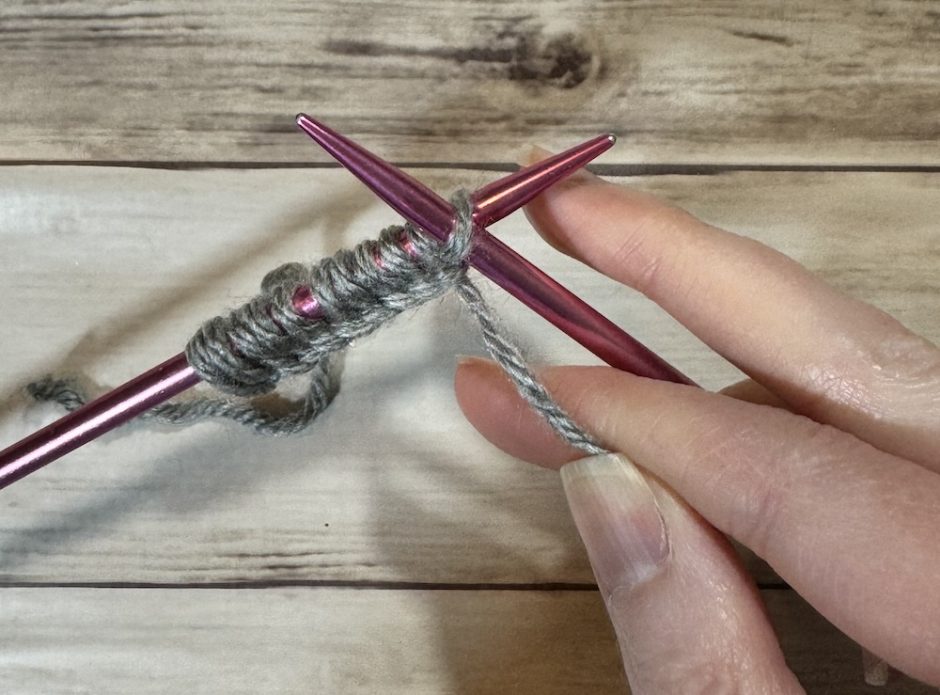
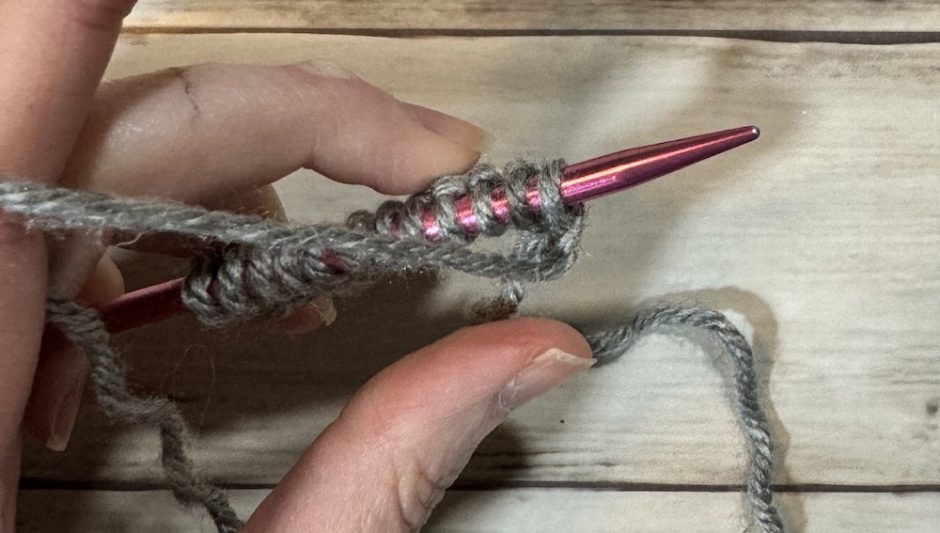
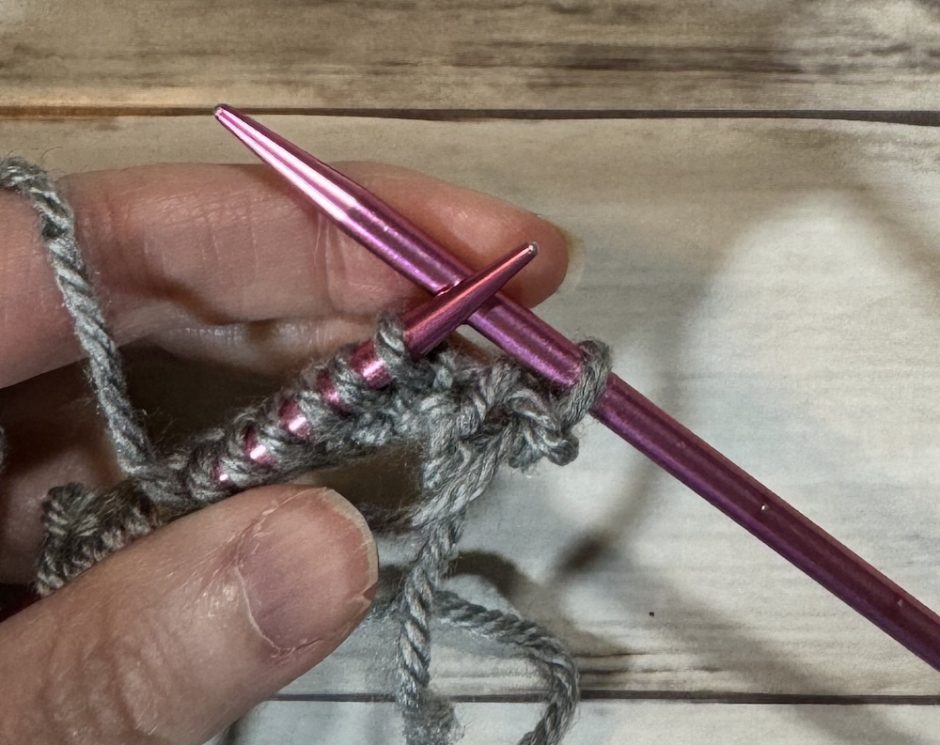
Take the right-hand needle tip through the stitch at the top of the left needle from back to front.
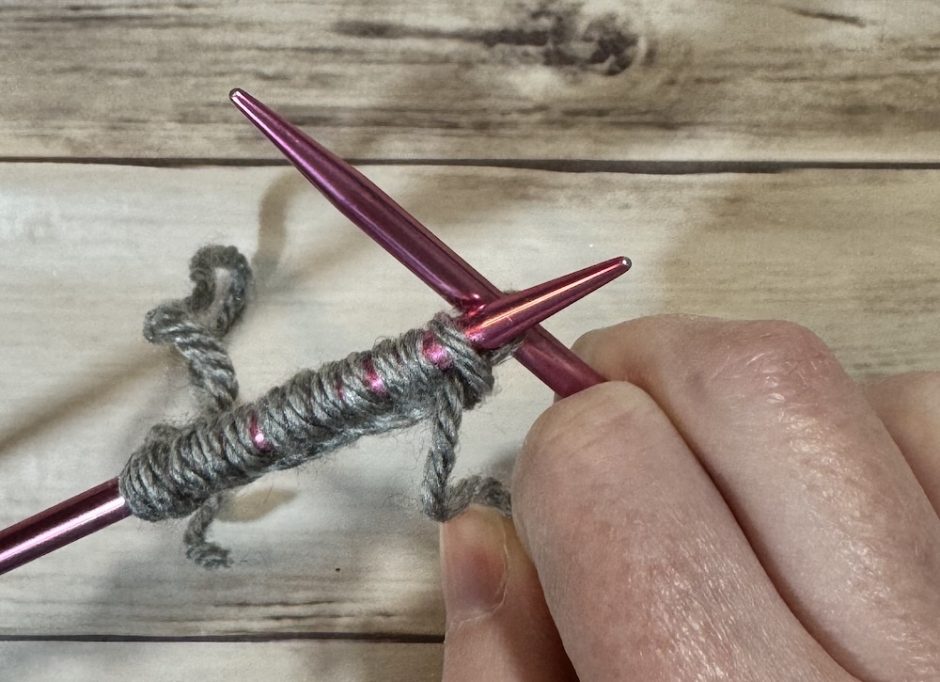
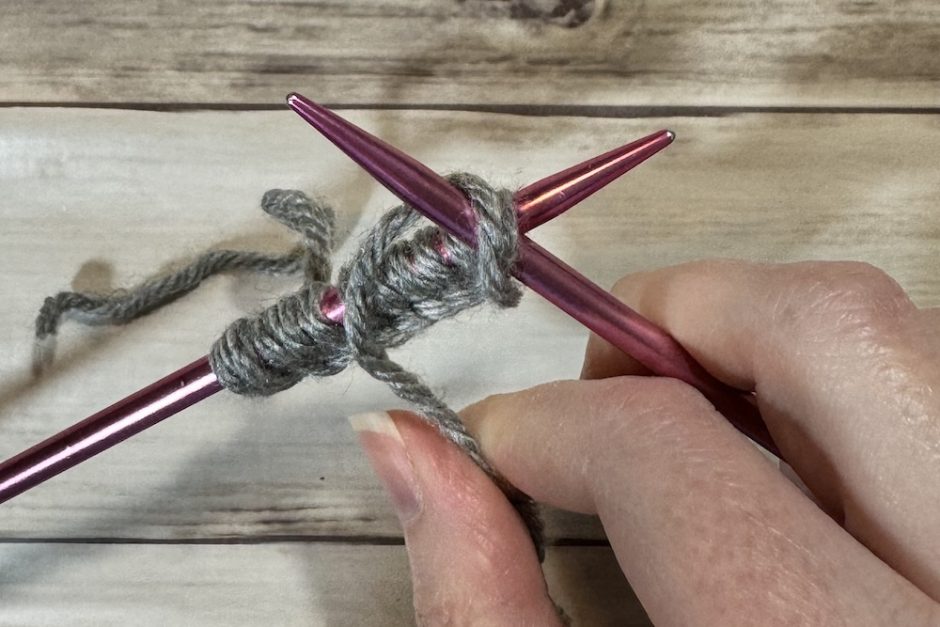
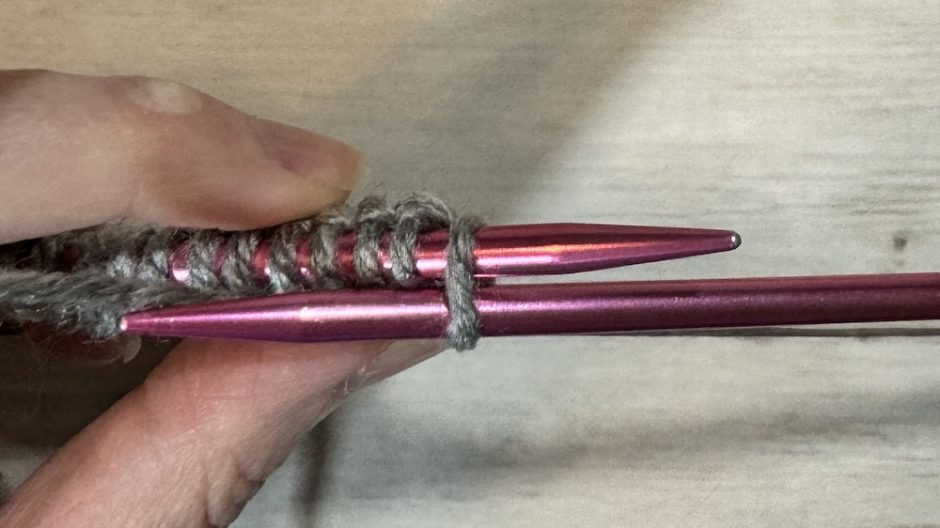
Wrap the yarn over the needle in a counter-clockwise motion.

Use your finger to push the right-hand needle to the back of the work through the old stitch, keeping the yarn on the needle and the old stitch on the left needle.
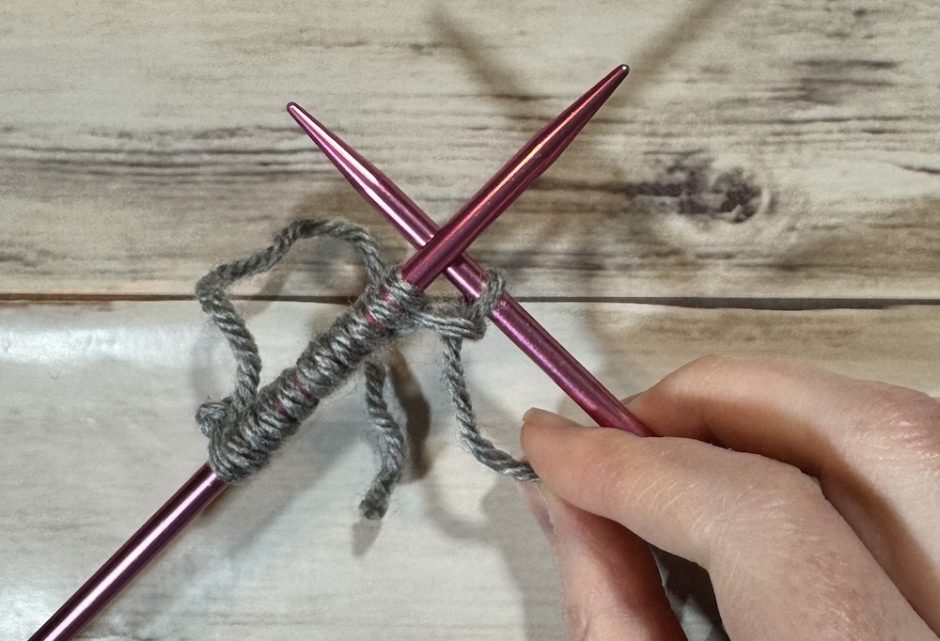
Slide the old stitch off the left needle.
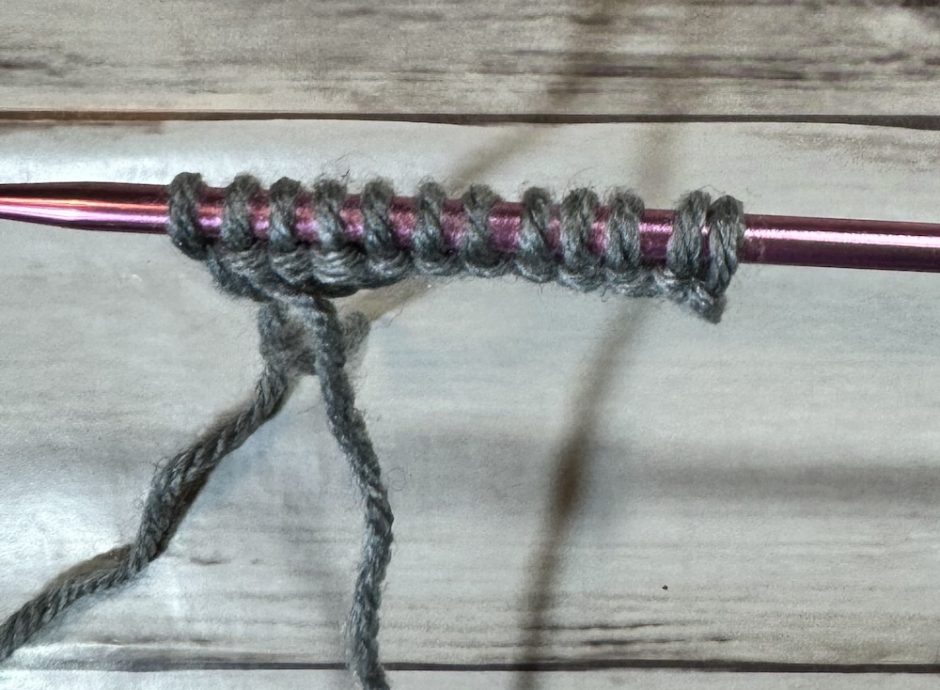
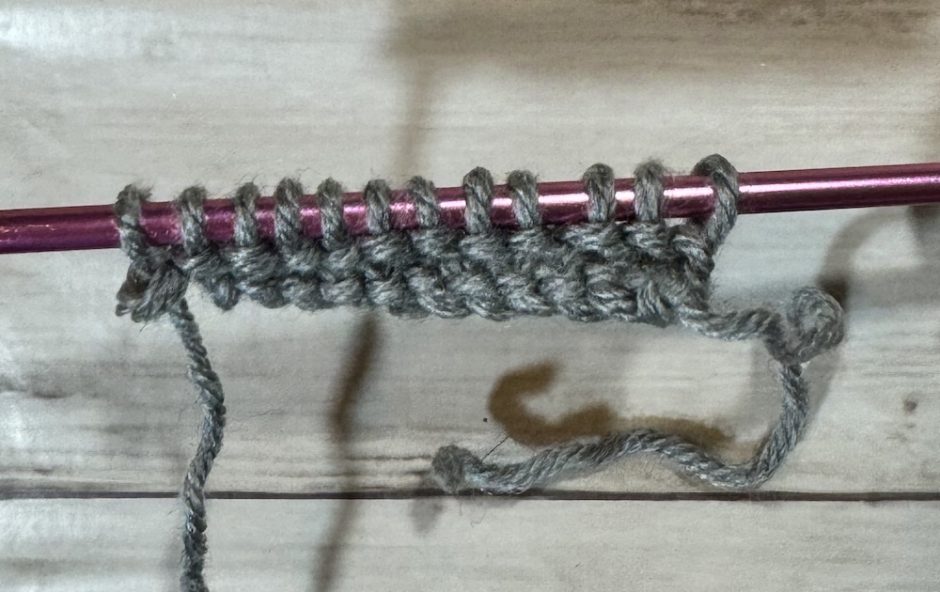
Repeat this process until all the stitches have been worked. You now have an empty needle in your left hand and a full needle (hopefully still with 12 stitches!) in your right hand.
To work the next row, turn the needle with the stitches on it over back to front and put it back in your left hand. Put the empty needle in your right hand and work as before.
Learn to Purl Holding the Yarn in Your Left Hand
Working with the yarn in your left hand is sometimes called continental knitting (or purling as the case may be), picking or left-handed knitting, but again you can work either way regardless of your dominant hand. It’s good to try both. (I find continental purling harder but you might not.)
Start by casting on some stitches to work with, and hold the needle with the stitches in your left hand, the empty needle in your right. The yarn goes in front of the stitches and you hold it with your left hand.
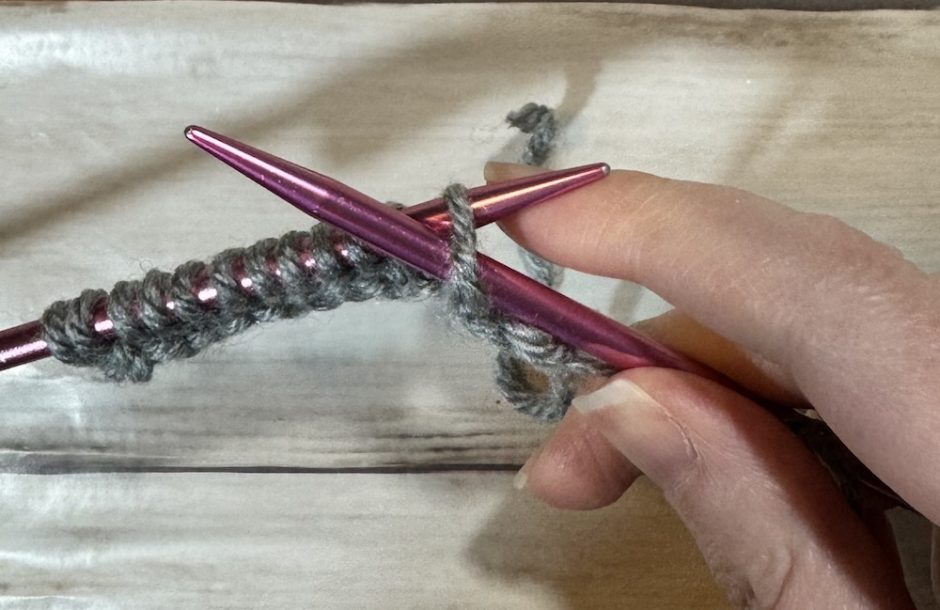
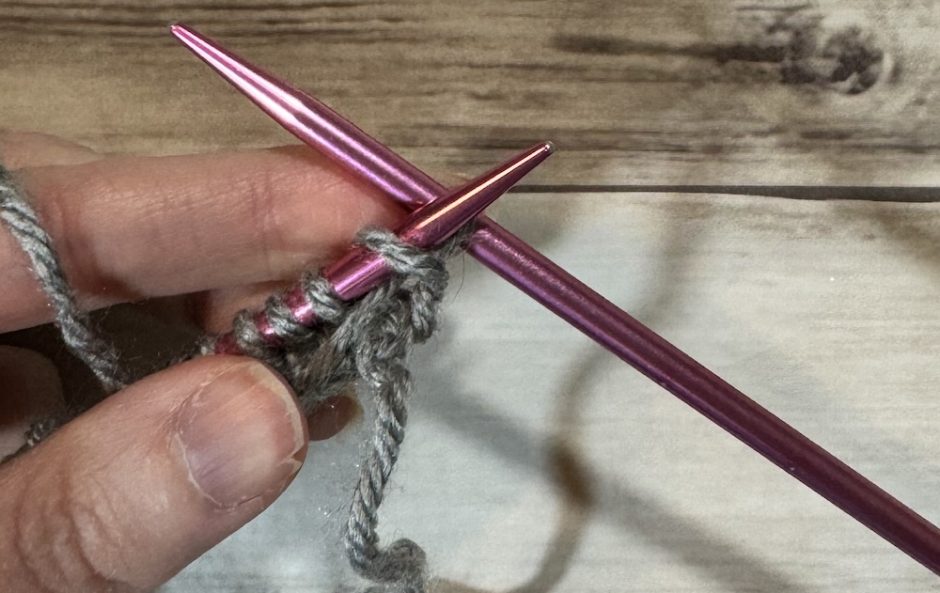
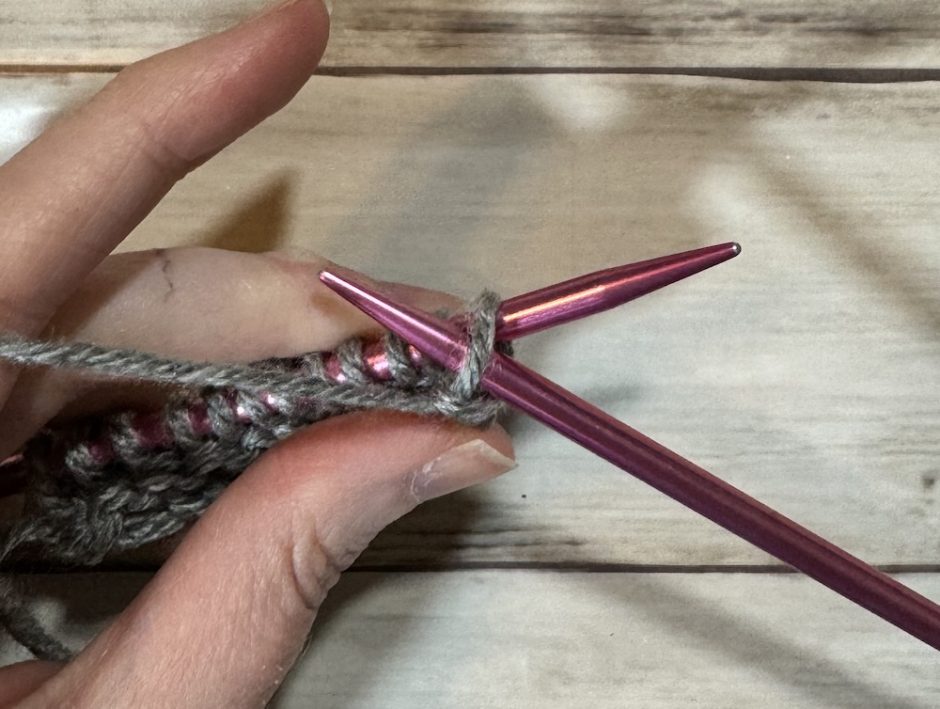
Put the tip of the right-hand needle through the first stitch at the top of the left-hand needle from back to front.
Wrap the yarn around the right-hand needle counter-clockwise. I do this by bringing my thumb in to hold the yarn down, which makes it easier for me to form the stitch.
Push the right-hand needle back through the original stitch so the needle is at the back of the work. Make sure the new loop stays on the right hand needle and the old loop stays on the left hand needle.
Slide the old stitch off the left-hand needle.
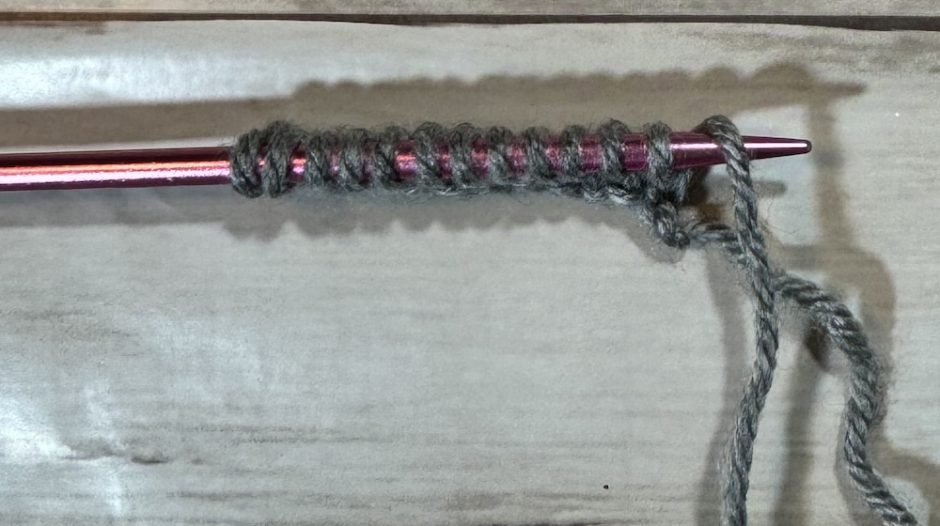
Repeat this process until all the stitches have been worked.
To start the next row, turn the needle with the stitches on it from back to front and put it in your left hand. Put the empty needle in your right hand and keep on as described above.
Something to Watch Out for
A common mistake when learning how to purl is to move the yarn to the front of the work by wrapping it over the needle. This will create a hole and an extra stitch if you then try to purl it. Make sure the yarn is coming from underneath the needle to the front before you start purling.
Knit and Purl Stitch Patterns
As you are practicing how to purl, you may notice that the fabric you’re making looks like what you were making when you were learning how to make the knit stitch.
Don’t worry, you’re not doing it wrong. This goes back to purling being the opposite of knitting again. When you knit, the bumpy side is the back of the stitch, but when you purl, it’s the front. Either way you’re alternating rows of bumpy and not bumpy as you turn your work each row, so it comes out looking the same.
If you knit every stitch of every row or purl every stitch of every row, you get what’s called garter stitch.
Want to try something different? Now that you know how to knit and how to purl, try knitting a row, then purling a row. Now the bumpy sides of the stitches are on the same side of the fabric, and the smooth sides are on the other side.
This makes what’s know as stockinette stitch, probably the most common knit fabric out there.