Affiliate links may be included for your convenience. View our privacy and affiliates policy for details.
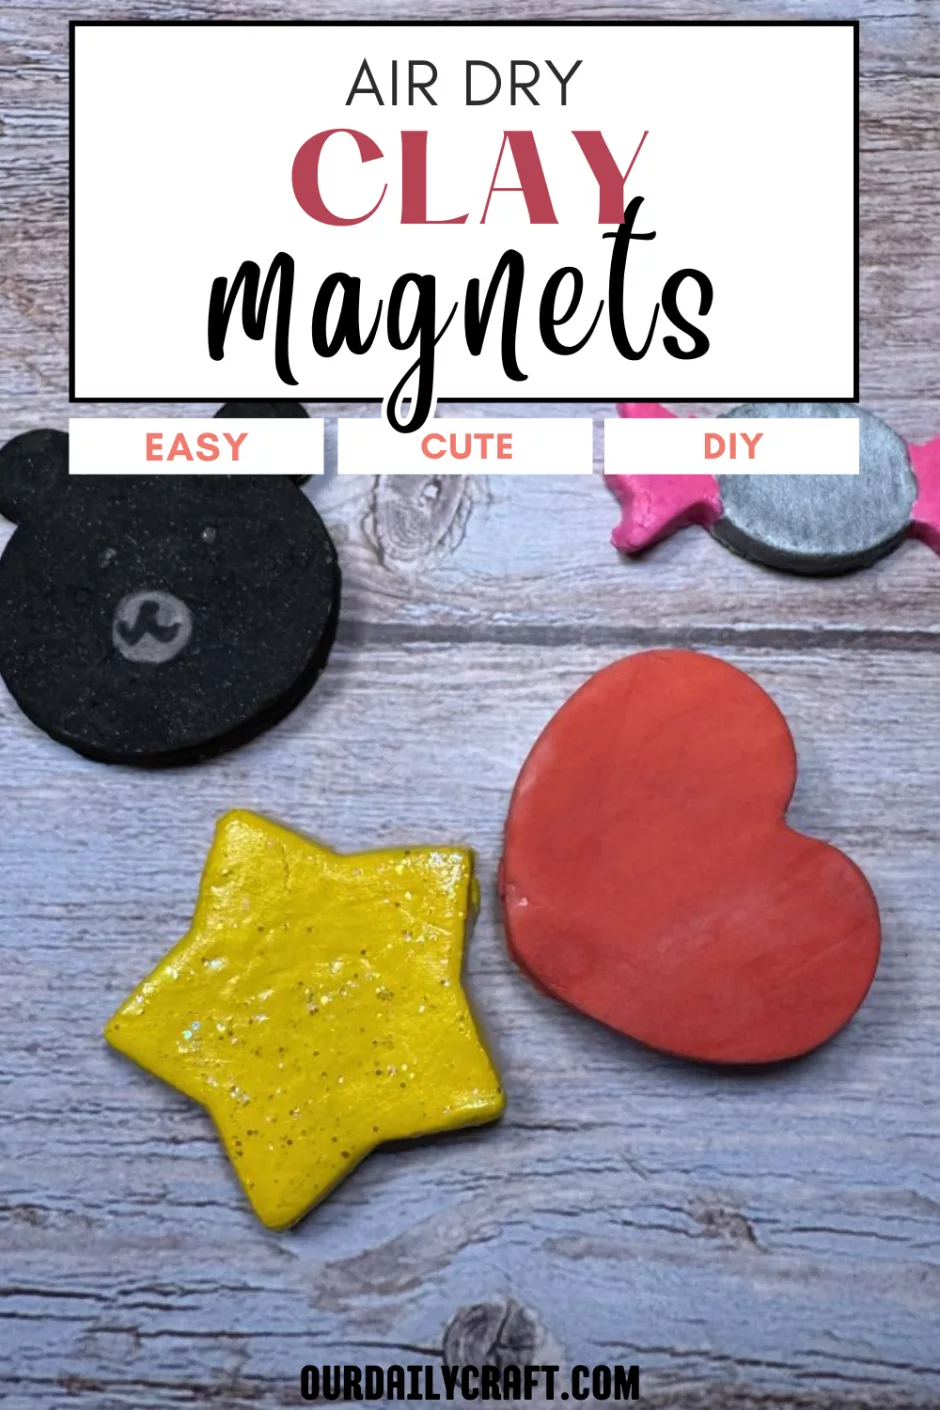
Making air dry clay magnets is so much fun and really easy to do, especially if you have small cookie cutters handy. Let’s learn how!
Materials
First to make air dry clay magnets, of course you need air dry clay. If you have some on hand or want to buy it you can, but my favorite air dry clay is homemade. It doesn’t take long at all to make and only has three ingredients, so I encourage you to make your own air dry clay if you can.
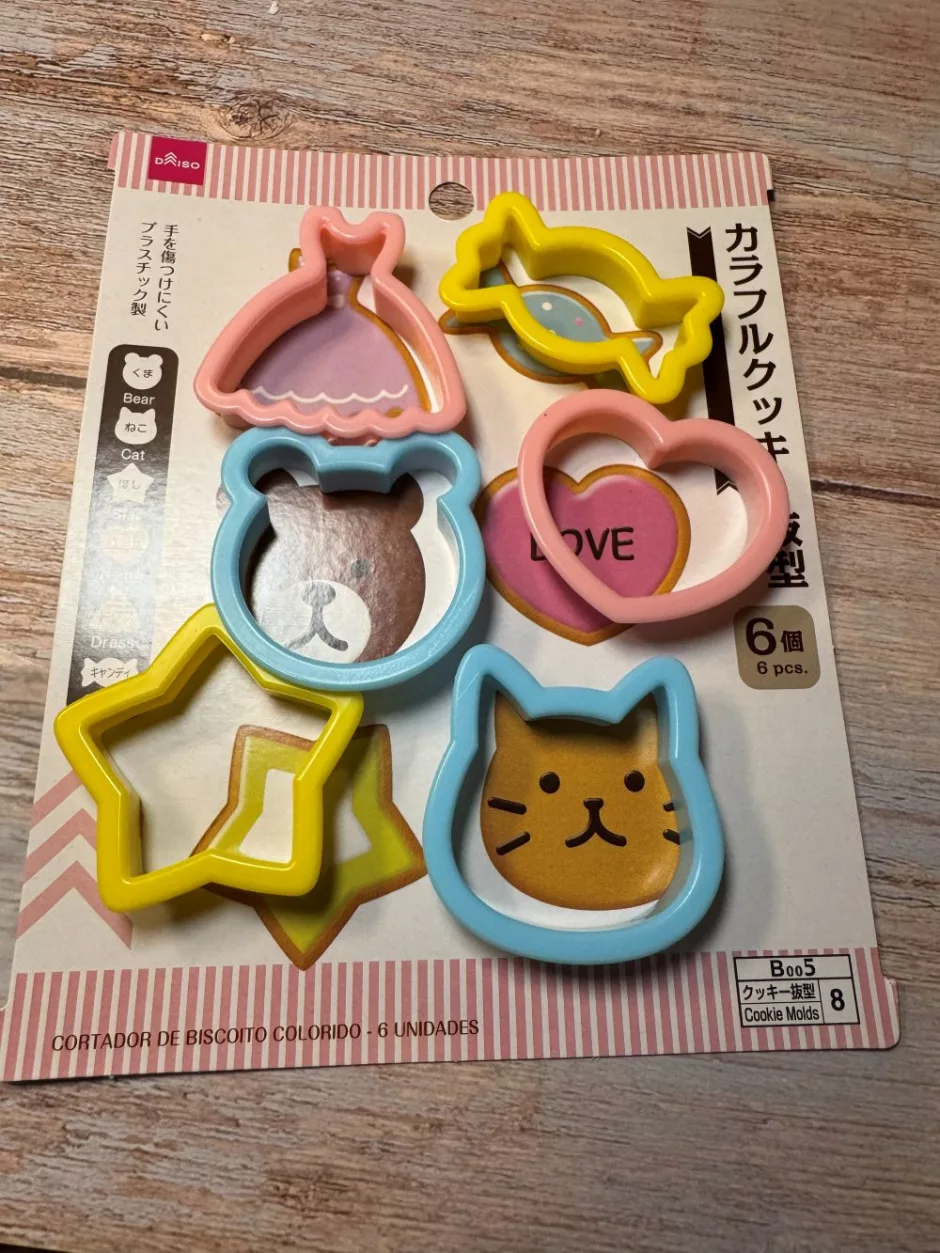
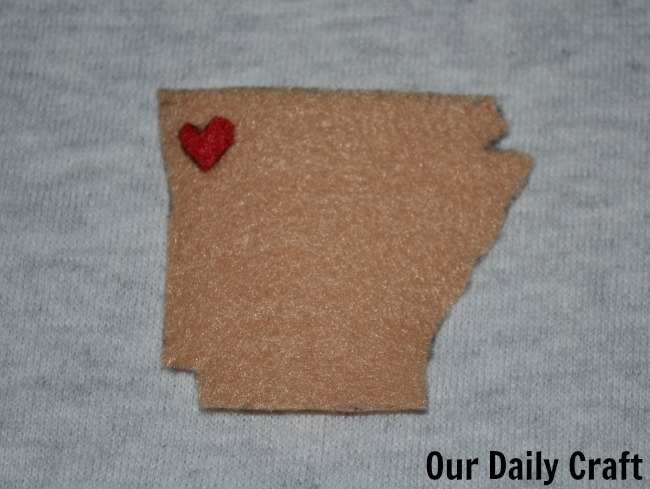
In addition you’ll need some cutters or small shapes you can cut out to shape your magnets. I used this set of mini cookie cutters from Daiso. You can use any small cookie cutters, clay cutters, playdough toys, go hunting around the house for small objects you like the shape of.
If all else fails find clip art shapes online, print them out or trace them from your screen and use the shape as a template to cut out your shape with a table knife.
You’ll need something to roll you dough out with (I used a glue bottle), as well as whatever paints, markers, etc. you want to use to decorate your magnets. Then you’ll also need some magnets and adhesive to attach them to the backs of your magnets. I used school glue.
Making Air Dry Clay Magnets
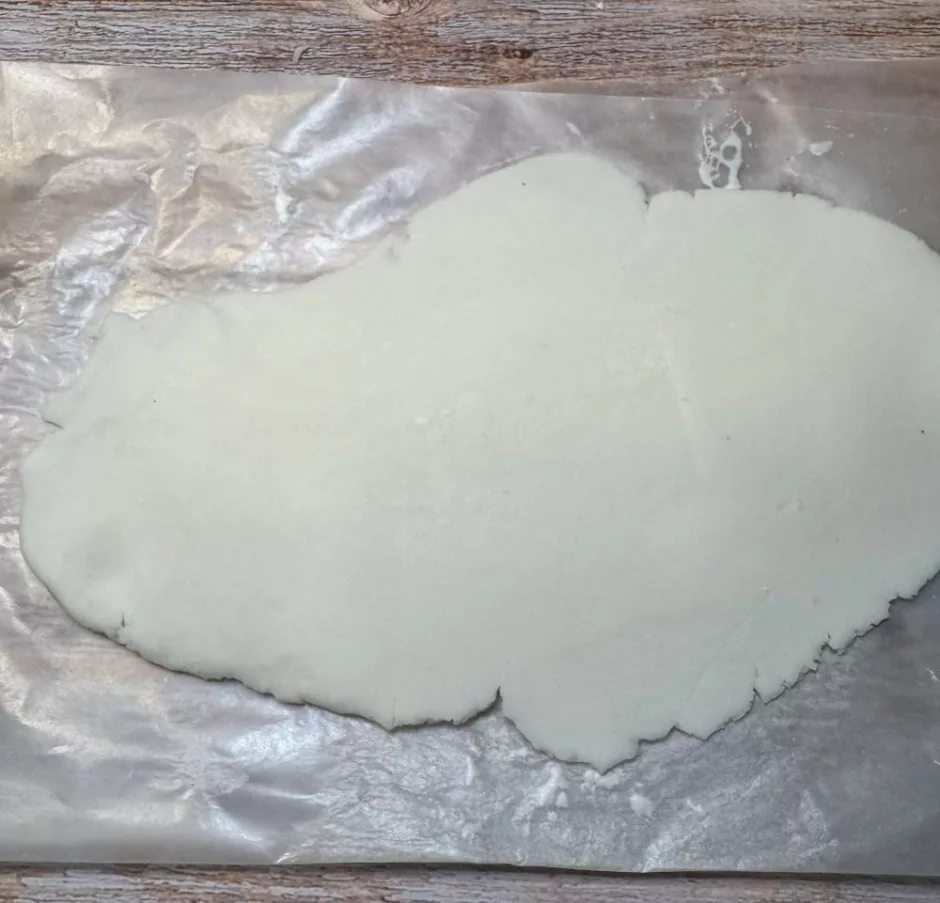
Take a piece of air dry clay (size will depend on how many magnets you are making) and roll it out to a relatively uniform thickness.
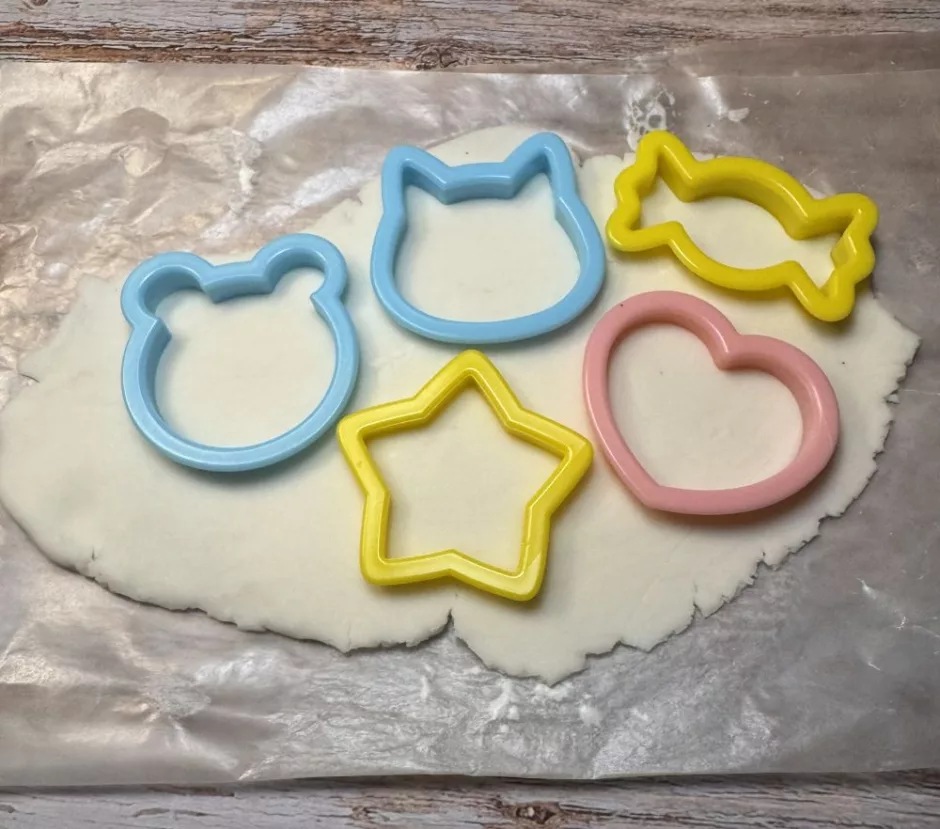
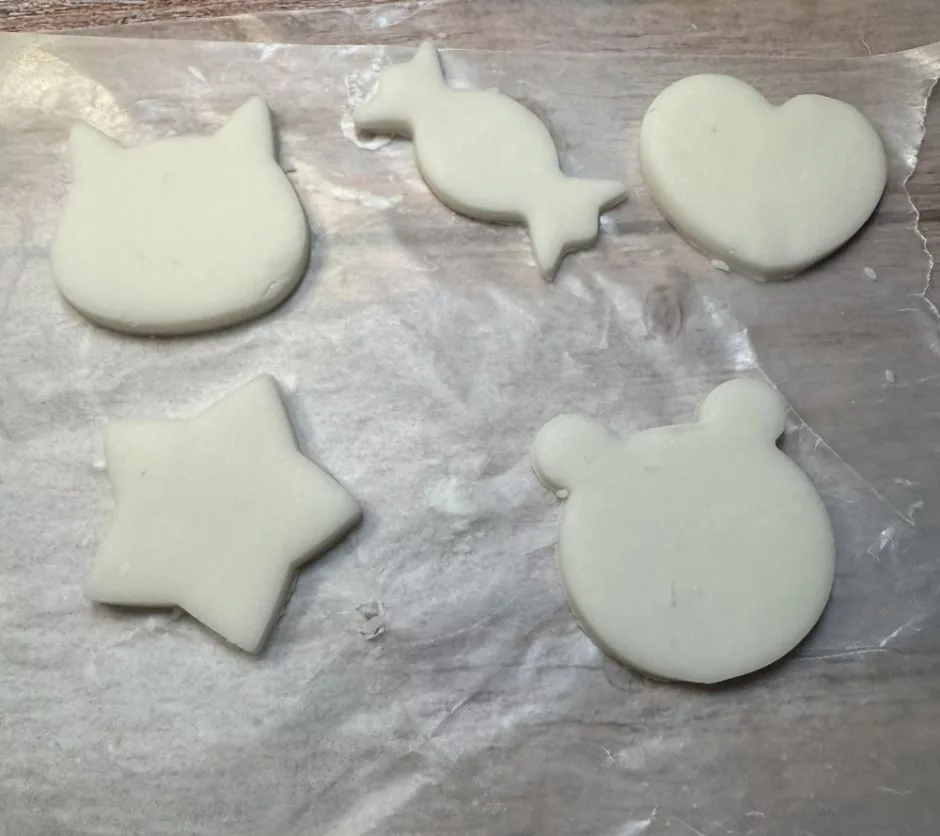
Cut out shapes to make the magnets.
I also pressed the magnet gently into the back of the piece of clay before it dried to leave a little dent so I know where the magnet needs to go when I’m ready.
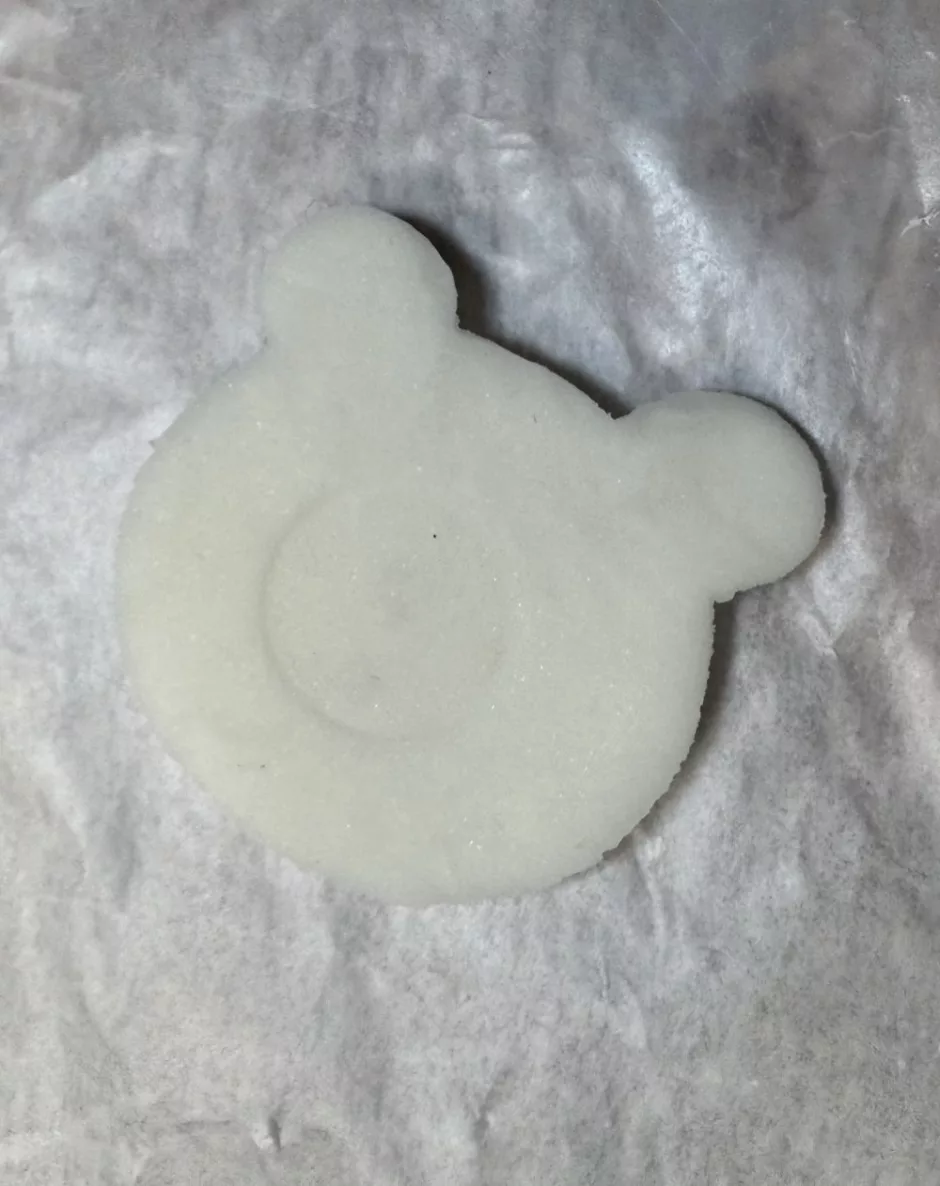
That’s not necessary but it gives you a place to put your glue.
Allow to dry naturally or dry in front of a fan, which I did to help avoid cracks.
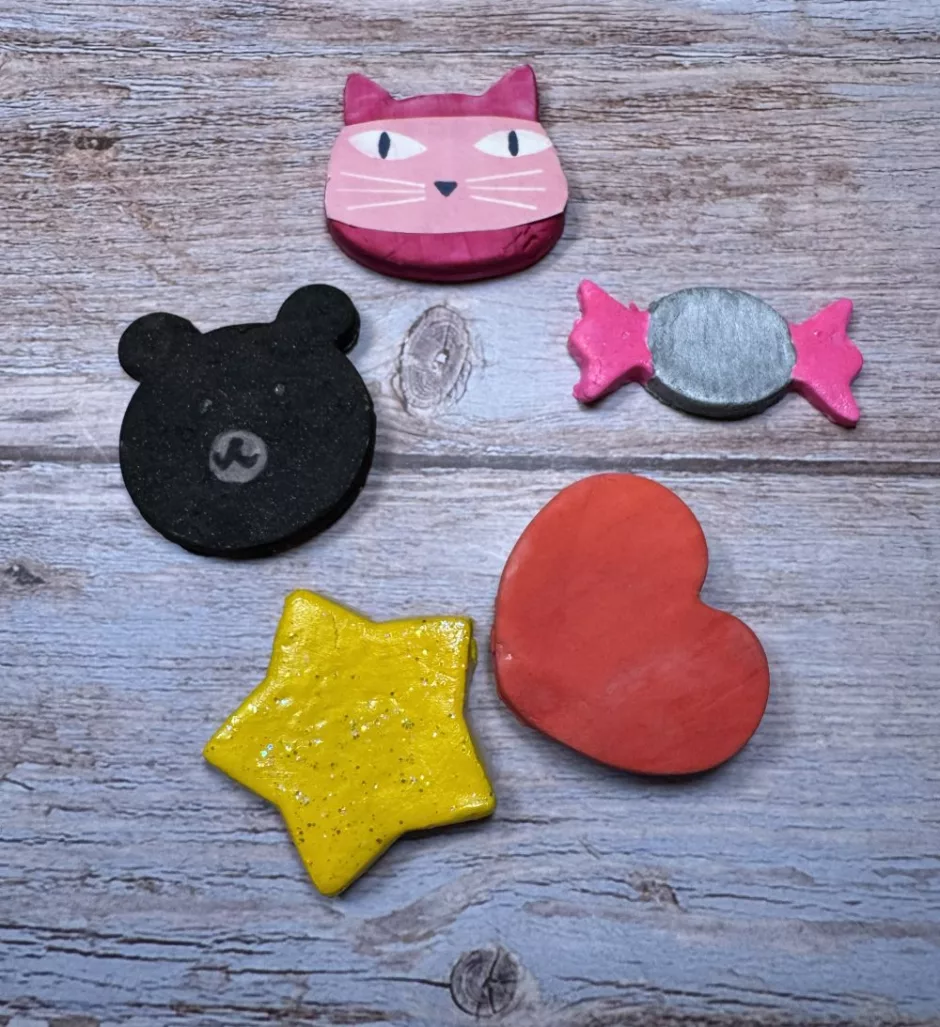
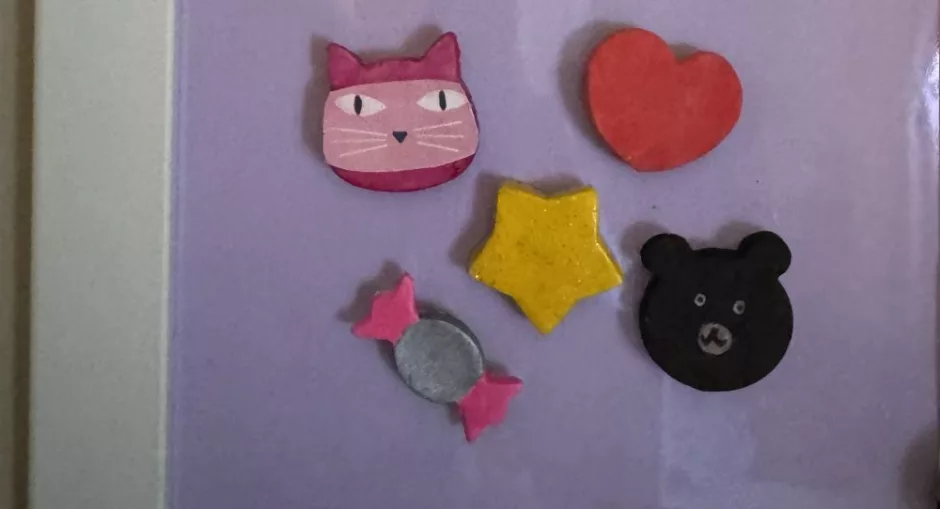
Once the pieces are dry, paint or decorate them any way you like.
I used a combination of acrylic paint, markers, paint pens and watercolor on these just for fun.
The cat is painted and then I added a face from an old calendar and attached it with DIY Mod Podge because I couldn’t find any of the storebought stuff in the house.
The star also got a bit of glittery Mod Podge for extra whimsy.
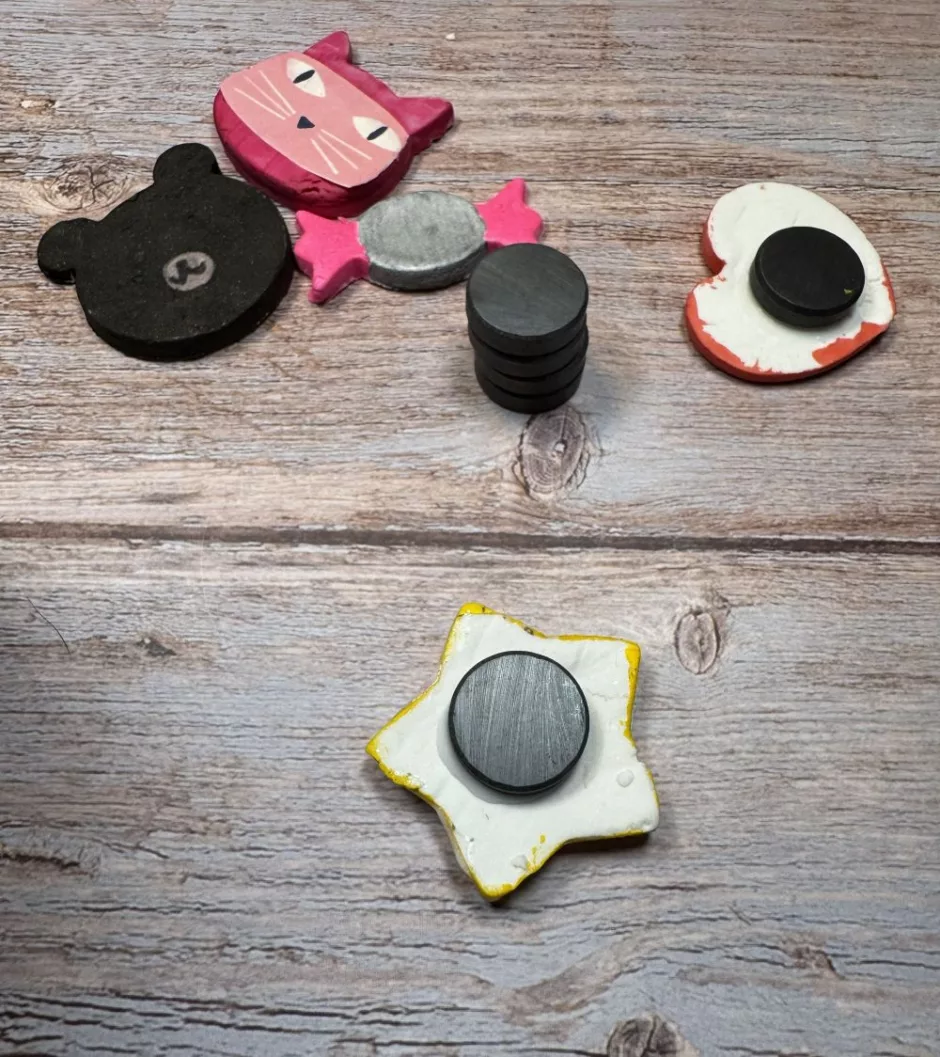
When the pieces are done and dry, flip them over and glue a magnet to the back of each one.
These air dry clay magnets are so cute and easy to make, it’s hard to stop with just a few. Good thing those magnets come in such big boxes!