Affiliate links may be included for your convenience. View our privacy and affiliates policy for details.
French seams are one of those things in sewing that sounds fancy and intimidating but it’s totally not, so let’s learn how with this French seam tutorial.
What is a French Seam?

French seams are a special way of finishing projects so that the raw edges of the fabric are enclosed inside a seam.
This is a great finish for projects made with thin fabrics, and was originally developed for lingerie, so that the raw edges of the fabric aren’t visible and don’t rub on your skin when you wear things. It’s also great to use when you have a fabric that frays a lot, where traditional finishes aren’t as effective.
You can use a French seam any time you need or want a smooth finished seam. It’s a professional looking finish, but it’s also bulkier than a traditional seam finished with pinking or zig-zag stitches. The seams are strong and durable, and people with sensory issues around seams might prefer them.
So it’s not a replacement for regular finishing methods, but it is a fun one to know just in case you ever need it or just want to try it.
French Seam Tutorial
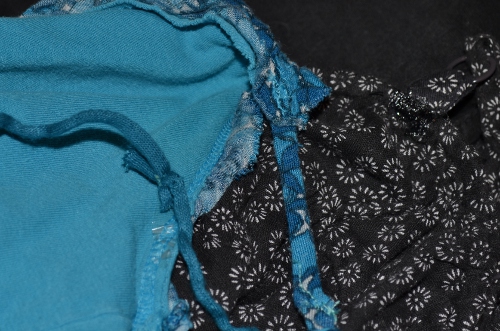
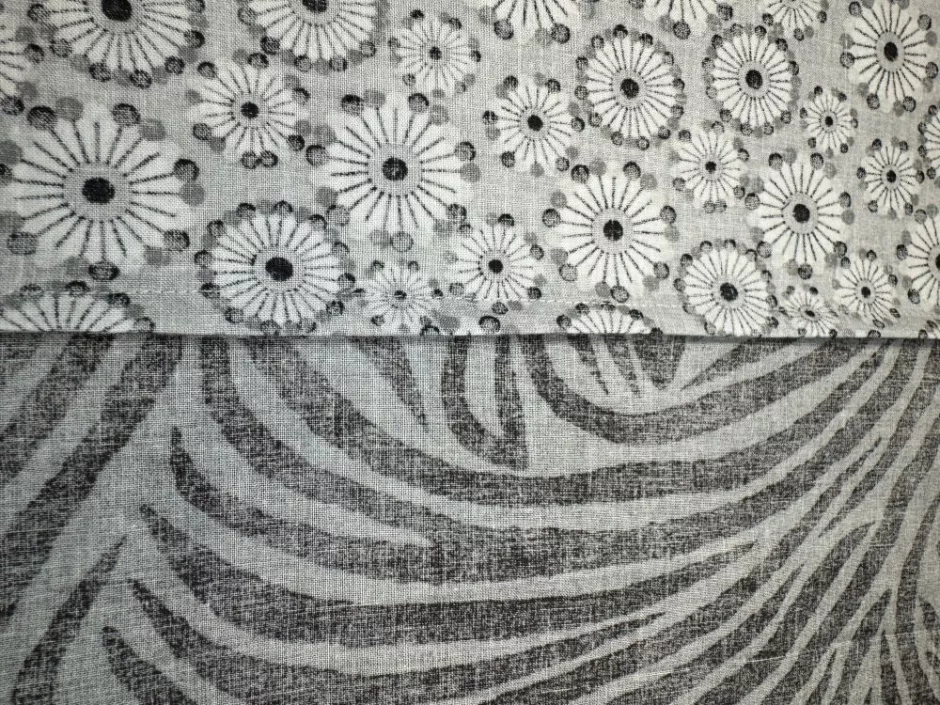
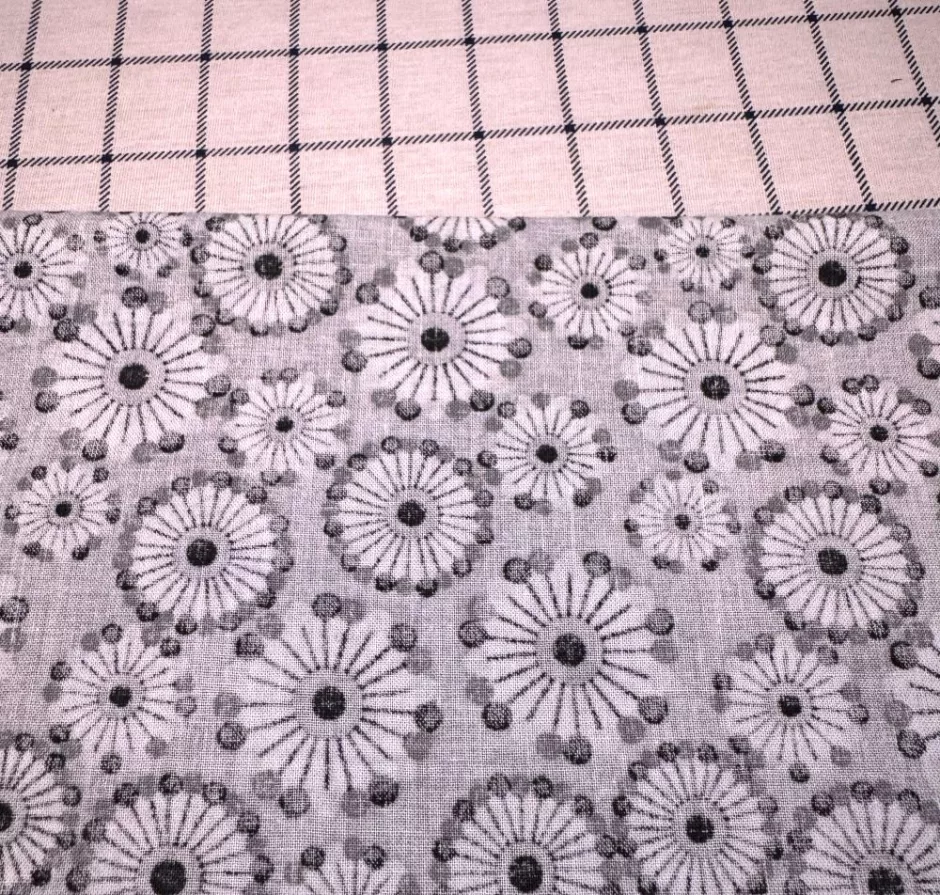
Here I’m working with two pieces of fabric that are half of a fat quarter just to show you how it works. They’re cotton so this isn’t an essential move, but they are pretty stringy so it’s a fine time to try a French seam.
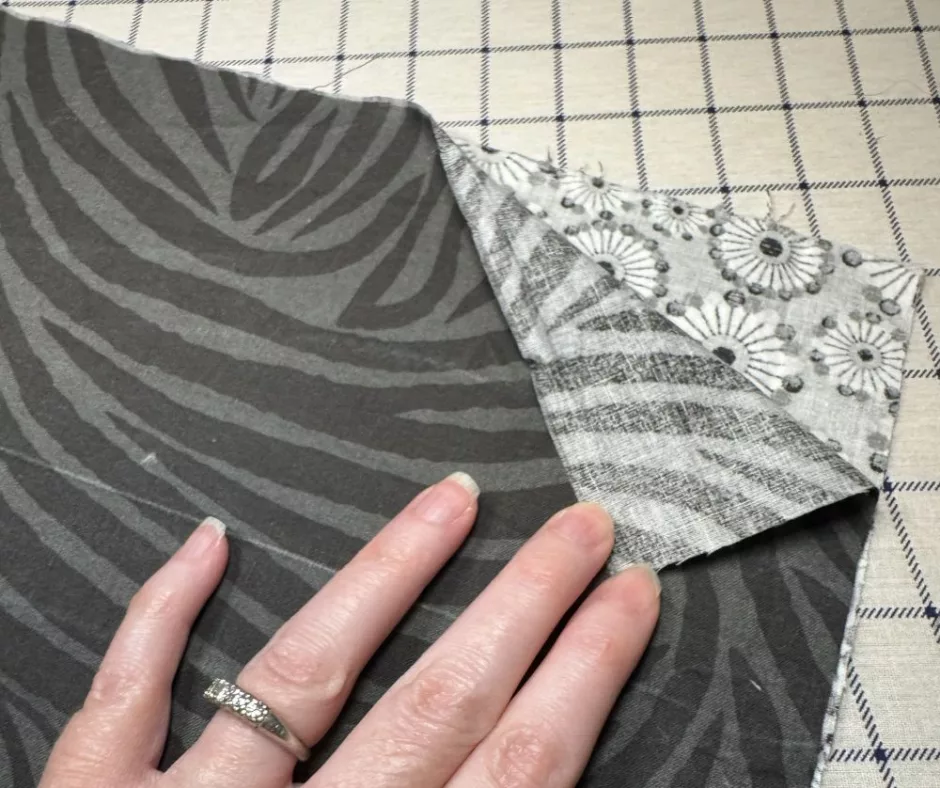
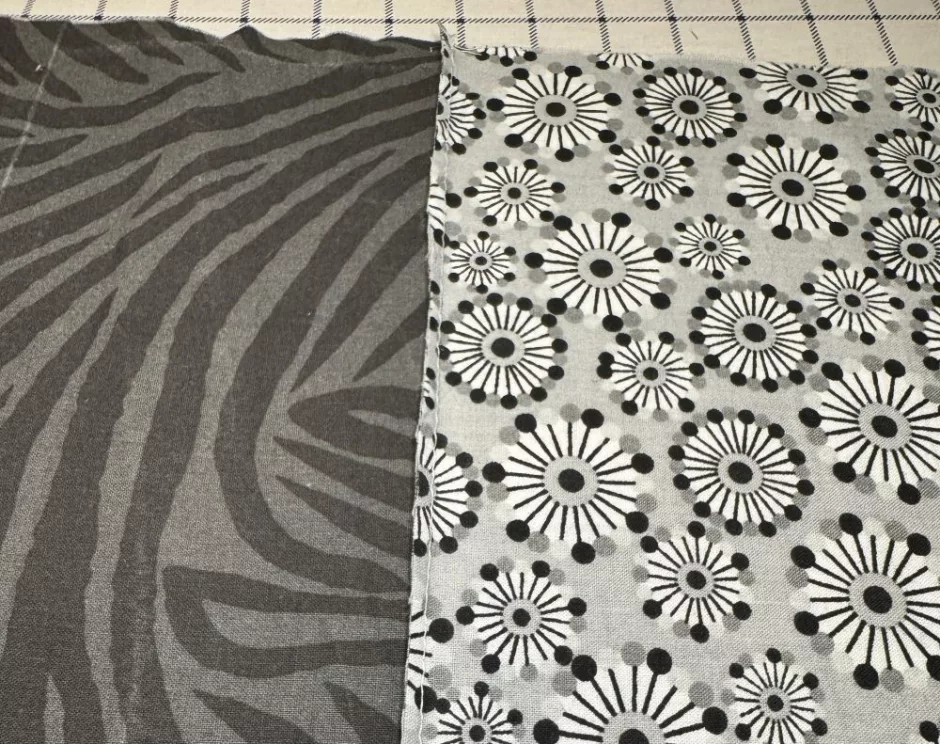
Start with your fabric pieces wrong sides together.
Sew a seam of around 3/8ths of an inch, or just about a centimeter. (My seam here is a little wobbly because I had a setting not quite right after cleaning my sewing machine.)
Trim out about half of the fabric on the outside of the seam you just sewed.
Press the seam to one side. Here I’m pressing toward the darker fabric.
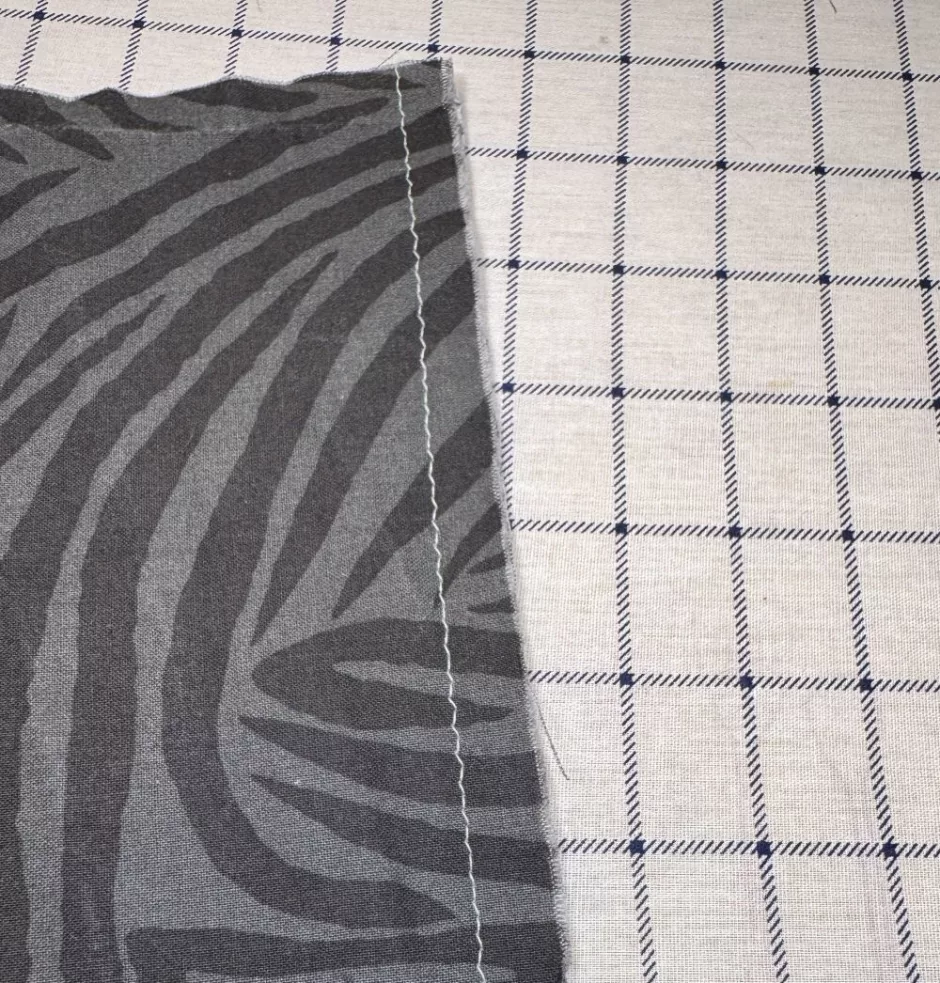
Turn your fabric so it is right sides together. You can press the fabric from this direction, too, so that the seam lies nice and flat.
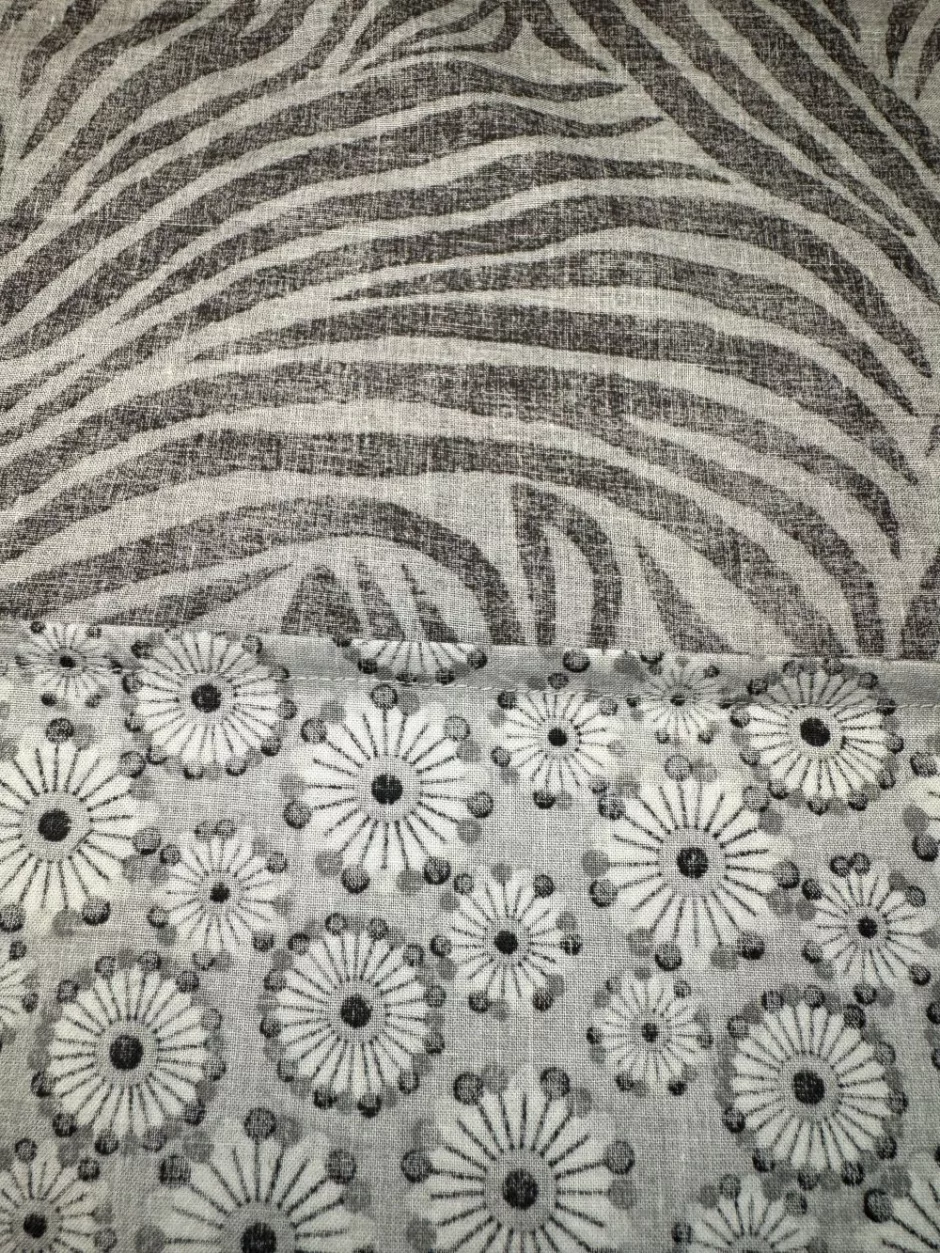
Now sew the seam the normal width you would want it.
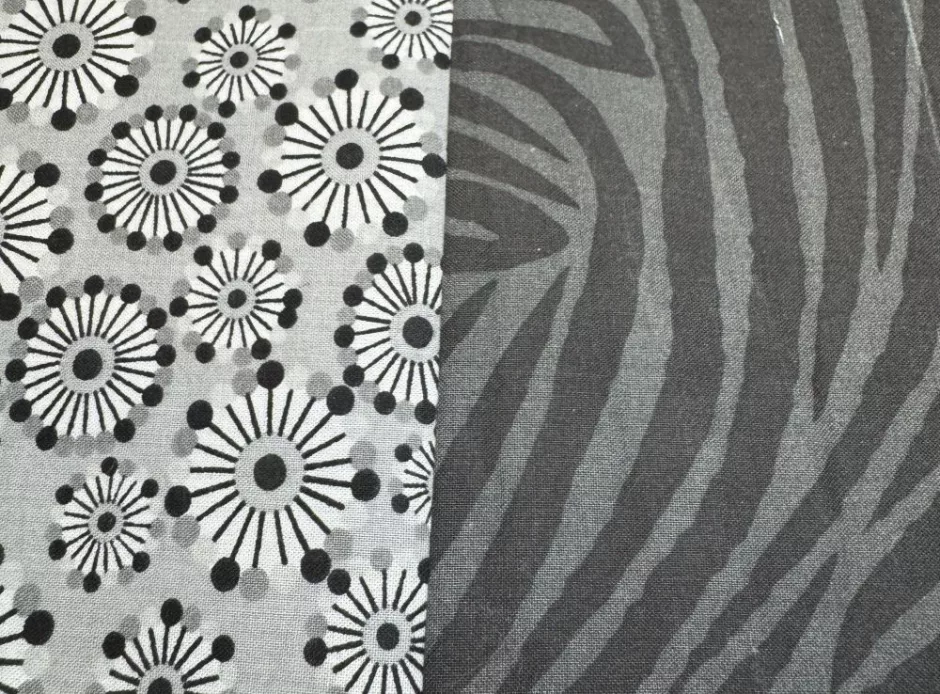
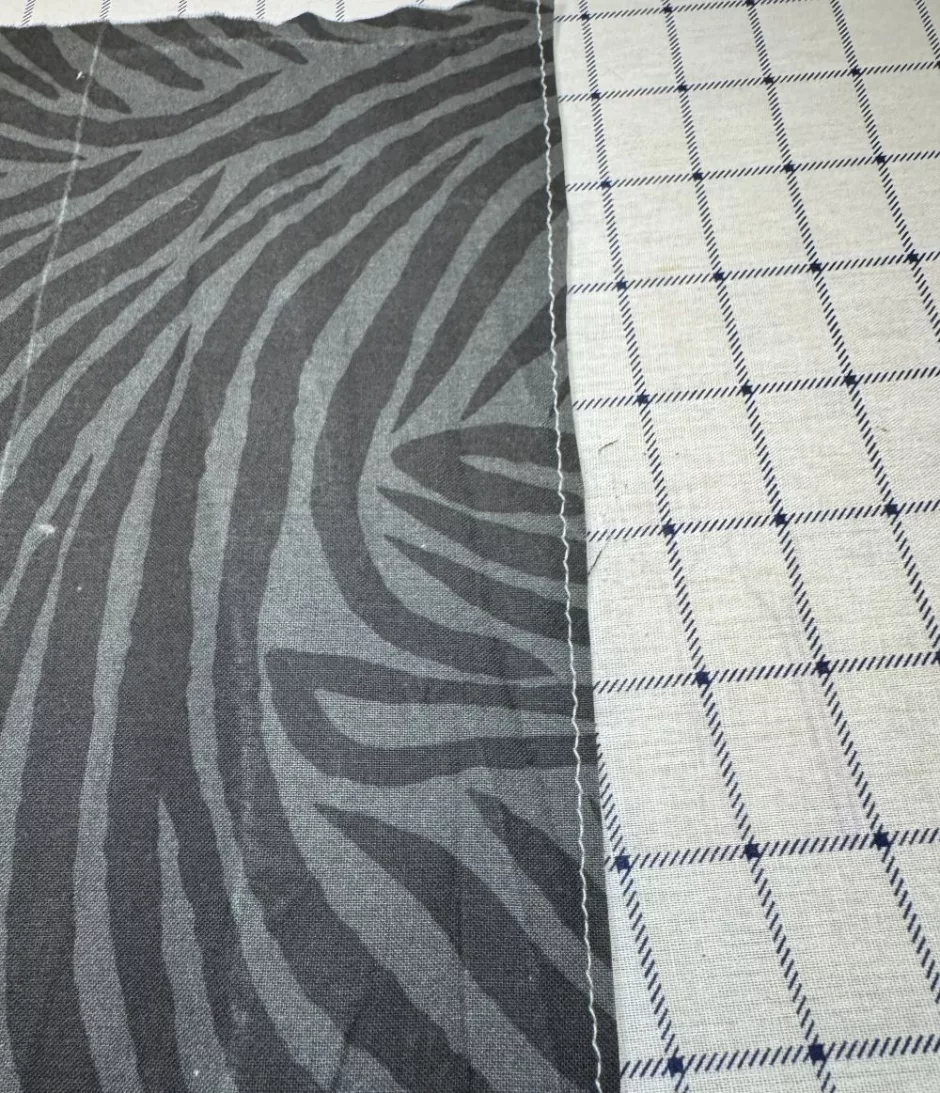
Press the seam to one side again (here I’m still going toward the dark side) and turn the fabric right side out.
Now that you know how to sew French seams you can try them in a project.
Just remember if you are adding French seams to a project that doesn’t call for them, you may need to add more seam allowance for the project to come out the expected size. In the Folds suggests a half inch seam allowance so you can make your first seam 1/4 inch wide. If your seam allowance is 5/8 of an inch, the first seam will be 3/8 of an inch as described above.