Affiliate links may be included for your convenience. View our privacy and affiliates policy for details.
I had a bad feeling about this one.
Though I am well-versed in a lot of crafty arts, there are some things I haven’t tried.
Things I have no good reason to have not tried.
Woodworking is one example of something I haven’t tried that it’s good I haven’t tried, because I can be kind of clumsy and I don’t need that around sharp tools. 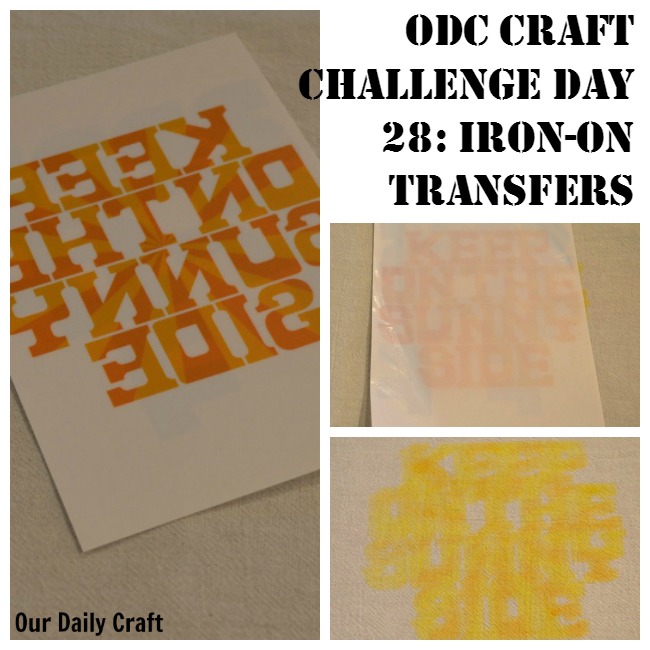
But one thing I’ve never done that I always thought I should have done was to use an iron-on transfer to decorate something.
I’ve had this book of transfers (called Hot Type, if you want to know) for years, which probably came into my house as a review copy (sorry, Chronicle, I love you!).
I was afraid.
I actually put it in a giveaway box that sat in my attic for a long time, then I went through the box before I donated it (because, if we’re being honest, the box fell apart in the attic) and decided I needed to face my fear.
You can probably guess from all the foreshadowing that it did not go well.
How to Use an Iron-On Transfer
I am confident this is user error and not at all the fault of the transfer I used.
But I’ve you’ve never done an iron-on transfer before, the process is actually quite easy if you have a purchased transfer.
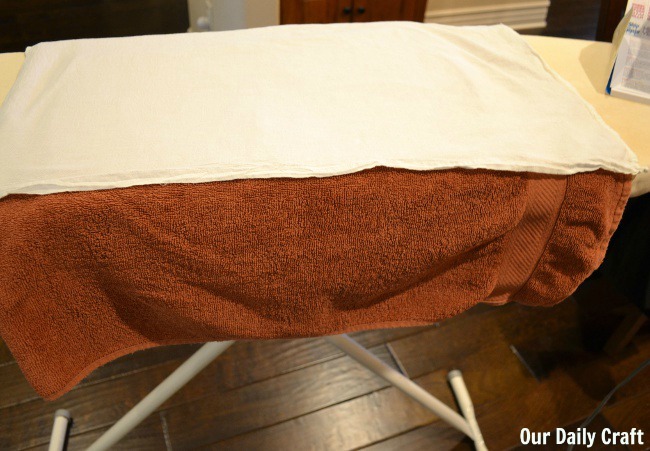
Prepare a work surface (mine is the ironing board topped with a thick cutting board wrapped in a towel. Make sure your surface is flat, sturdy and wrinkle-free, and iron what you want to put your image on, too. I went with a tea towel.
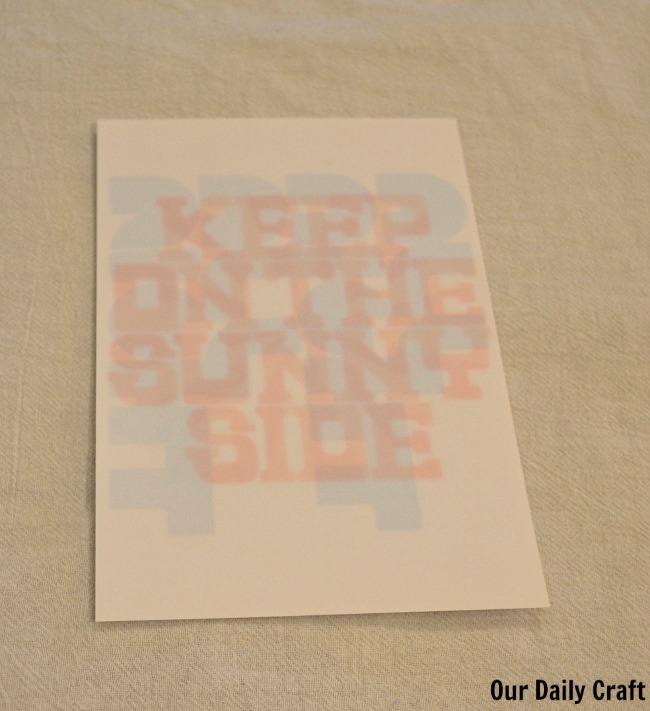
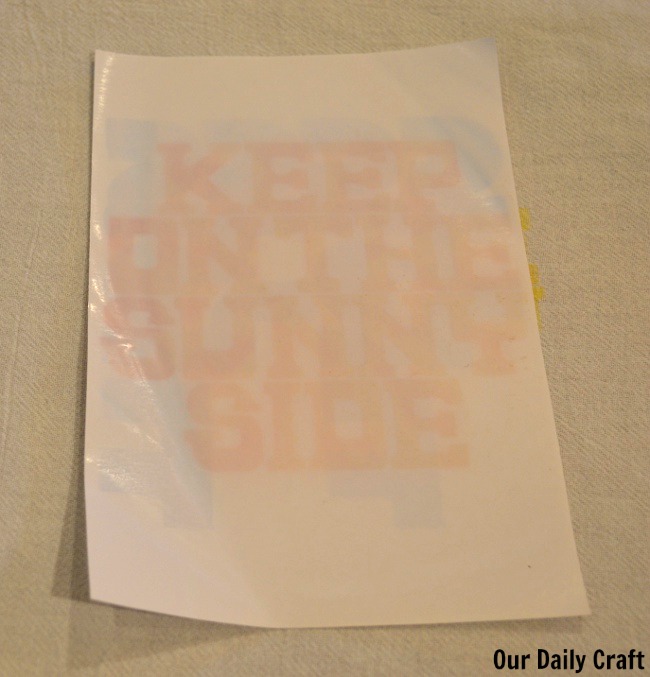
Place the transfer face down (the part where the words or image looks backwards).
Using the hottest setting on your iron, press the iron down on the center of the transfer. Use a lot of pressure (this is probably where my design went wrong), and make small circles with the iron, keeping even pressure, across the transfer, working from the outside to the center, for 3 to 5 minutes.
Let cool and peel off the transfer.
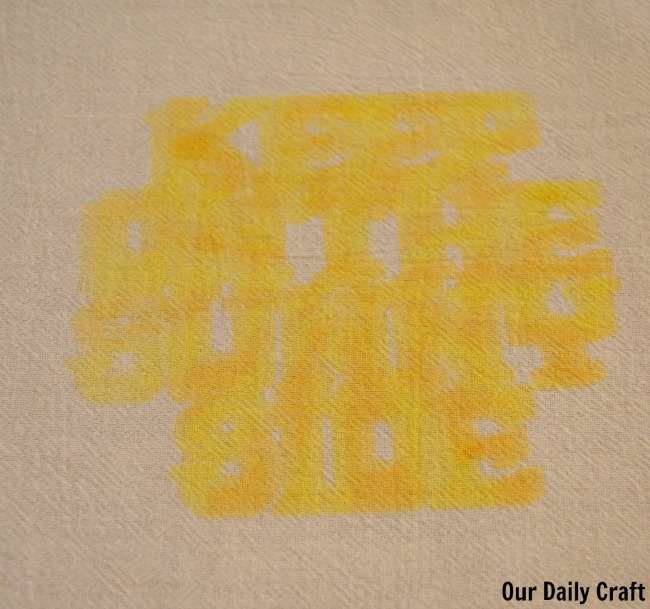
Wonder what the hell went wrong.
No, I’m sure it was probably the amount of pressure or the time I spent doing it that caused the image to not transfer completely. Or maybe it moved around too much at the beginning and it smudged the letters a little.
I could always outline the letters with a bit of fabric paint and it would be fine. It’s almost readable as it is. (Just keeping on the sunny side.)
If you’ve done iron-ons before I’d love to hear your advice.
And now that I know it’s (relatively) easy I’m willing to try it again.
If you do this challenge I’d love to see your results — craft fails or otherwise! — with the hashtag #ourdailycraft.