Affiliate links may be included for your convenience. View our privacy and affiliates policy for details.
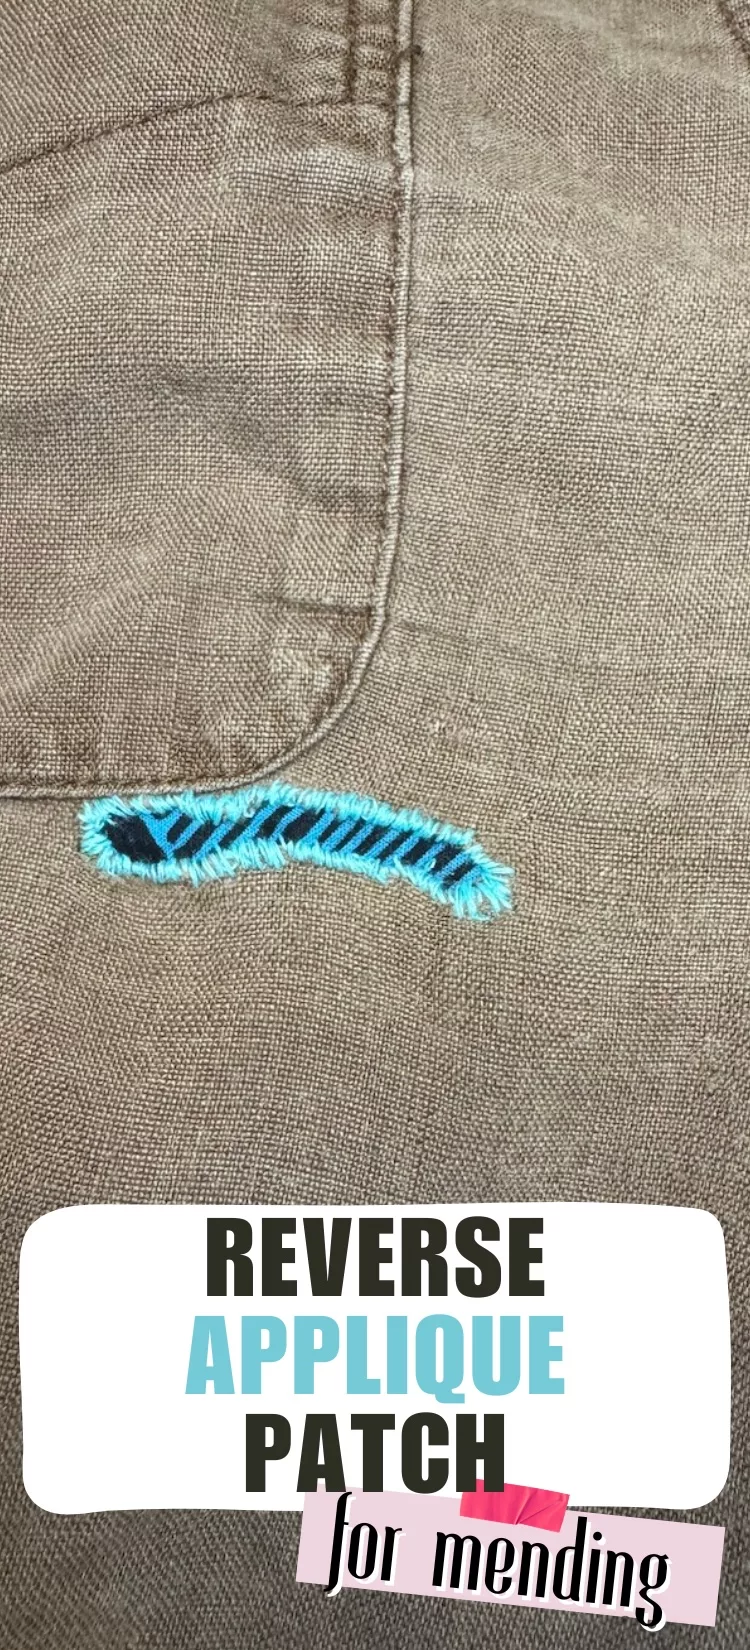
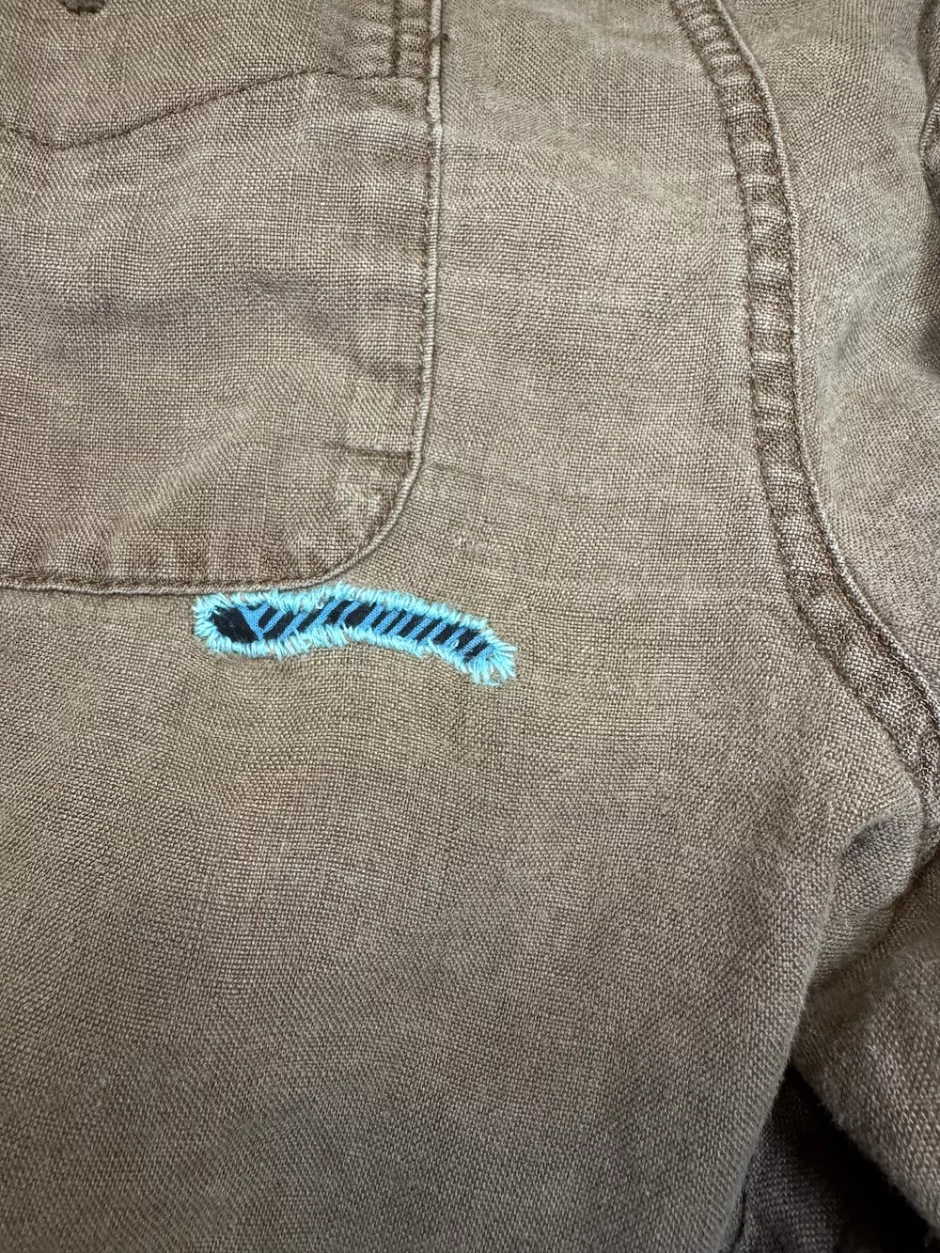
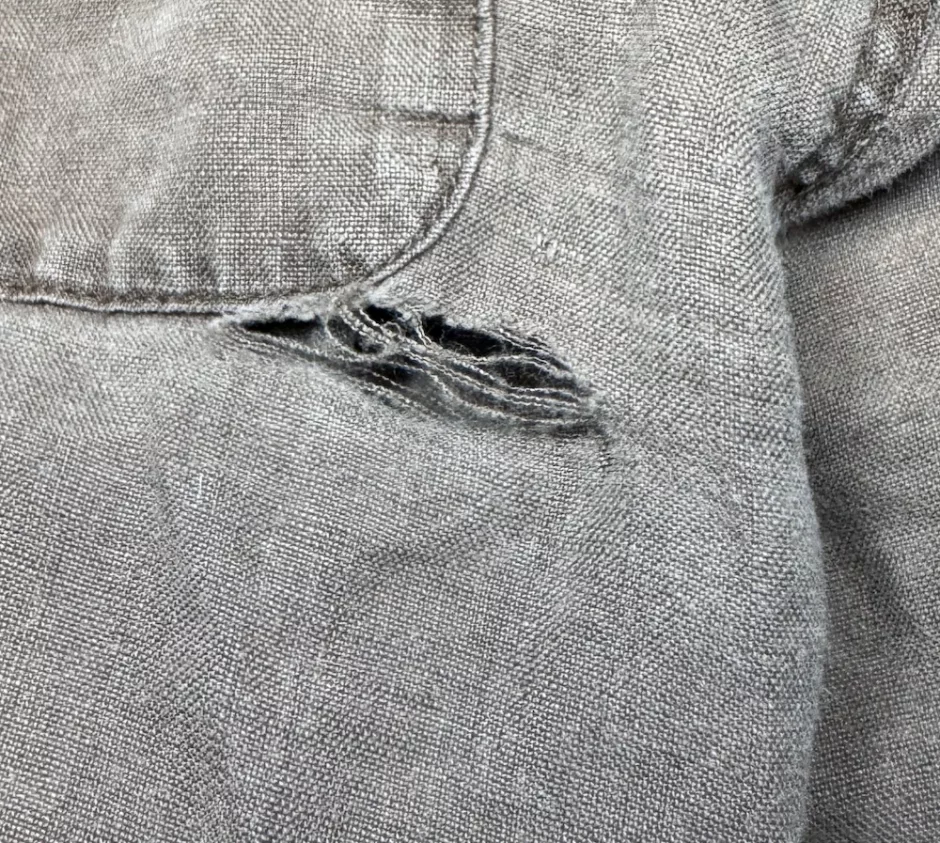
My daughter has this pair of linen shorts that used to be mine that’s gotten some holes, and I thought the perfect way to deal with them would be using a reverse applique patch.
What is Reverse Applique?
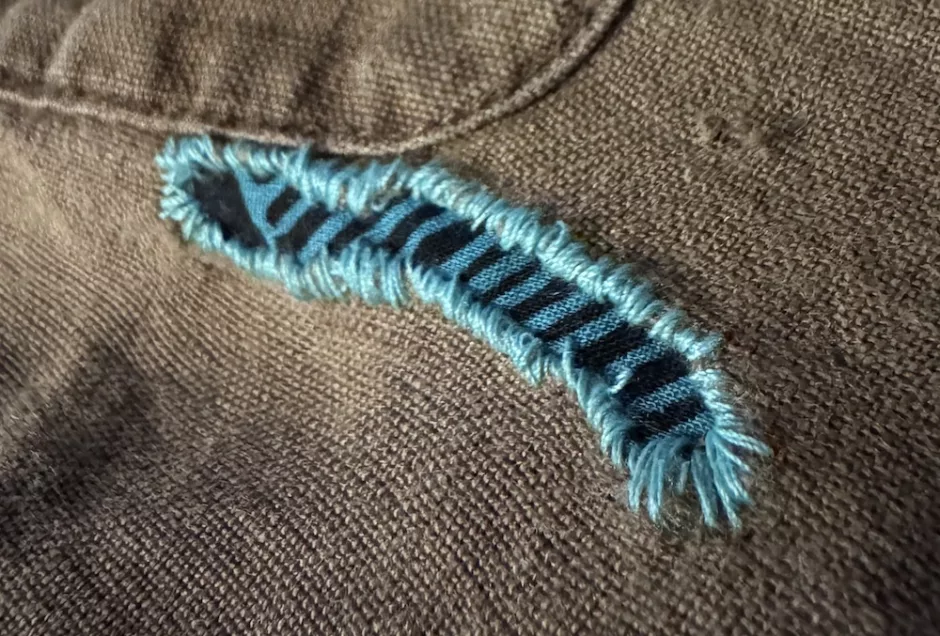
Reverse applique just means that there’s fabric on the inside of your project that can be seen from the outside, with visible stitching on the outside to close up the raw edges.
It’s often done as a decorative technique not associated with mending. It’s a fun way to add another color of texture to a project. I always think of Alabama Chanin when I think about decorative reverse applique, and doing reverse applique on sweatshirts to add text or a graphic design has been trending for a while.
But you can also use reverse applique patches for visible mending instead of putting a patch on the front of your garment.
Supplies
You don’t need any special supplies to do a reverse applique patch. You’ll need the piece of clothing that needs mending, a bit of scrap fabric in a similar weight to the piece you’re adding it to, a sewing needle and thread and some sewing pins.
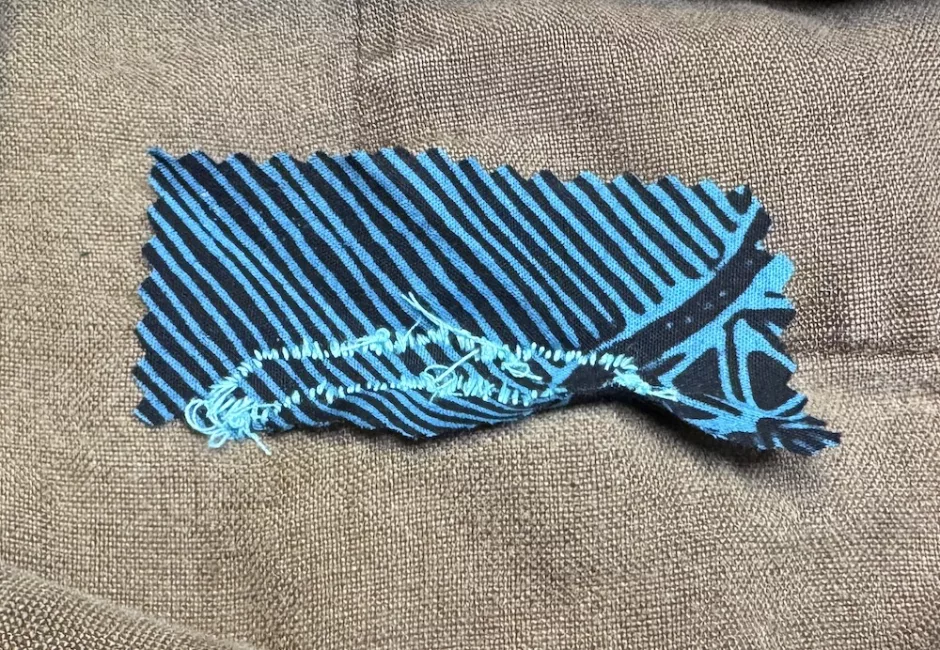
Pinking shears are nice to have because then you don’t have the finish the edges of your patch fabric, but you can do a zigzag stitch on your sewing machine around the edges of your patch fabric before you start if you don’t have them. A regular pair of fabric scissors or thread snips will be useful, too.
Setting Up Your Reverse Applique Patch

Trim any threads that are running across the hole in your garment.
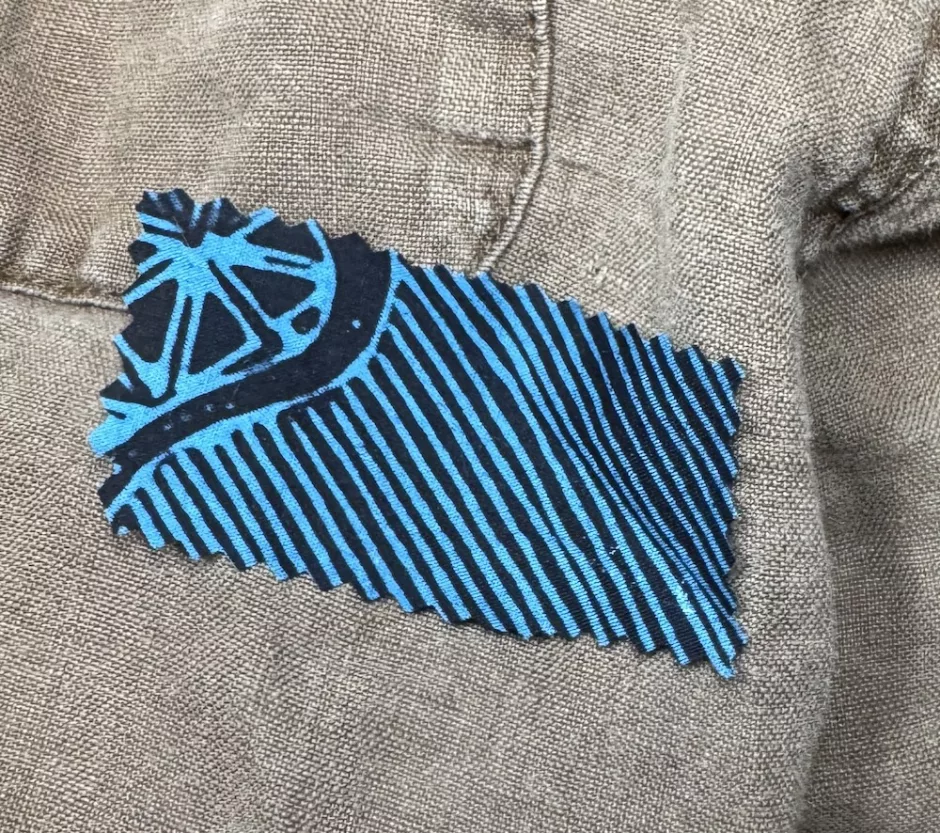
Cut a piece of fabric larger than the hole you need to cover, using pinking shears if you have them.
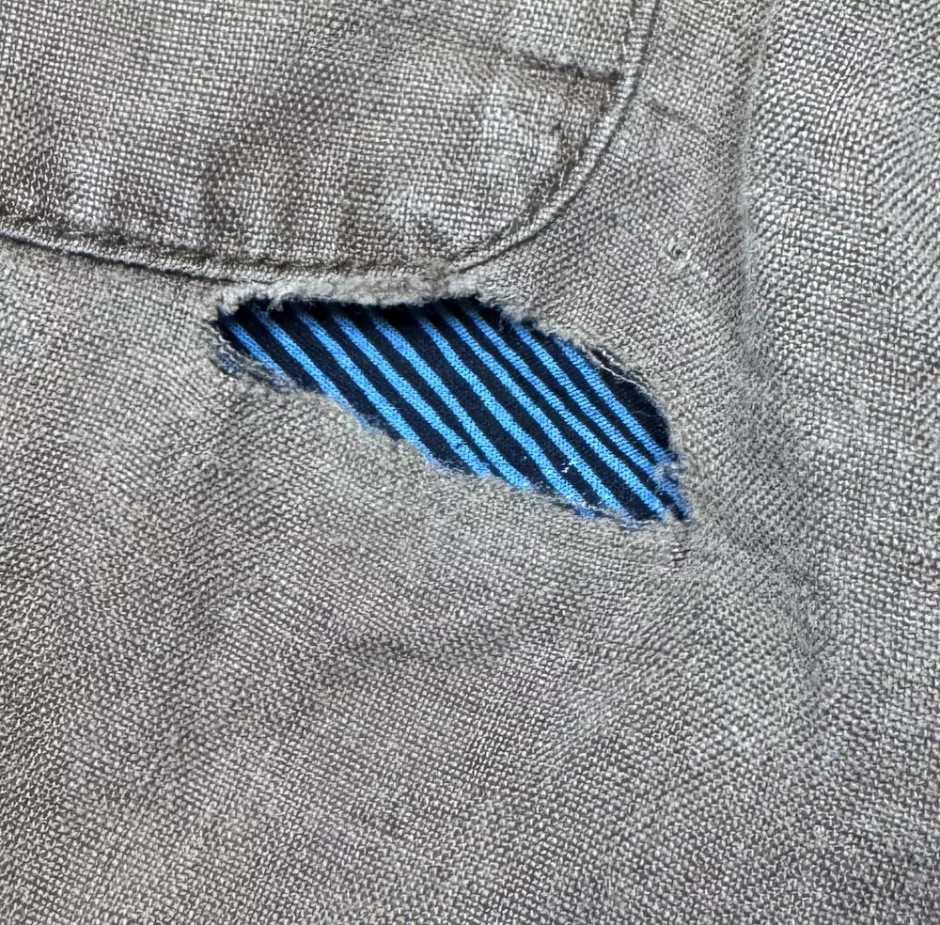
Place the fabric over the hole from the back/inside of the garment, making sure the front of the fabric is visible through hole and that the whole hole is covered.
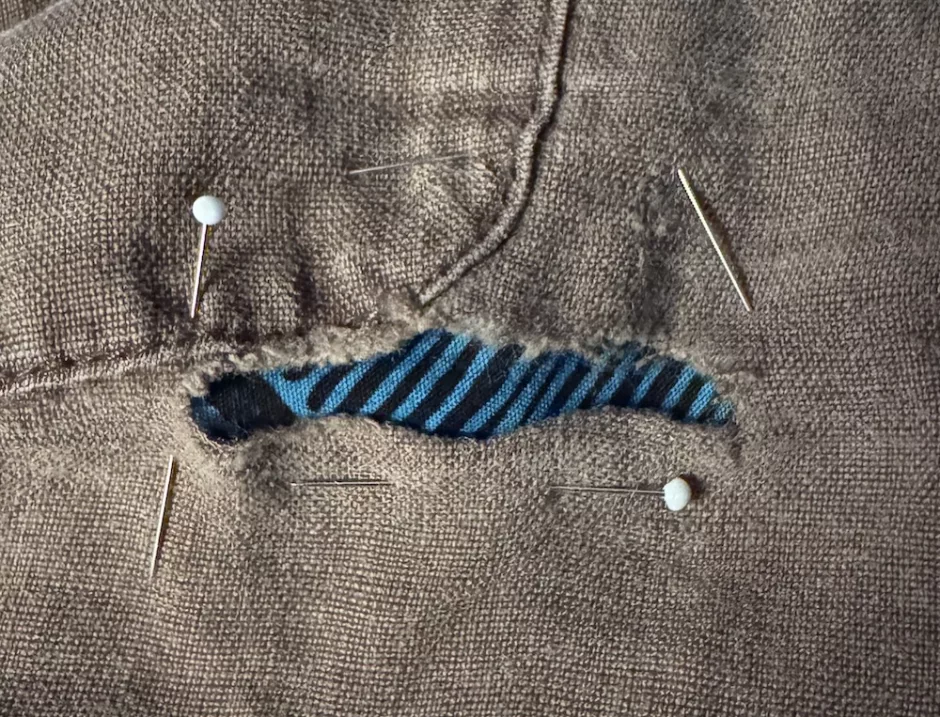
Use a few straight pins (or safety pins) to hold the fabric in place. You could also sew big running stitches (and remove them later) if you don’t have pins handy.
Sewing the Patch
Cut a piece of thread about as long as your arm and thread the needle so that the thread is a double thickness. Tie a knot and take your needle through the patch fabric and the garment fabric from the back to the front.

Now you’ll just sew down your reverse applique patch by taking small stitches that are close to each other all the way around the patch. This is basically a whip stitch, just close together. This is what will keep the fabric of the garment from fraying further.
I don’t care about even stitching, so mine is a little all over the place in terms of stitch length and how close they are together. If you want your stitching more precise that’s up to you.
Keep stitching all the way around, taking your thread to the back, tying a knot and trimming the excess whenever you’re coming close to running out of thread. Repeat the same process as above to start a new piece of thread.
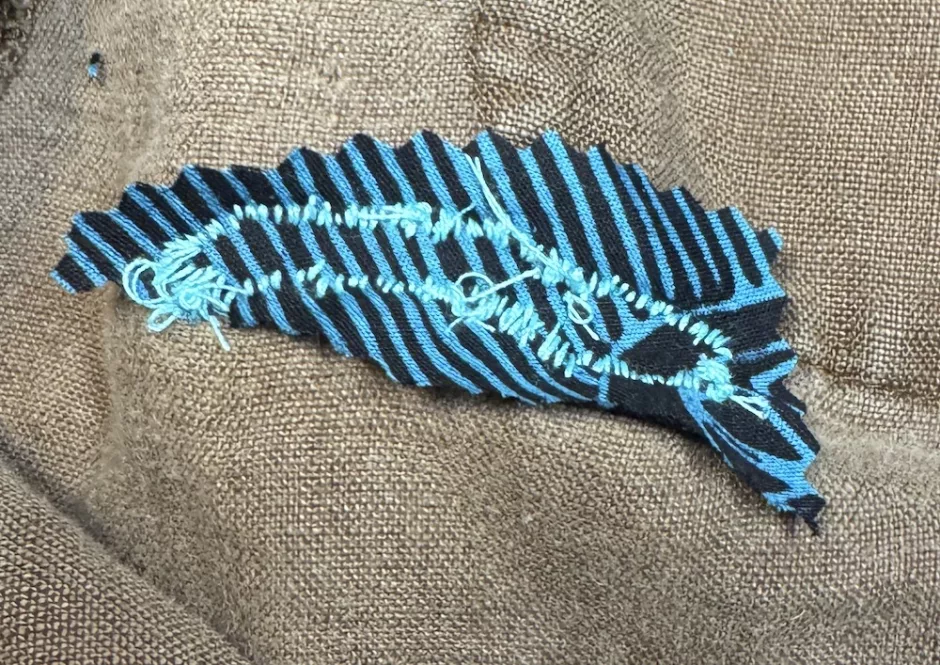
When you’re done sewing your reverse applique patch, you can go back in and trim the fabric with pinking shears if you have a lot of excess fabric beyond the patch. Don’t trim super close but it’s fine to get rid of some extra fabric.
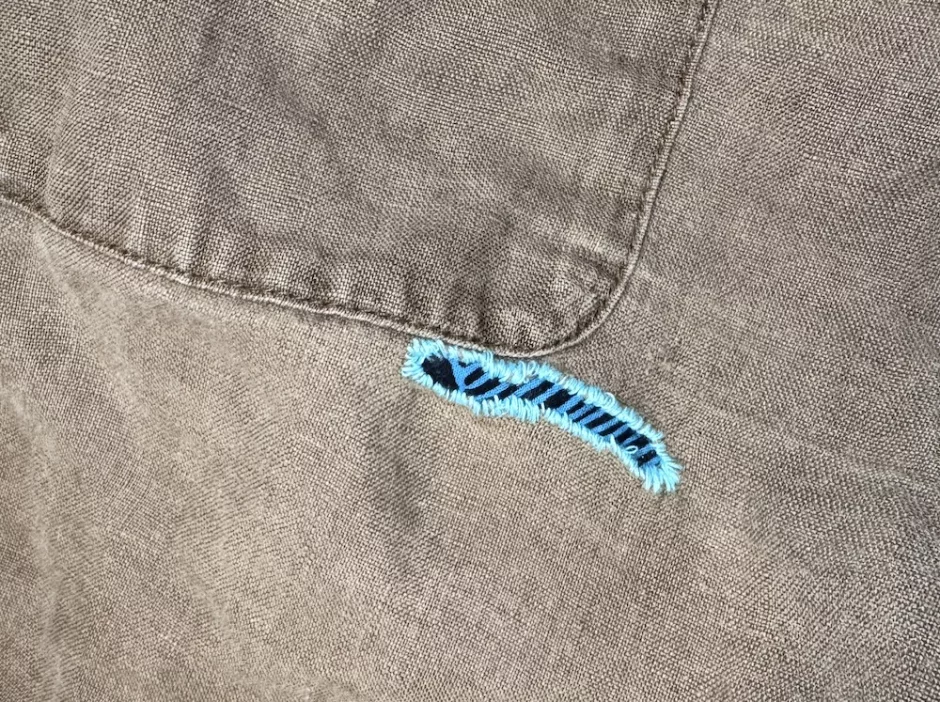
This is a really easy way to mend a hole in a garment, no sewing machine needed.