Affiliate links may be included for your convenience. View our privacy and affiliates policy for details.
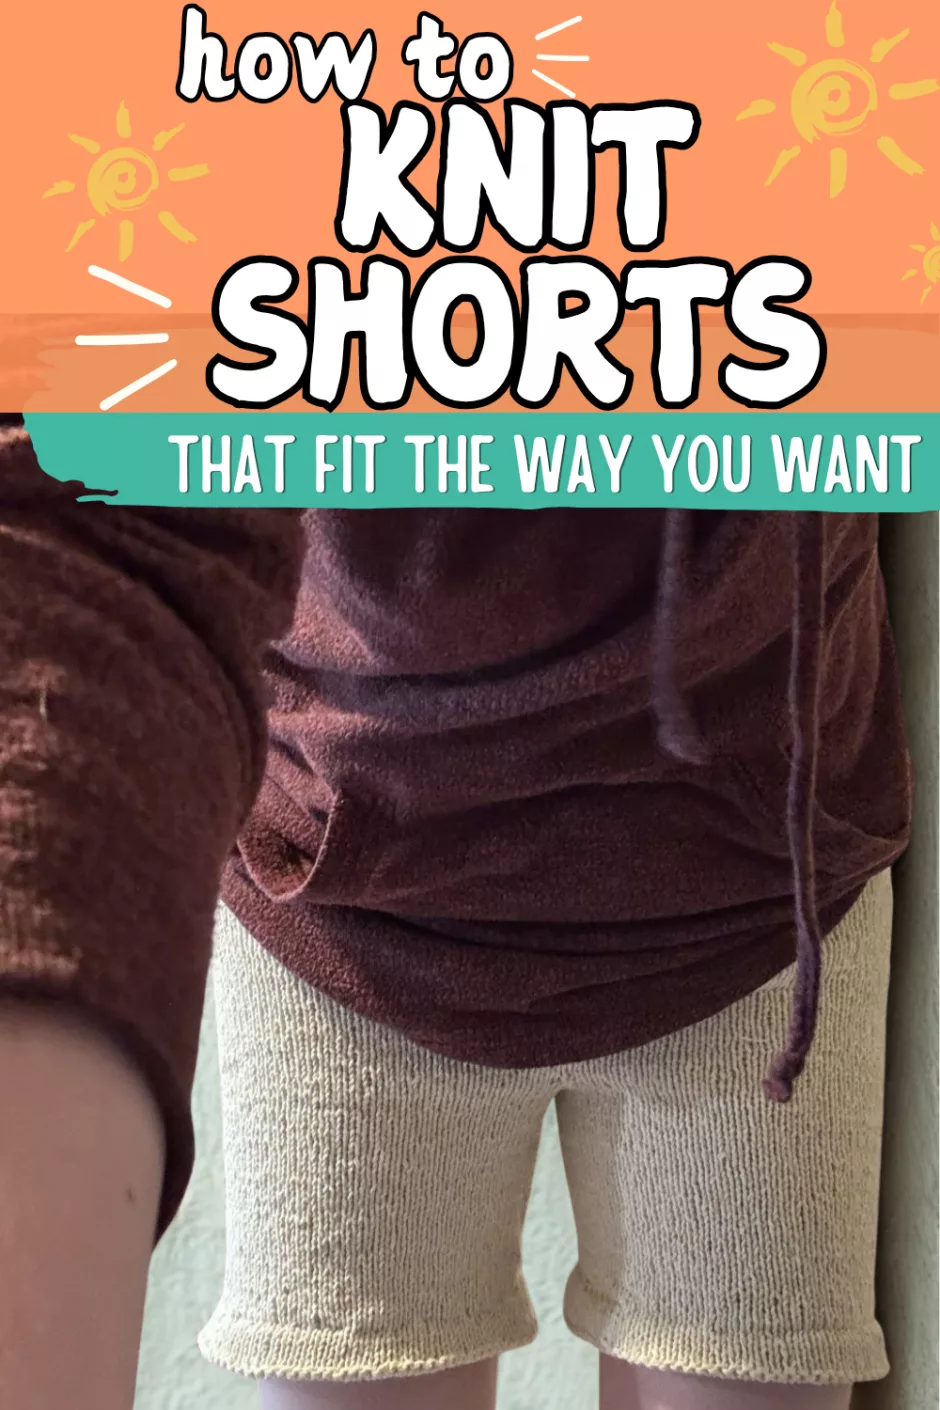
There are lots of great shorts knitting patterns out there, but if you want to learn how to knit shorts that fit you in the style and with the yarn that you want to use, this tutorial is for you.
Yarn and Other Supplies
Of course I can’t tell you exactly how much yarn you will need because I don’t know what yarn you want to use, what size you are or how you want to style your shorts.
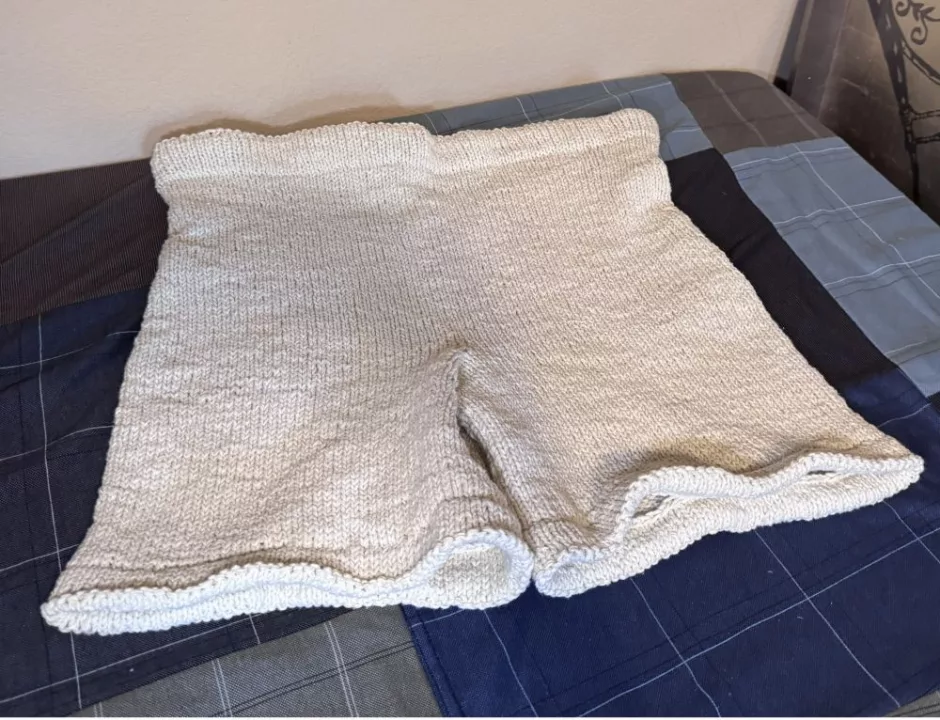
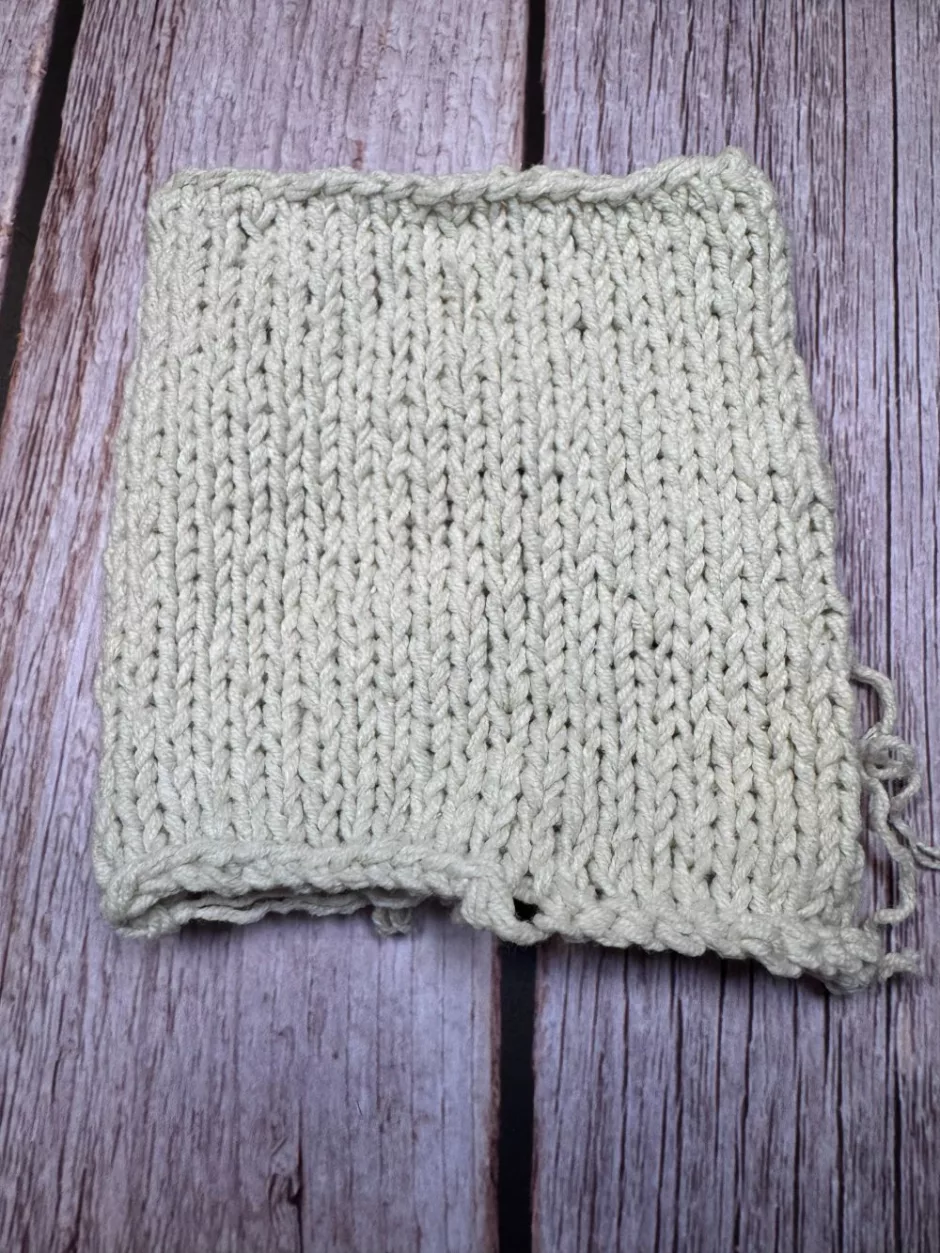
I can tell you that my shorts used about 250 grams of yarn. That amounts to about 725 yards of DK/light worsted yarn (this is yarn from the purchased sweater I unraveled) to make shorts with 6 inch/15.24 cm inseams and a 32 inch/81 cm waist, with a knit and folded over elastic waistband and knit hems on the legs.
I’m pretty impatient so DK/worsted weight is the right yarn weight for me, but you can always go smaller if you want. I don’t think I’d go much heavier that worsted weight but if you want to try it, go ahead.
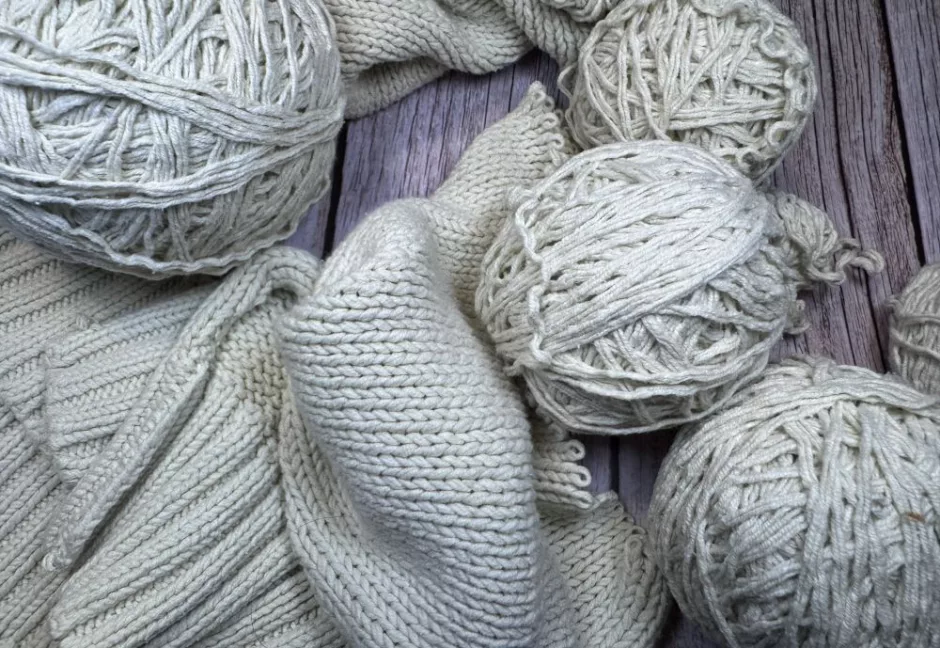
For fiber content, my yarn is a cotton and polyester blend, which I like for coolness and a little bit of structure. I used acrylic yarn for my crochet shorts, and that was fine, too. Of course you can also use wool, or linen, or whatever you have that you like.
Your project will take more yarn if your waist is bigger, your shorts are longer, if you use a stitch pattern other than stockinette stitch, etc. And you’ll use less yarn if your shorts are shorter, if you don’t knit hems, if your waist is smaller, etc.
It might be helpful to look at other shorts knitting patterns in a similar style to guess at how much yarn you might need. Get a little extra if you can, and always be willing to add a stripe or color blocking if you need to get the length of shorts you’d like.
You’ll also need a circular knitting needle in the size you want to use for your yarn, with at least a 16 inch cable. You might also want a shorter cable for knitting the legs, and an additional needle or some waste yarn to work as a stitch holder. You’ll need one or several stitch markers, a piece of elastic an inch or two (2.5-5 cm) shorter than your waist measurement, scissors and a yarn needle, too.
Measuring for Shorts
You don’t have to take a ton of measurements to get started knitting shorts, but you will at least need to know your circumference where you want the waistband of the shorts to hit on your body.
It’s also good at some point to know your rise, which is the distance between the waistband and where your legs separate.
Measure yourself at your widest point between these two points, too (it can also be helpful to know the distance between the waistband and the widest part of you).
You’ll also need to know the circumference of your upper thigh and the length you want your shorts to be (though you can figure that one out later, too).
I’m a big fan of trying on and adjusting as you go, but having these measurements makes it a lot easier.
Knitting a Swatch
Because we’re talking about how to knit shorts that fit you, you’ll need to know your gauge with the yarn, needles and stitch pattern you want to use for your project, which means knitting a swatch.
Since we’re also working in the round, that means knitting a swatch as if you were working in the round, by stranding the yarn loosely across the back and knitting from the right/front side only.
Use the ball band if you have one to help you estimate how many stitches to cast on. Knit at least 4 inches/10 cm and bind off loosely. If you’re working a stitch other than stockinette, be mindful of pattern multiples and how to work that stitch in the round.
And because you’ll want to wash your knit shorts, you’ll need to wash and dry you swatch before measuring it. Measure in a few places and take the average number of stitches per 4 inches/10 cm and divide by 4 to get your number of stitches per inch/2.5 cm. Measure your round gauge in the same way.
That’s not quite all the math we’ll need but I promise none of it is hard.
How to Knit Shorts: The Waistband
We’re knitting these shorts in the round from the top down, so to figure out how many stitches to cast on, multiply your waist measurement by your stitch gauge.
Barbara G. Walker is my guide for this process, and in her book Knitting from the Top she uses actual waist measurement for the waistband, so we’ll do that, too. You’ll have a chance to try it on soon so you can rip it out and start over with more or fewer stitches to suit your desired fit if you need to.

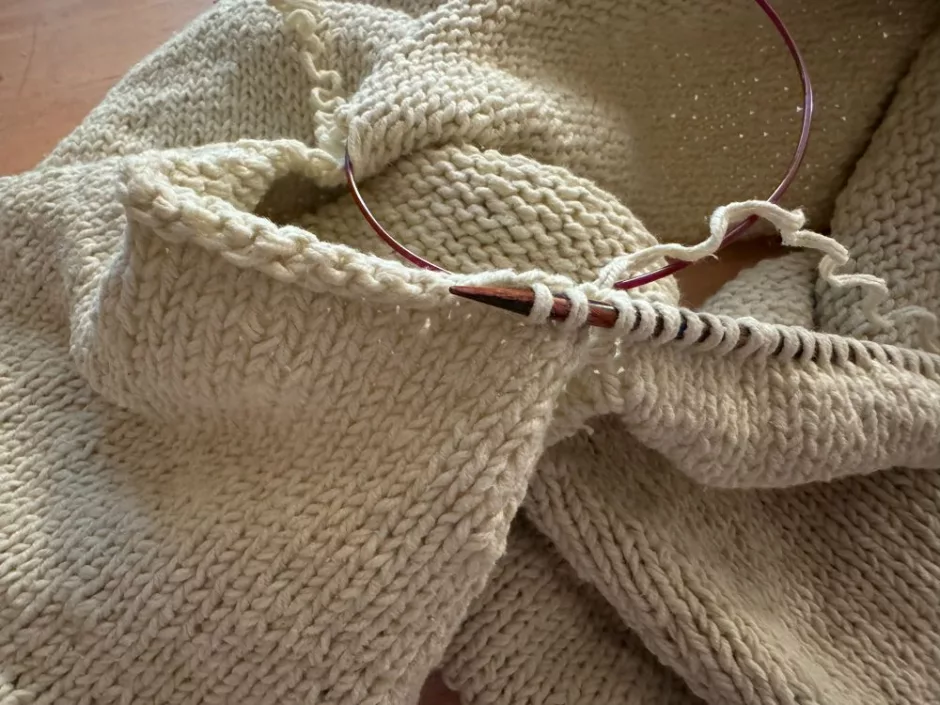
Here we are knitting a casing for the elastic, so work in the round (place a stitch marker for the end of round, which I decided was the center back of my shorts) in stockinette stitch to the width of your elastic or a little wider.
Purl one round and then work the same number of rounds in stockinette as you did before the purl round.
Sew your elastic into a loop and place it inside the casing. (Here I used two thin pieces of elastic sewn together because that’s all I could find.) If you want you can fold your knitting in half along the purl round, pin the pieces together and try it on before sewing, or you can wait until it’s sewn together before trying it on.
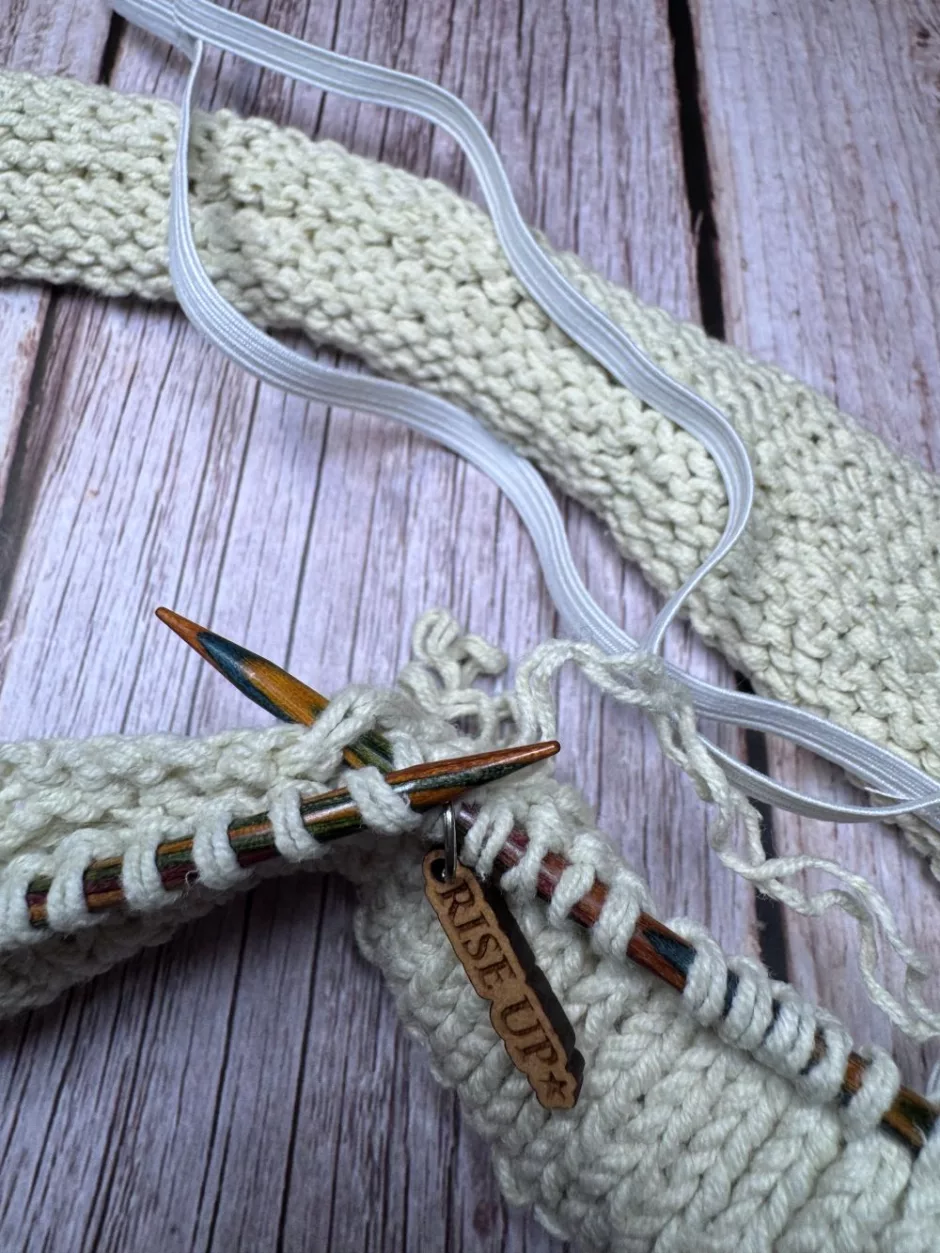
Either way, to finish the waistband, fold it in half along the purl round so there are knit stitches showing on both sides. Pick up a stitch along the cast on edge and knit it together with the next stitch on the needle.
Repeat this all the way around, being careful not to twist the elastic as you go.
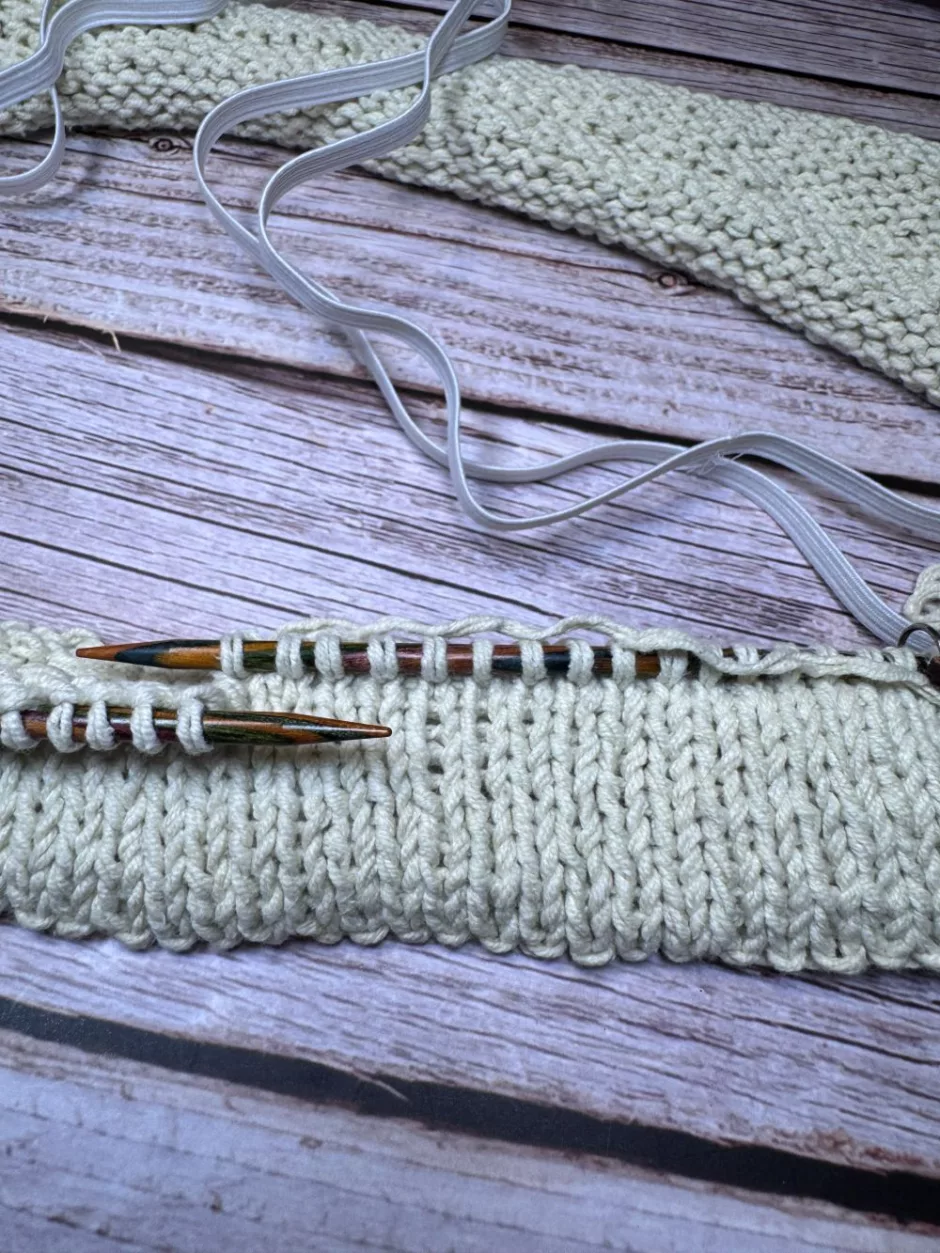
Now you have a waistband! Try it on if you haven’t already (I’m using knitting barber cord to help) and rip back to adjust if needed before going any further.
Knitting the Rise
Now that you’re happy with the waistband, measure from the bottom of where the waistband hits on your body to where your legs separate. This honestly might be the most mathy part, but stick with me; I promise it’s not too bad.
If you haven’t already measured the widest part of your body between those points, do that now. The difference between where you are now and that width needs to be added in whatever length you have to do it. Bear in mind you might also want the shorts to be bigger than your actual body measurement for extra comfort.
There are a variety of ways you can work these increases, depending somewhat on how many you need and the amount of space you have to work with.
Say I want to increase my circumference by 4 inches/10 cm over the course of 6 inches/15.24 cm. If my round gauge is 5 rounds per inch/2.5 cm, that gives me 30 rounds to work with. Let’s say gauge is 4 stitches per inch/2.5 cm, but of course use your own numbers for all of this.
4 times 4 is 16, which is the number of stitches I would need to increase. 30 divided by16 is not quite 2, but you wouldn’t want to increase a single stitch at a time.
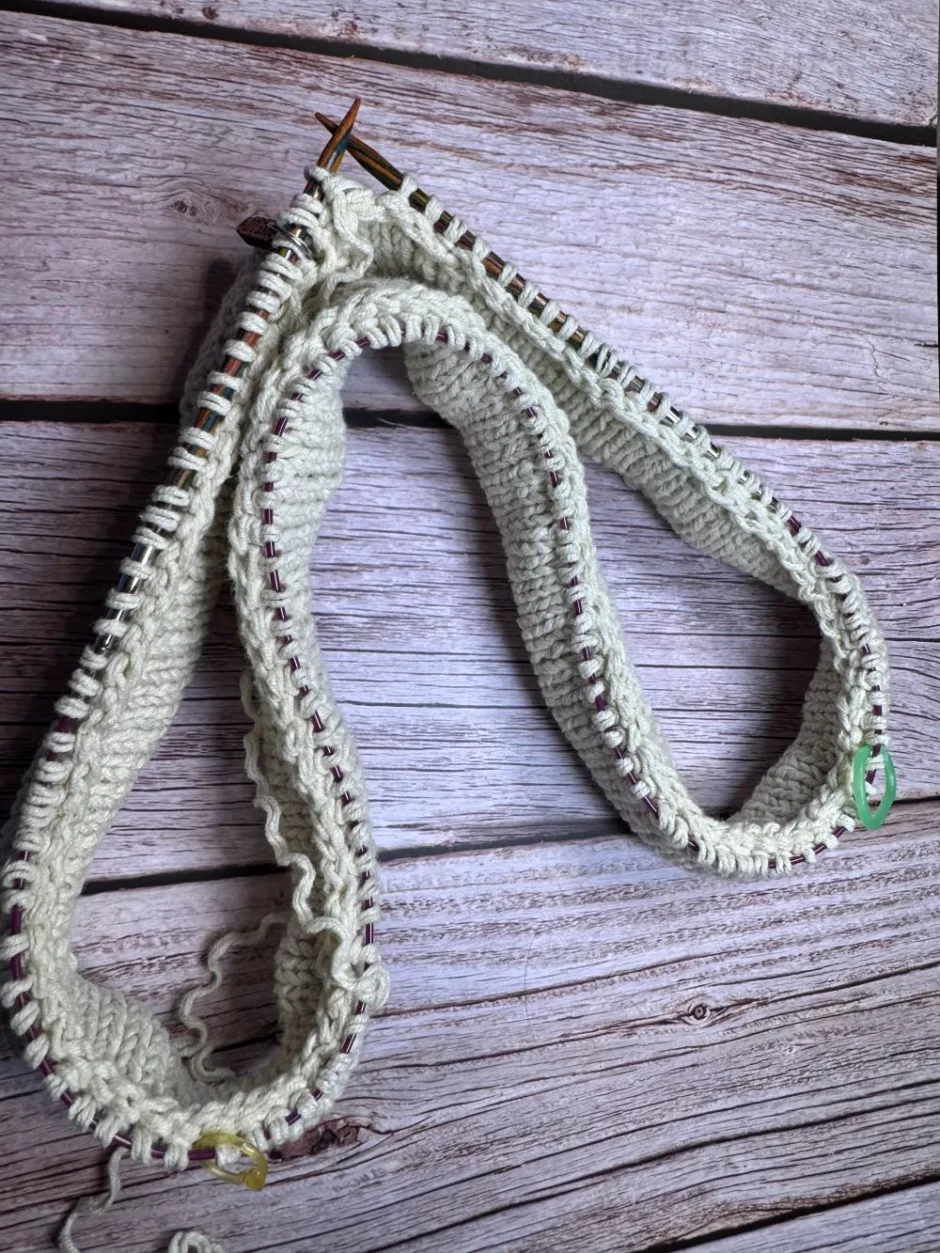
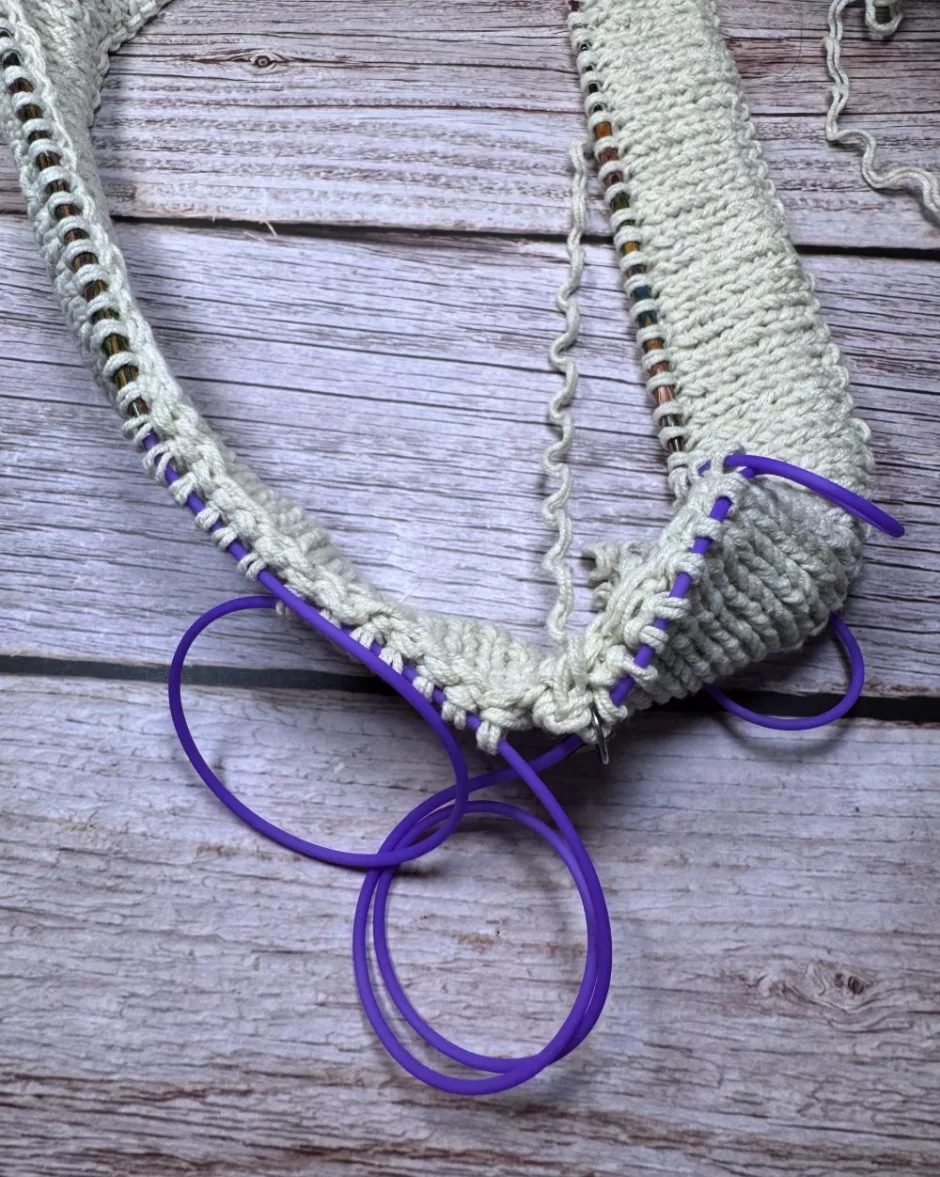
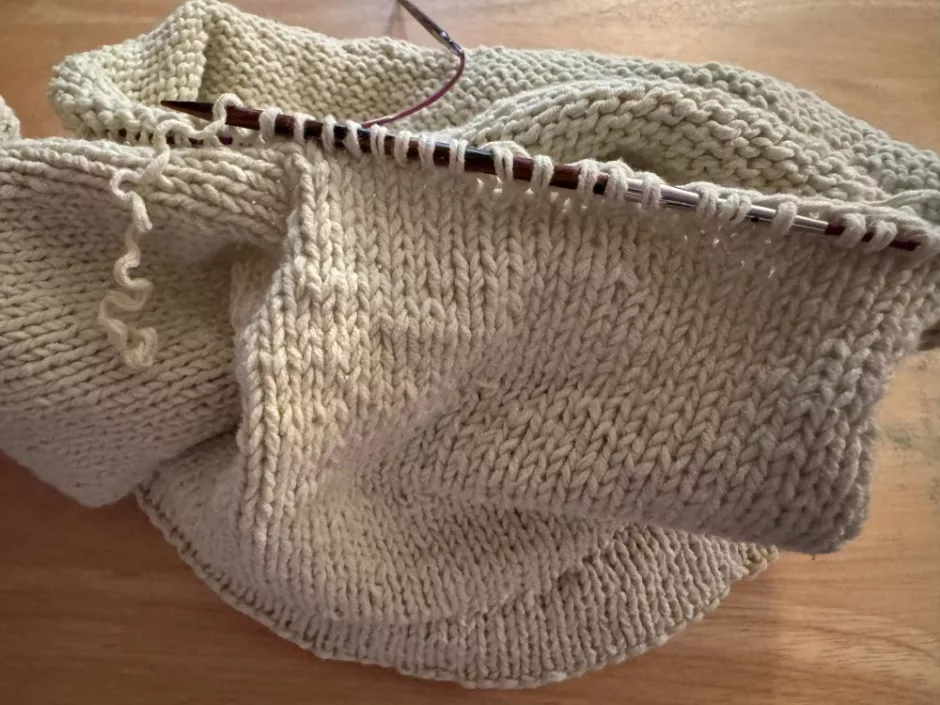
You could do one increase on each side of your shorts each increase round, which would put them about every fourth round (30 divided by 8 sets of increases is 3.75). Or you could do 4 increases at a time, say one on each side of the center stitch that would be the outside of the leg (this is what I did, you can see the extra stitch markers above). Then you would need 4 increase rounds, which could be worked every seventh round or so (30 divided by 4 is 7.5).
Or you could focus all your increases on what will be the back of your shorts, increasing at the sides and the center back.
If you need to work a lot more increases, you can divide them out evenly across the round. If you’re knitting a stitch other than stockinette, you may also want to increase at a different interval to keep the pattern stitch looking right.
None of these numbers came out perfect and that’s totally fine. This is just to give you a guideline of how many stitches you need to increase over how many rounds and roughly how often you might want to do that. And again if you want to be more precise you can aim for having most of your increases done before you get to the widest part of your body.
Once this part is knit try your shorts on again and make sure they fit the way you want and that you’ve made it to where the legs separate. I added an extra inch/2.5 cm here beyond my actual measurement just to keep the fit loose, but that’s totally up to you.
Knitting the Legs
One more little bit of math and it’s smooth knitting from here.
Measure the circumference of your leg at the top. Divide the number of stitches you have at the end of the rise in half and divide by your gauge to determine the circumference of each leg hole.
Use your actual leg circumference and any additional ease you want in the leg of your shorts to determine how many more stitches you need in each leg.
If I had 156 stitches, that’s 78 stitches per leg. If we’re sticking with 4 stitches per inch/2.5 cm as above, that would be 19.5 inches/49.5 cm per leg. Let’s say I needed 22 inches/55.8 cm. That would be an increase of 2.5 inches/6 cm, or 10 stitches (2.5 times 4). Adjust if needed to work with the stitch pattern you are using.
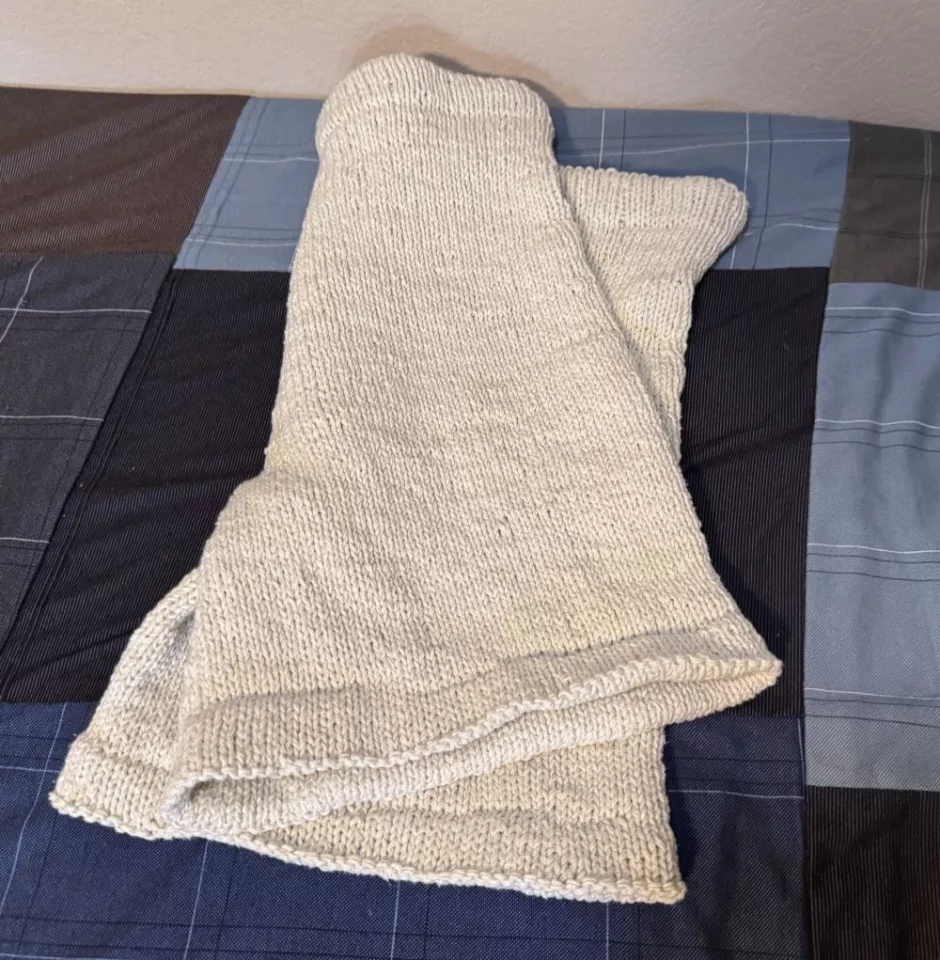
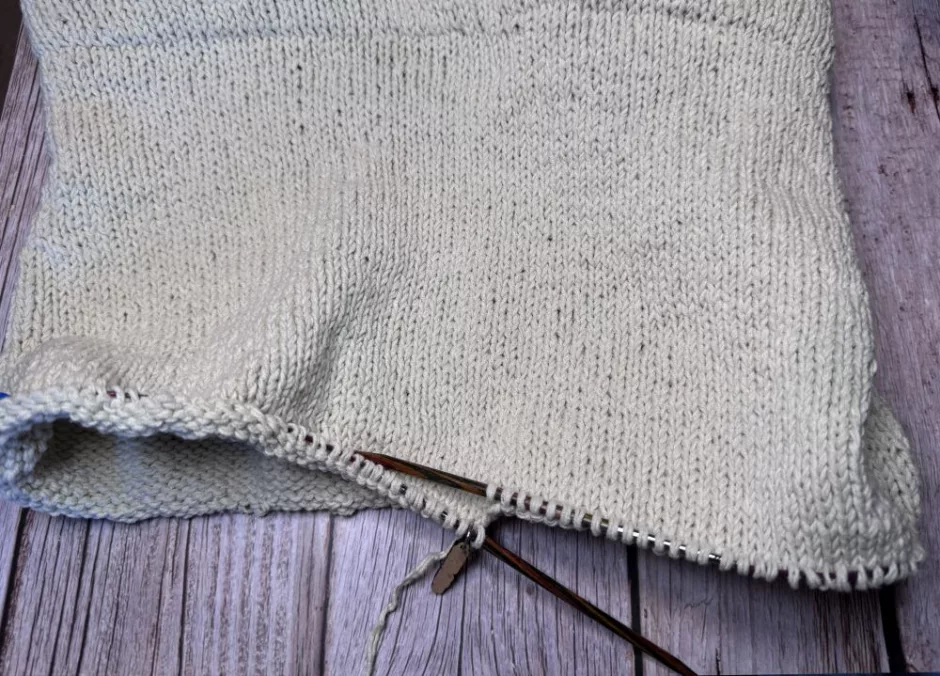
Knit across half the round, removing any stitch markers as you come to them. Place the other half of the stitches on a stitch holder, spare piece of yarn or another circular knitting needle, removing any stitch markers you encounter.

Cast on the number of stitches you need and join for working in the round. I now use the end of those cast on stitches as the end of my round.
Work in whatever stitch pattern you have been using.
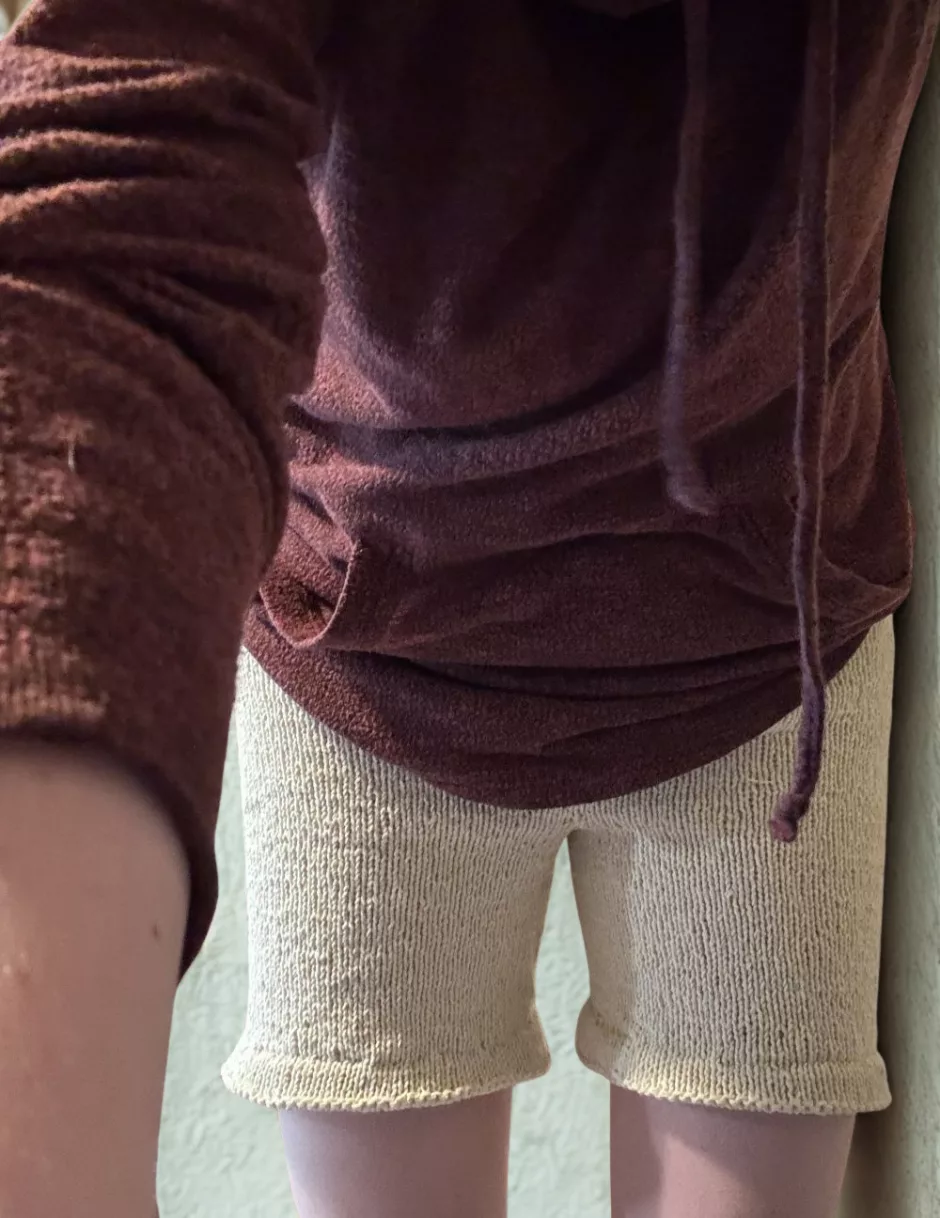
Now’s the time to contemplate how to finish the legs. You can work no edging at all, allowing the ends to curl, in which case you just need to knit to the desired length and bind off.
You can add ribbing, which might require an alteration of the stitch count depending on the ribbing you want to use. Knit an inch or two (2.5 to 5 cm) shorter than your desired length, depending on how long you want your ribbing to be. Work ribbing to desired length and bind off in pattern.
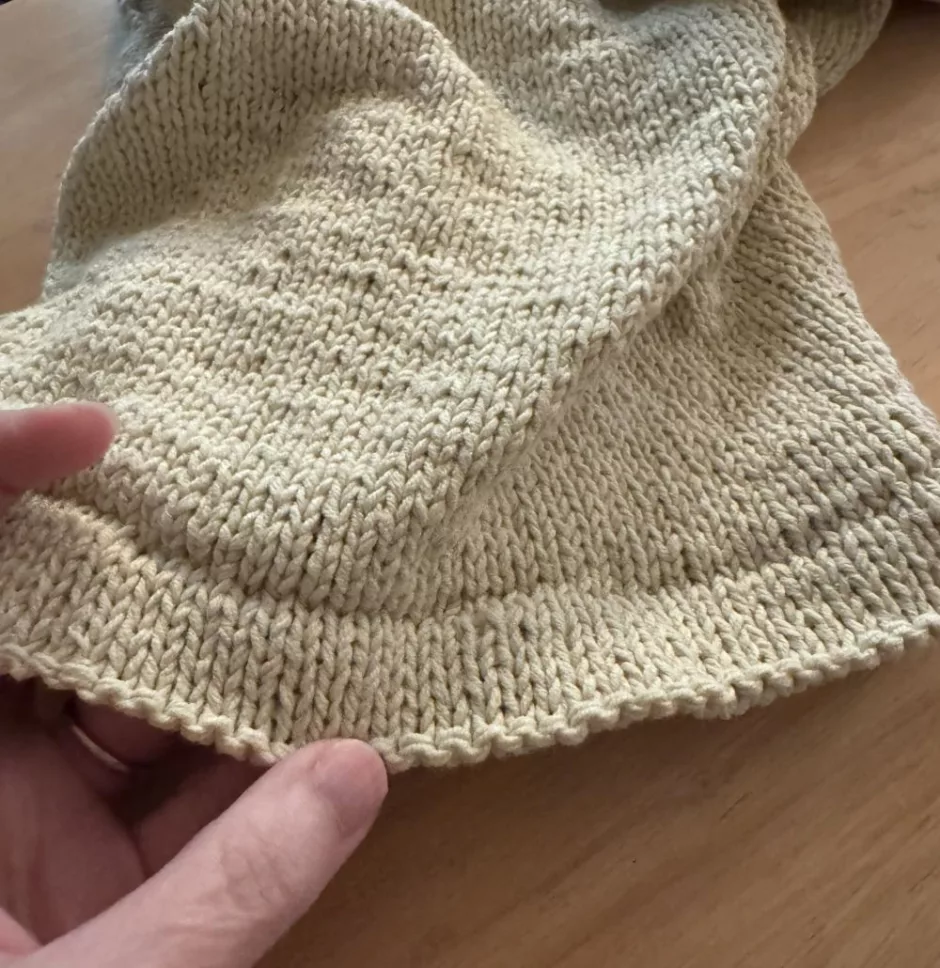
I wanted to do hemmed edges so I knit to my desired length, worked a purl round and knit another inch/2.5 cm before folding on the purl round with the extra bit to the inside. Pick up a stitch from the inside of the leg and knit it along with the stitch on the needle. Repeat and then pull the first stitch over the second, just like a regular bind off.
Repeat that all the way around.
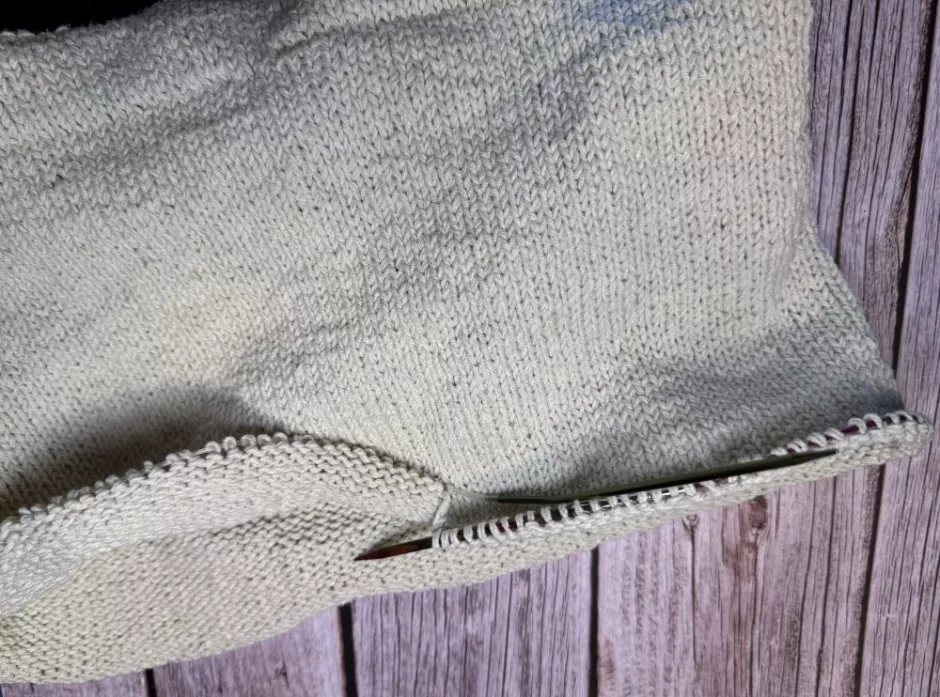
Make the second leg the same way, except instead of casting on extra stitches on the first round, pick those stitches up from the cast on edge of the stitches you added to the first leg.
This joins the crotch section.
Then just knit and finish the second leg the same way.
Trim any excess yarn and weave in ends.
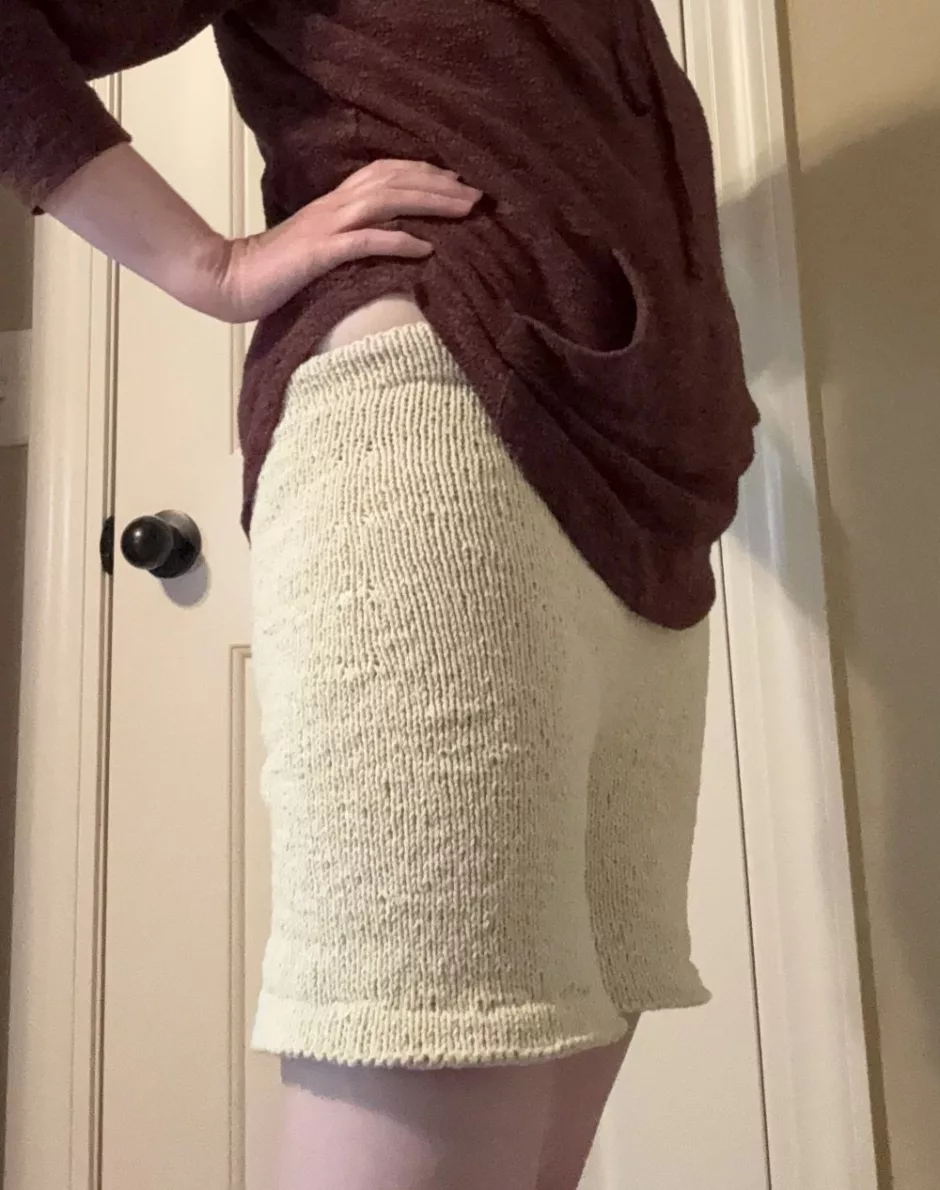
Now you know how to knit shorts and you can make these a million different ways. Make them looser or tighter, shorter or longer (you could even make them pants, which I’m thinking about!), add stripes or different stitch patterns or work in heavier or lighter weight yarn.
If you try this method I’d love to hear how it goes!