Affiliate links may be included for your convenience. View our privacy and affiliates policy for details.
This DIY cat bed knitting machine pattern was an idea I’d had for a long time. One of our cats really loves yarn so I thought she would like a pillow all her own, but doing all that knitting by hand would take forever so I wanted to do it on a knitting machine.
Here’s how I made this DIY pet bed (it would probably also work for a teensy dog).
Materials
I started by using some leftover yarn from another project to make the pillow portion of my DIY cat bed. That part came out to about 84 grams of worsted weight yarn (which is about 184 yards of the yarn I used, Big Twist Value Pound +).
I used the same yarn in a different color for the “walls” of the bed, which took about 117 grams/256 yards.
For the base of the bed I used my Addi Express King size knitting machine, which has 46 pins. You can also use a Sentro 48 pin (or a 40 pin).
For the sides I also used a Sentro 22 pin.
In addition you’ll need things to stuff your cat bed. I used a bit of quilt batting for the base pillow part and cut up old T-shirts to go into the tube. More on that later.
You’ll also need some waste yarn, circular knitting needles to hold stitches, which can be any size, and one knitting needle of any type in the 7-8 US/4.5-5mm range if you want to work the three-needle bind off like I did.
I also used a size 7/4.5 mm crochet hook and a yarn needle to complete my project.
Making the Base for a DIY Cat Bed
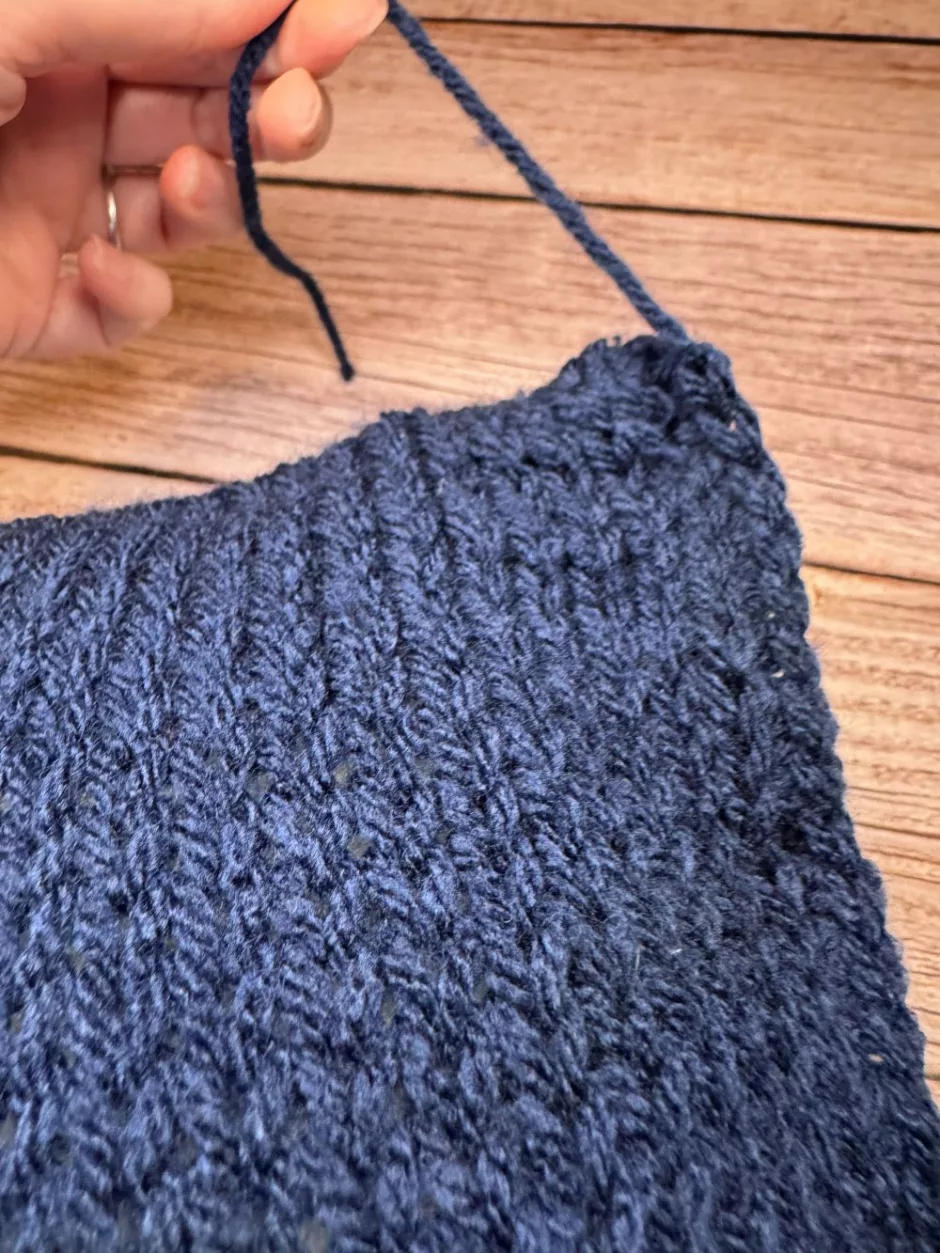
You’ll want to start by making the pillow portion of your DIY cat bed, which is done with flat panels. You can make these as wide as your machine will allow (mine are 38 stitches) and as long as you want.
I was attempting a square but didn’t quite get there; at 38 stitches and 65 rows my pieces came out more like 12 by 15 inches (that’s 30.5 by 38 cm or so).
If you want more of a square you can do a little flat swatch, measure it after it’s relaxed a bit, and determine how many stitches and rows you need for the size you want.
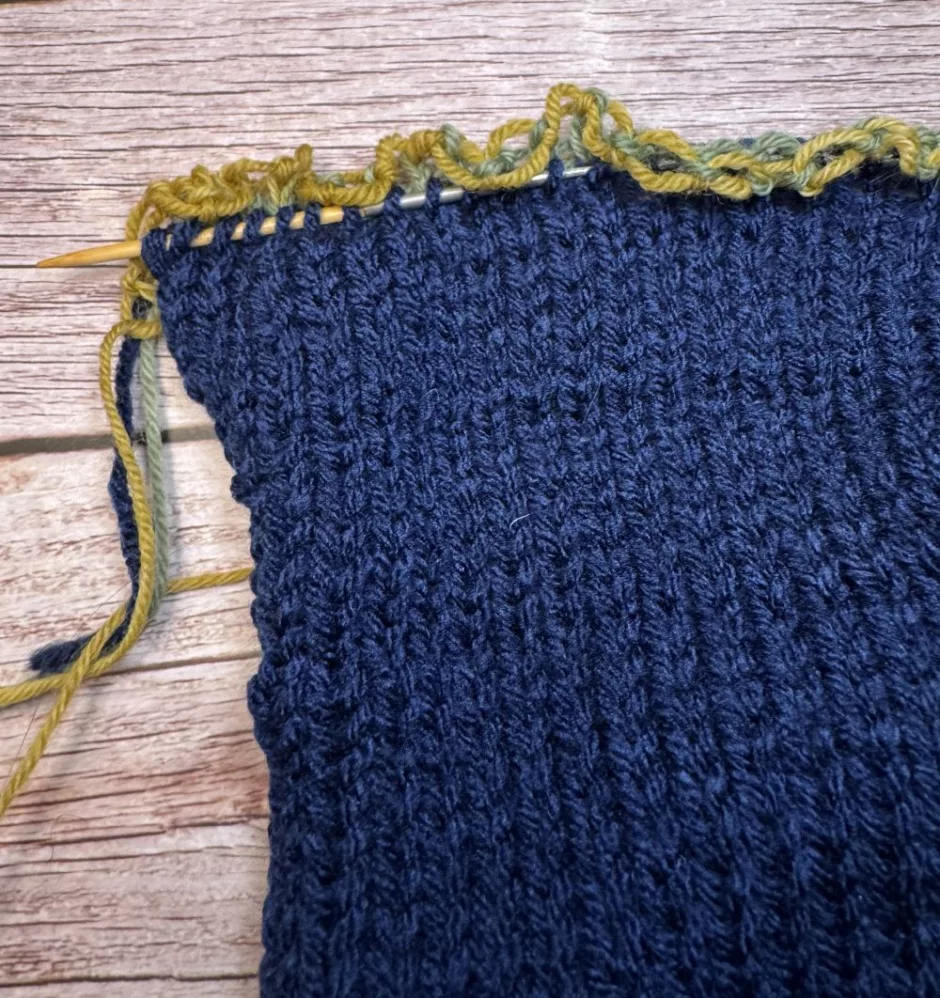
Start with waste yarn for a few rows, then work your flat panel in your regular yarn. When the piece is your desired size, slip all of the stitches onto a circular knitting needle.
Make another panel in the same way.
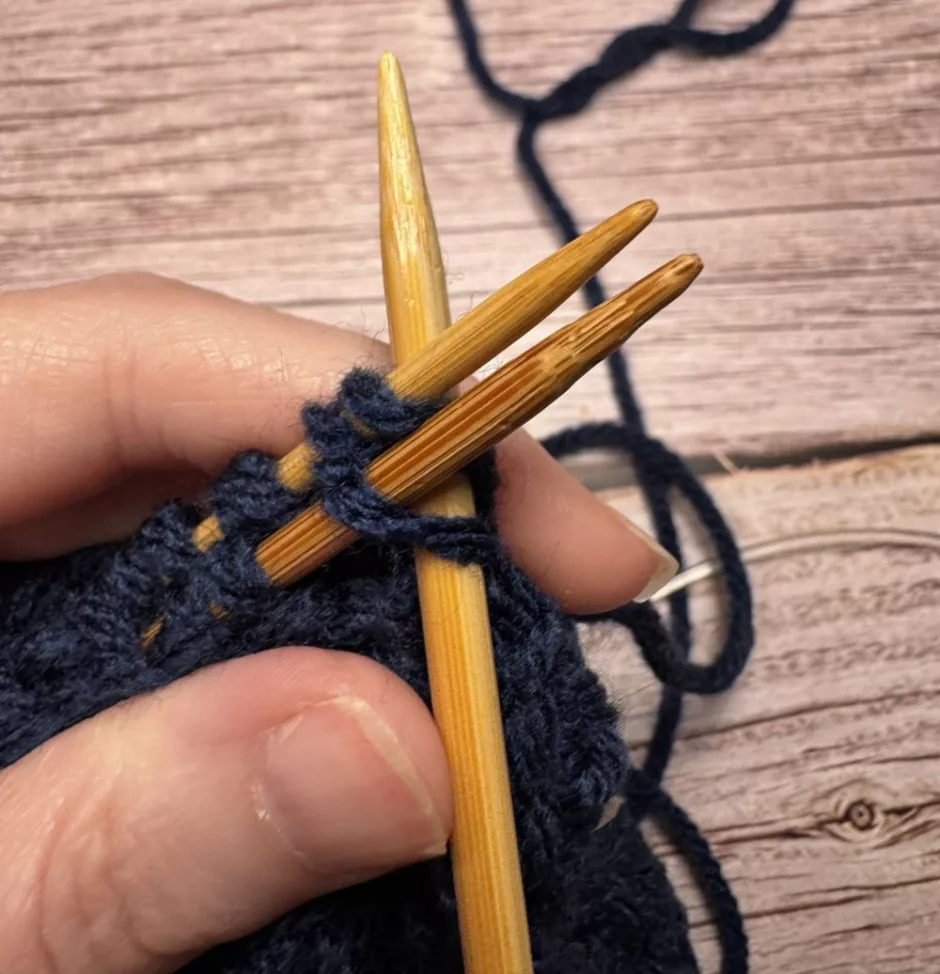
I decided I didn’t want to cut my yarn so I ended up doing a three needle bind off with the front/outsides together across the live stitches.
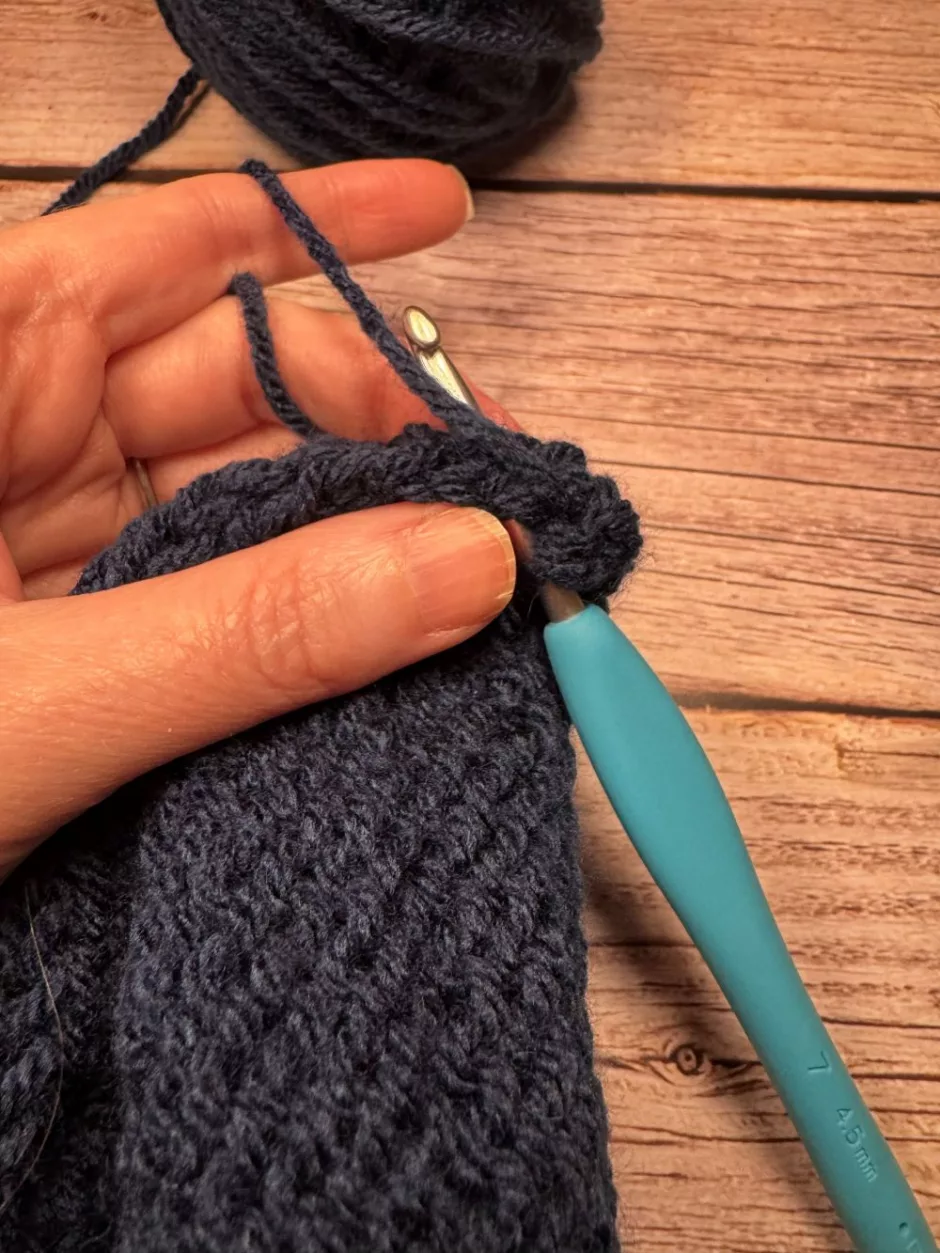
Then I flipped it right side out and worked single crochet along the side, joining the pieces together.
Slide a circular needle into the right leg of each stitch on the cast on side. Unpick the waste yarn.
Flip the project so the wrong/back/inside is out again and work a three needle bind off on these as well. You’ll have an extra stitch on one side from the crochet edge, so just work it along with the first stitch of the bind off.
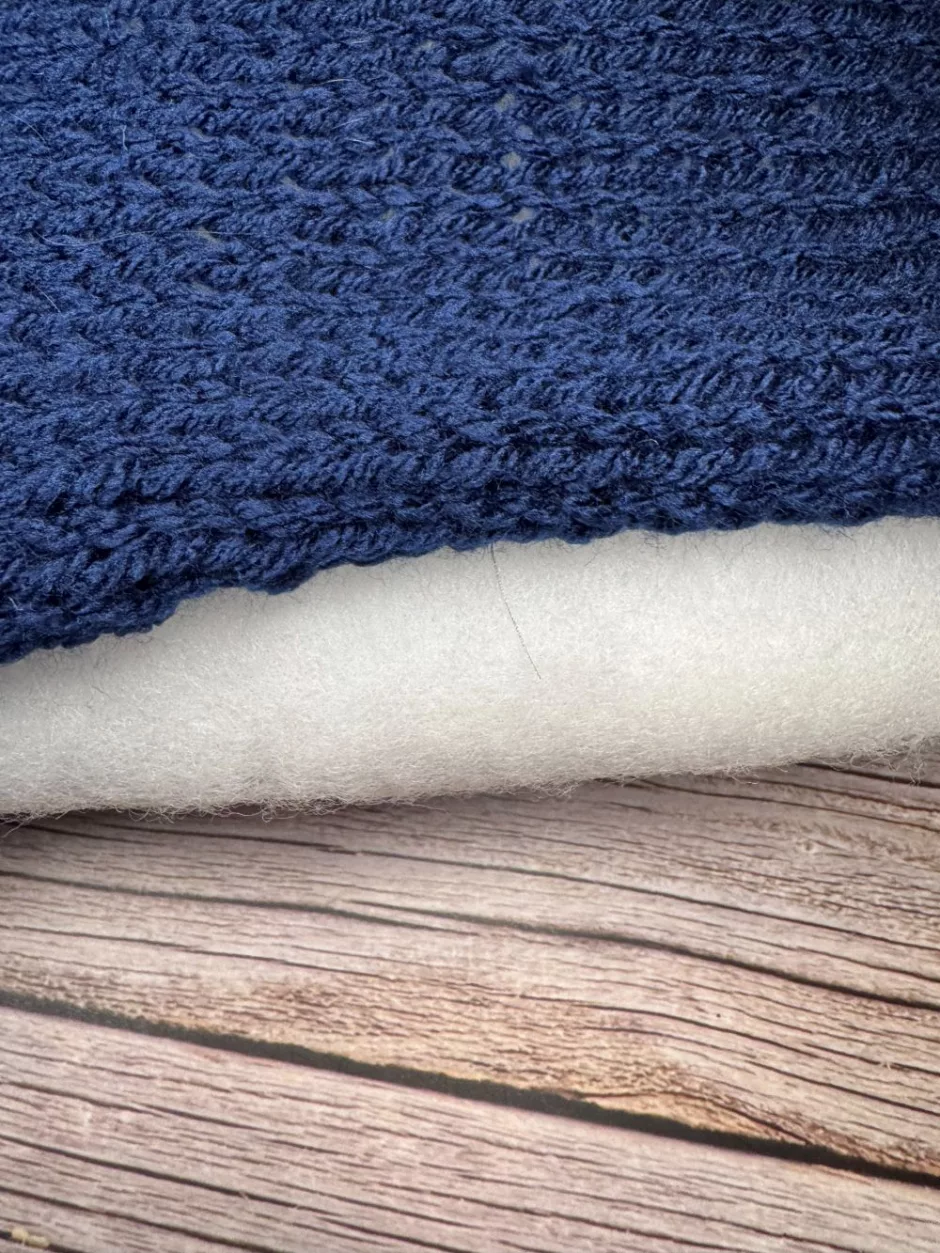
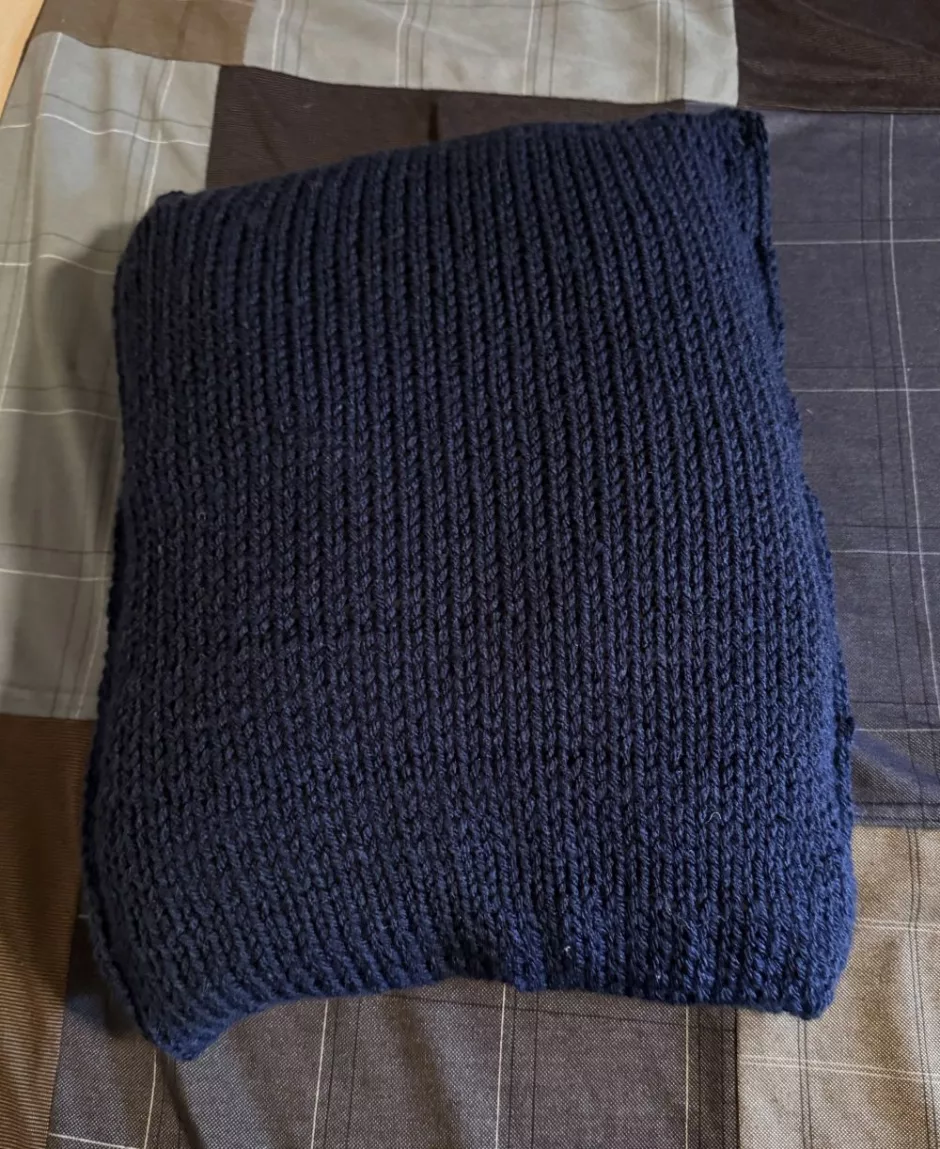
Because I used batting for the stuffing, I then flipped it right side out again and added the batting. If you’re using stuffing or something less solid, you can close up this side (again with single crochet) a bit before you start stuffing.
Once you’ve closed up all the way around, cut the yarn, finish off the last stitch and bury the yarn end inside the project.
Making the Cat Bed “Walls”
I didn’t want to just make a pillow so I added a tube of knitting that’s sewn along the outside edge of the pillow to make a sort of wall.
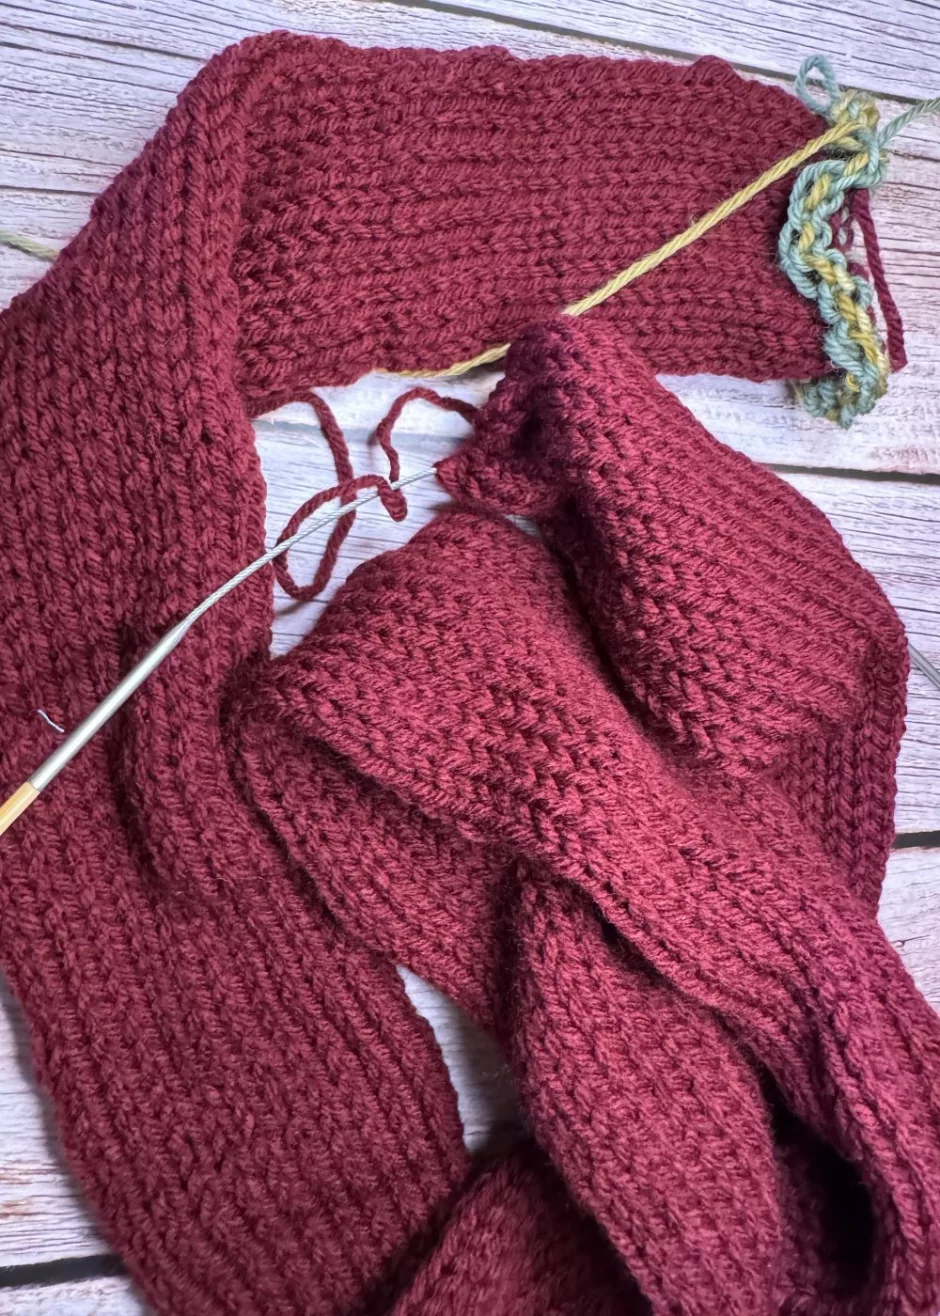
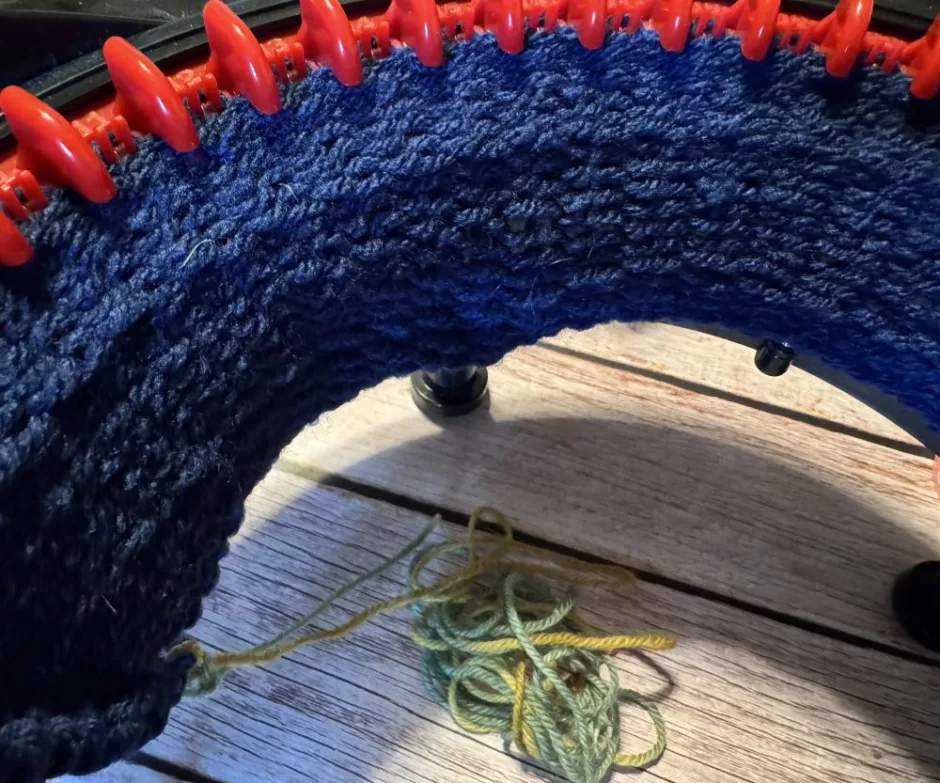
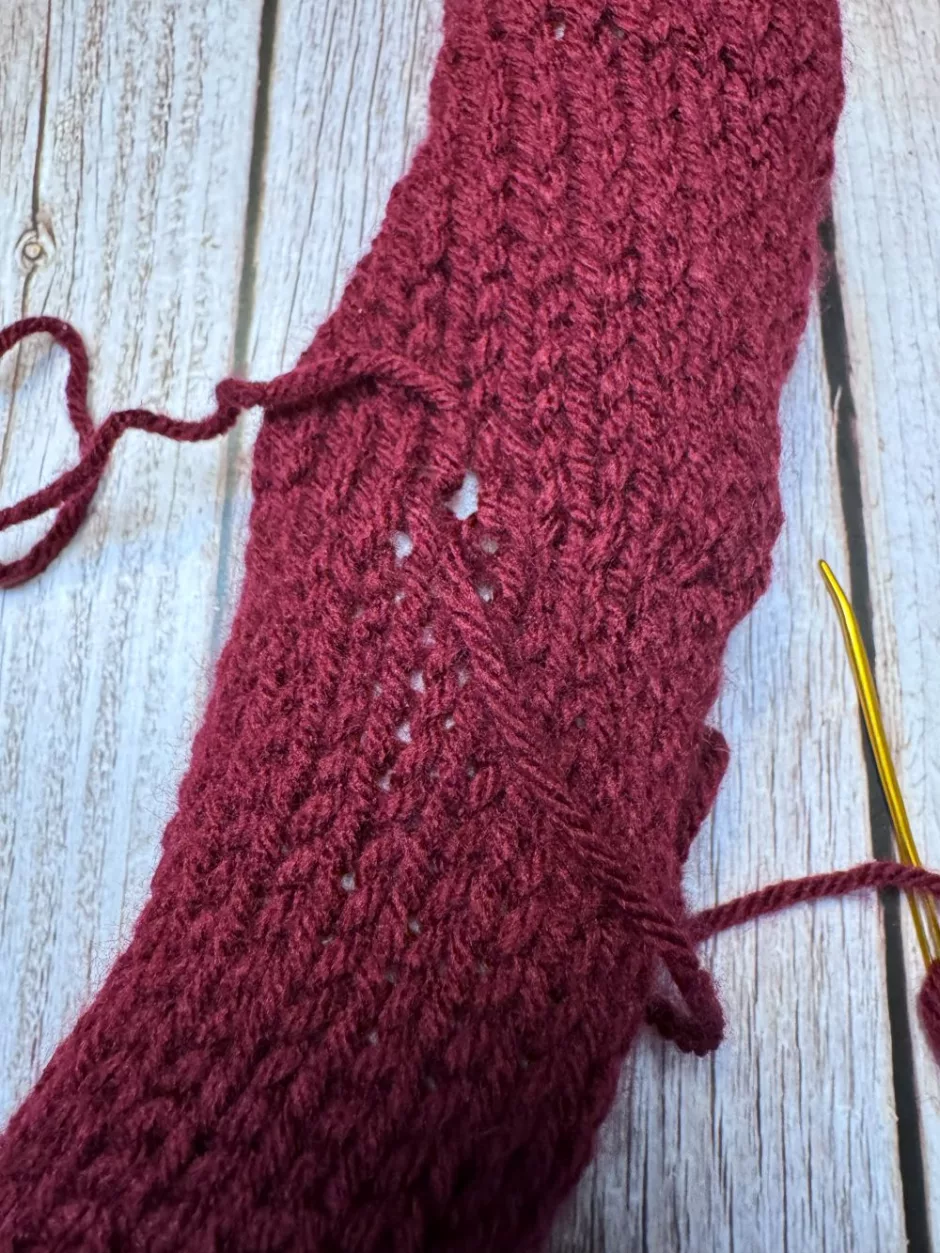
This part of the DIY cat bed is worked on a 22 needle machine. Again start with waste yarn, then knit a tube as long as you need to go all the way around the outside edge (and maybe a little extra just to be sure it’s not too short).
If you want to math this out, measure all the way around the outside of the pillow (as I said, mine is 12 by 15, so that’s 54 inches/about 137 cm). Crank a few inches on the machine, take it off, let it relax into a tube shape and measure how many rows you’re getting per 4 inches/10 cm.
Say you were getting 20 rounds per 4 inches/10 cm. If you needed 48 inches/122 cm, that would mean you’d need to crank 240 rounds to make it all the way around.
But 22 needle machines don’t have counters, so if you don’t want to have to count rounds as you go, you can just crank a bunch and periodically check if the tube you’ve made goes all the way around.
It’s good to err on the side of too long because it’s a lot harder to put the knitting back on the machine than it is to rip out a few rounds.
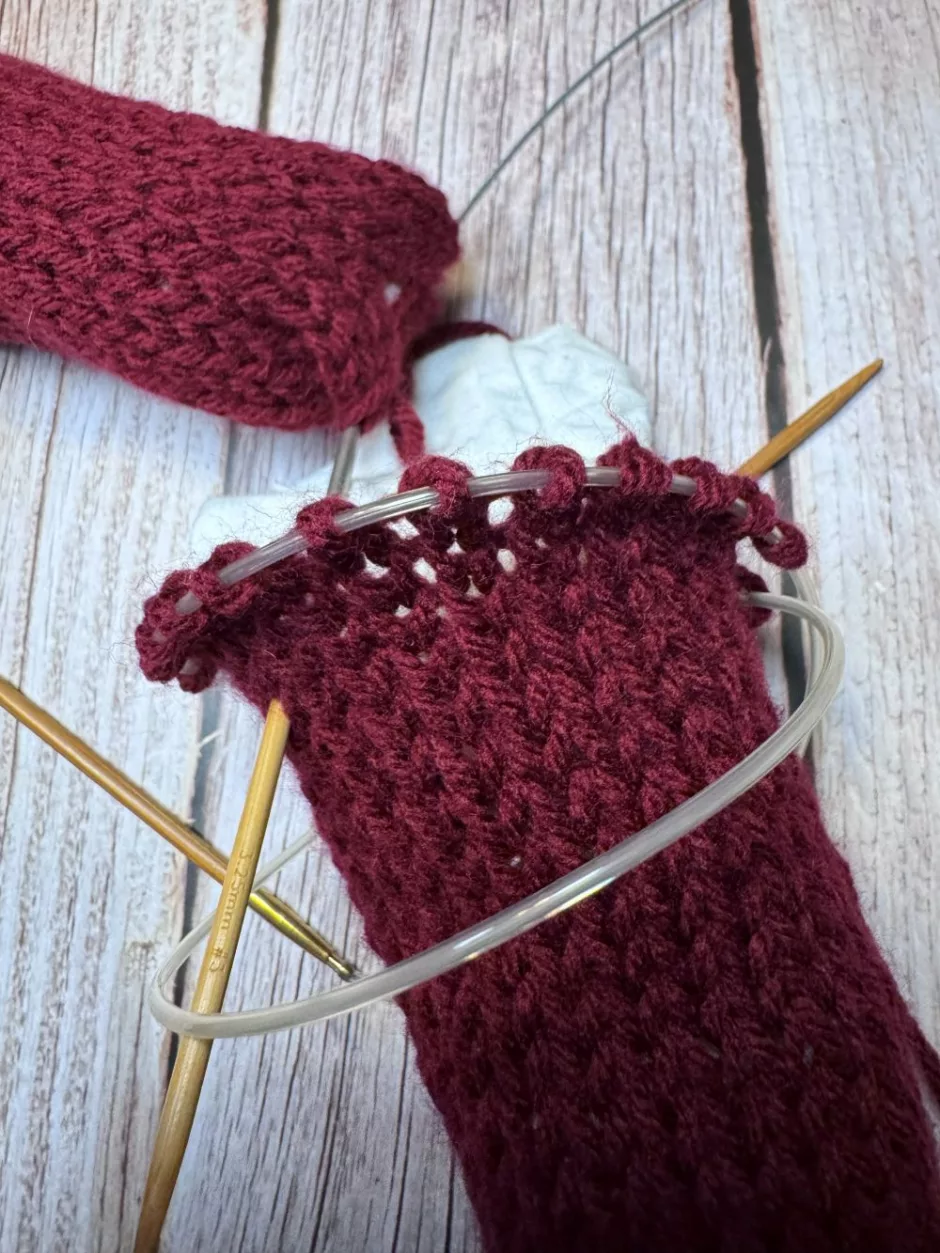
Here again you’ll want to start with waste yarn for a few rounds, then crank as much as you need (maybe a little more) and place the live stitches on a circular needle. Or if you know you’ve gone too long, you can just take it off the machine with the live stitches loose, since you’ll be ripping some knitting out anyway.

If you go this route you’ll need two locking stitch markers. Mark the first stitch of the round, wrap the tube around the outside of the pillow how you’d like it to go, then mark a stitch (hopefully the first stitch of that round, too) where you need to rip back to.
Rip out the rounds you don’t need and place the live stitches on a circular knitting needle. Pick out the waste yarn and put these live stitches on a circular needle as well.
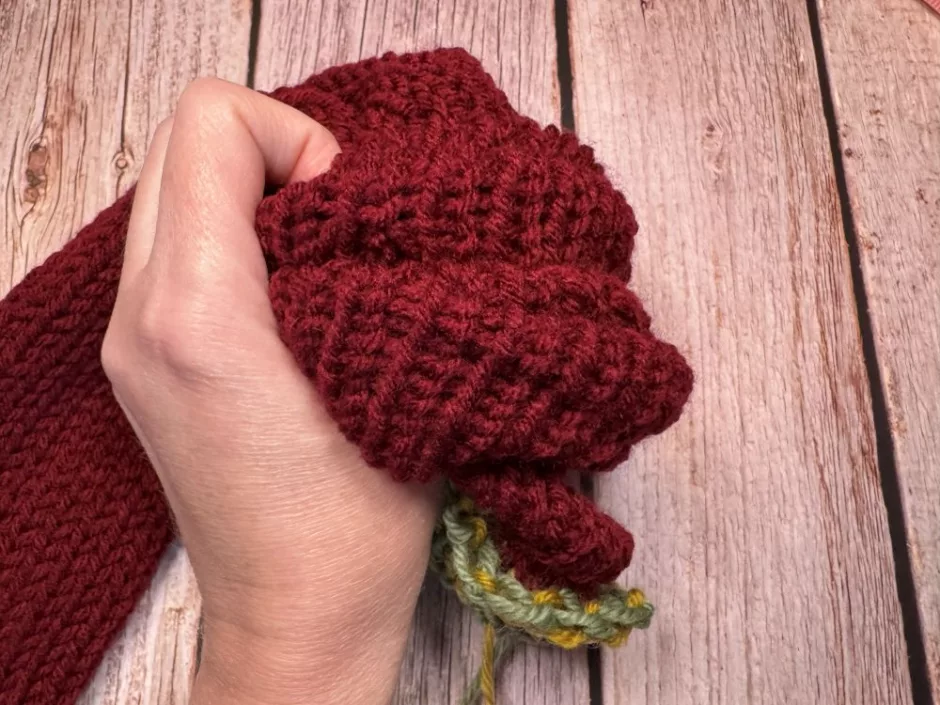
Next, stuff the tube. I scrunched the tube down about to the middle then started adding strips of old T-shirts.
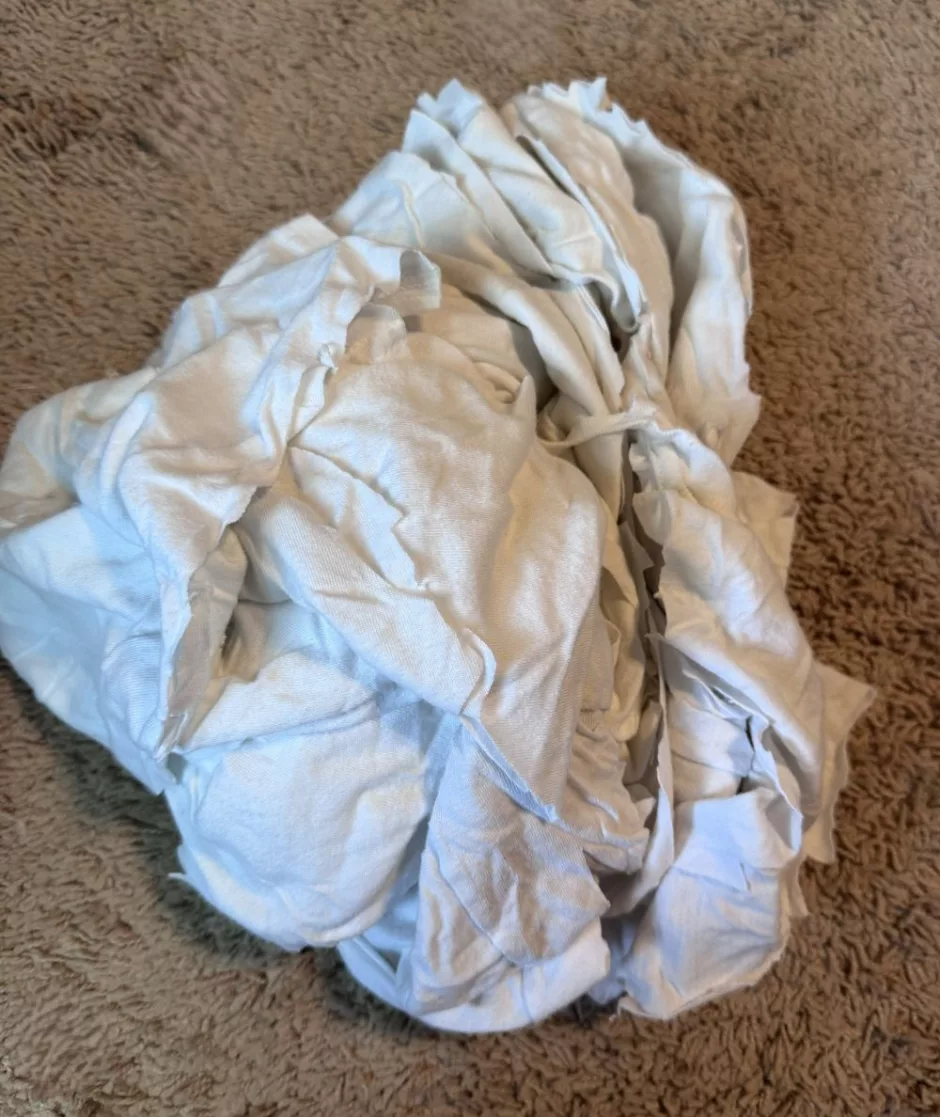
I used most of two men’s size large shirts to fill my tube.
Once you like the amount of stuffing you have, you need to close the ends. I used grafting, but you could also sew the ends flat to close them and then sew them to each other (or even just pull the stitches tight and sew the ends together).
Finishing the Cat Bed
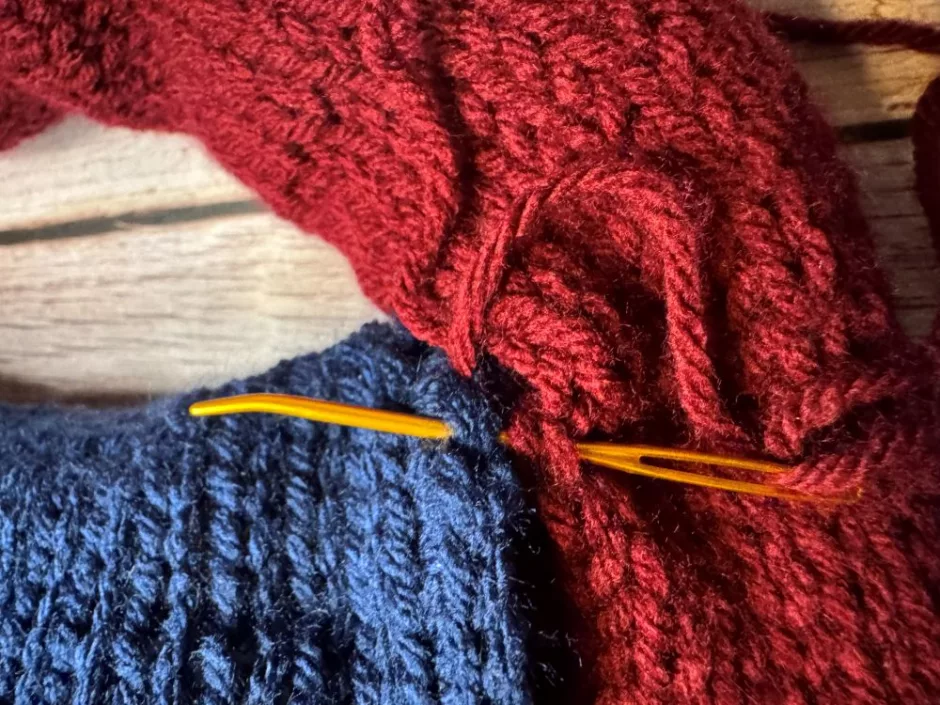
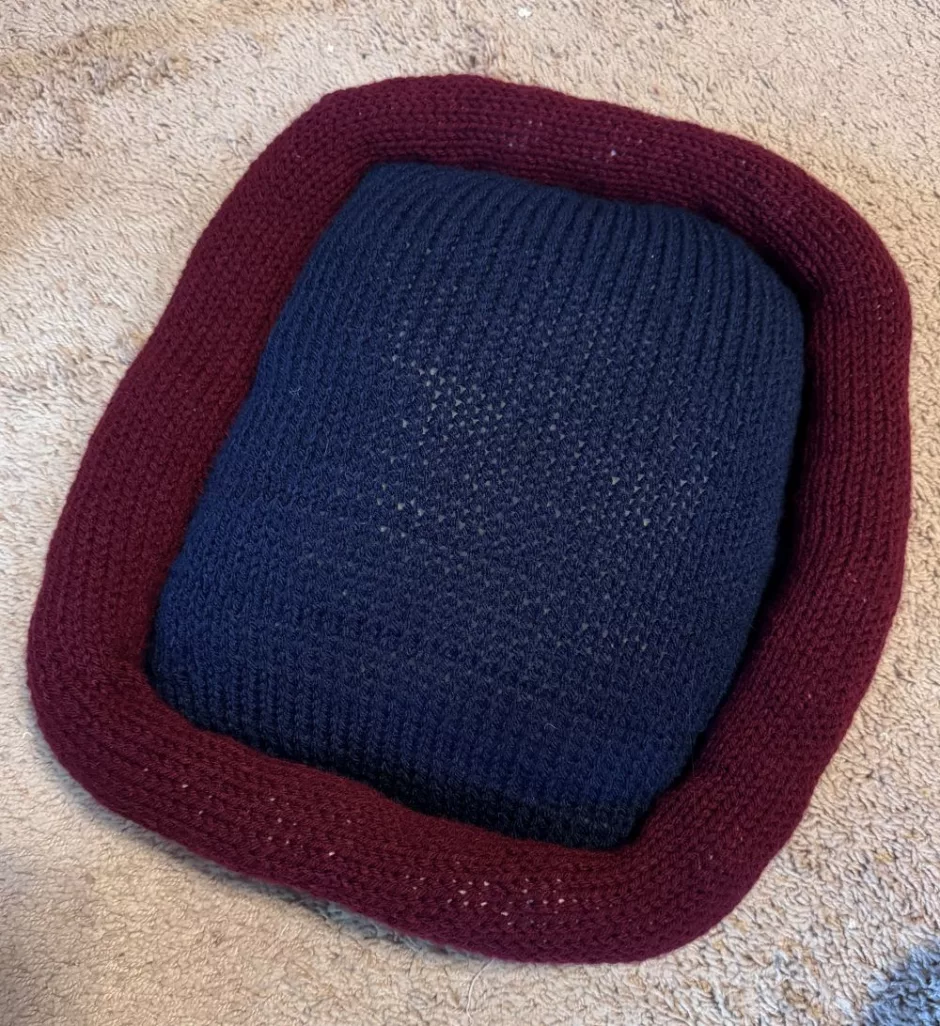
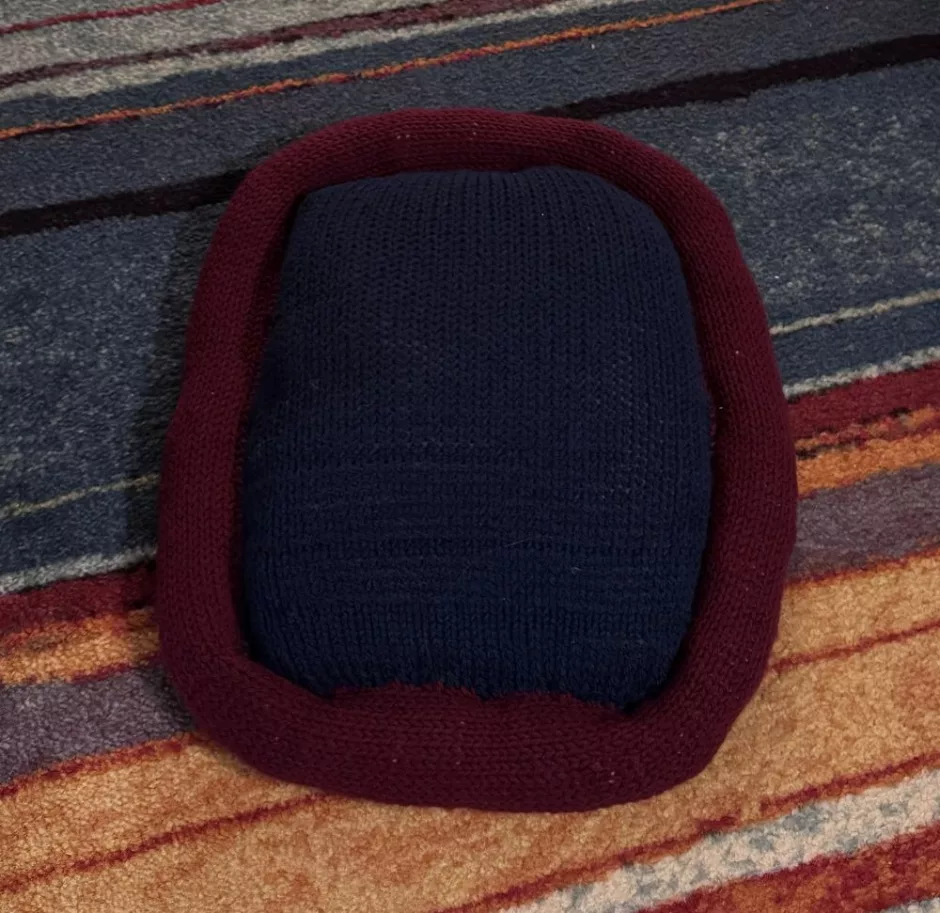
Last step is sewing the “walls” to the DIY cat bed pillow. I used the tail of the red yarn and whip stitched the tube to the pillow.
It’s possible to stand the walls up on the pillow but they don’t really stay there. I could add another round of stitching on the inside of the pillow to make them more sturdy, but I don’t think the cats would mind.
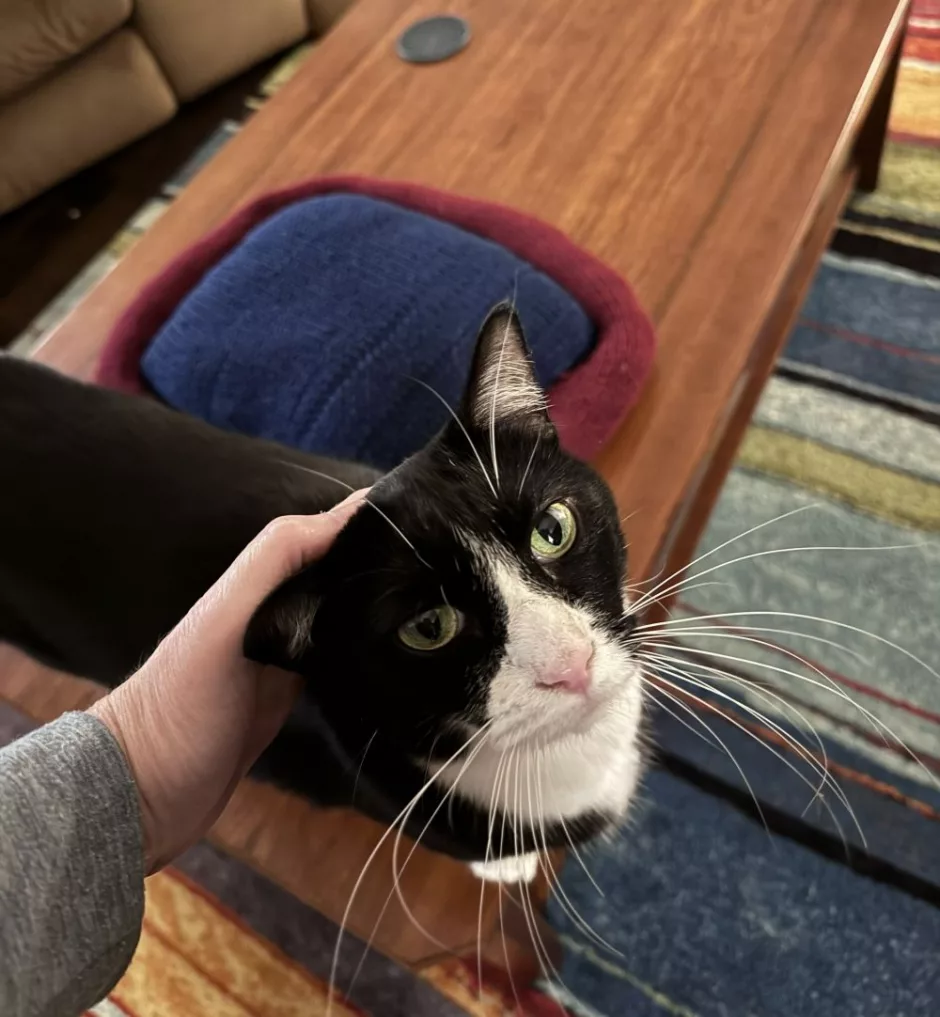
I tried to lure a cat to try the pillow out on the coffee table, but she would not have it.
I think it’s going to sit in a favorite chair for now, though I might also leave it under the desk in my office.
Even if the cats don’t love it, this was a fun though experiment into how to make a pillow and turn it into a pet bed using a knitting machine.
Do you have other knitting machine projects you’d like me to try? Let me know and I’ll see what I can do!