Affiliate links may be included for your convenience. View our privacy and affiliates policy for details.
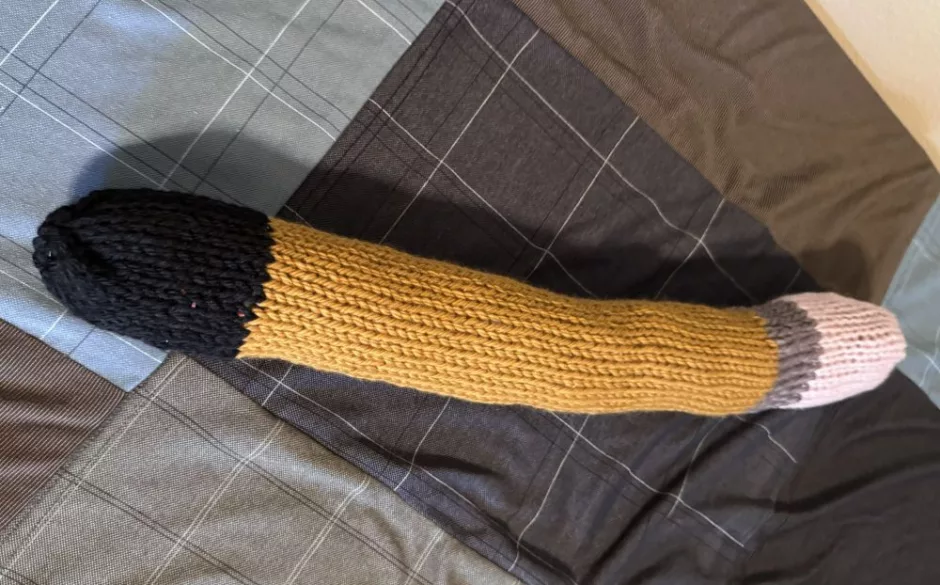
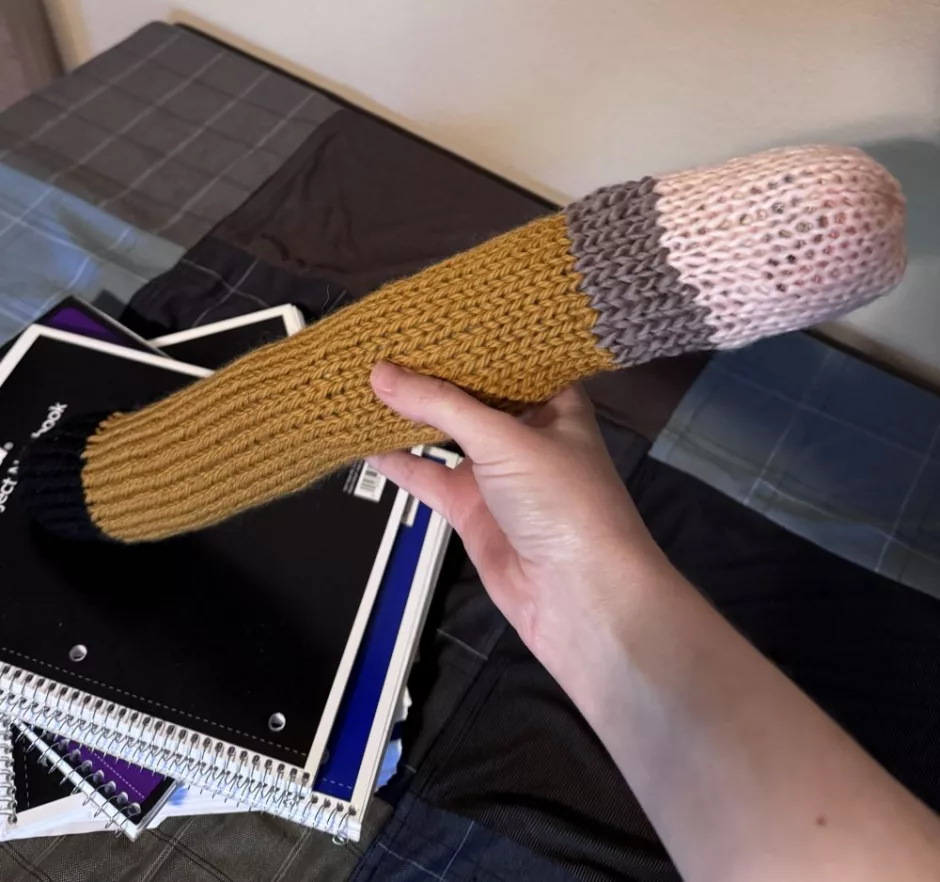
I was thinking about crafts for back to school the other day and it inspired me to try my hand at making a knitting machine pencil. This pencil would be a cute back to school gift for a teacher or a novelty sized pencil to use in pretend play. It’s a great knitting machine project for beginners and gives you practice changing colors.
Materials
You’ll probably notice from my sample knitting machine pencil that I used leftover yarn in pink, gray, yellow (mine it more of a gold color if we’re being honest) and black. Obviously you’ll need the most of the main pencil color and very little of the others.
In total I used 35 grams of yarn, which based on the one yarn I know for sure would make the whole pencil use about 45 yards total.
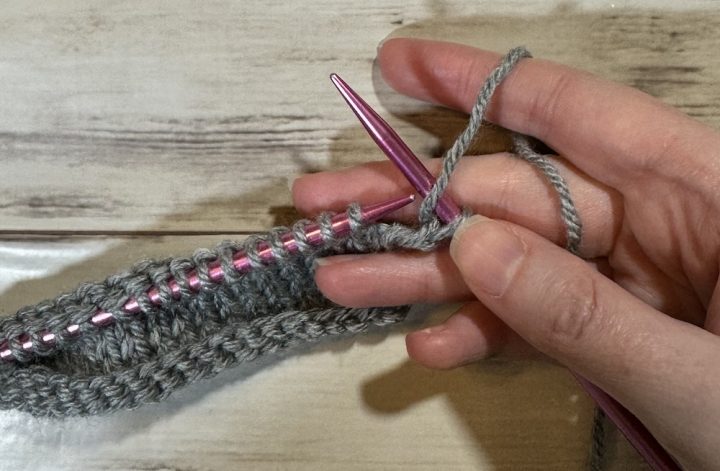
You’ll also need a 22 needle circular knitting machine, a yarn needle, a pair of scissors and whatever you want to stuff your pencil pillow with. I used yarn ends, fabric scraps and few old socks (really!).
If you want to use waste yarn for the beginning of the project you can so you’ll also need that (I did, but it’s not actually necessary).
Size
The finished knitting machine pencil is about 19 inches/48.3 cm, and about 7 inches/17.8 cm around, though that can vary depending on how much you stuff it.
How to Make a Knitting Machine Pencil
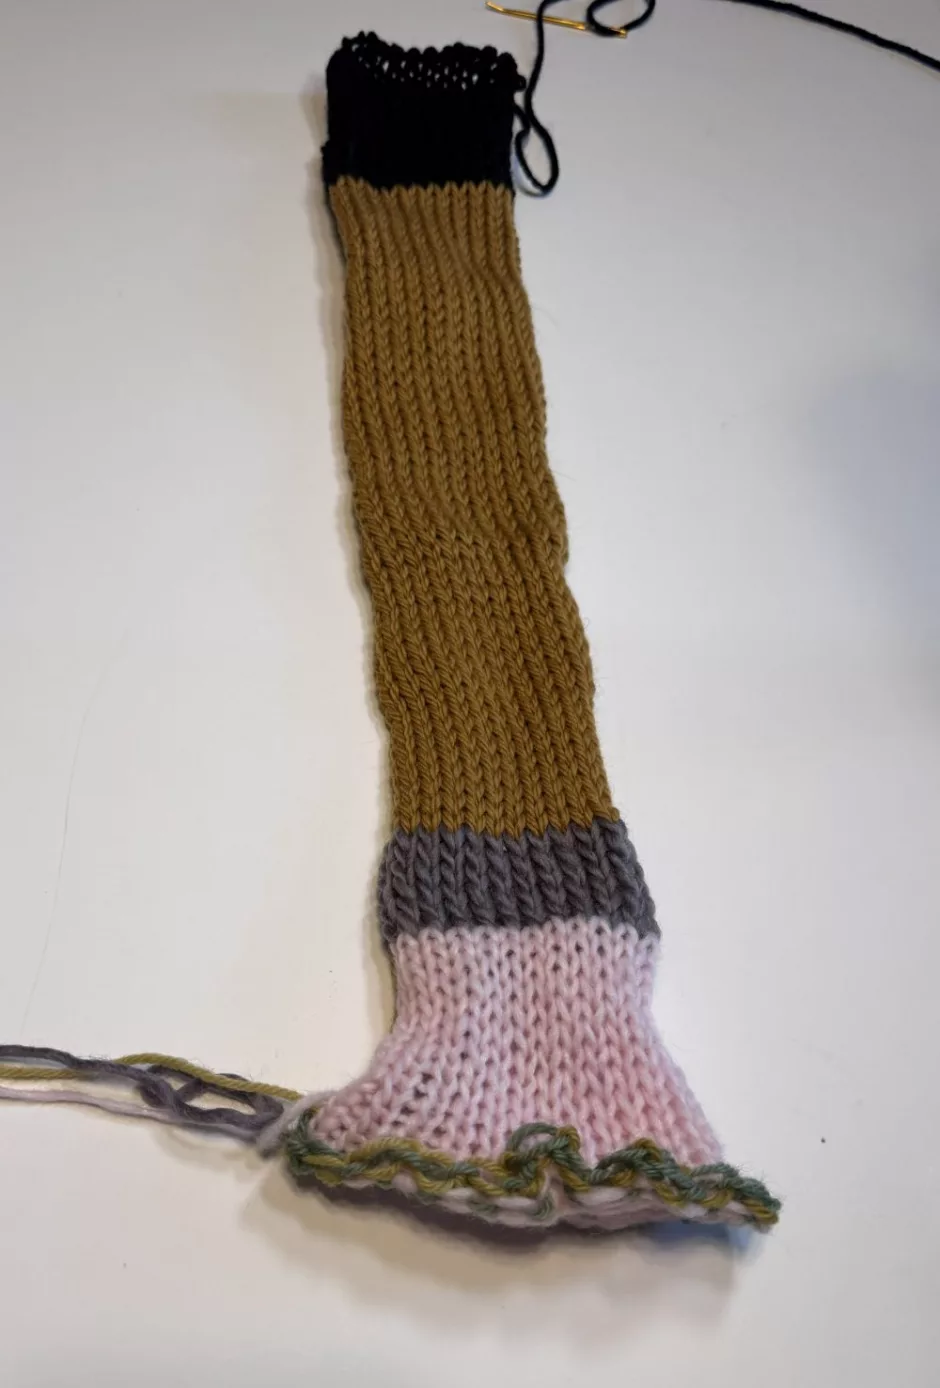
If you want to start with waste yarn, cast on and work three rounds. Otherwise just cast on with pink yarn. Crank 10 rounds in pink.
Switch to gray and crank 5 rounds (I accidentally did 6 but I think 5 would be better).
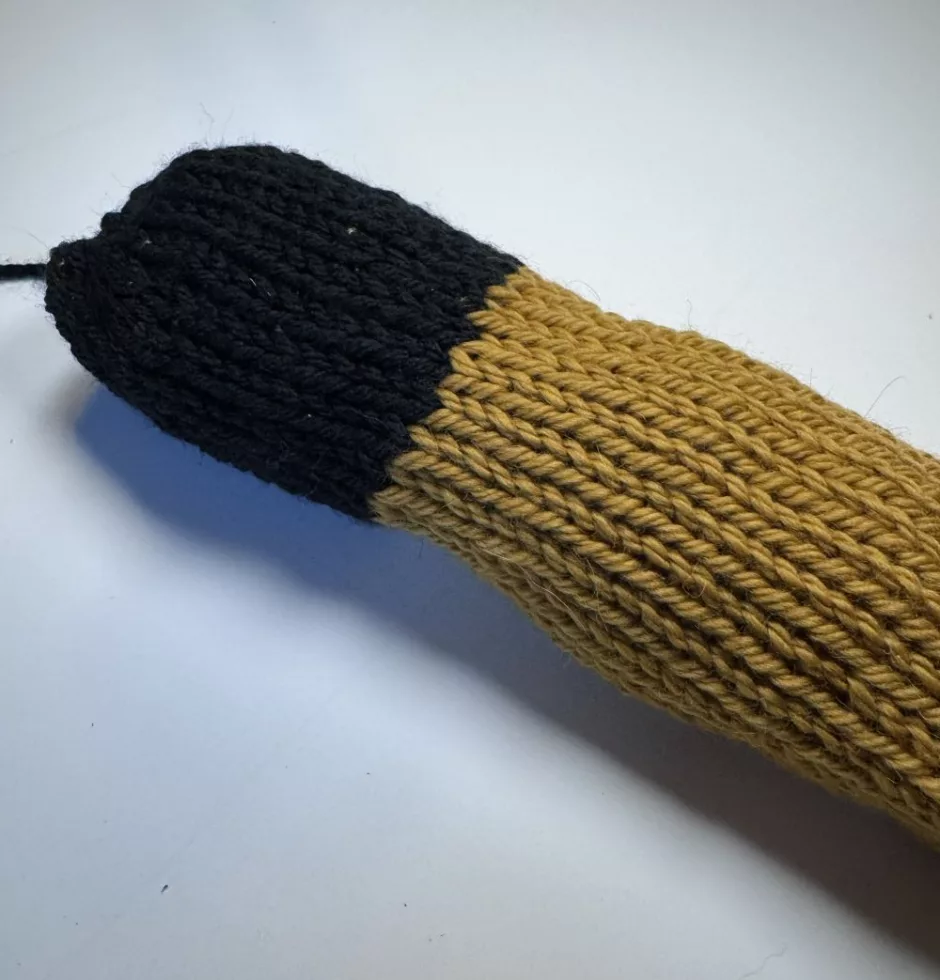
Switch to yellow or whatever color you want for your pencil and crank 50 rounds.
Change to your black yarn and crank 15 yards. Or if you’re making a colored pencil you can use the same color as the main pencil color (or a lighter or darker shade) for this part.
Finishing the Pencil
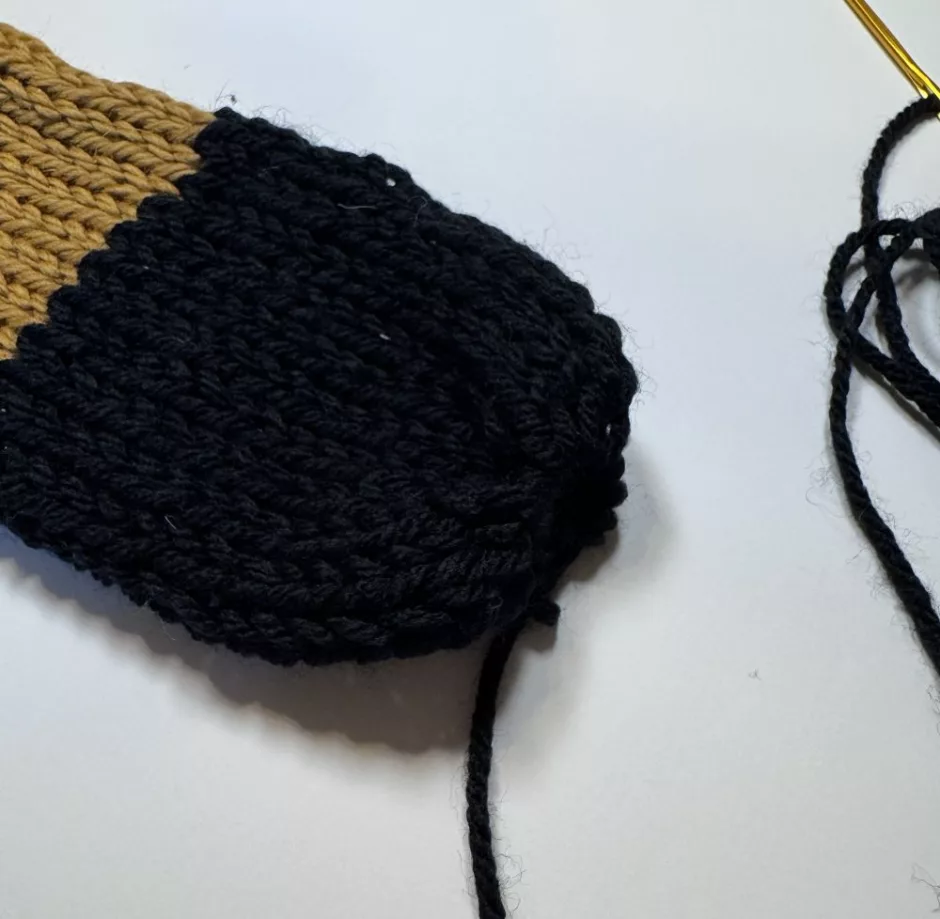
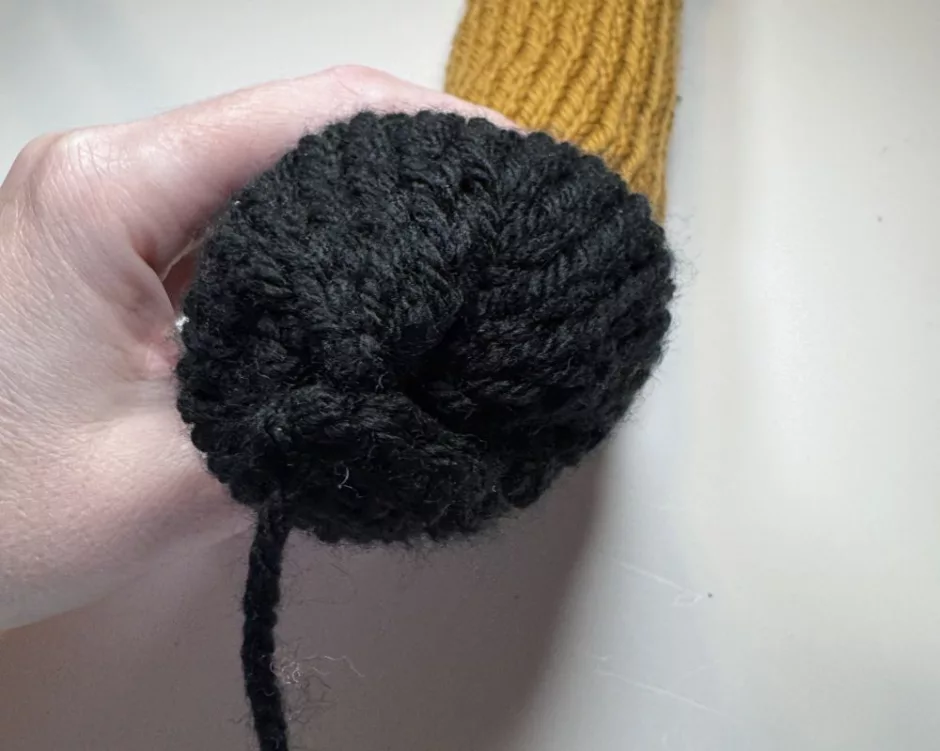
Cut the black yarn, leaving a long tail. Thread the yarn onto a yarn needle and crank around one more time, picking up the stitches as you go and sliding them onto the yarn.
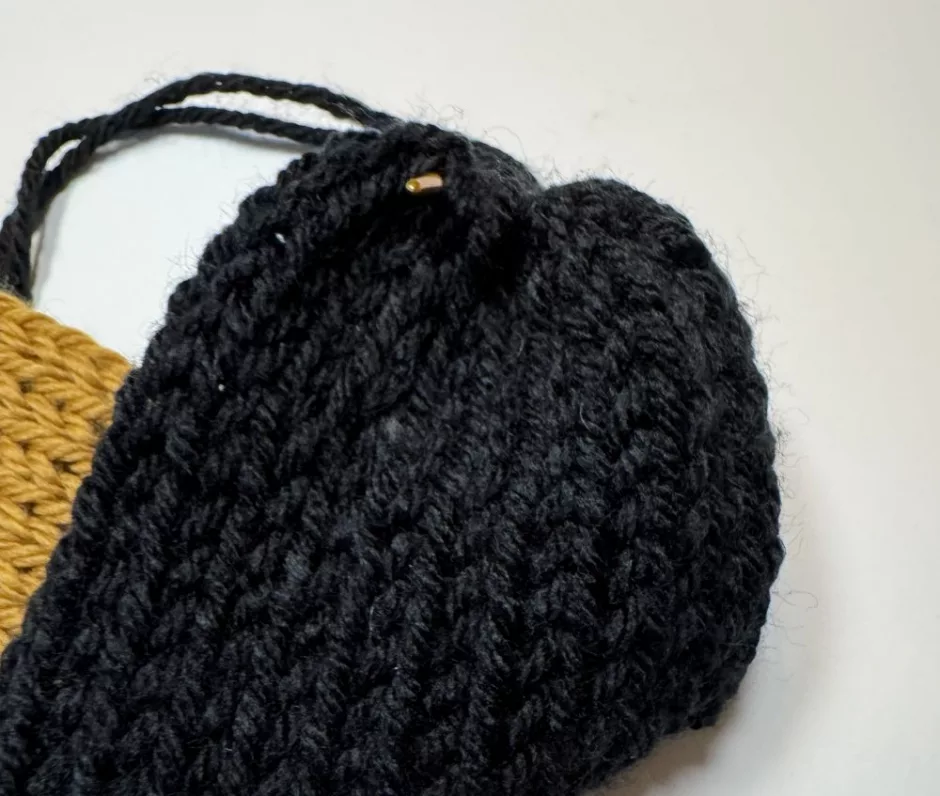
Pull on the yarn to bring the stitches closer together. Flatten them out and sew across the stitches to close up the end of the pencil pillow.
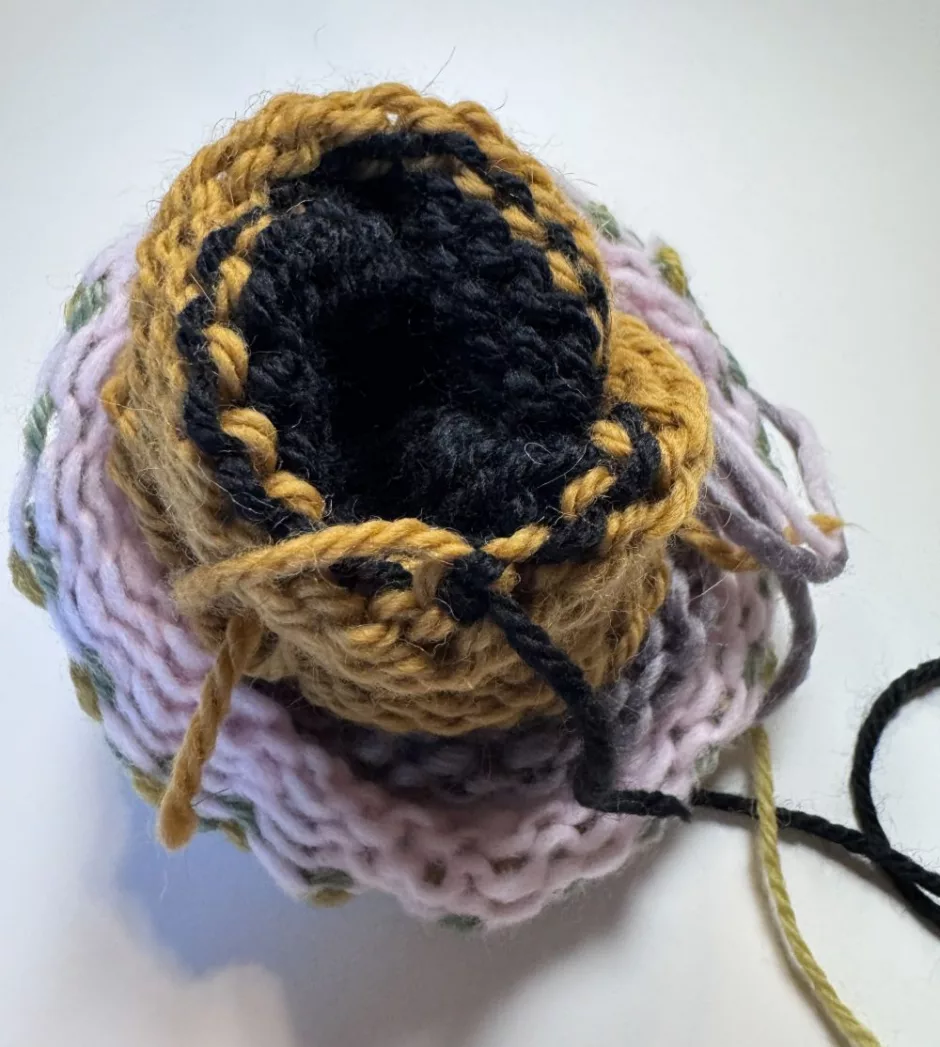
Scrunch down the tube so you can get to where the color change happens and tie the yarn ends together on the inside of the pencil.
Begin to stuff the pencil as much as you like. Be careful to make sure the stuffing doesn’t show a lot through the knit pencil fabric.
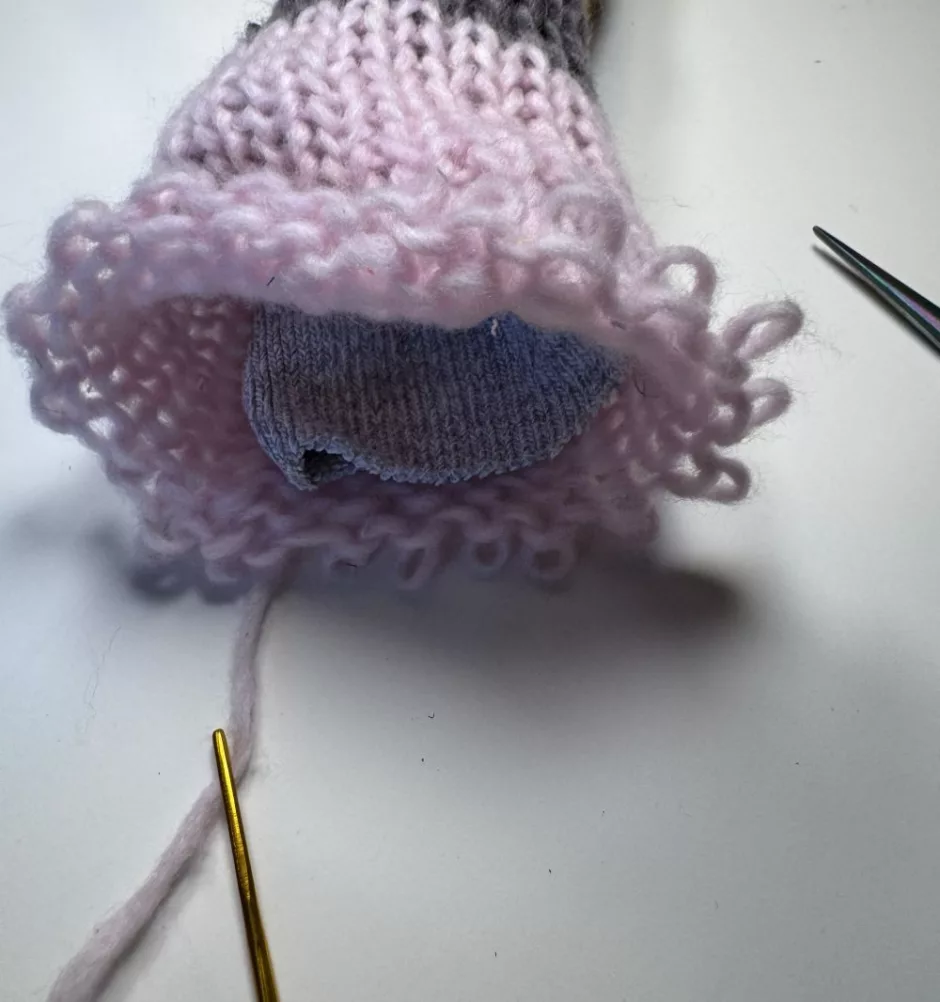
When you get to the top, undo the waste yarn if you used it, thread the yarn end on a yarn needle and pick up all the stitches onto the yarn. Pull to close up the hole at the top, but don’t close it all the way until you’re happy with the amount of stuffing at the top.
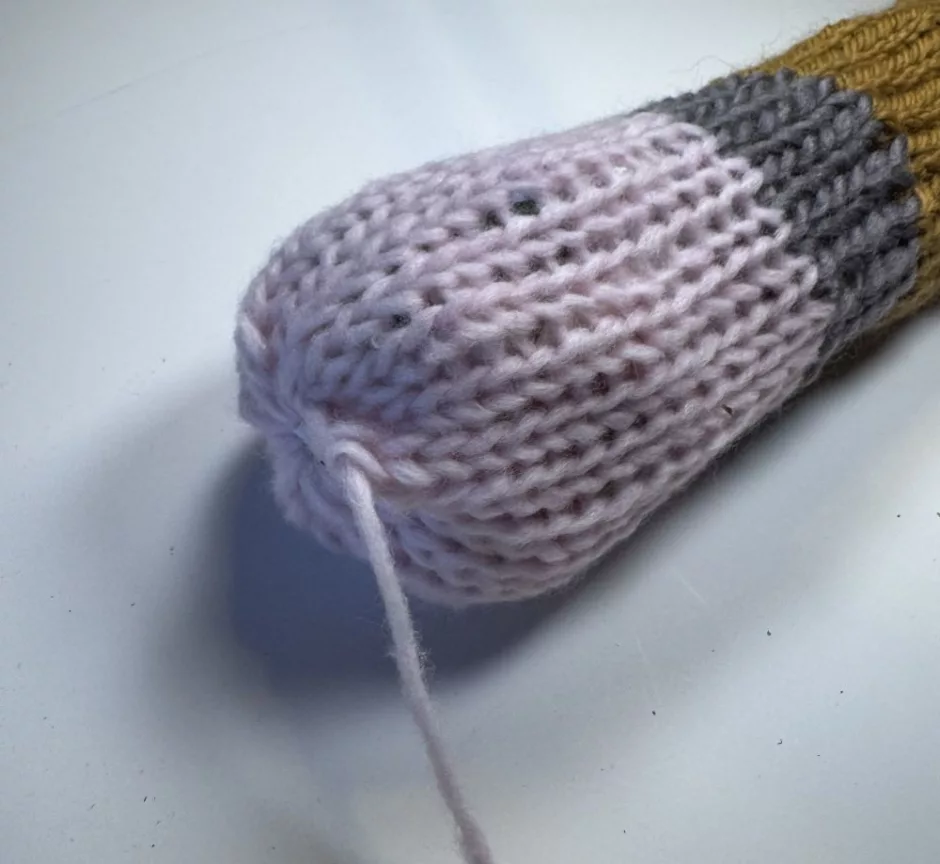
Close up the top, take the yarn needle through all the stitches again to help close up the hole a bit more, then take the needle down through the center of the top of the project and bring it back out somewhere along the side, hiding the yarn end inside the knitting machine pencil. Trim the excess yarn.
Then I went back to the black end and sewed the tip of the pencil to itself a bit more to make a more pencil-like end. Hide this yarn end in the same way and trim any excess yarn.
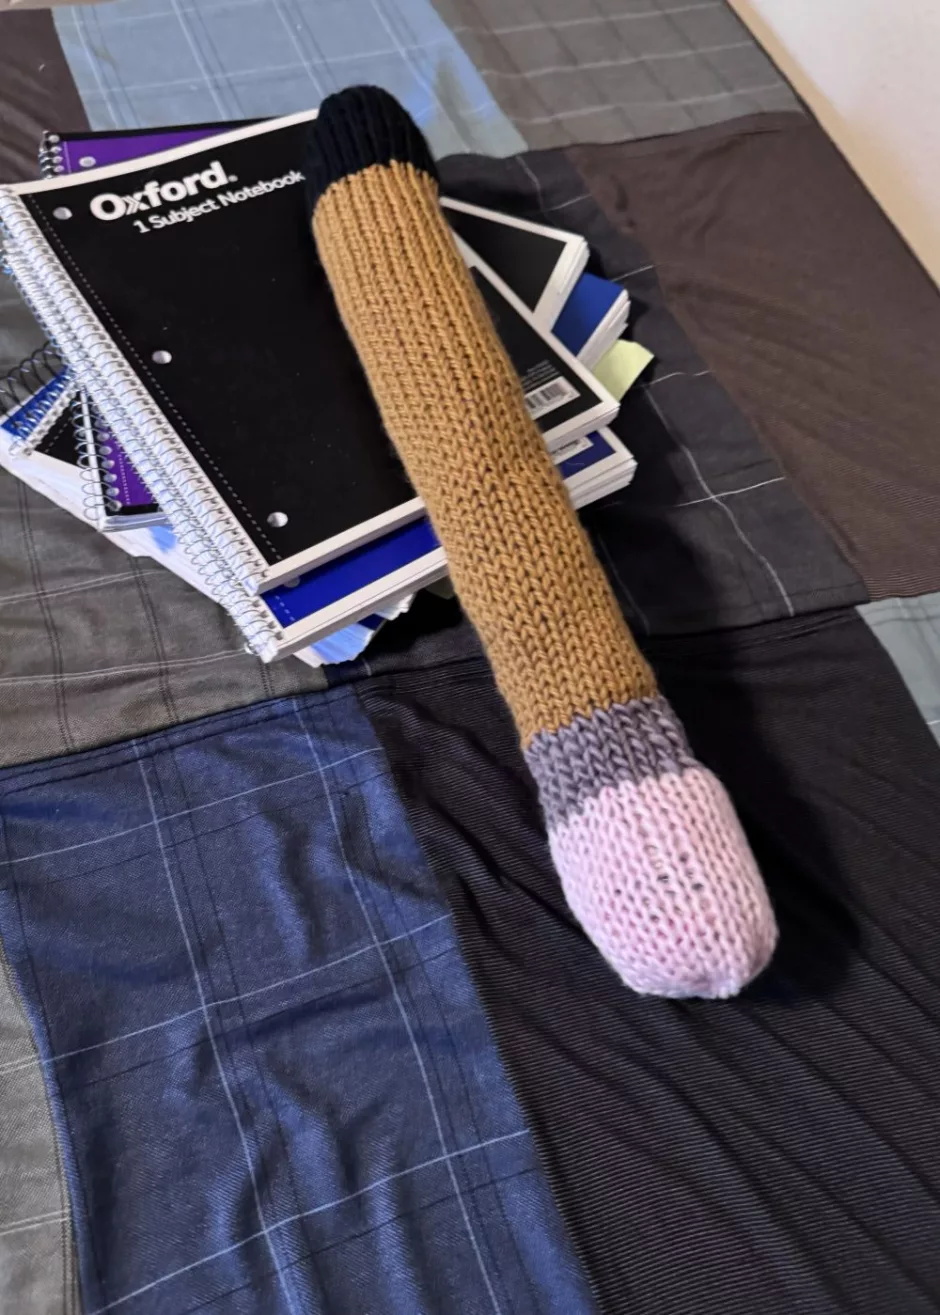
This knitting machine pencil doesn’t take long to knit and it’s a cute project to make for a kid who likes to play school or someone who likes larger than life versions of everyday items. I wonder if I should make a bigger version on a bigger knitting machine?