Affiliate links may be included for your convenience. View our privacy and affiliates policy for details.
Make your own DIY Mod Podge with this easy, two ingredient recipe!
What is Mod Podge?
Mod Podge is a line of products made by Plaid Crafts. It works as a glue and acrylic sealer that provides different finishes including clear matte, crackle, sparkle and high gloss, among others.
(The name is a trademark that’s a truncation of Modern Decoupage. But no one is searching for DIY acrylic sealer, so we use the brand name here with all love and credit to the rights holders.)
Jan Wetstone invented Mod Podge in 1967 as a faster way to create decoupage. Decoupage is a French word meaning to cut out, and the craft generally involves attaching cut out pieces of paper to another surface. Back then it was done with varnish or lacquer using many layers that made it a time consuming (and smelly!) process.
Mod Podge made the process immensely faster and easier because it serves as the glue, sealer and varnish all in one or two steps. Plaid purchased Mod Podge in 1979 and has since developed it into a full range of products and tools to make decoupage and paper crafts easier.
Why DIY Mod Podge?
Mod Podge is a great product, and the different formulas are a lot of fun. It may be out of the price range of some crafters, or if you don’t want to order online and don’t have a local store that sells it, you may want to make your own.
And some people just like to DIY craft supplies, so why not? (See also: DIY gesso, paint pouring medium, air dry clay)
I started making it out of necessity because I couldn’t find any plain Mod Podge in the house and I needed it for a project right away and didn’t want to go to the store. I had everything I needed to make it (you probably do, too) and DIY Mod Podge is totally fine for small projects or ones where you don’t want or need a fancy finish.
I still buy different varieties of Mod Podge (the sparkle is my favorite) but it’s nice to be able to whip up a little batch with this Mod Podge recipe when I need it.
DIY Mod Podge Recipe
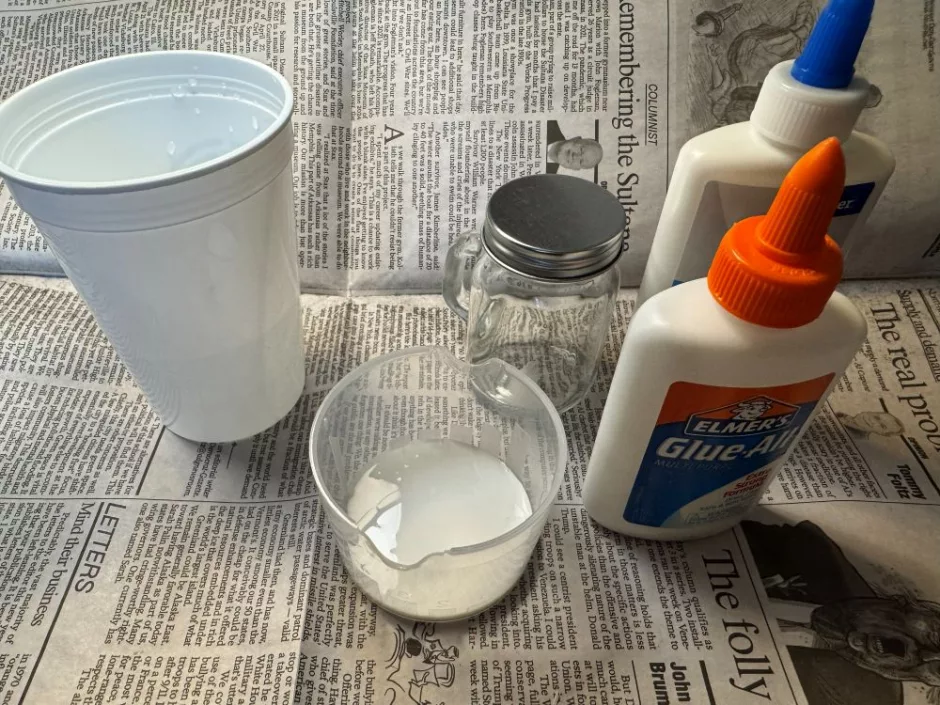
All you need to make your own Mod Podge is white school glue and water. I had the end of a bottle of Elmer’s here, as well as some from the dollar store. It doesn’t matter.
The general recipe for DIY Mod Podge is two parts glue to one part water. How big each “part” is doesn’t matter. A half cup of glue and a quarter cup of water is an easy one, or two tablespoons of glue and one tablespoon of water.
I couldn’t find my crafty measuring cups this day, so I used a cap from a liquid laundry detergent bottle.
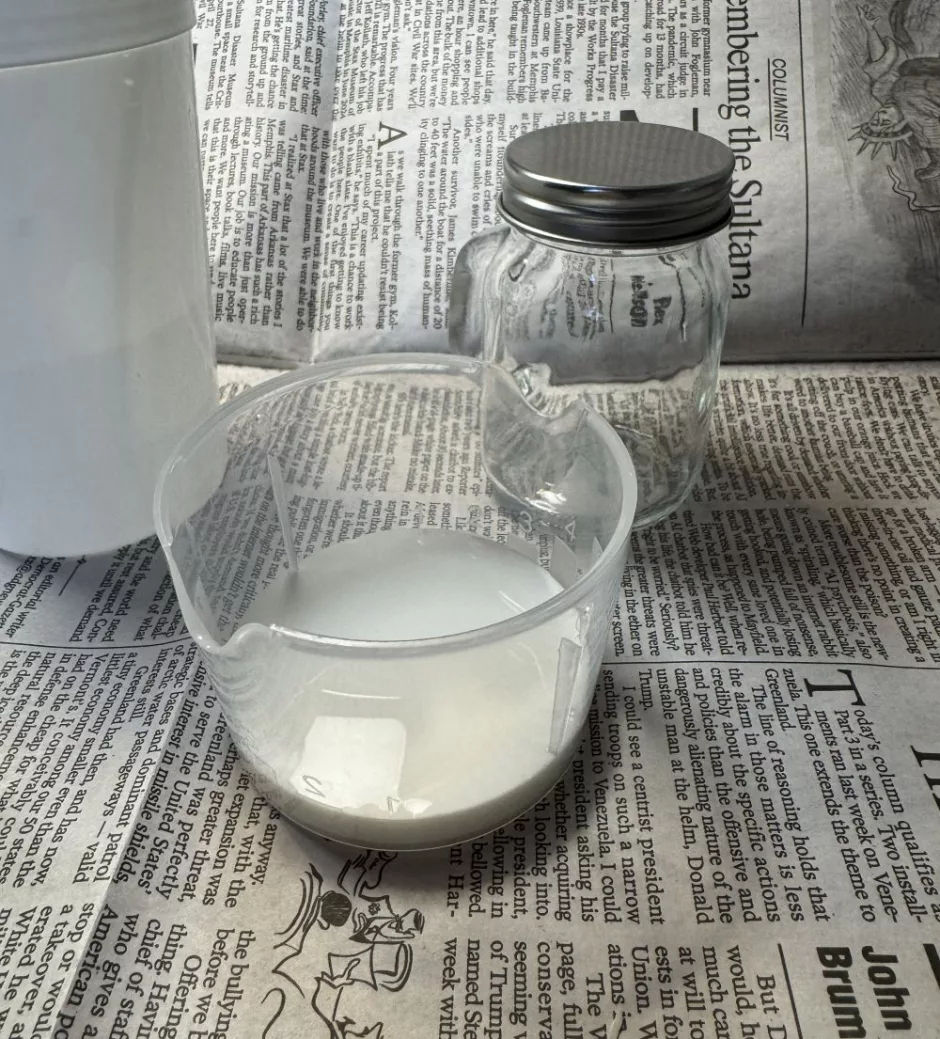
I filled it up to the 1 with glue.
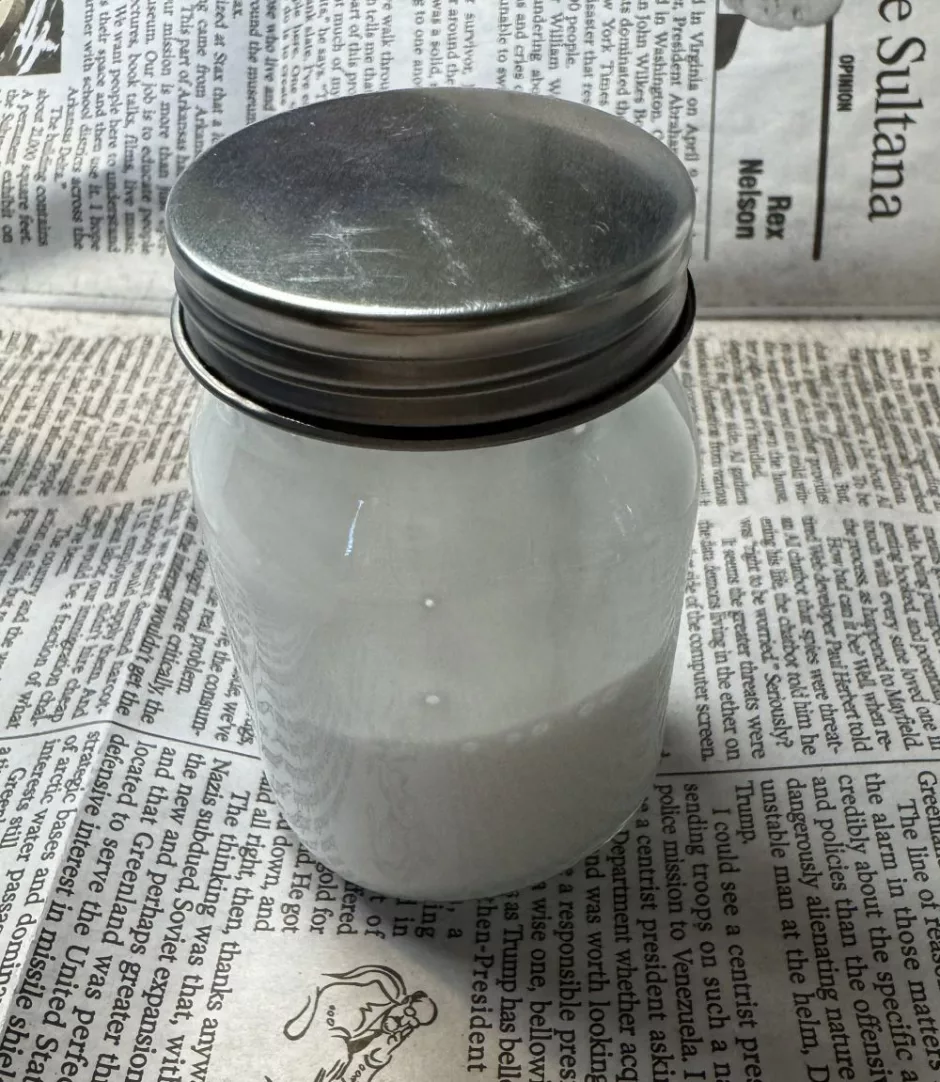
Pour that into your storage container. I’m using a little glass jar with handle from the dollar store.

Then I filled about halfway up to the 1 with water. It doesn’t have to be super precise, we’re just thinning out the glue a bit.
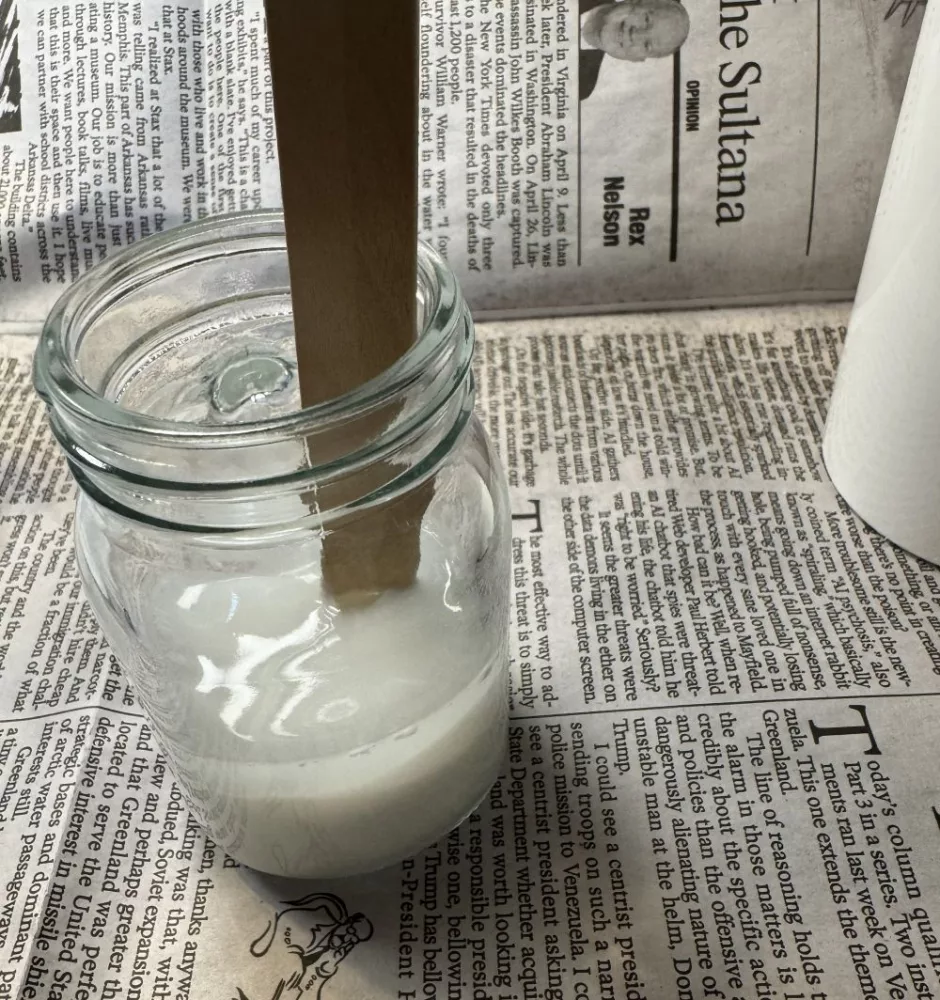
Add that to your container and use a craft stick to stir. Or you can just put the lid on and shake it.
Using Homemade Mod Podge
Once your DIY Mod Podge is made you’ll use it just how you would any other glue/sealant product.
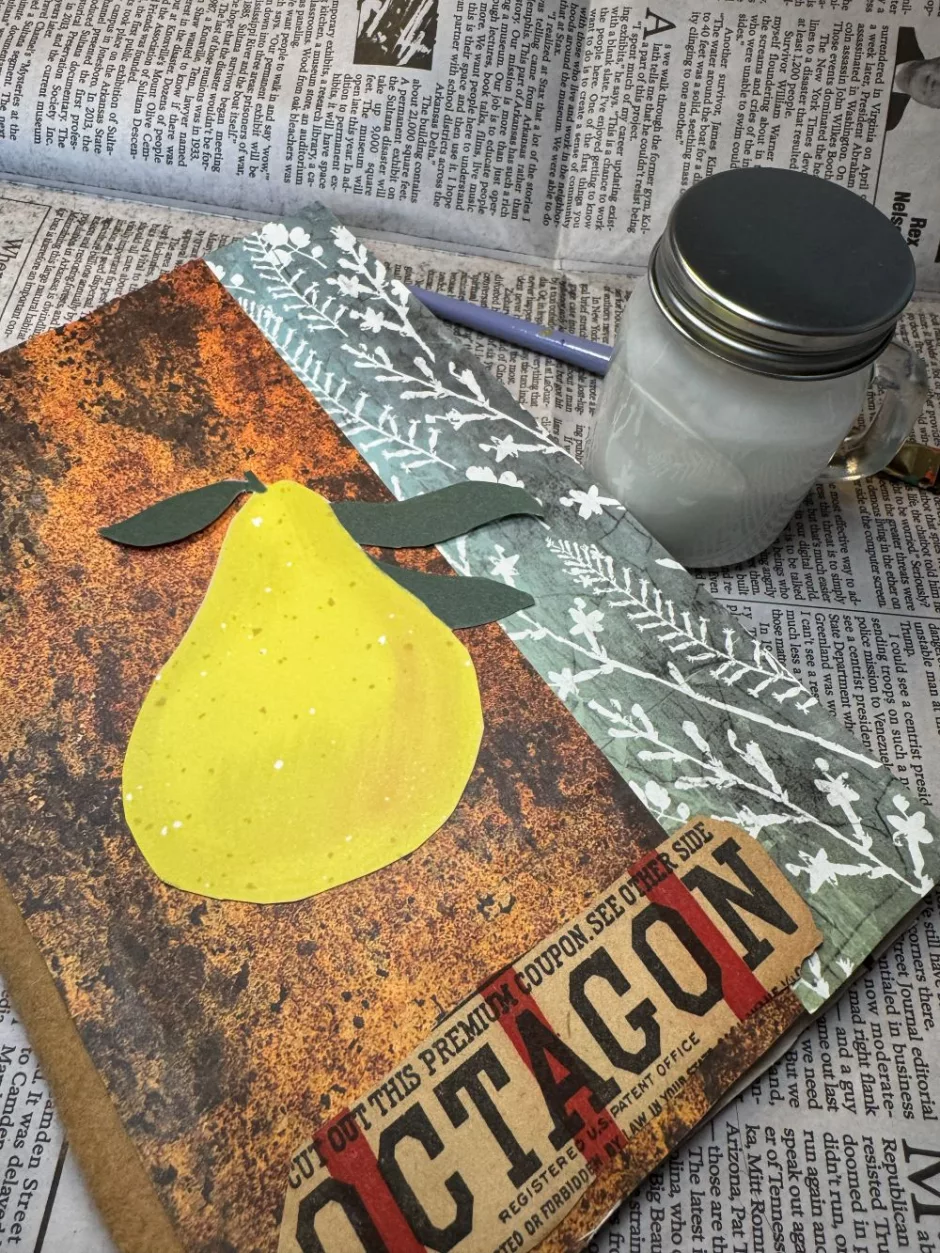
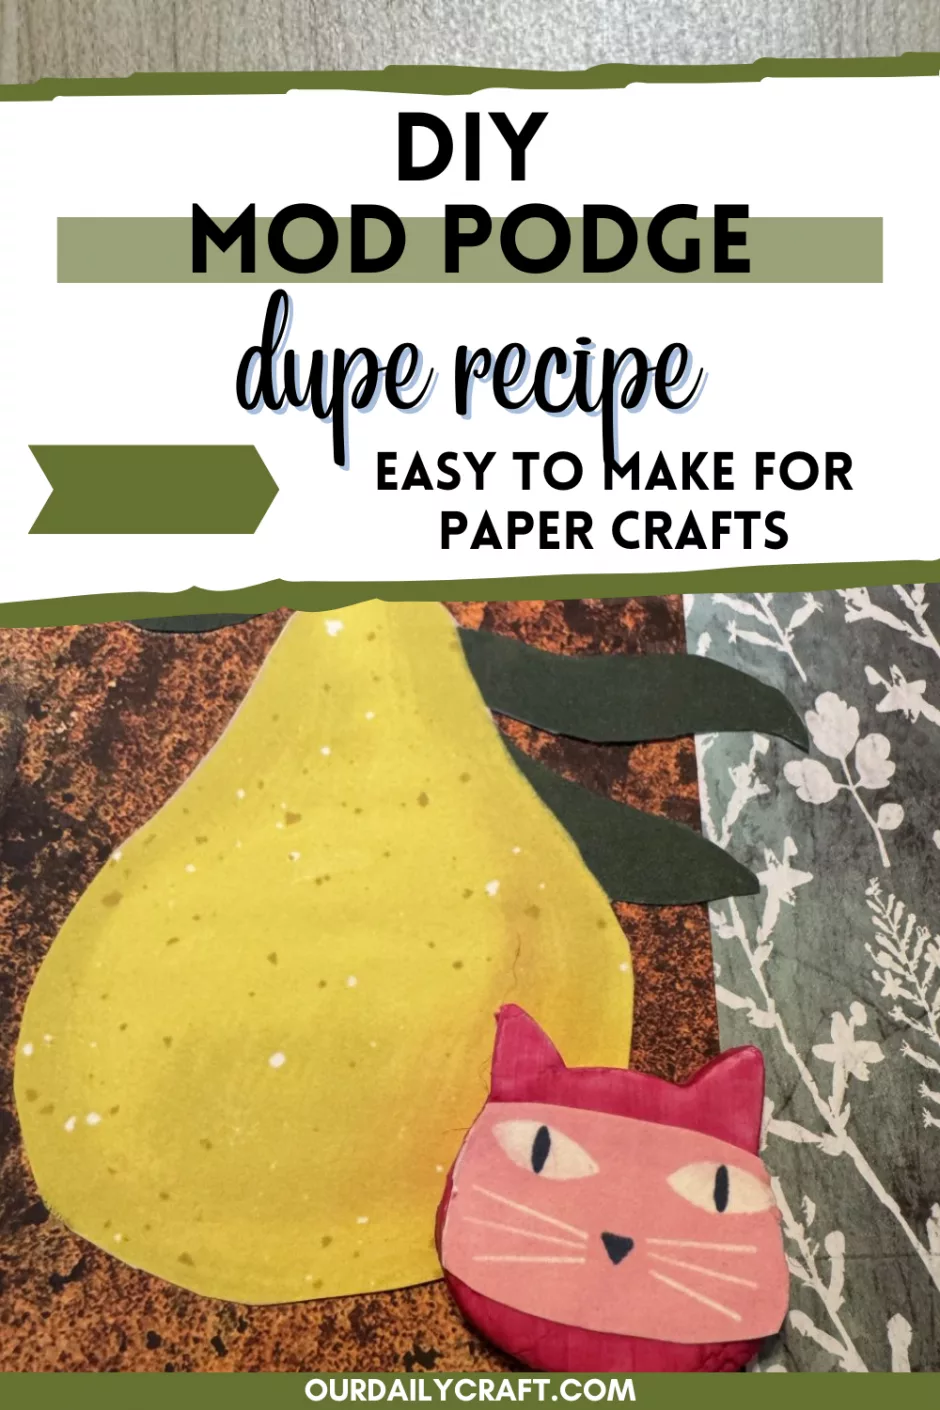
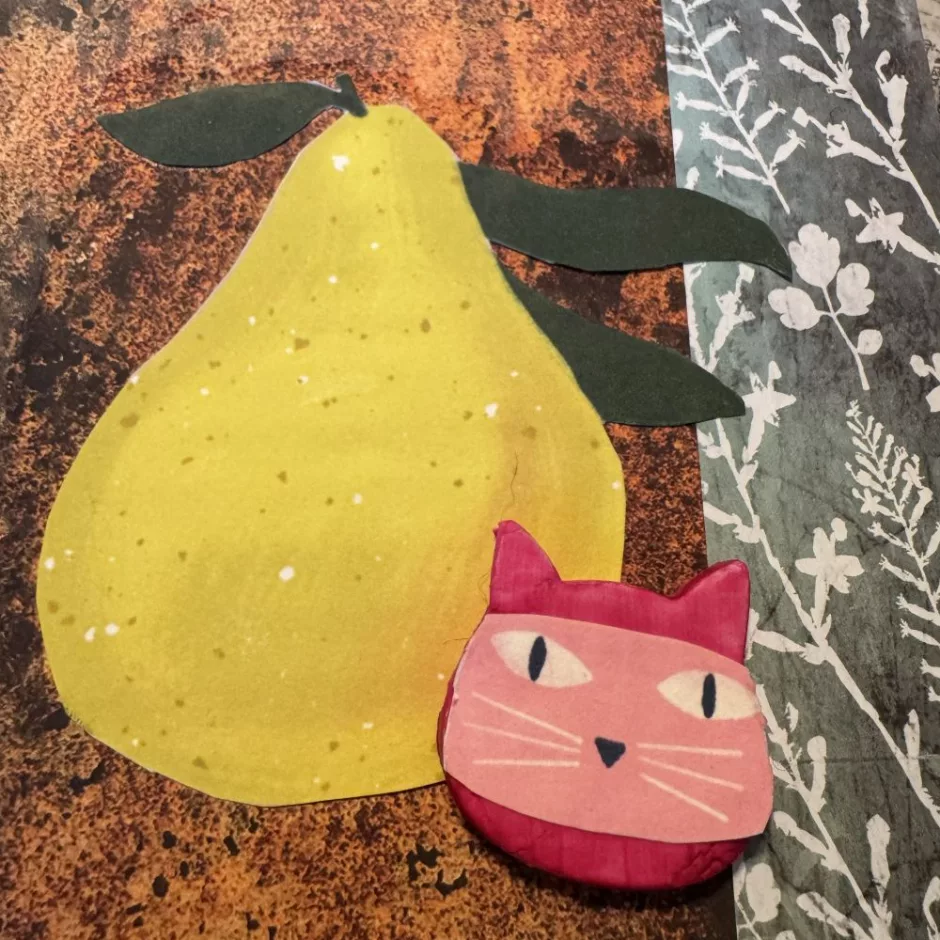
Here I’m adding this cardstock image of a pear to the front of my art journal. (It was from a Paper Source calendar.)
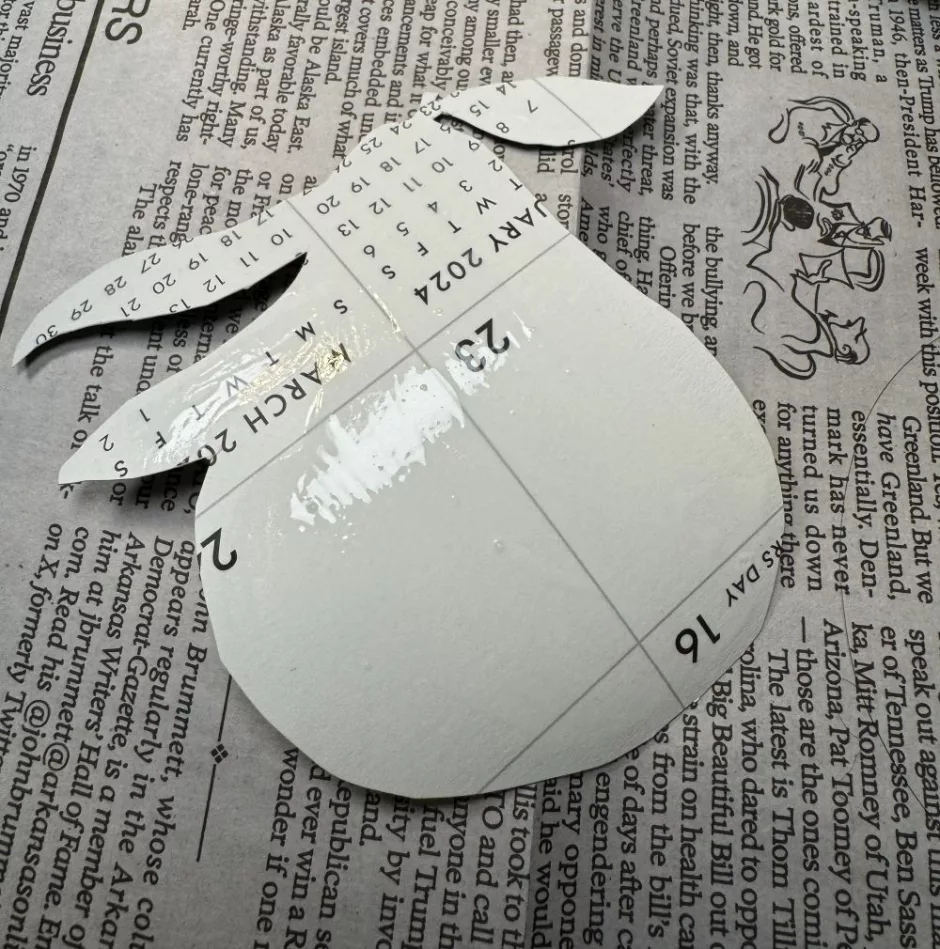
I like to cover the back of the image with glue first, using a paintbrush.
Then add some to the place where you want to put the paper down. It doesn’t have to be perfect because it dries clear.
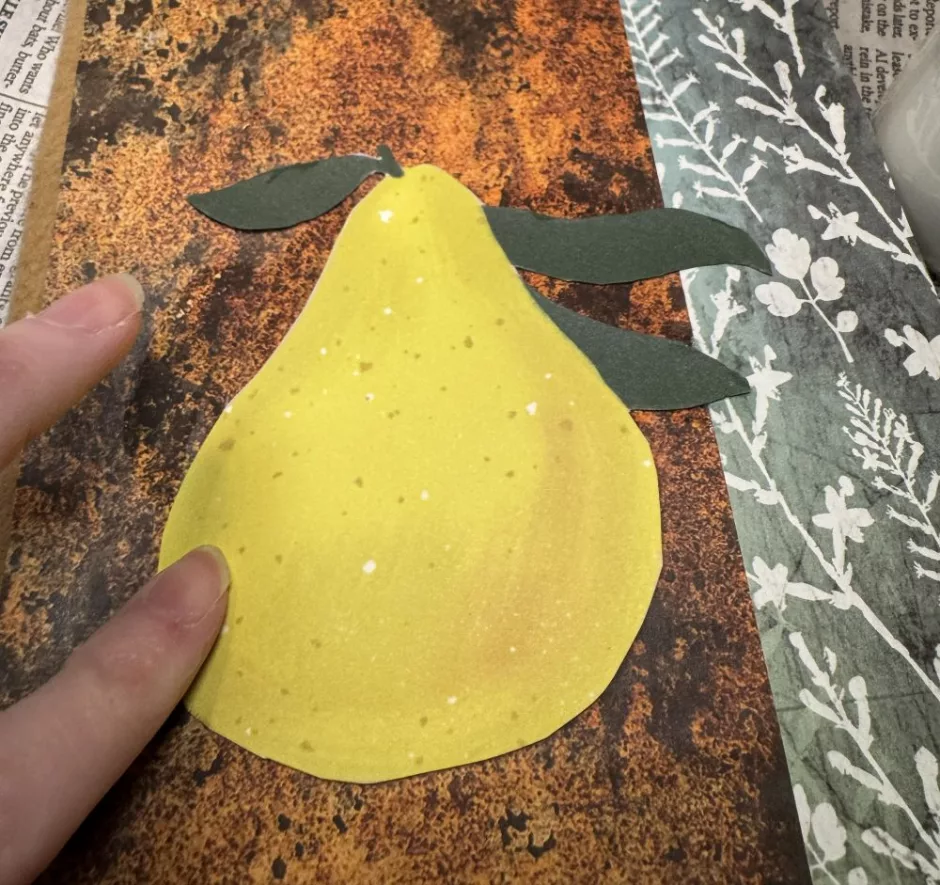
Place your image and smooth down the edges with a brayer or a cylindrical object like a bottle of paint.
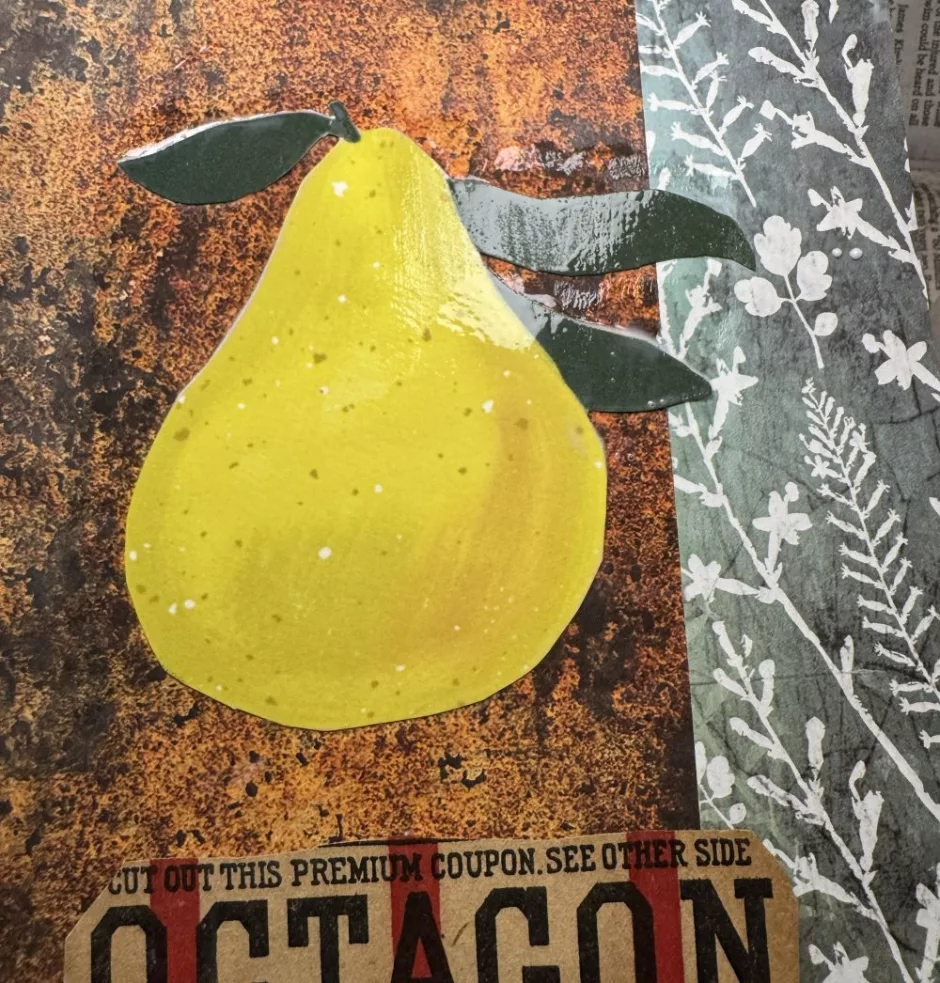
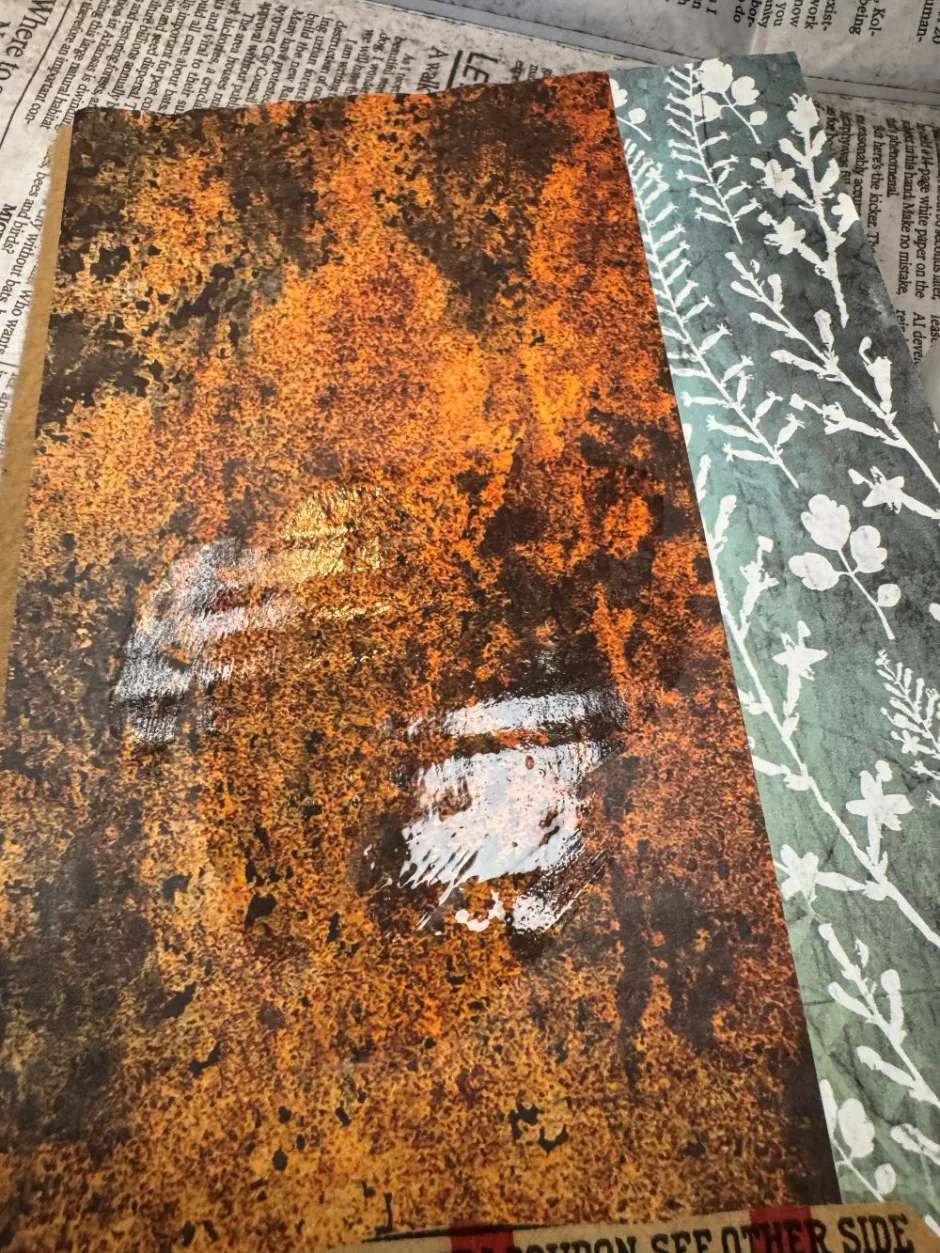
Then go over the whole area with your glue mixture. Make sure you get all the edges and go over the edges since it won’t show. I do try to use even brush strokes and eliminate bubbles, but you don’t have to spend a ton of time.
If you find the edges aren’t lying flat you can put a little more glue underneath.
Allow to dry. Add more coats if needed/desired.
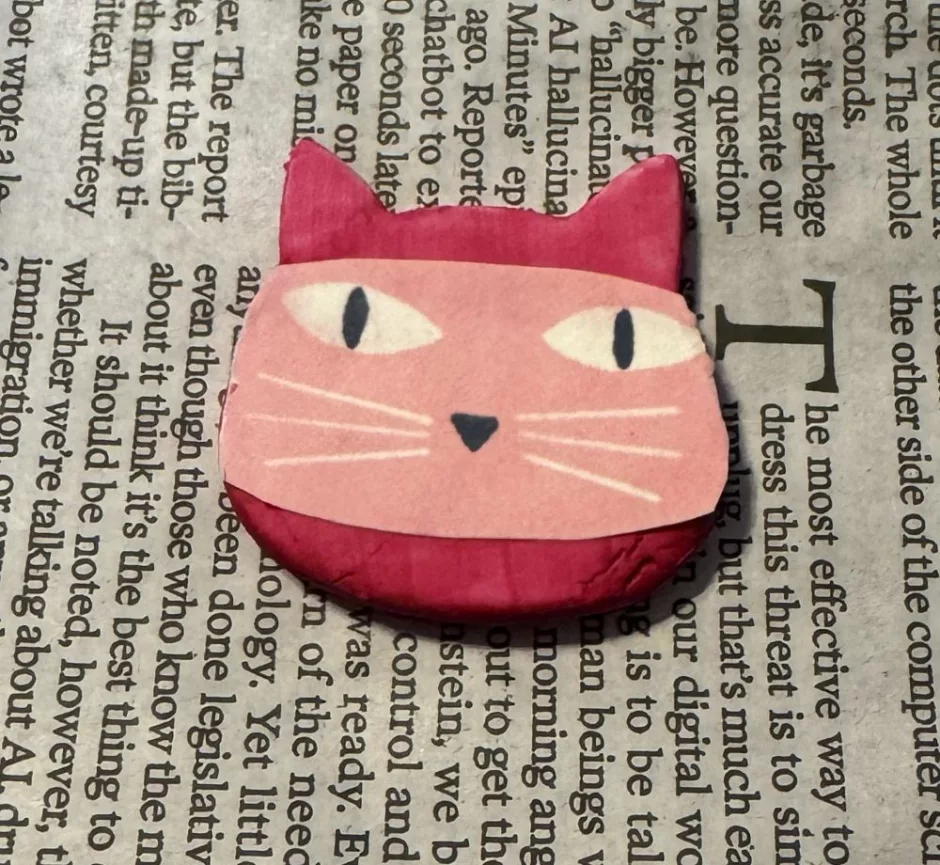
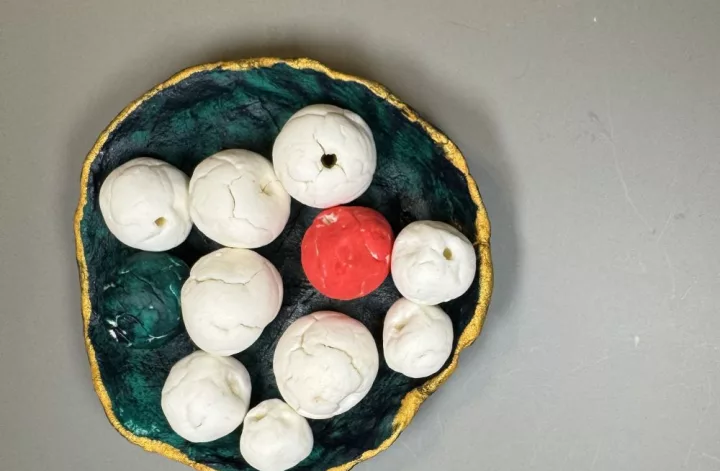
You can use this DIY Mod Podge on lots of surfaces, just like the original product. Here I’ve added paper to an air dry clay magnet that was first covered with acrylic paint. Too cute!