Affiliate links may be included for your convenience. View our privacy and affiliates policy for details.
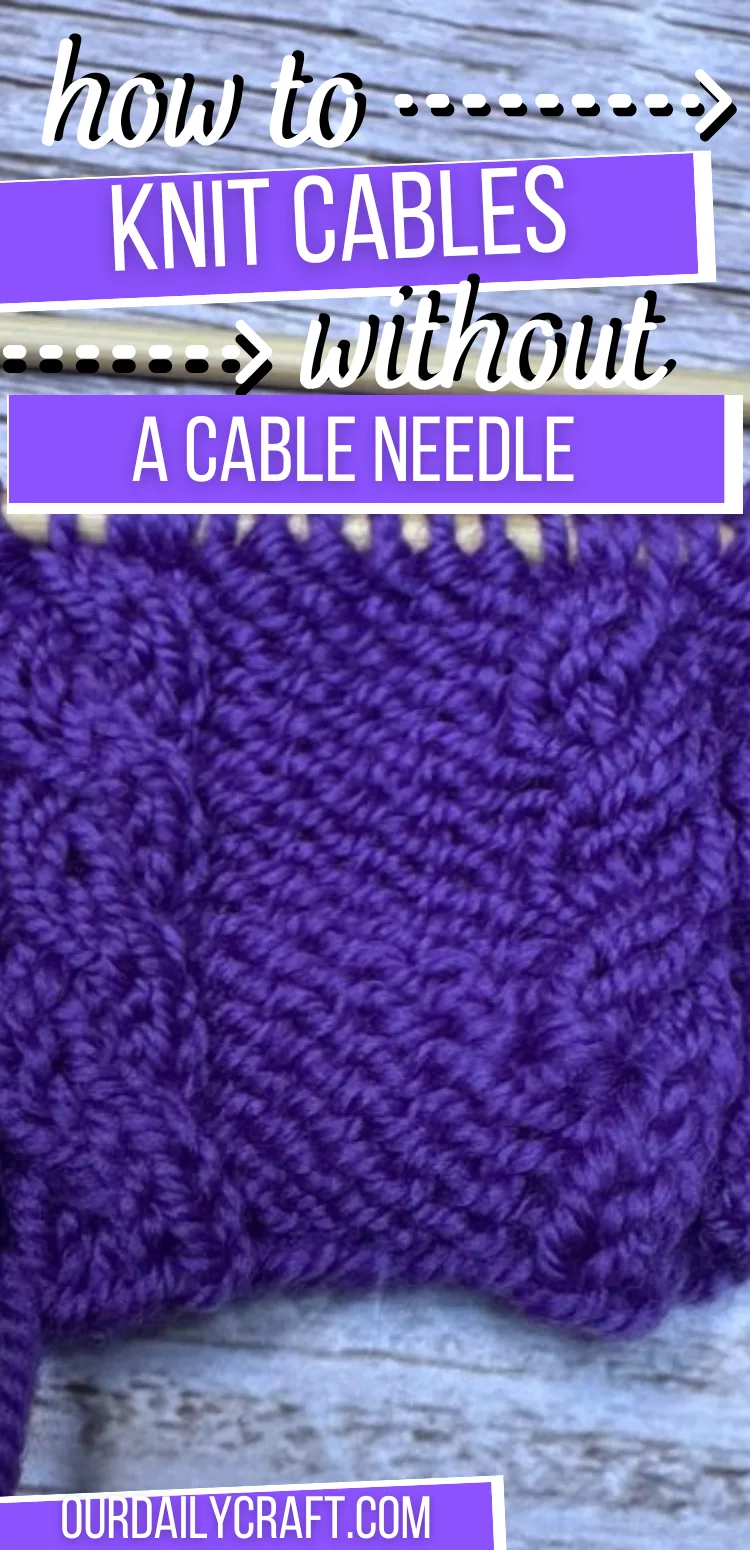
When you’re working narrow cables, it’s easy to cable without a cable needle, which saves you the step of having to find a cable needle or double pointed knitting needle to work your stitches. Let’s see how it’s done!
Right Leaning Cable
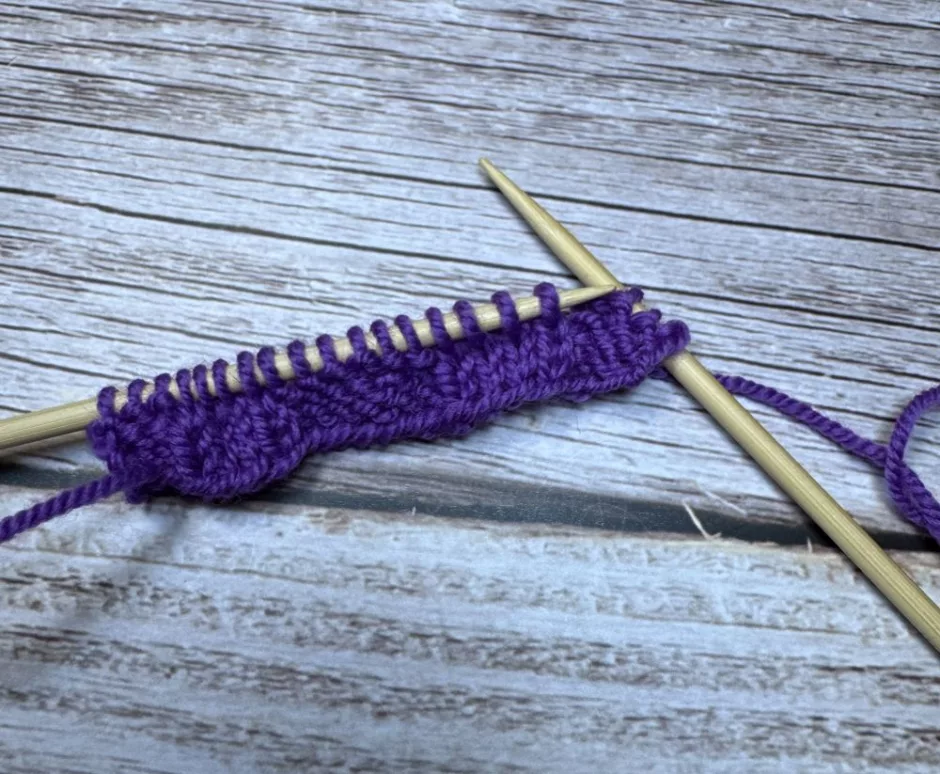
Let’s start with a right leaning cable without a cable needle. This would be called a right cable or a cable back in your pattern. Here we’re working with a four stitch cable, but you can do this with as many stitches as you have the moxie for.
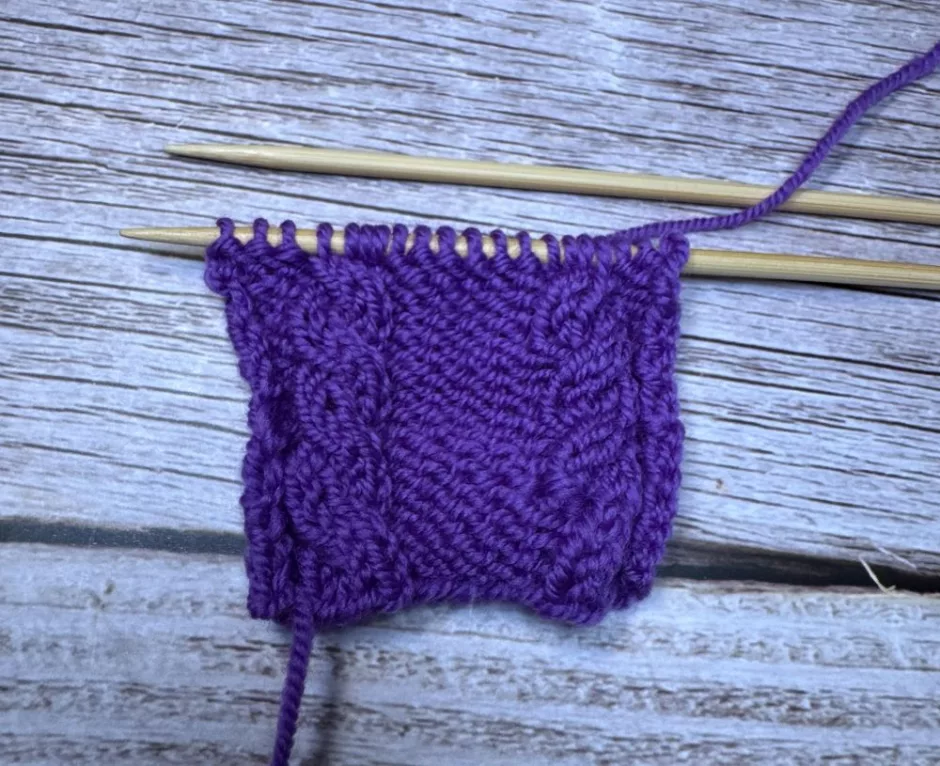
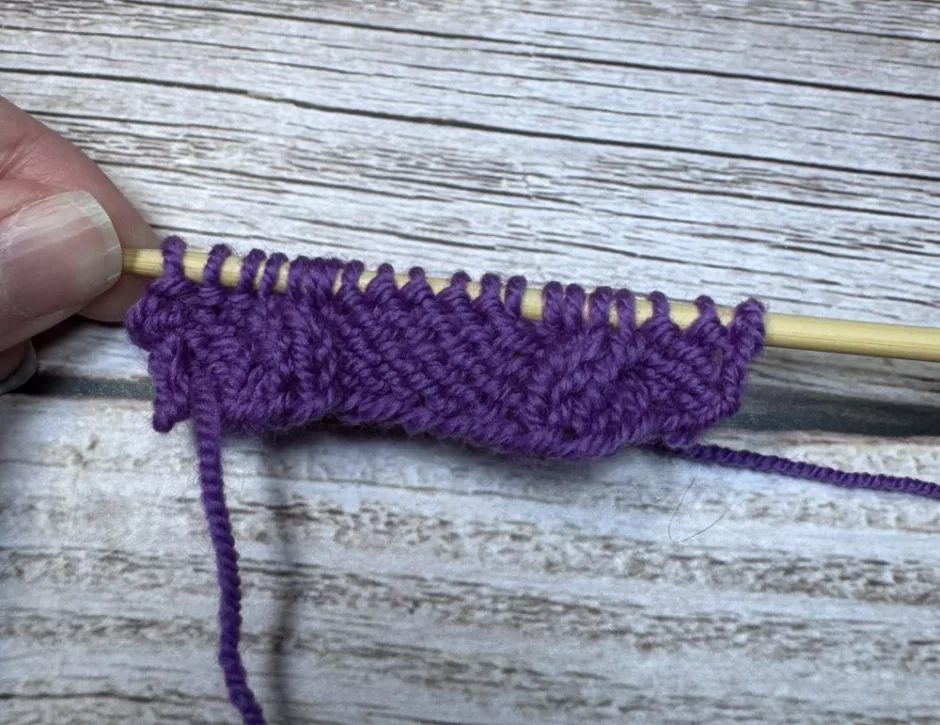
Working cables without a cable needle involves very temporarily having some stitches not be on any needle. If this worries you (and I know it’s nerve wracking to take stitches off the needle on purpose) practice with a wool yarn. The sample here uses Knit Picks High Desert Sport and I’m knitting with size 4 US/3.5 mm knitting needles.
Need help knitting cables with a cable needle? Here’s how to knit basic braided cables.

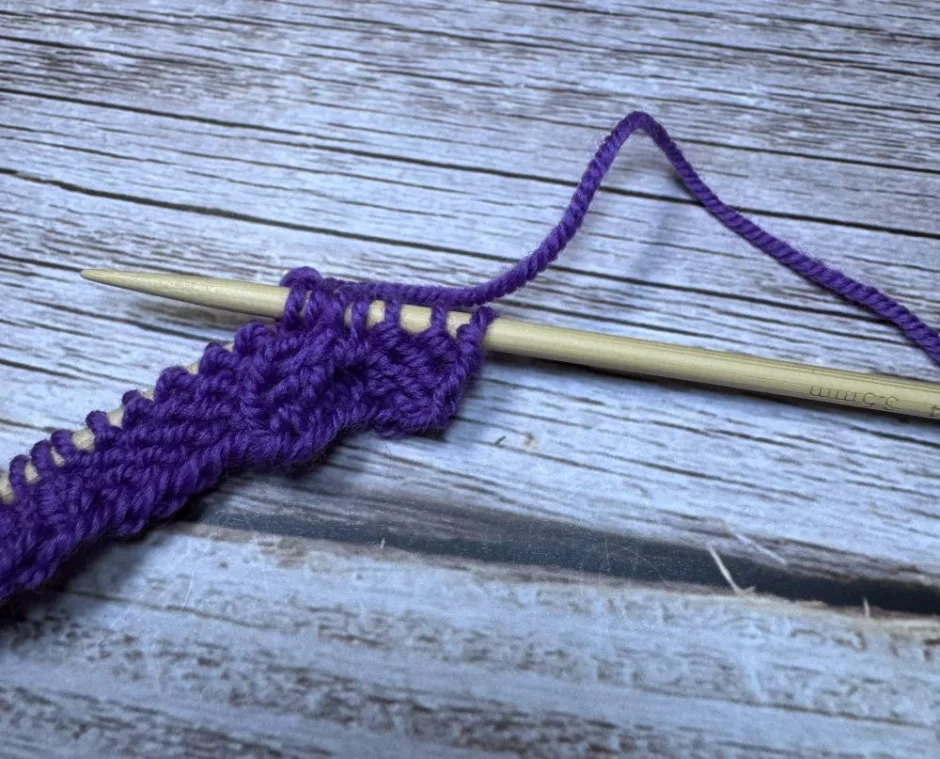
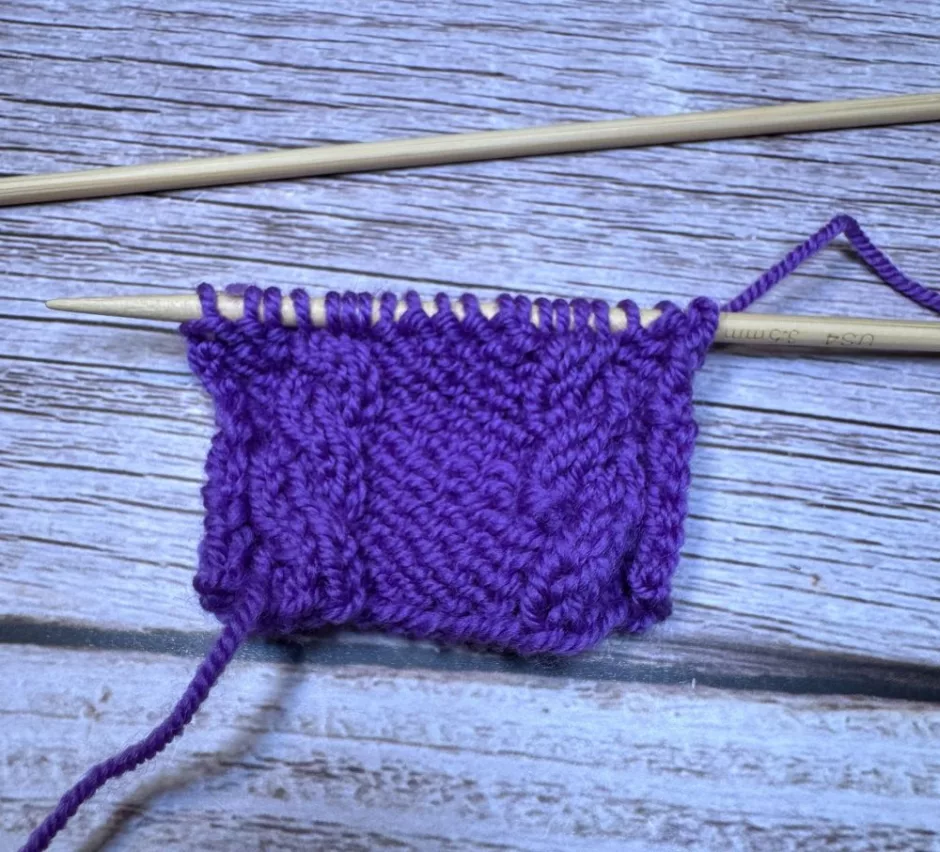
The full swatch if you want to follow along is 20 stitches. Starting with a wrong side row, knit 3, purl 4, knit 6, purl 4, knit 3.
On the right side, purl 3, knit 4, purl 6, knit 4, purl 3.
Repeat the first row again and we’re ready for the cable row.
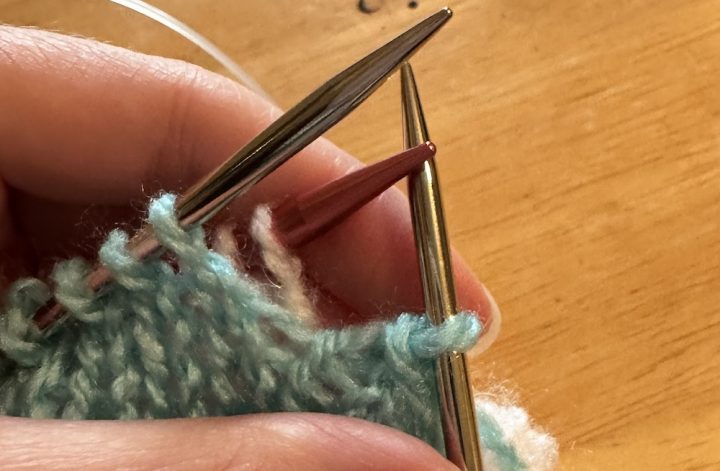
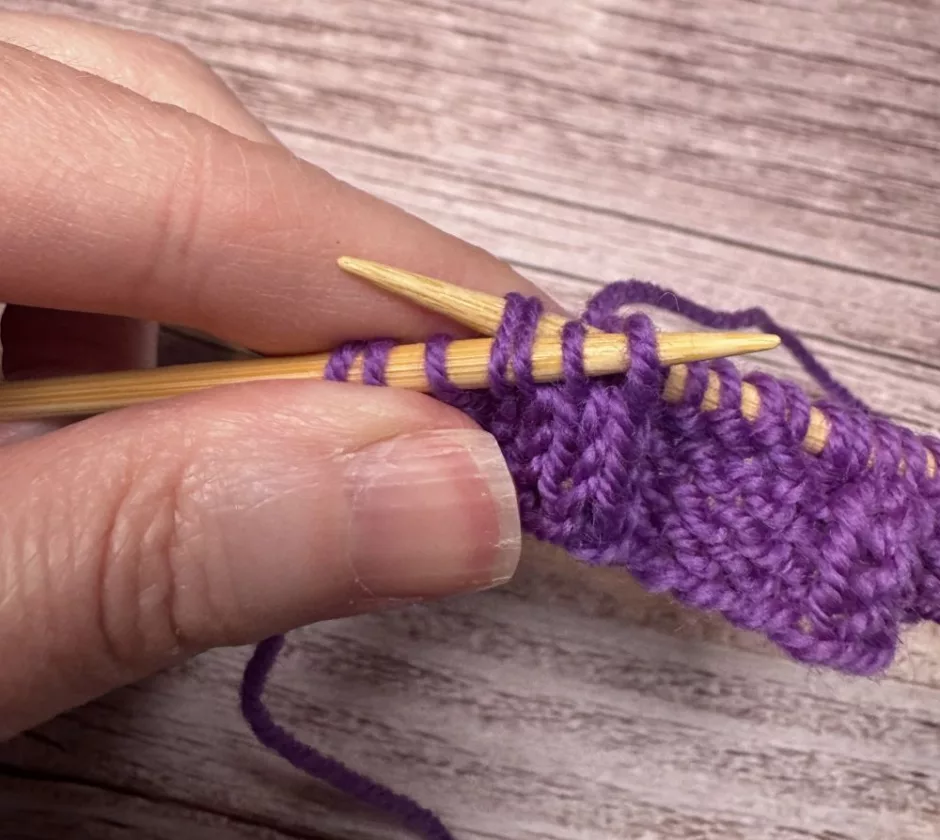
Purl the 3 stitches to get to the cable stitches.

Take your right hand needle and skip the first two stitches on the left hand needle. Stick the right hand needle through the third and fourth stitch from the front.
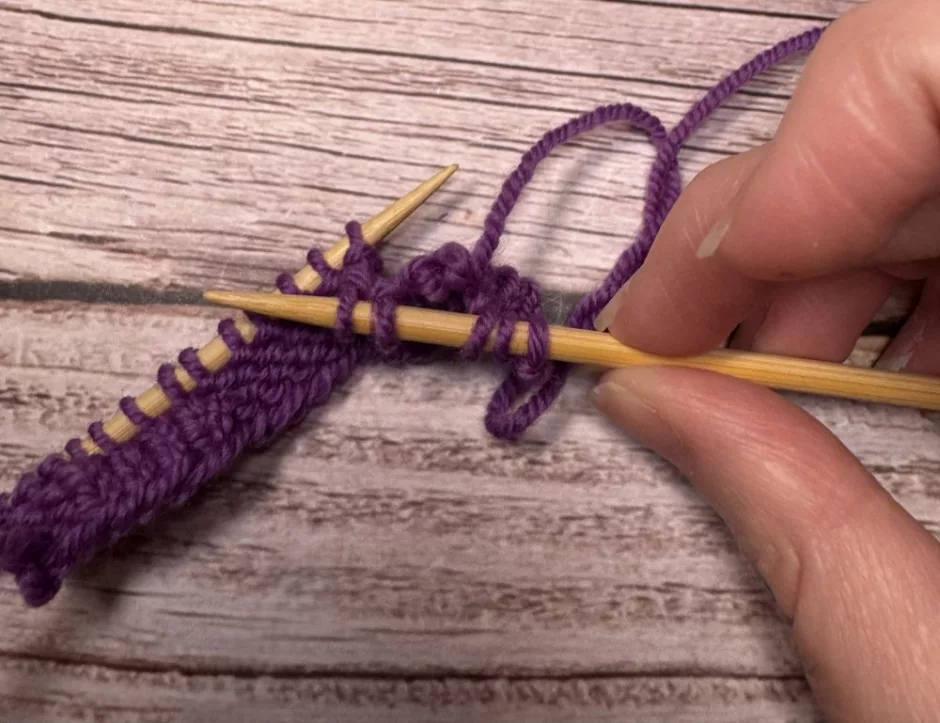
Slide all 4 stitches off the left hand needle. That leaves the first two stitches hanging off the needles, and the second two on the right hand needle.
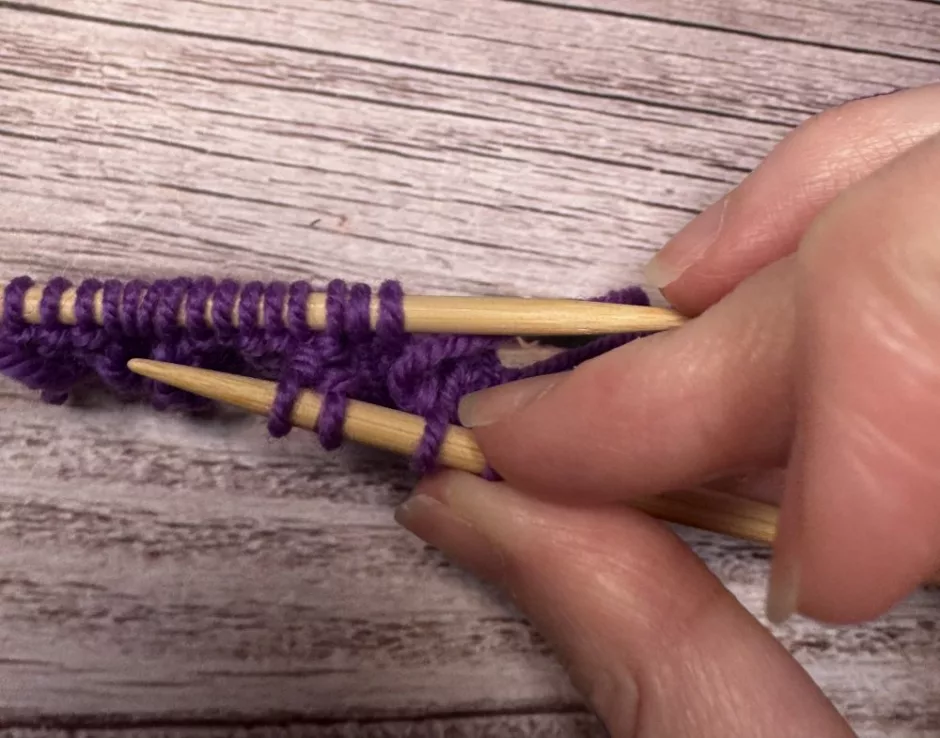
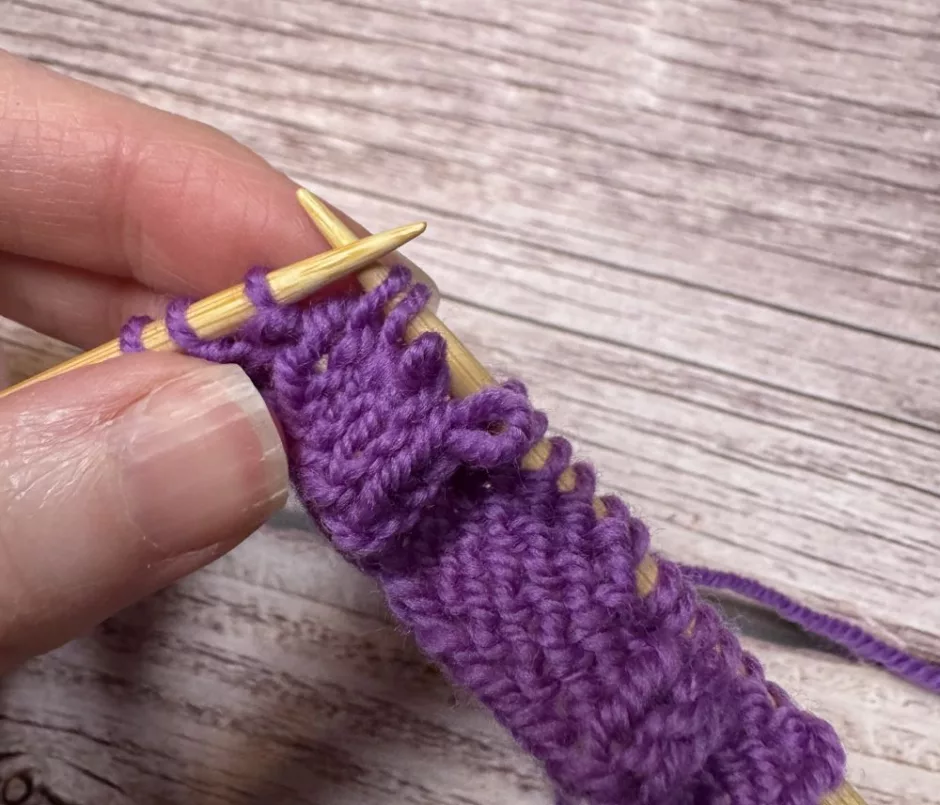
Use the left hand needle to grab the stitches that aren’t on a needle. Pick up the second one, then the first as they were on the needle formerly.
Slip the two stitches from the right hand needle back to the left hand needle.
Knit all four stitches.
That swapping of stitches makes the twist.
Work a Left Turning Cable without a Cable Needle
OK, how about a cable that twists to the left, also known as a cable front? Let’s work across those purl stitches to get to the next cable section.
This time you’ll take the right hand needle through the third and fourth stitches from the back of the work instead of the front.
Slip all four stitches off the left hand needle, which again leaves the first two stitches hanging and the second two on the right hand needle.

Use the left hand needle to pick up the stitches that are just hanging, starting with the second and then the first as they were on the needle before.
Slip the two unworked stitches from the right hand needle back to the left hand needle.
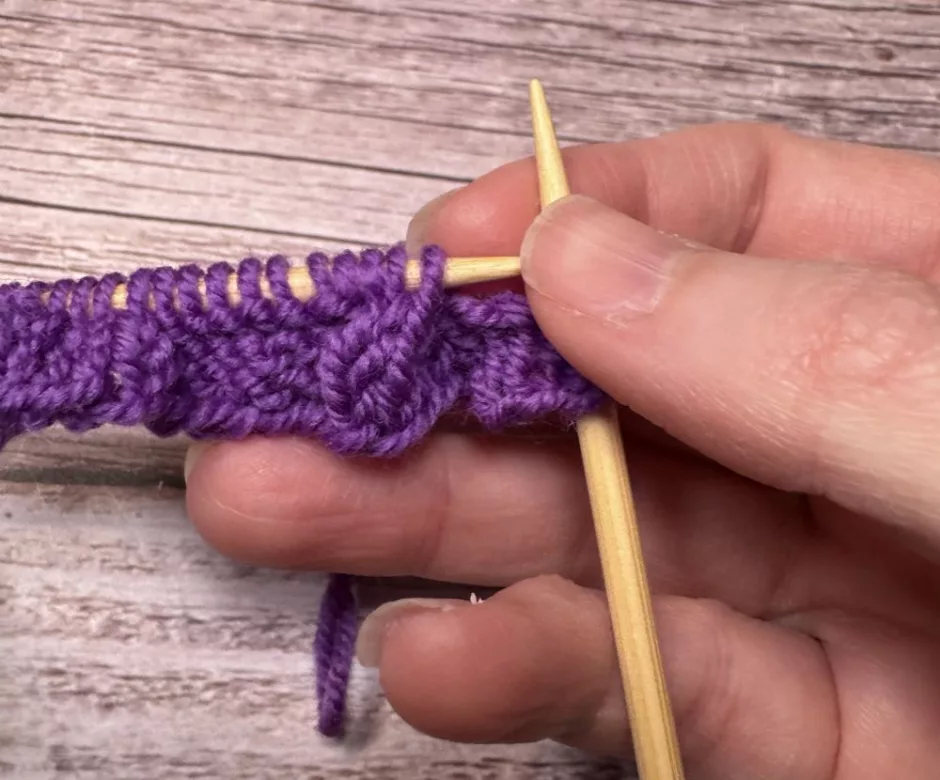
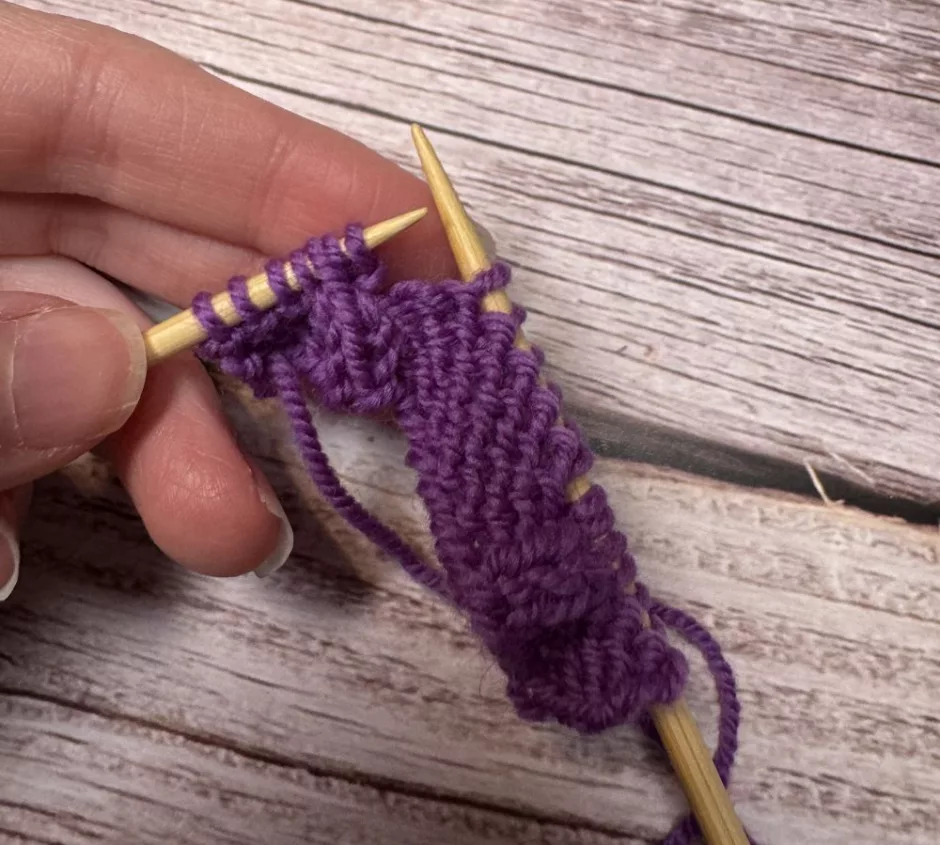
Knit those 4 stitches. Let’s go ahead and finish the row with a purl 3 while we’re here.
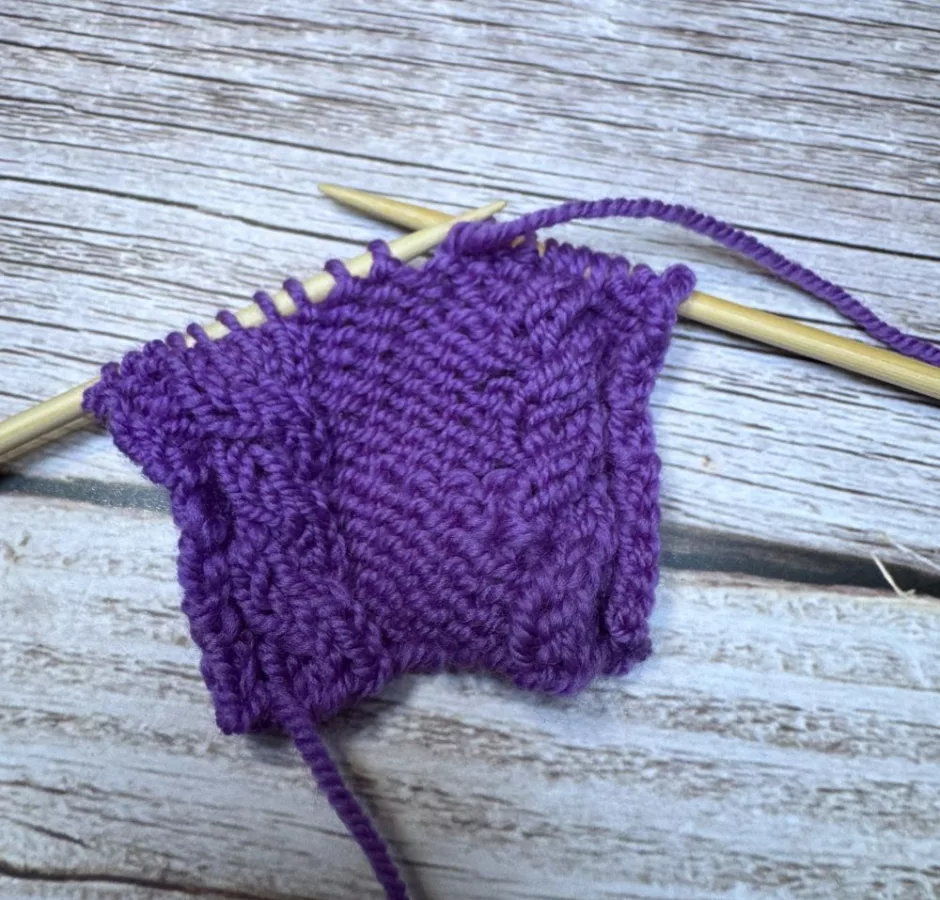
That’s all there is to it! Again you can cable without a cable needle on more stitches than 4, but 4 is an easy number for learning. And if you think about it from the perspective of the first two stitches of the cable, it’s relatively easy to remember which cable leans which way. In the left or front cable, the first two stitches end up in the front, and with the right or back cable, those first two go to the back.
It feels counterintuitive because the needle goes in the front for a cable back, and vice versa, but it’s the movement of the first stitches that determines which way the cable turns.
Working a cable without a cable needle is a fun trick that will make you feel smart, and keep you from running all over the house for knitting tools.