Affiliate links may be included for your convenience. View our privacy and affiliates policy for details.
I don’t know how we ended up with so many receiving blankets when the girl was a baby. She was a preemie, so we swaddled her for a long time to help keep her warm, but the number of little cloth blankets we had still borders on the ridiculous.
When she was too old to use them any more, I didn’t quite know what to do with them. They’d been a part of our life for a long time, and some of them were pretty cute, so I didn’t want to just toss them on the donate pile.
So I had the idea to cut the old receiving blankets into strips and sew them back together, patchwork fashion, into a bigger blanket the girl could still use. This is a really easy blanket and it’s doable even for people without a lot of sewing experience.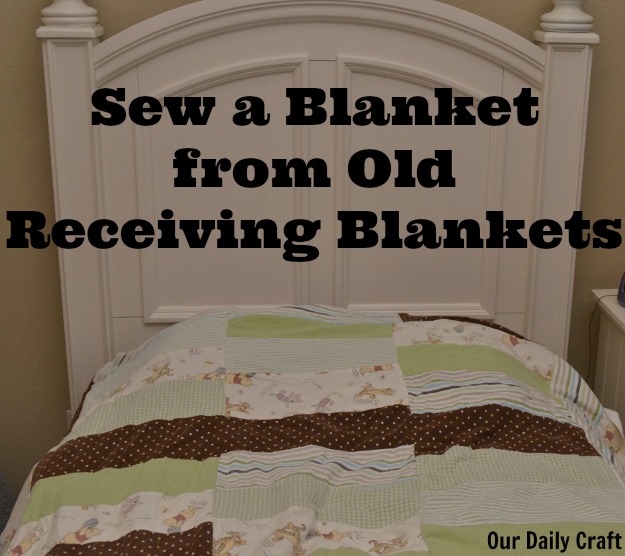
I probably shouldn’t mention that I had this idea — and indeed started this project — more than a year ago and never finished it.
But the good news is, it’s done now, or at least in a useable state. It still needs some thread ends snipped and some excess fabric trimmed here and there, but I brought it downstairs to make sure it was the right size for the bed and the girl decided to start using it, so it’s just fine the way it is for now.
This is a really simple project, but my way is not for perfectionists. For now there’s no backing on it because it’s meant to be a blanket to use in warm weather. That means all the seams are exposed. If the mere thought of such a thing makes you want to lie down, skip this one, or just add some backing fabric and take some deep breaths. It will be fine. 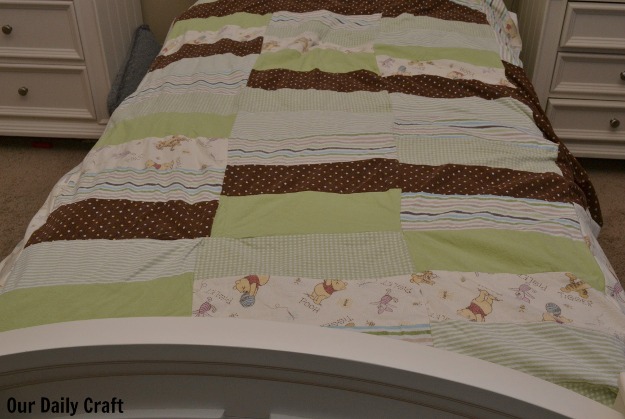
What You’ll Need
- 10 or 12 receiving blankets, depending on the size of the blanket and the size blanket you want to make
- really good scissors or a rotary cutter, ruler and mat
- yard stick if you’re not using a rotary cutter
- sewing machine and thread
What You’ll Do
Think a little bit about what you want your finished blanket to look like. I wanted to use strips, pieced horizontally into longer strips that could be sewn together vertically. Somewhere in the process I decided to add vertical strips to the sides, too. You can do squares, or even keep the blankets whole and just sew them together (I’ve done that, too).
Cut the blankets into strips of your desired width and length. I made mine 5 inches wide. Some of my pieces were the length of the original blanket, while others I cut to 14 inches. Nothing magical about either of those numbers. 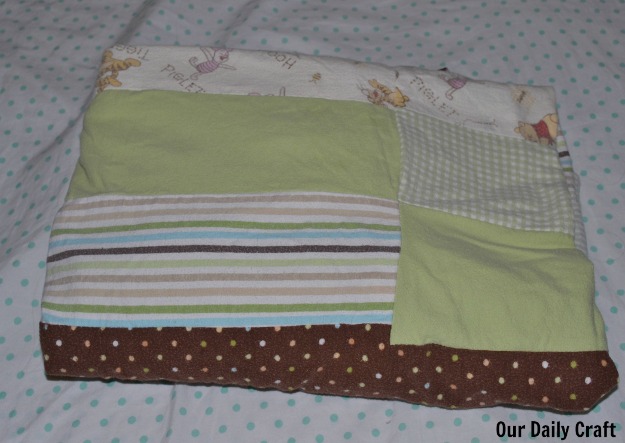
Decide how you want the strips to be laid out. I did mine kind of randomly and ended up with three rows of short pieces sewn together horizontally in the middle with two rows of (mostly) longer pieces sewn vertically on the sides like borders.
Sew the pieces up however you want. I tried to do it randomly, but ended up with the same kind of fabric butting against itself in several places on the blanket. Oh well.
If desired, add a bias tape edging, or press down the raw edges and sew them down, or add a backing, or whatever you need to do. Mine has no finishing at all for now. This kind of fabric doesn’t really fray, so it’s not a huge deal.
I might fancy it up a bit during the winter when she’s not using it. But for now, I think it’s fine just the way it is.
Have you ever crafted with any of your kids’ baby things? I’d love to hear about it.