Affiliate links may be included for your convenience. View our privacy and affiliates policy for details.
Learn how to decoupage a box with old maps to give it an instant antique look.
When I made my DIY Dragon Eggs, the dragon had a box for the eggs to go in. This was a last-minute addition to the plan (which was all pretty last minute, since I started working on it the Friday before Easter) because we happened to have the perfect box for such a thing. 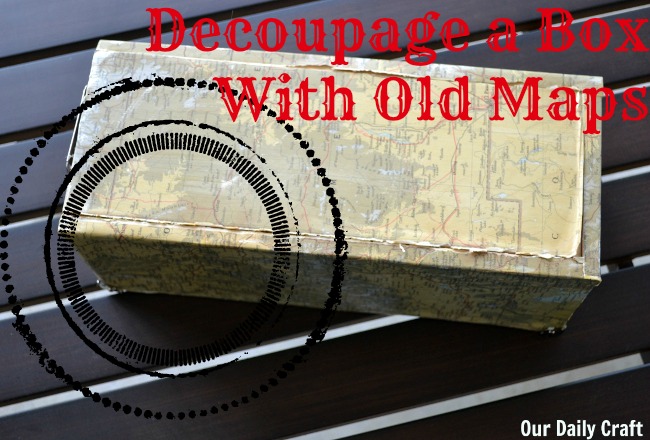
But this kind of a box would be great for storing all sorts of things. Line the inside with acid-free paper and you’ve got a great place for trip memorabilia, or keep kid-related keepsakes in one. Or whatever else you want.
You can of course use paper other than old maps, too, but doesn’t this look cool? Read on to learn how to use old maps to decoupage a box; it’s really easy!
What You’ll Need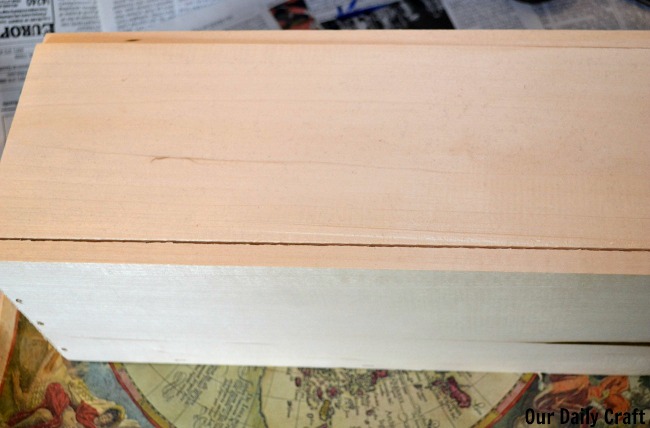
- a box; mine is wooden with a hinged top and housed a gift I gave husband for Christmas; this one is similar, or this one has a slide top, which is pretty cool, too
- maps (mine are from an old atlas)
- decoupage glue (I used Mod Podge Antique Matte just for fun)
- foam or other brush
- pencil and scissors
- embellishments (see below for what I used)
- hot glue and glue gun
How to Decoupage a Box with Old Maps
Trace around the sides of the box and cut out pieces of map to fit. I left the torn edges where I ripped the maps out of the book, but you can make them all straight if you’d rather.
Use decoupage glue to glue the map to the box.
When dry, decoupage over the top. I used two layers on top, drying in between. 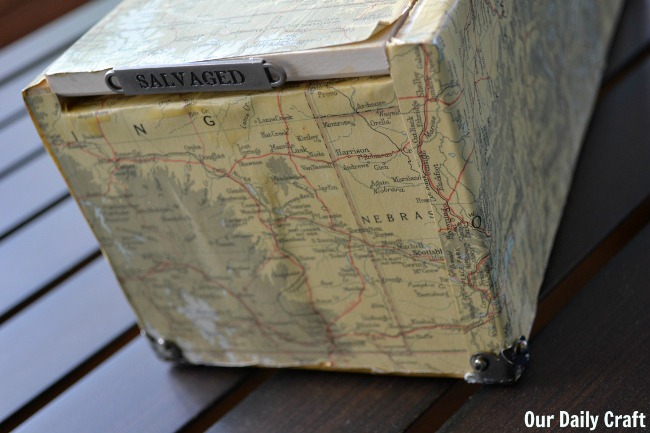
Add embellishments as desired when dry. The word band that says Salvaged is from this metal word band set from Tim Holtz. The corners are also Tim Holtz; these are similar.
There are so many great embellishment options, including gears, numbers, tags, arrows and even some cool skulls.
I also used a bit of the Viva Decor Inka-Gold metal gloss paint that I used on the eggs on the top of the box and the corners to give a little more of an aged look. 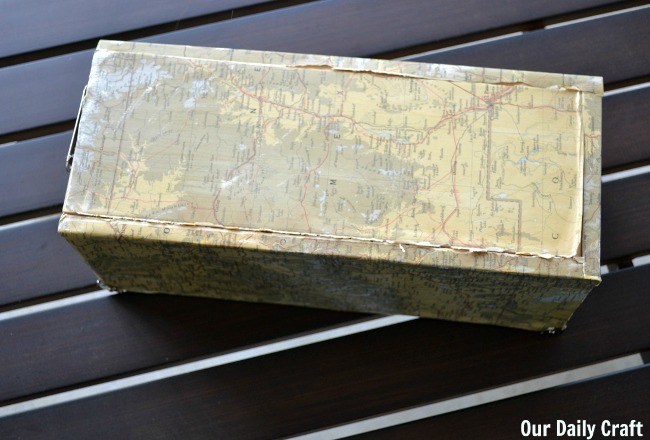
I will probably keep adding ephemera as time goes on, but I really like the look of this box so far.
Now that you know how to decoupage a box with old maps, you can use the same method on all sorts of projects using maps and other printed materials on picture frames, tables or anything else that needs covering.
2 Comments
I’ll let you slide with the cheating this time 😉
Thanks, ma’am. 🙂