Affiliate links may be included for your convenience. View our privacy and affiliates policy for details.
I’m a day late on my project for this week’s Iron Craft challenge from Just Crafty Enough, but it’s a good one. 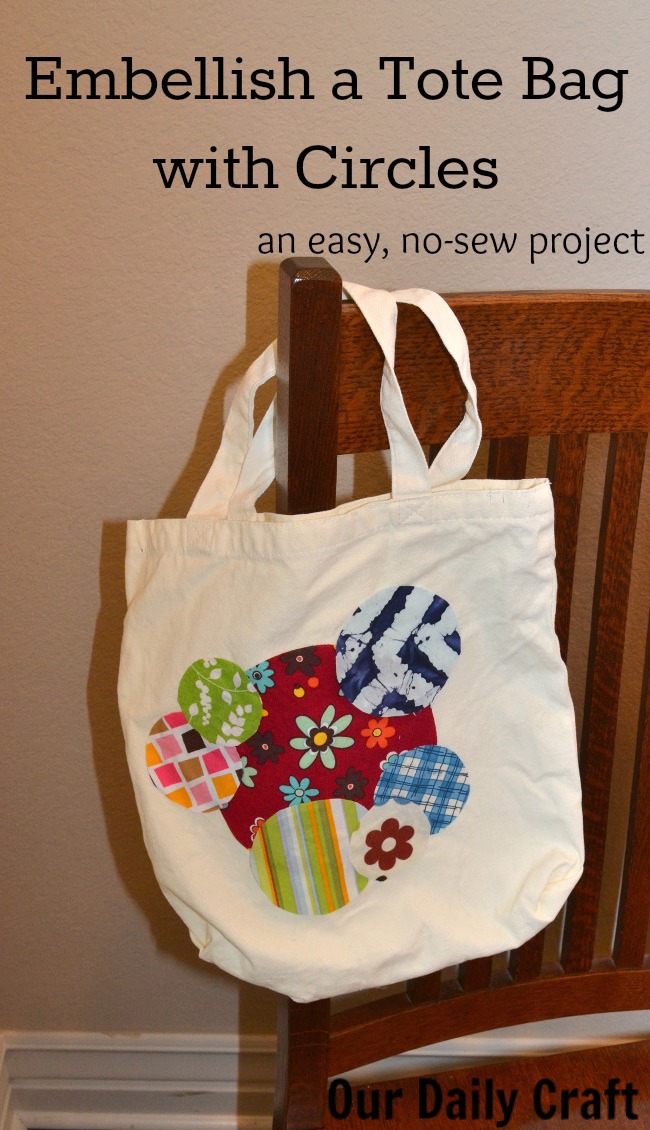
A few months ago I had a couple of major craft fails right in a row. One I talked about (my total lack of iron-on transfer skills), but the other I didn’t.
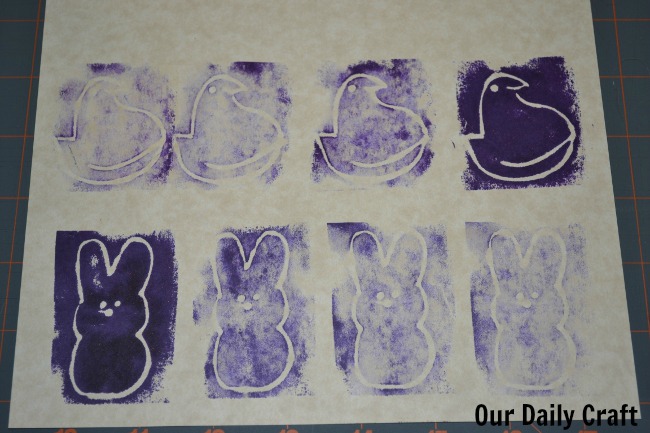
I also stink at making and using stencils, apparently, because I tried it twice in pretty quick succession and made a mess both times.
One of them was with fabric paint on a canvas tote bag, which didn’t do anything to hurt the bag, of course, it just needed to be covered up.
This week’s challenge was to do something with dots, so I decided to cut out some circles to cover my crafty shame.
You could do this same thing to cover up a logo on a cloth shopping bag.
How to Embellish a Tote Bag with Circles
There are a few different ways you could go about this, depending on the amount of time you want to spend and care you want to take. No matter how you attach the circles to the bag, first you’ll need some circles. 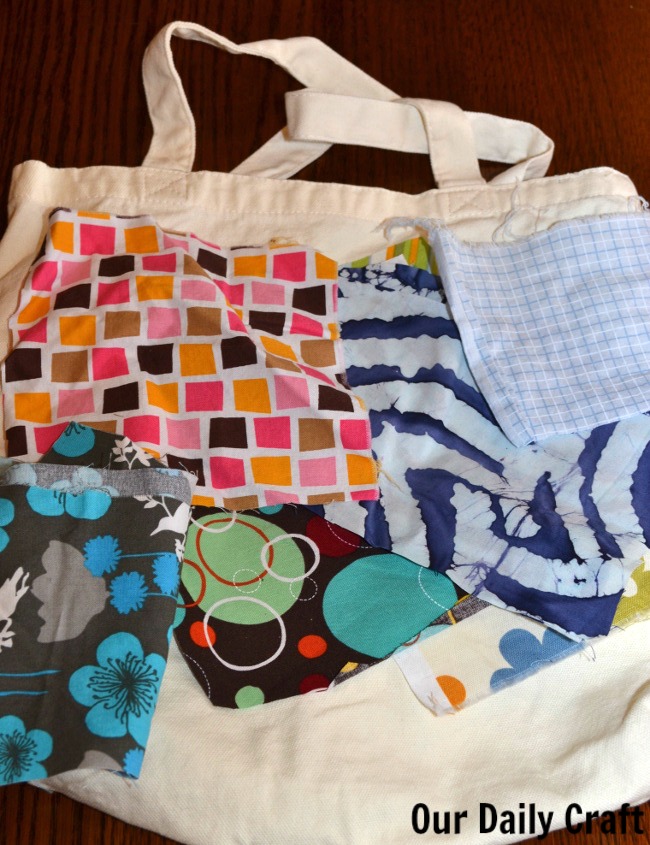
I grabbed some scraps and cut a few pieces out of some other fabric and started making circles by tracing bowls, cups and a little round candle holder. 
I decided I wanted the bold flower print to be the focus, so I made that circle the largest, and cut a few others of different sizes. You can do as many or as few as you like.
When it came time to attach them to the bag, I decided to use my glue gun with a fabric glue stick (did you even know there was such a thing? I just learned about them a couple of years ago and it’s so handy). 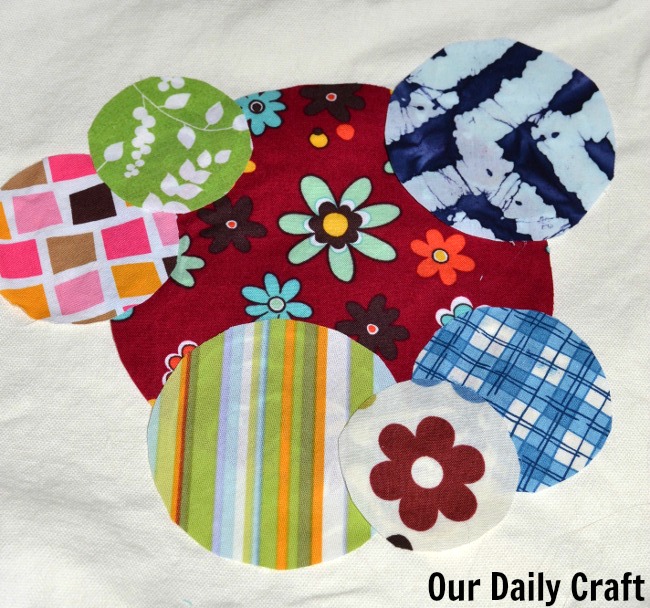
You could also use regular fabric glue (which was my plan, I just can’t find mine), or sew the pieces down by hand or machine.
Using the glue gun meant I had to work fast and couldn’t think much about where I was putting the pieces. My kind of craft.
I really like the way this turned out, and it will be a perfect bag to hold library books or a little shopping from the farmer’s market.
Make sure you check out Kat’s awesome Sharpie-decorated dishes, too. I actually almost bought oil-based Sharpies just yesterday.
Do you decorate with dots? I’d love to hear your ideas.
2 Comments
Very cute design. That’s a great way to cover a mess or logo and to use up fabric scraps.
I love to add dots to projects. They can add a finishing touch to a scrapbook page or doodle. I also like to use dot stencils and smear white modeling paste over random areas of a dark or colorful background.