
Affiliate links may be included for your convenience. View our privacy and affiliates policy for details.
Learn basic embroidery stitches to make stitching your designs easy and fun!
As I mentioned in my quick-start guide to embroidery, you don’t really have to know any “stitches” at all to get started on your first embroidery projects.
But if you want to do things in a more traditional way, there are a couple of basic embroidery stitches that will get you far in the embroider world: running stitch and back stitch.
How to Stitch Running Stitch
If you’ve been making stitches just by going up and down, in and out of the fabric, you’ve been doing a sort of running stitch. It’s the most basic embroidery stitch out there and it’s super simple and pretty fast to do, too.
At its most basic, you’re just going in and out of the fabric, with a little space between the stitches.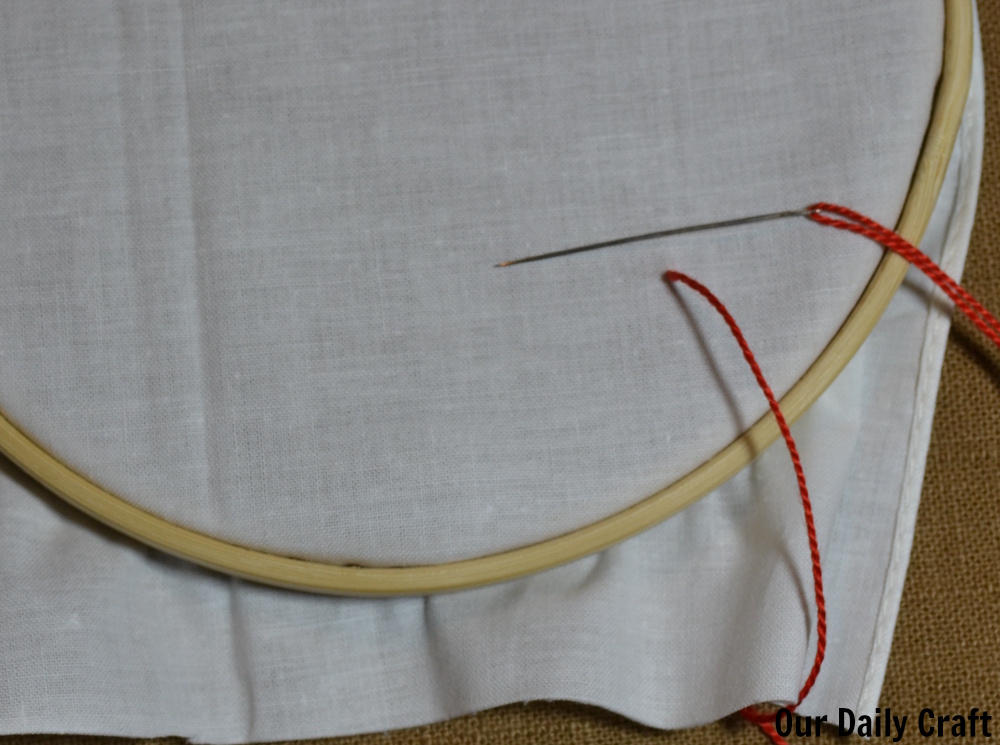
To start, bring the needle up through the fabric from the back to the front. Make a stitch by putting the needle into the fabric and pulling to the back. Leave a little space, then bring the needle back up through the fabric to the front. Continue in this manner to make your design.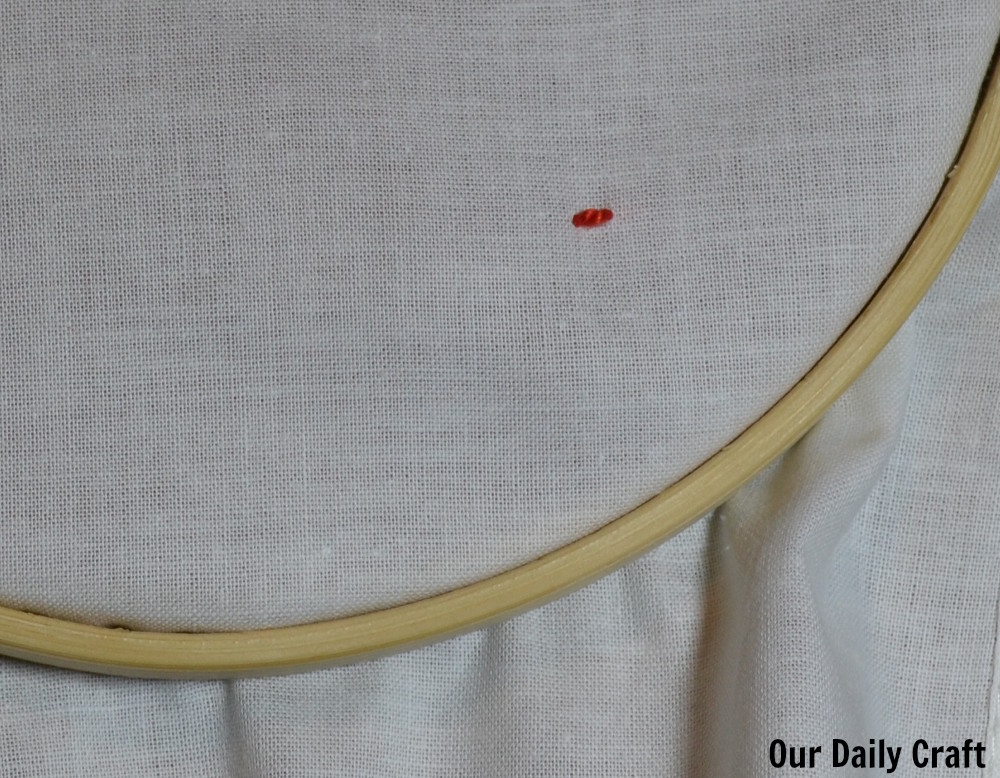
A slightly fancier way to do running stitch (and I assume where it got its name) is to form a few stitches at once by taking the needle up and down through the fabric — “running” through the fabric, as it were — then pulling the yarn through once to make several stitches.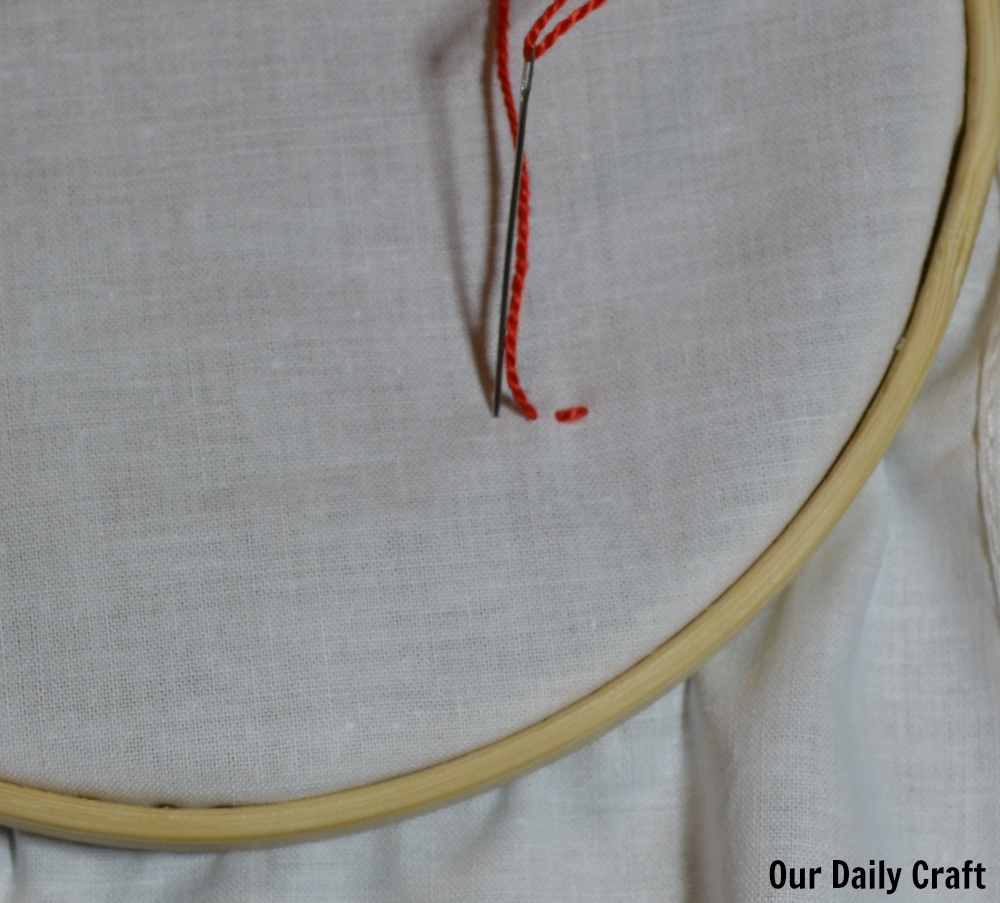
Either way, if you’re stitching and there are spaces between your stitches, you’re making running stitch.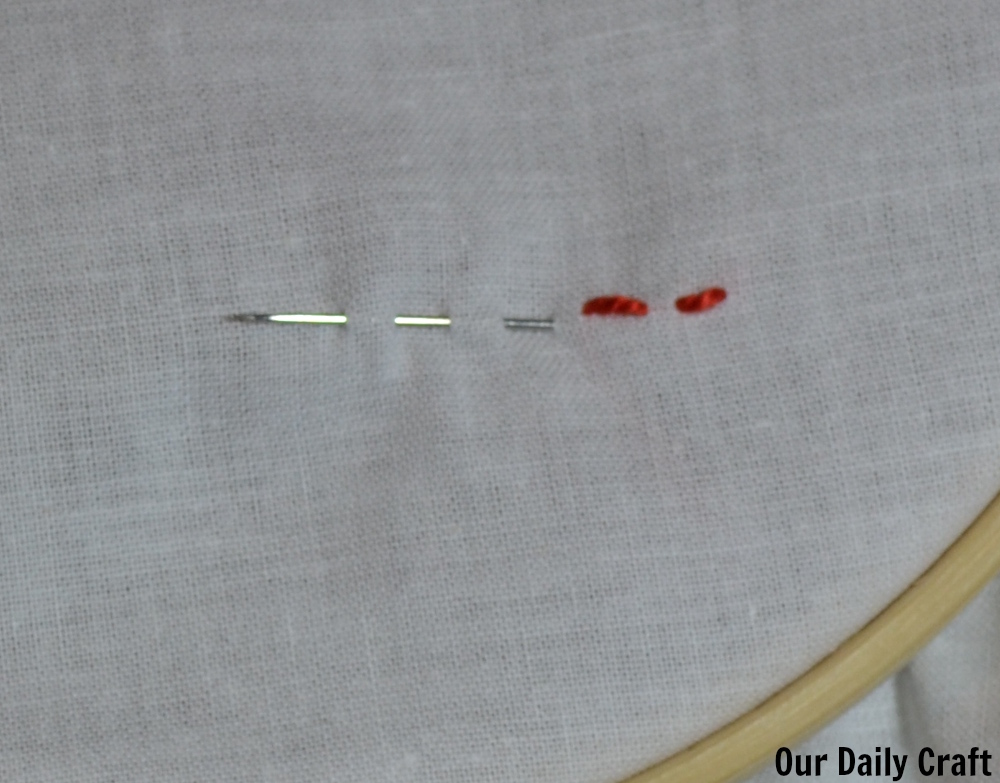
If you’d rather watch a video, I’ve got you covered:
Step Up Your Skills: Back Stitch
Back stitch is actually my favorite of the basic embroidery stitches because it produces a solid line of stitching. It’s actually still really easy to do but to me it looks a lot better, and if you do it right you can completely cover up the lines you made to guide your stitching.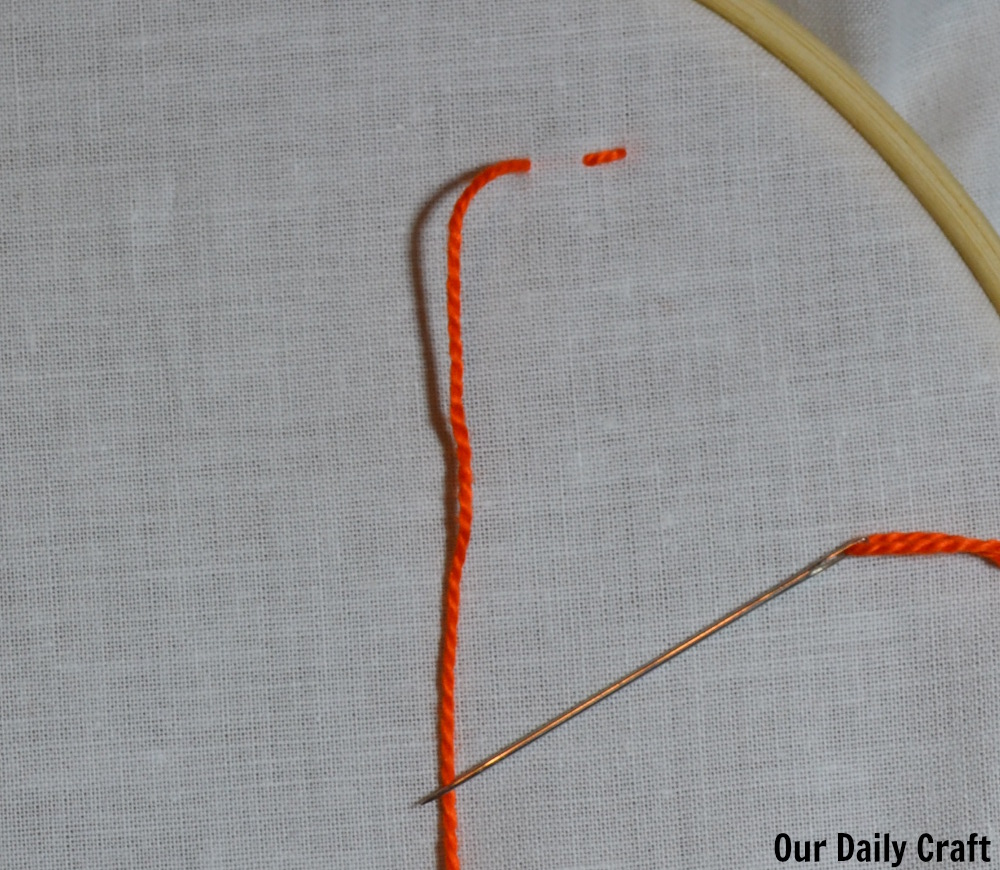
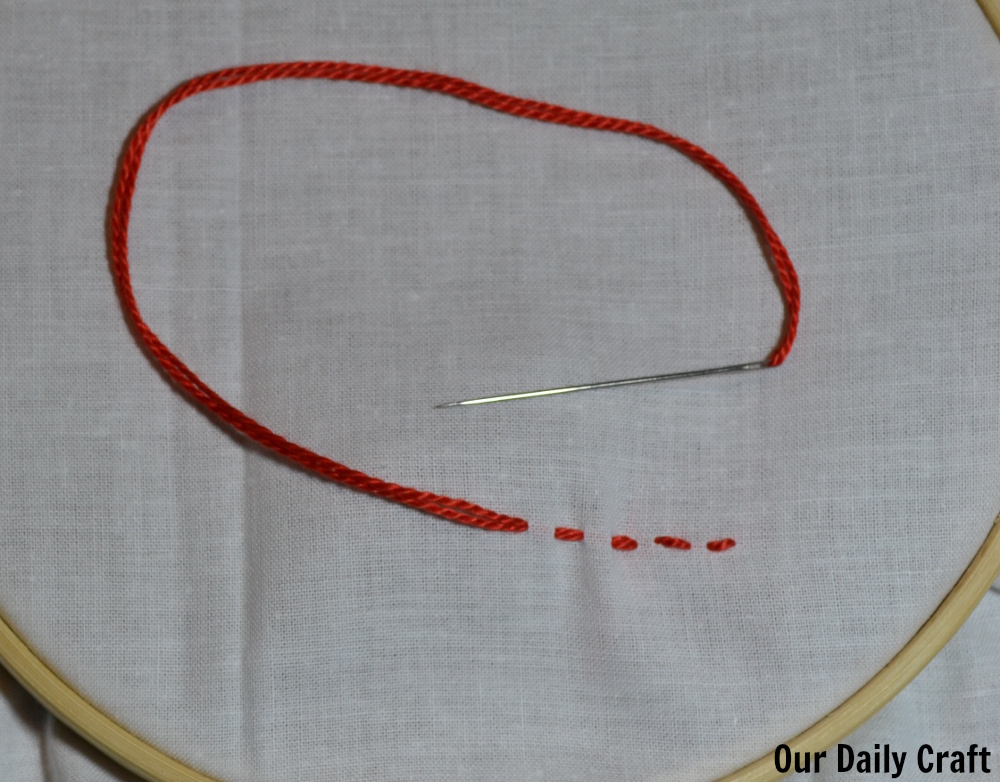
Your first stitch is just like running stitch. Come up to the front, make a stitch, then leave a space that’s about the same size as the stitch you just made.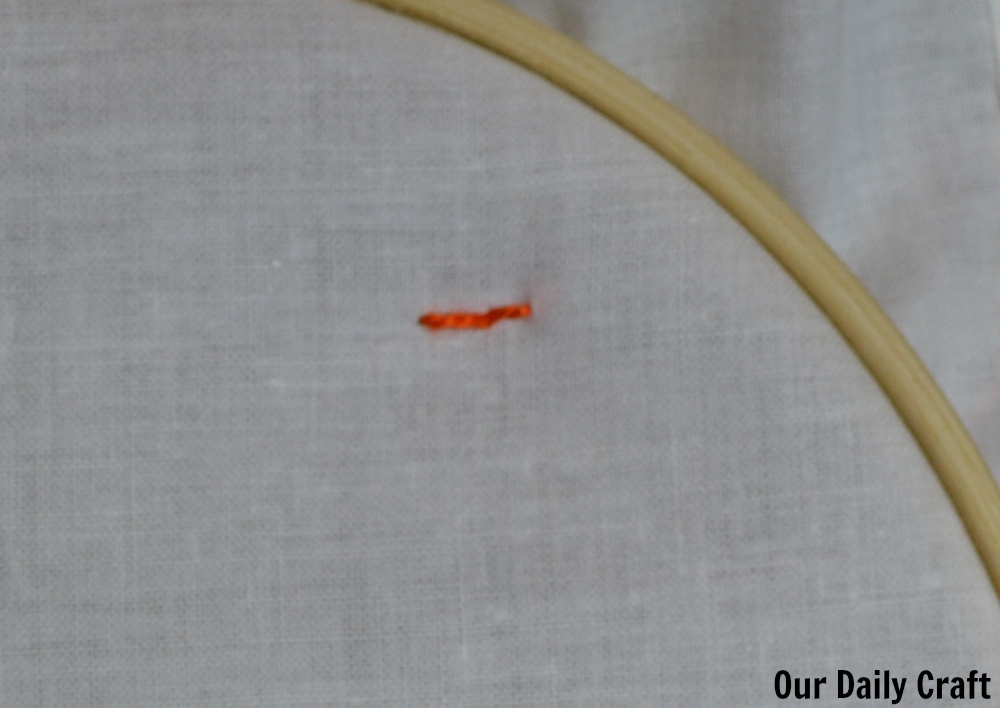
This time after you bring the needle to the front, instead of stitching forward you go back, finishing the stitch in the same place where the previous stitch started.
Then again when you start the next stitch, being where a running stitch would end, then finish where the last stitch ended and so on.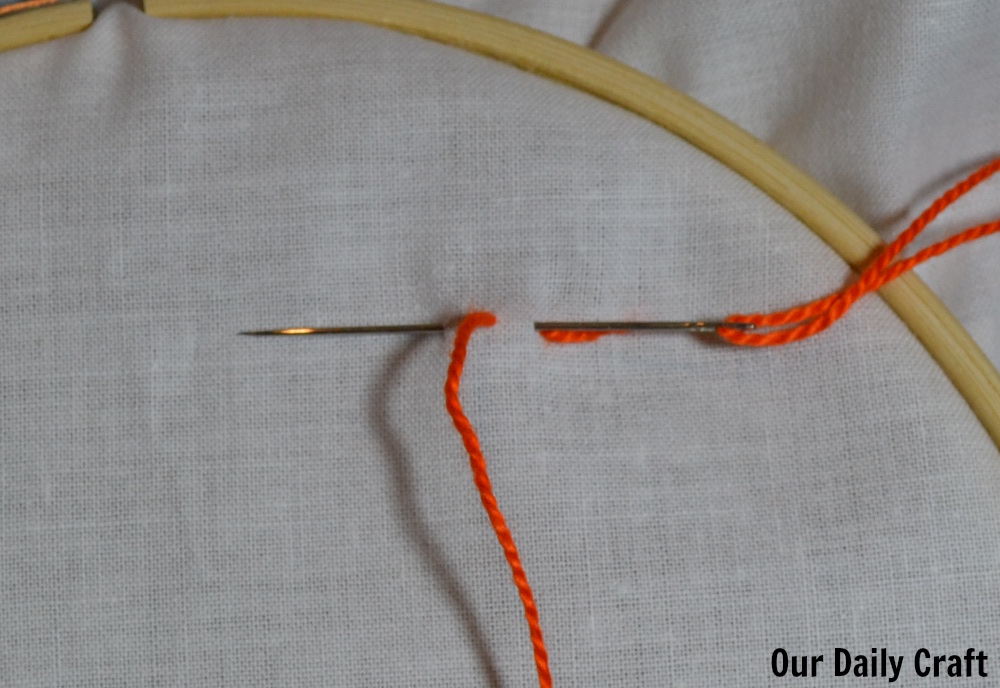
As with running stitch, you can also do the movements of back stitch in one movement. Start from the front, put the needle in the end of the stitch and slide it so it comes back up at the beginning of the next stitch.
And here’s a quick video of this one, too:
These two basic embroidery stitches are great for stitching lines, forming words, making the stems of flowers or outlines of shapes. You can really go far in embroidery just knowing these two stitches!
8 Comments
The directions look easy to follow, and it looks like a great idea for personalized. Thanks for sharing this tutorial with us.
Always awesome article from this blog.
Really useful content and explained very nicely.
Thanks for your support.
Really awesome and great article. Each step was very nicely explained.
Very important information for all of us.
Thank u very much for such a great article.
Love the simplicity of your guide. Clear instructions and a lot of pictures! It will compliment nicely my guide to hand sewing stitched over at Hello sewing https://hellosewing.com/basic-hand-sewing-stitches/
I’ll be pinning your guide and sharing it with friends!
Well, today I have learned some new stitches and techniques. Really happy to read your blog. Finally, I can start stitching my wall mat with these awesome stitches.
nice article, i really appreciate your efforts. it is very informative for me. this is interesting to read and very clearly explained the ideas. thanks for sharing such an amazing article. i also suggest to my friends.
The directions look easy to follow, and it looks like a great idea for personalized. Thanks for sharing this tutorial with us.