Affiliate links may be included for your convenience. View our privacy and affiliates policy for details.
Little kids make a lot of art. Which is great. It’s fun to see them try out new things, and to go from random scribbles to lines (my girl loves lines) and circles and, eventually, to drawings and paintings that look like things we can recognize.
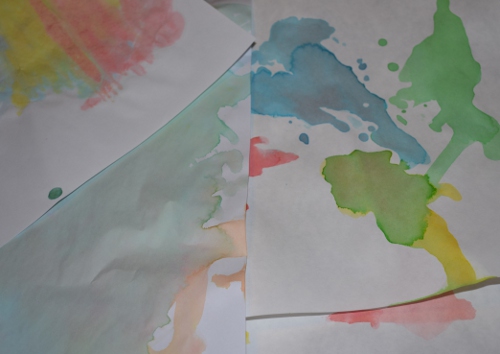
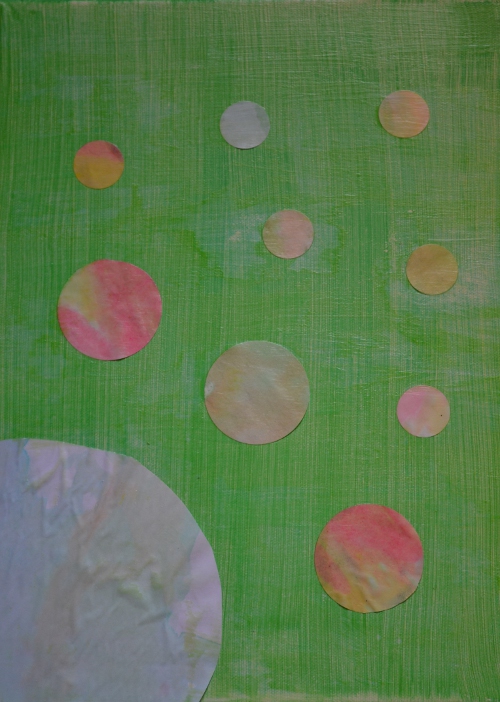
But we obviously can’t keep all of it. That doesn’t mean we don’t love it and don’t want to honor it in some way. I love using kid’s art in other art projects, like the Valentines I did for the Bit’s teachers this year. Here’s another idea, completely inspired by the projects at Squash Blossom Babies, but where she uses “scribbles,” I used paper the Bit had spilled liquid watercolor on (to call it painting would be incorrect, but it’s still a lot of fun).
What You’ll Need
- a canvas (I used an 11×14 one because that’s what I had at home)
- paint (I used green poster paint lightened up with white, which does not give perfect coverage, as you’ll see)
- foam brush
- kid paintings or drawings
- scissors, punches and/or things to trace, and a pencil
- Mod Podge (a glue stick or spray glue may be helpful, too)
What You’ll Do
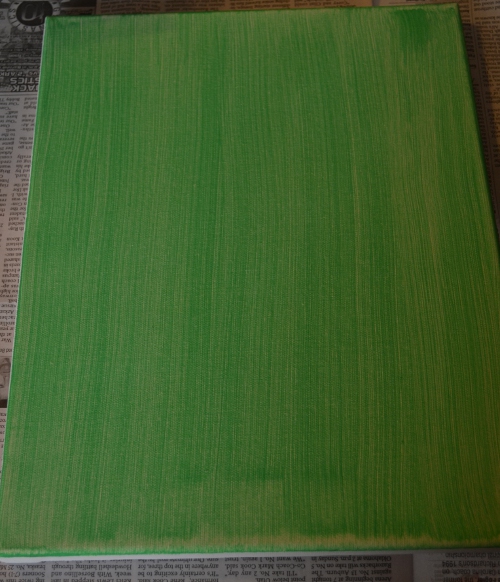
- Using the foam brush, paint your canvas and allow it to try. Since I knew from working with this paint before on canvas that it wouldn’t cover completely, I worked with that and made sure my brush strokes were straight up and down.
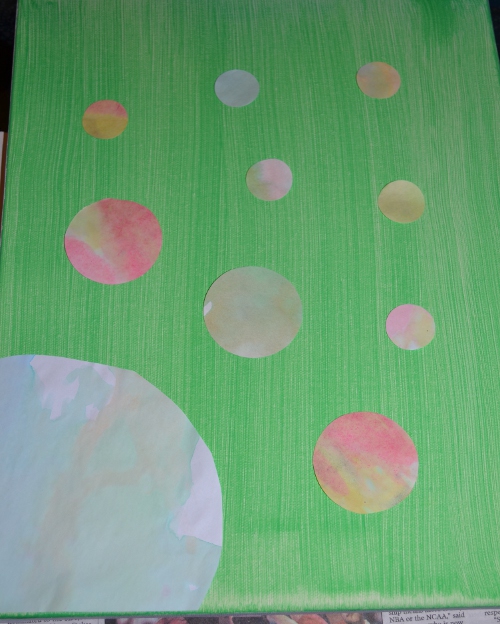
- Cut out shapes of your choosing from the artwork. I used circles because I have a couple of different-sized circle punches (the corner circle I actually made by tracing the plate I had my paint on). Arrange as you’d like on the canvas.
- If you want, use spray glue and/or glue stick to help position the pieces, or just use Mod Podge for everything. Cover the whole canvas and let it dry. I actually used two coats in an attempt to get some of the pieces to stick down better. I also applied the Mod Podge with the foam brush and predominantly made my brush strokes from side to side, just to be different.
I should mention that over-enthusiastic application of Mod Podge in an attempt to get pieces to stick led to some smudgy spots, which are actually less noticeable in reality than they are in this picture. As Emeril might say, “We’re really crafting here,” and you will do better than I did, I’m sure.
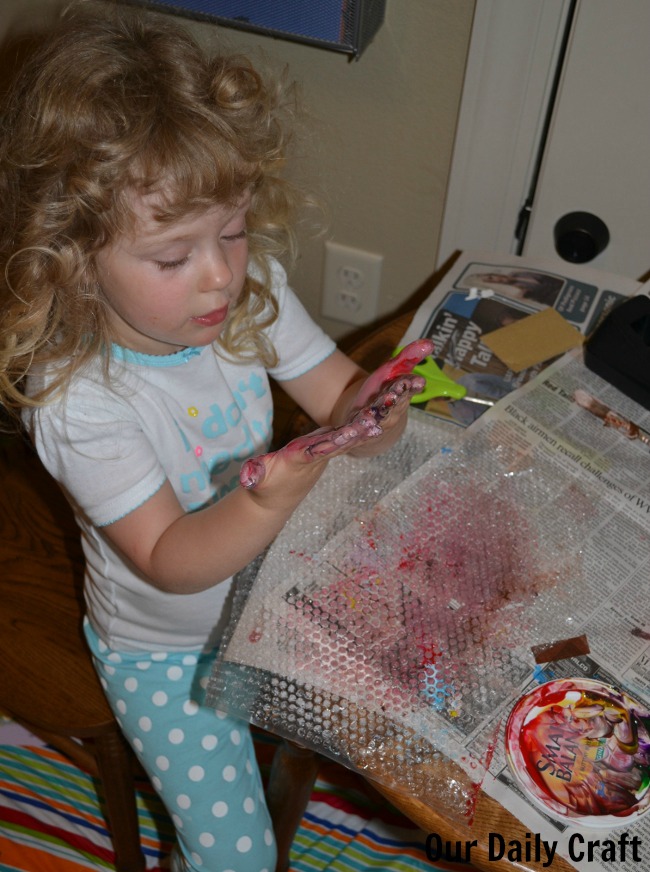
I think this is a really cute, really easy project that grandparents and other family members will love, and it also gives you a way to remember your child’s artwork without having to keep all of it. This piece will always remind me of how she always insisted on pouring the watercolors instead of using a brush, and the cool effects she got when she did that.
How do you use kids’ art in your own crafting projects? I’d love to hear your ideas.
Thanks for visiting, commenting and sharing!
This post is linked to It’s Playtime!, A Crafty Soiree , Happy Hour Projects and Creative Juice. Check them out for lots more crafty ideas!
8 Comments
I have a stack of my son’s artwork just waiting for a project. Thanks for sharing this idea!
Excellent! Have fun.
Informative posting, it is fantastic to find worthwhile info online, I am
genuinely suprised to discover a blog that is not full of the ubiquitous trash,
thank you.
This is really a cute piece of art. I’m really impressed by your work. Thank you for sharing. I truly enjoyed reading your blog.
To be wholly devoted to some intellectual exercise is
to have succeeded in life.
Knowing others is wisdom, knowing yourself is Enlightenment.
Motіvаtion іs thе art of getting pеople to dο what you ωant them tο do becаuse thеy want to do it.
Very good information. Lucky me I found your blog by chance (stumbleupon).
I’ve bookmarked it for later!