Affiliate links may be included for your convenience. View our privacy and affiliates policy for details.
Sometimes the easiest projects are among the most fun and interesting. Using bubble wrap as a texture for printing is about as easy as it gets, but the results are always exciting.
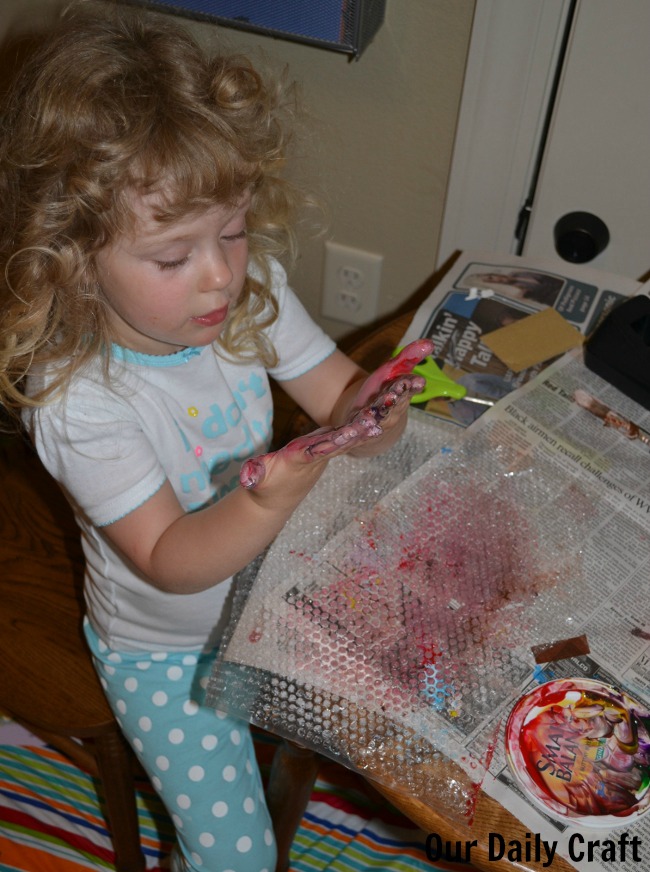
The other day the Bit wanted to work on a project using bubble wrap, so I suggested she paint the wrap and use it as a print on paper.
She started by pulling out some mostly dried up paints that I brought back a little with some water and gave back to her on a paint brush. 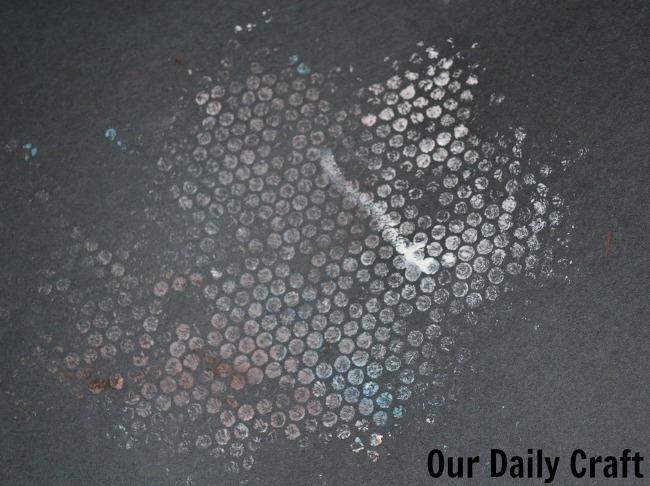
The second one she made with finger paint in three colors that I put on a palette but that got pretty well mixed up on the bubble wrap.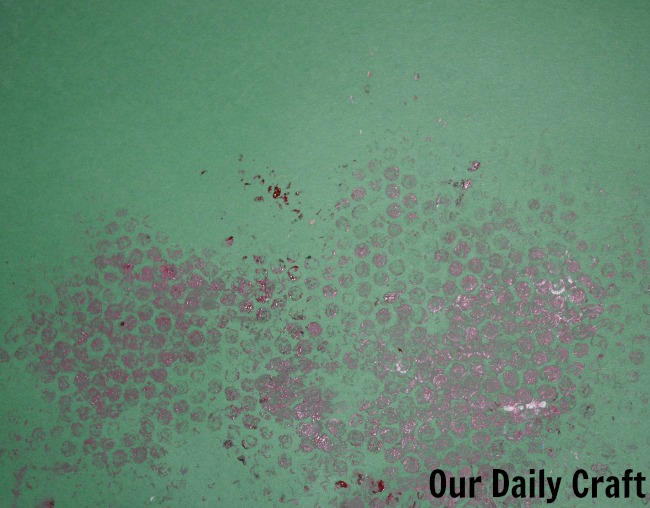
Finally I squirted three colors of glittery paint right on the bubble wrap and she spread that around. 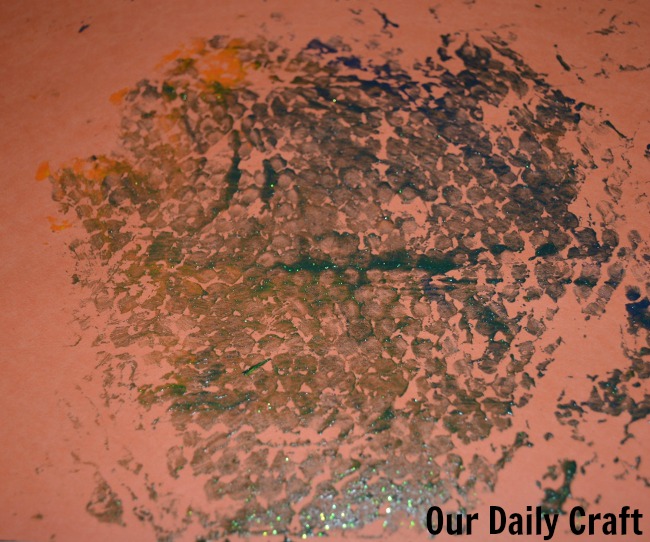
We also experimented with using watercolors (didn’t work) and pressing the bubble wrap onto the paper versus pressing the paper onto the wrap (the second is a lot easier).
And this whole process was maybe 15 minutes, but we packed in lots of fun art making and creative play. Which is what I love most of all.
Things You Could Try
- Use different kinds of paint.
- Choose colors that mix well and talk about how the colors will mix when you blend them.
- Try using paintbrushes to apply the paint, then hands.
- Cut the bubble wrap into shapes first. Or cut your paper into shapes.
- Cut the paper after the shape is dry or use it in a collage.
- Print a second color on top of the first after it is dry.
Have you ever tried bubble wrap prints? I’d love to about it! If you haven’t, it’s lots of fun and uses supplies you probably already have, which is always good.
