Affiliate links may be included for your convenience. View our privacy and affiliates policy for details.
This simple Daisy bridging ceremony doesn’t require a lot of planning but the girls will love it.
Affiliate links included for your convenience.
I didn’t plan to be my daughter’s Girl Scout Daisy troop leader.
I was kind of interested in helping the real leader, so I dropped in on a few meetings. Then she up and moved to North Carolina, so I was the natural choice (i.e., the only mom available) to take over.
It’s been fun, and sweet to hang out with those girls.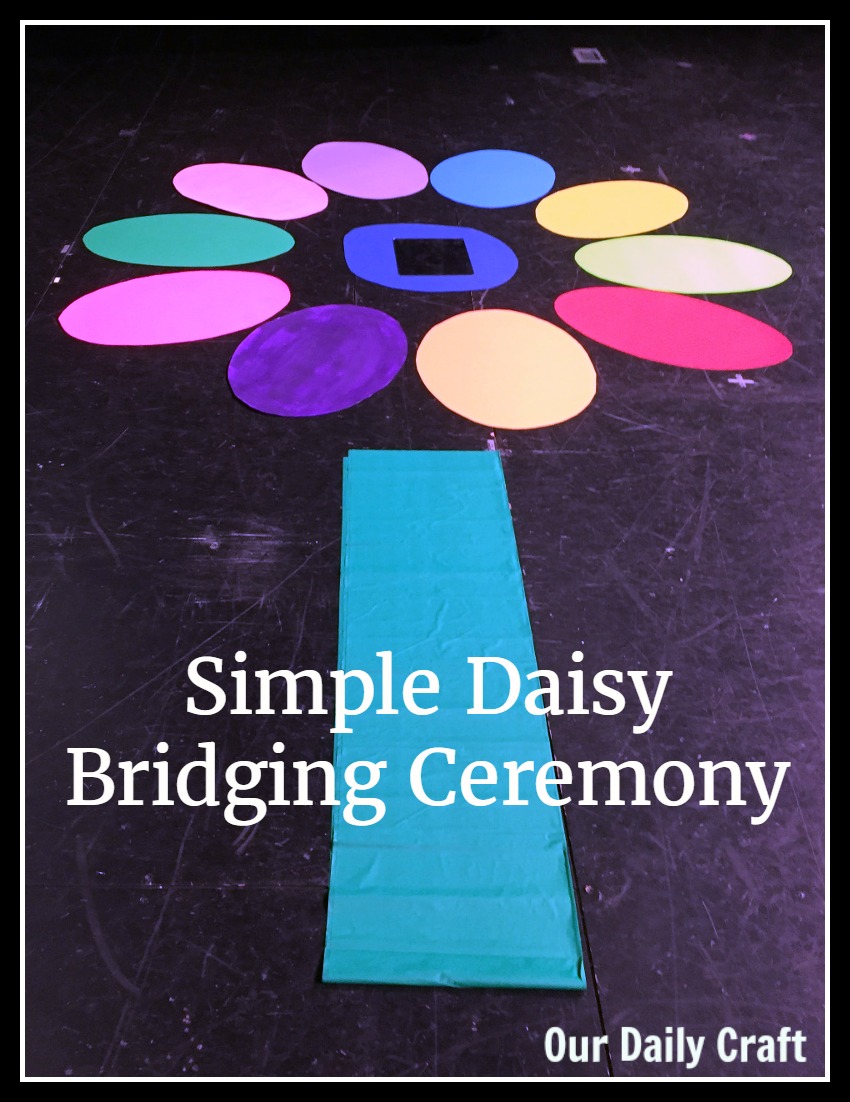
But then we got to the end of the year and I kind of panicked. What were we going to do for a bridging ceremony?
I only had three first graders, so I didn’t want to make too much of a fuss, but one of them was the girl, so I wanted it to be nice for her.
Four days before the event I finally developed a plan for a simple Daisy bridging ceremony you can pull off without too much effort or expense, no matter where you hold your meetings.
The Centerpiece: Poster Board Daisy “Bridge”
My main problem was we meet at school, and there’s no actual bridge handy. I wanted them to literally walk across something to symbolize a bridge, but I wasn’t sure what to do until I came across a picture (no credit, unfortunately) at the Trailhead of a giant daisy made of posterboard with a green plastic tablecloth stem.
The girls could walk down the stem, which is kind of like a bridge, and end up in the center of the daisy. They made it even cuter, but we’ll get to that.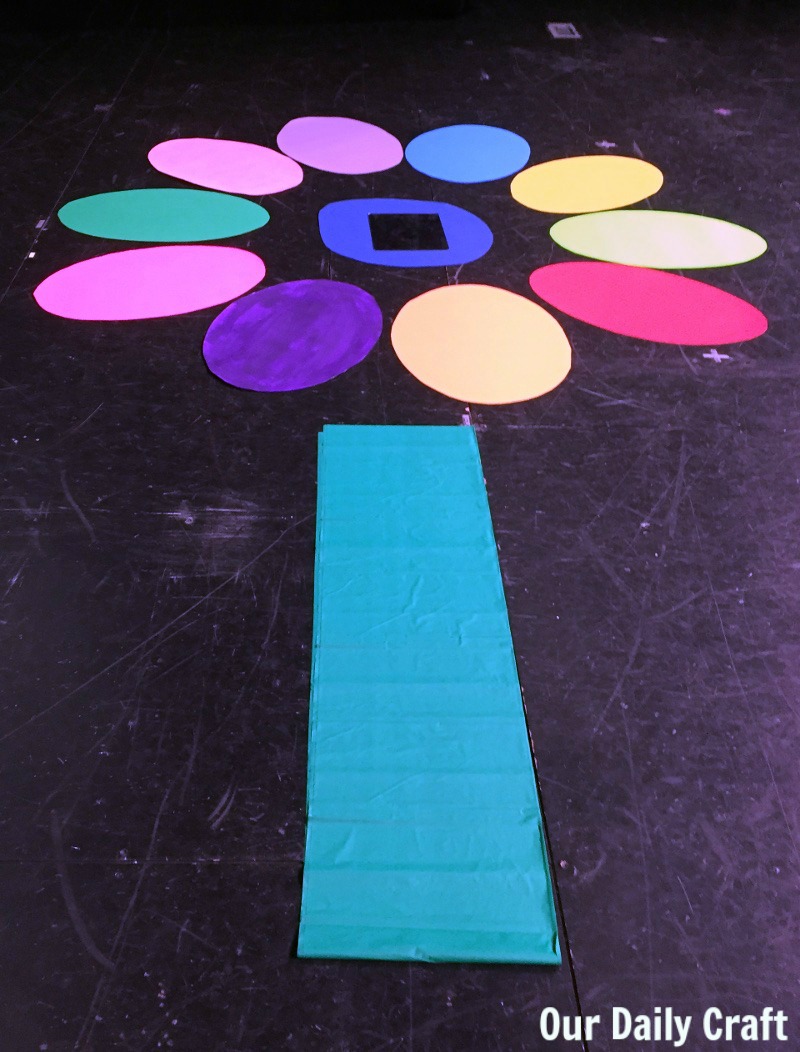
To make the giant Daisy, you will need as many colors of posterboard as you can get your hands on. I actually found most of the necessary colors between a trip to the craft store and the dollar store (if you have time to order you can buy packs of multicolored poster boards online), and I only ended up having to paint the baby pink and dark purple petals.
In all you will need red, orange, yellow, light blue, dark blue, light green, dark green, light purple, dark purple, baby pink and hot pink.
The darker blue is the center. It’s not quite round, not quite square. Draw the shape with a marker and cut it out.
All the other colors — plus any white ones that need to be painted — are large oval petals. I freehand drew the first one, then used it as the template for the others so they would be basically the same shape.
Paint any of the petals that need to be painted, and allow to dry overnight, touching up as needed.
To make the flower, put the center down on the floor and the petals around it (light blue at the top, followed by yellow, light green, red, orange, dark purple, hot pink, dark green, baby pink, light purple clockwise around). Use a folded up rectangular green plastic tablecloth (mine is from the dollar store) as the stem.
The Brownie Story
I wanted to read the Brownie story (I found a copy, with optional audience participation, at DohlScouting) and have the girls look into a mirror and see themselves, so I put the mirror in the center of the daisy, as if it were the lake.
This turned out to be a super cute idea, because the girls then walked around the petals for the “twist me a turn me” part before looking into the “water.”
I read the story and told them that we hoped they would show these qualities as Brownies: helping others, making new friends, learning new things.
Certificates and Gifts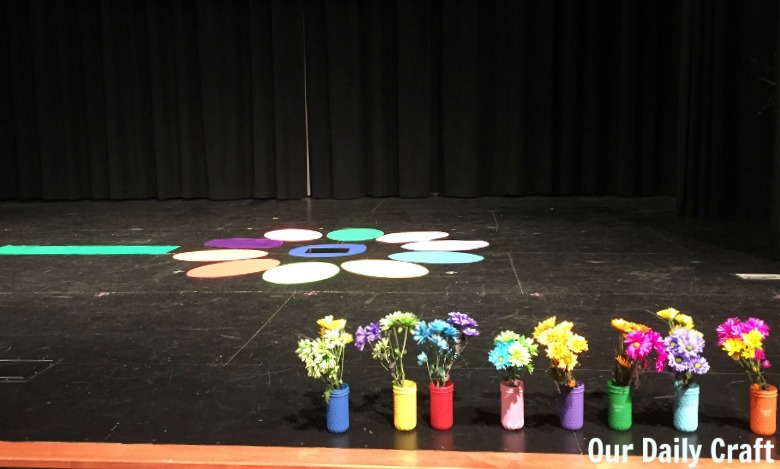
Each of the bridging girls got her new badges and a bridging certificate, but because my group is majority kindergartners I didn’t want to leave them out.
Luckily, Mighty Girls Rock has adorable end-of-year Daisy certificates for first-year girls as well as those bridging, so I made one for everyone.
I also painted Mason jars and filled them with rainbow-colored daisies, so each girl got to take a vase home.
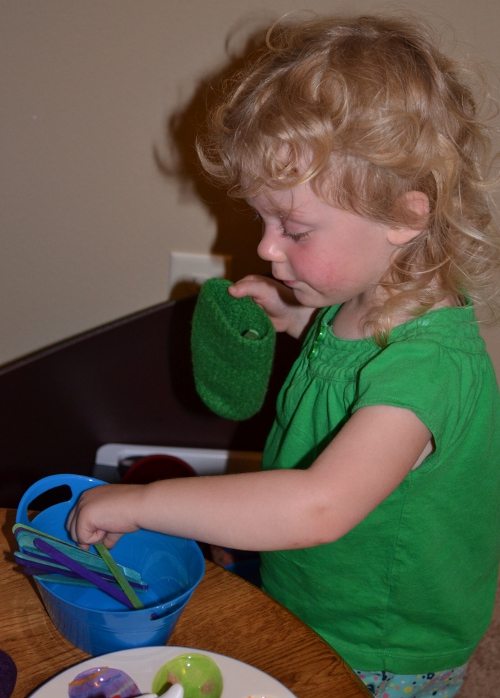
And I had rainbow beaded pin kits to give to each of them. Some of them made the craft during the ice cream party portion of our meeting, while others took them home to make.
It was indeed a pretty simple Daisy bridging ceremony that they all enjoyed but that didn’t take too much work, planning or setup (less than 10 minutes) on my part. I think they all enjoyed it, and now the troop has a prop for bridging or other events they can use for years to come.
If you have a bigger group of girls or want a more involved ceremony, check out this post from Use Resources Wisely.
2 Comments
Hi Sarah!
Thanks for the link back! I LOVE how easy this ceremony is!
Find out what Girl Scouts at the next level do. This is the reverse of step one – team up with an older troop who may be bridging and needs to “Pass it On.” This makes it a win, win for all involved.