Affiliate links may be included for your convenience. View our privacy and affiliates policy for details.
Make an easy rainbow beaded pin project kit for Girl Scouts or for rainbow-loving kids.
Affiliate links are included for your convenience.
When I was preparing for my daughter’s (and my troop’s) last Daisy meeting, I wanted to give them a little craft project that was quick and easy to make at the meeting or over the summer. I found some cute bridging troop number swap kits at Making Friends, but it was way too late in the game for me to buy something, and I didn’t need 30 of them, so this is my DIY version. 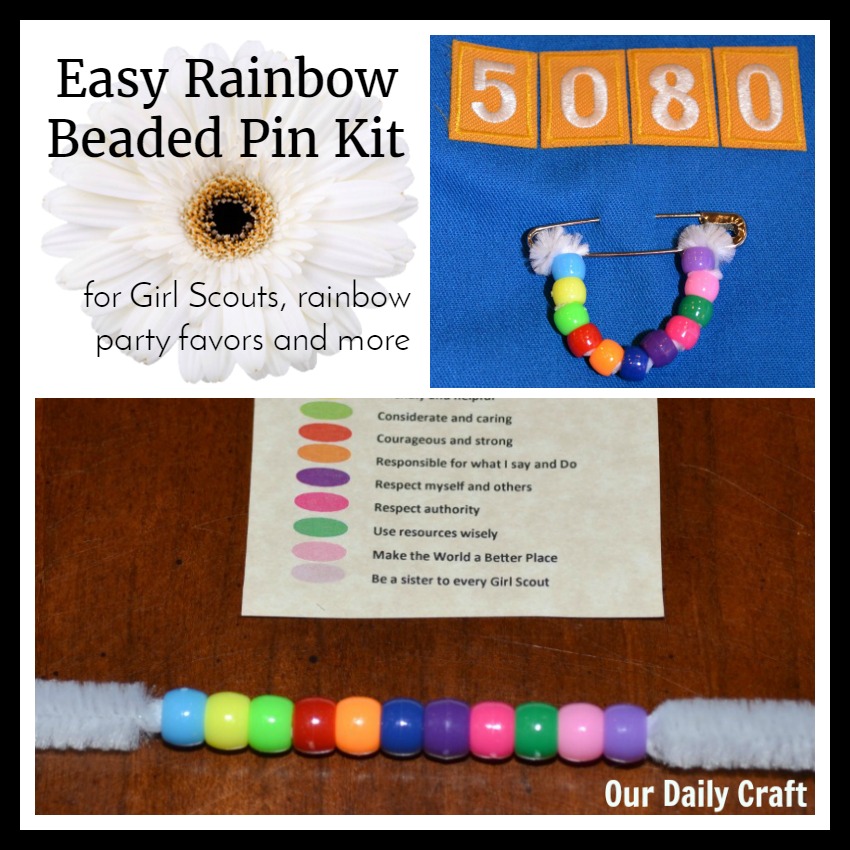
What You’ll Need
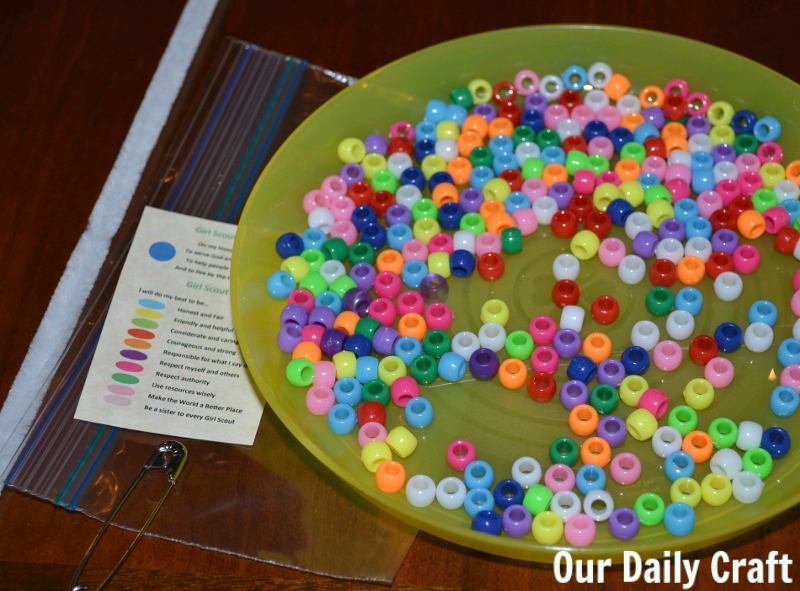
- one pack of rainbow-colored pony beads, plus other beads as needed to get all the colors (my dollar store bead pack had everything except there was only one shade of purple)
- white pipe cleaners
- large safety pins
- snack size zip-top bags
- printable Girl Scout Daisy petal list (optional; I got mine from Mighty Girls Rock, which is a Facebook group you have to join to access the printables)
A Note on Colors
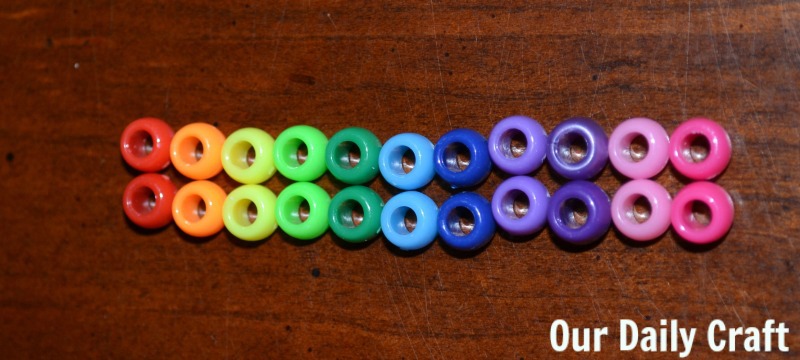
If you want beads to represent each of the Daisy petals you will need 11 colors total:
- red
- orange
- yellow
- light green
- dark green
- light blue
- dark blue
- light purple
- dark purple
- light pink
- hot pink
If you want to just make a rainbow, use
- red
- orange
- yellow
- green
- blue
- purple
I put two of each color of bead into my rainbow beaded pin kit because I thought they might like the option of making a bracelet instead/also.
Assembling the Rainbow Beaded Pin Kit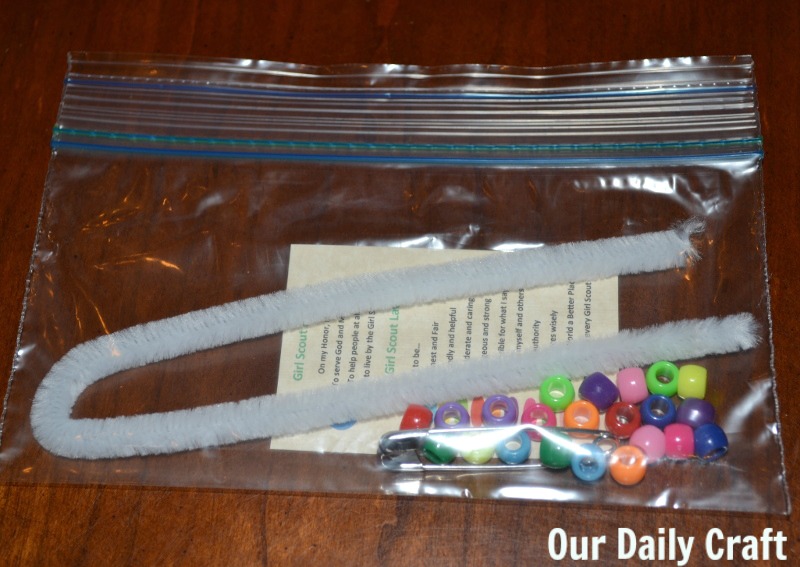
- For each kit you’ll need the full set of beads you want to use, a pipe cleaner, a safety pin and the printout of the Daisy petals, if using.
- Put all in a snack-size zip bag.
- Make as many as you need. I had eight (nine, really, because I made a sample of the pin, too) and still had plenty of beads left over. If you need a huge quantity, buy more beads.
Making the Rainbow Beaded Pin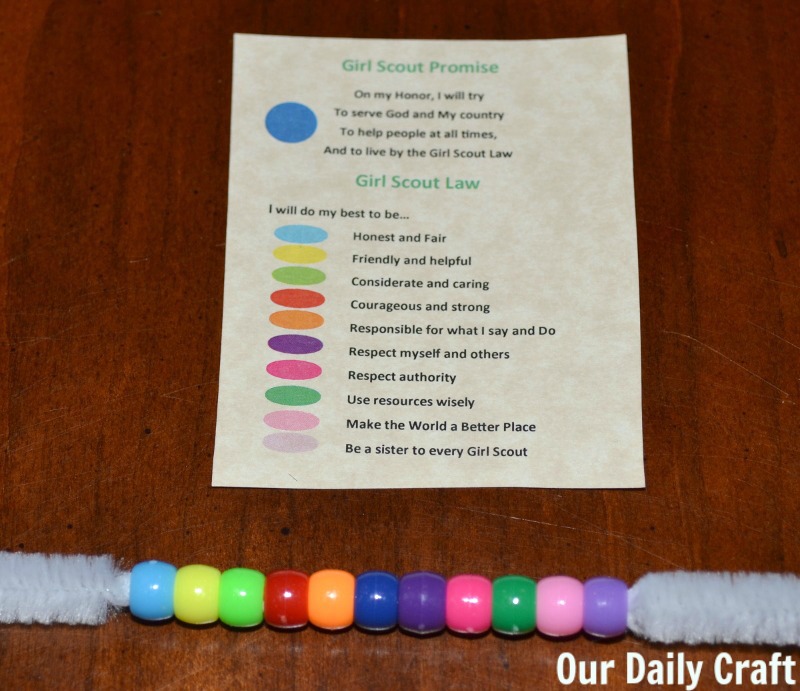
- To make the pin, arrange your beads in the order you want them. I put the darker blue in the center with five colors on each side.
- Slide the beads onto your pipe cleaner.
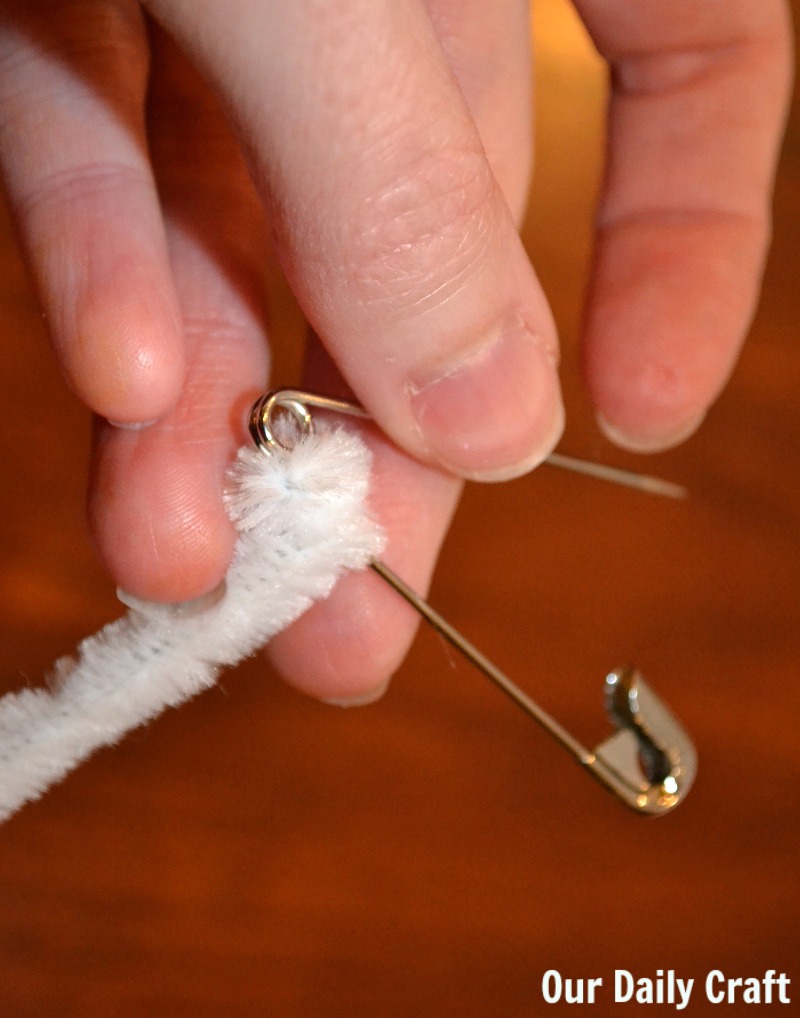
- Wrap one end of the pipe cleaner around one side of the part of the safety pin that doesn’t open.
- Spread your beads out and shape the pipe cleaner so it makes a U shape.

- Wrap the other end of the pipe cleaner around this end of the pipe cleaner and trim.
- Wear as a pin on your Daisy vest or anywhere else.
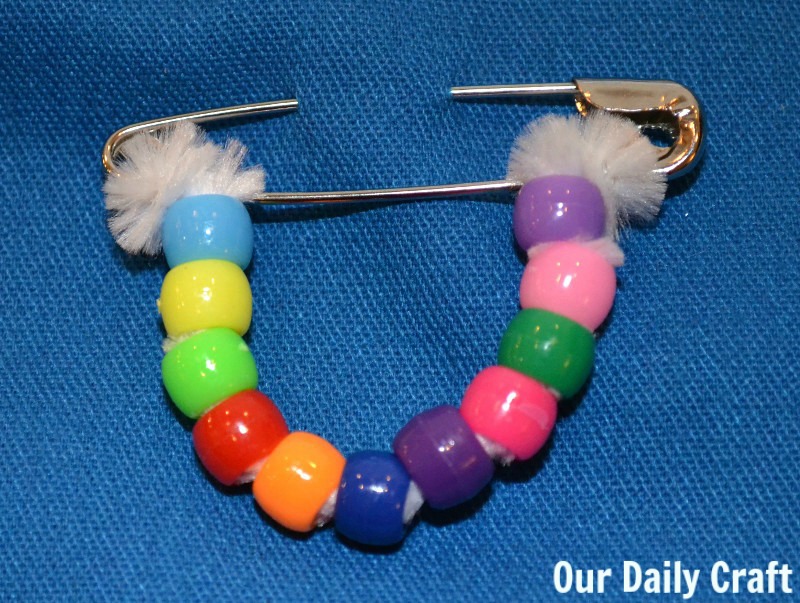
I love these little pins and that they will be a reminder to the girls of the year we’ve spent together.
Do you make Daisy-themed crafts with your girls? I’d love to hear your ideas.
