Affiliate links may be included for your convenience. View our privacy and affiliates policy for details.
We’ve been doing a lot of fun crafts while the girl has been home, so much so that I haven’t had a lot of time to write about them. But one thing we’ve done that was super fun, easy setup, great for kids and adults (and super messy!) was making marbled paintings with shaving cream.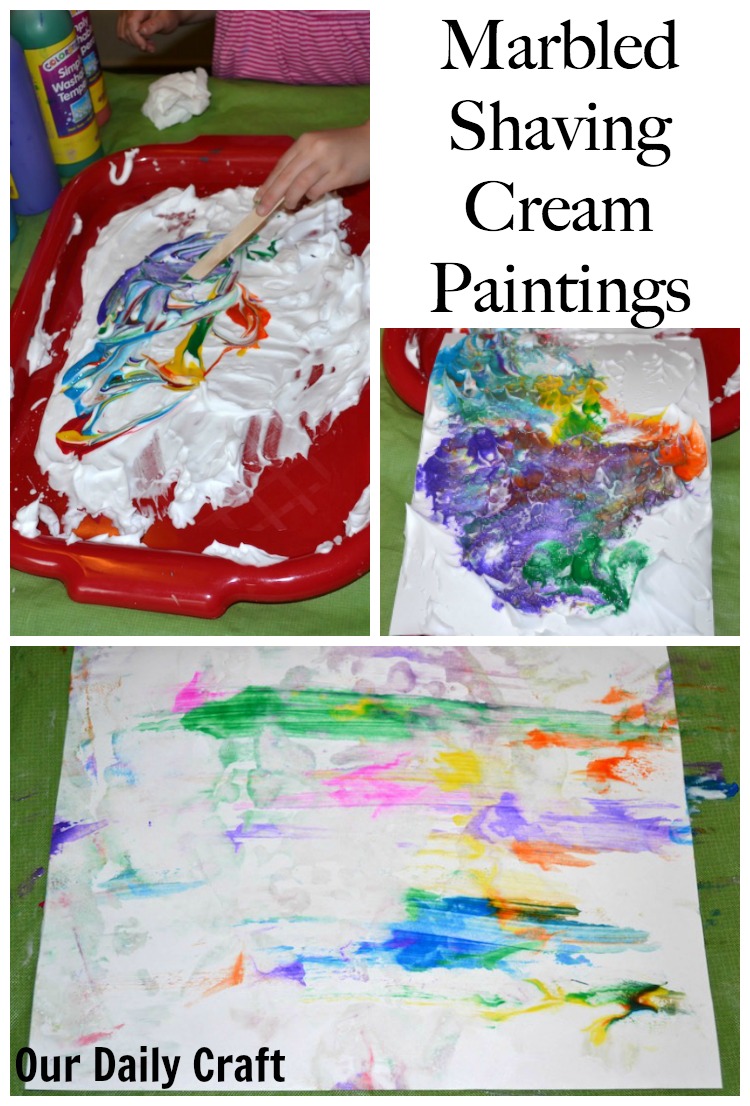
The only thing you might not have in your house to do this project is the shaving cream, because you need some that is foam, not gel. I bought mine at the dollar store but you can find inexpensive shaving cream just about anywhere.
What You’ll Need
- shaving cream
- paint (we used regular acrylic, but you can also use liquid watercolors if you have them)
- heavy paper (we used cardstock)
- craft sticks
- a big tray to work in and a covered work surface (we used the kitchen table covered with a plastic tablecloth)
How to Make Marbled Paintings with Shaving Cream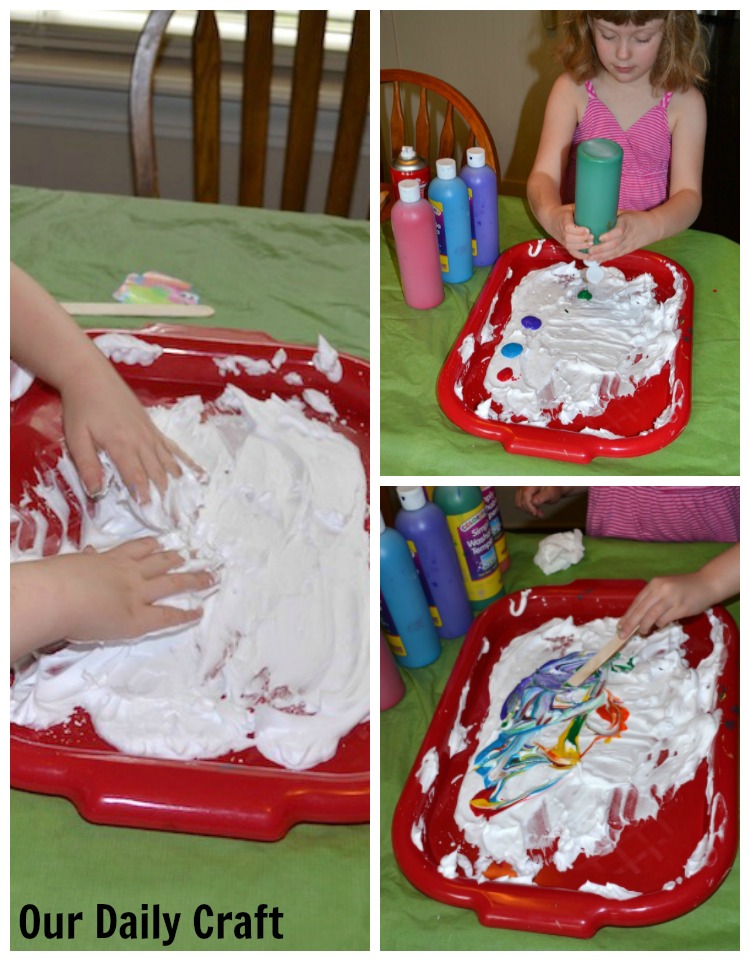
Spray shaving cream on the tray and spread out.
Drop paint onto shaving cream. Mix a little with a craft stick.
Press paper on top of shaving cream. Pull up gently. 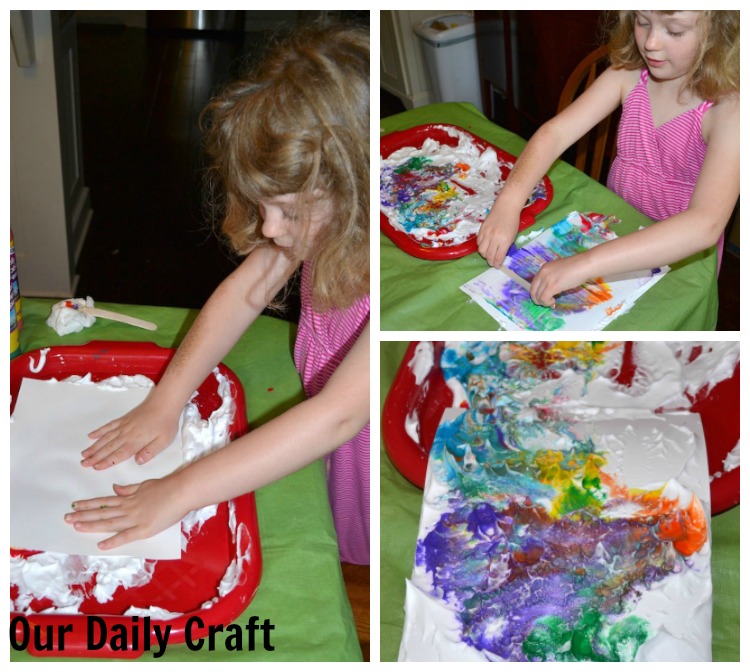
Use a craft stick to scrape the shaving cream off the paper. You might also want a paper towel handy to wipe down the edges.
Allow to dry. Repeat as much as you want, applying new shaving cream and paint as needed. 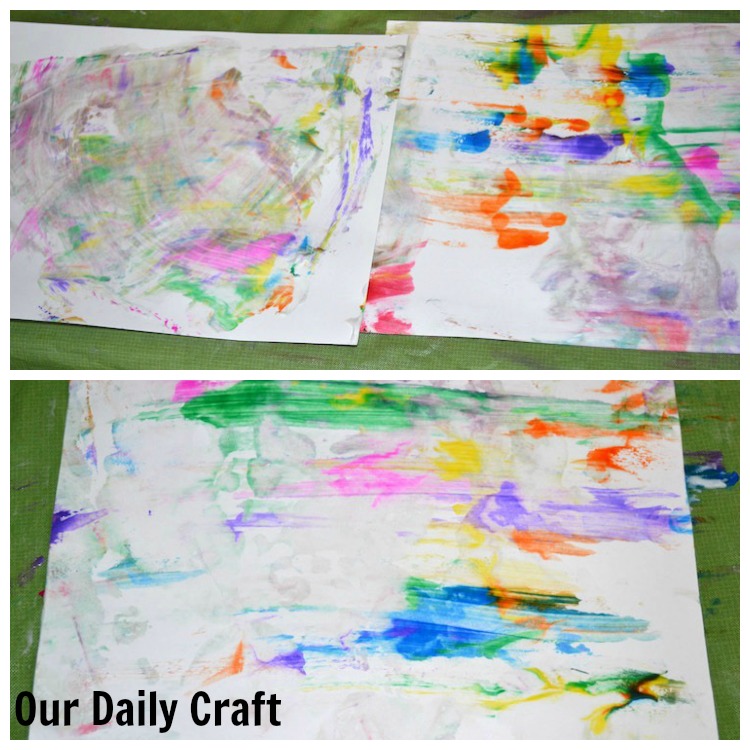
A few of these I also made by “painting” with the craft stick that was covered with shaving cream and paint.
Either way it’s really cool to see how this works and how each one comes out different.
Have you ever tried making marbled paintings with shaving cream? I’d love to hear how it went for you!


3 Comments
HaHa! My loss, I’ve always used an electric shaver.
I did do some paintings with a “painting pin.” I would blob several colors of paint on a canvas, cover with wax paper, and roll it with a rolling pin. Sometimes they became flowers or just attractive abstract designs.
Such an amazing post. Thanks a lot for another great information. This website has been my gateway to information 🙂