Affiliate links may be included for your convenience. View our privacy and affiliates policy for details.
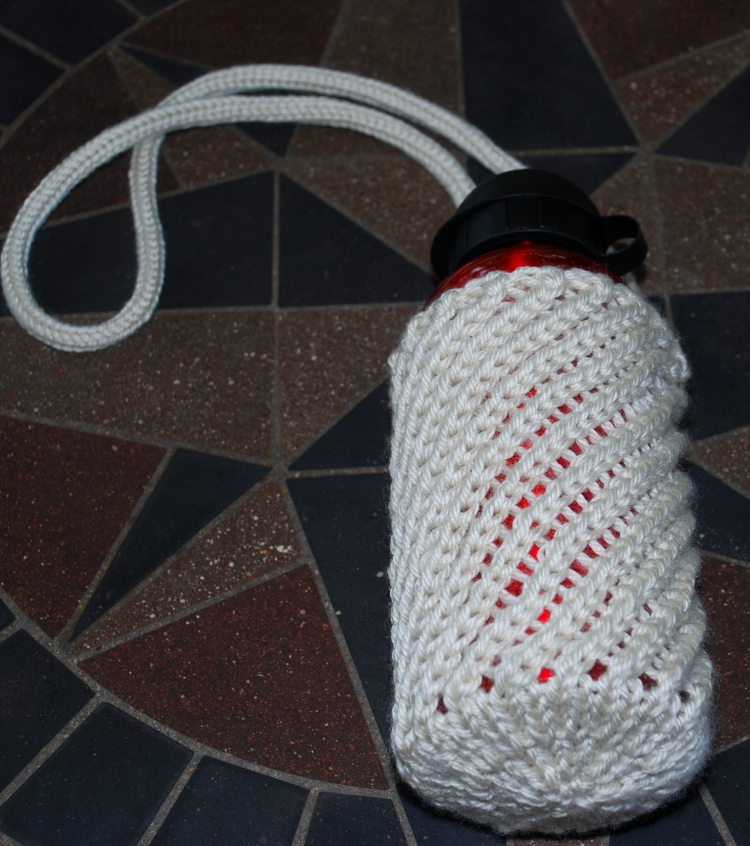
The figure 8 cast on is my preferred cast on for toe-up socks, though it could be used for other small tubes like body parts for knit amigurumi. Learn to make the figure 8 cast on with this tutorial.
What is the Figure 8 Cast On?
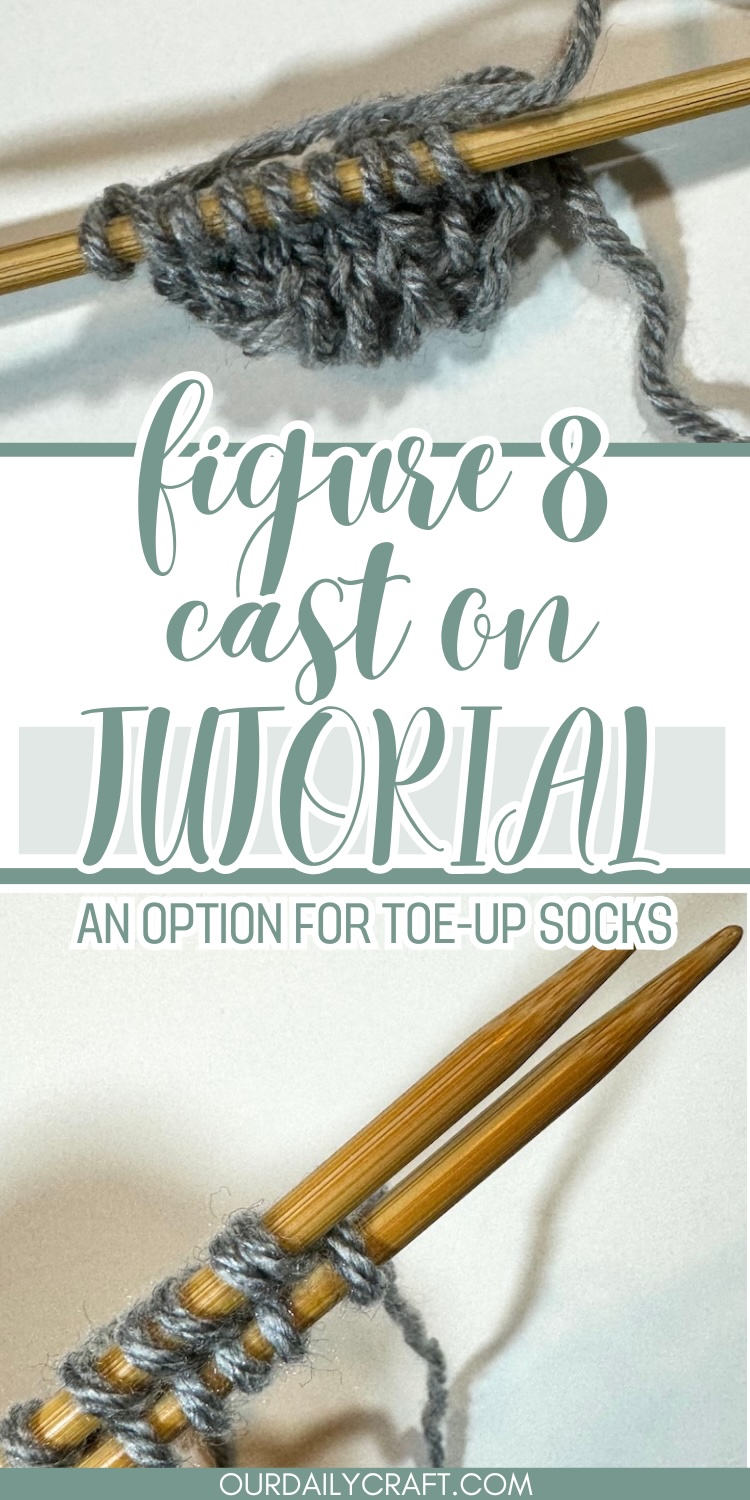
This cast on is worked over two double-pointed knitting needles and the yarn is wrapped around and between them like a figure 8.
It creates a seamless beginning for a toe-up sock or other knitting project, and is quick and easy to make.
Advantages and Disadvantages
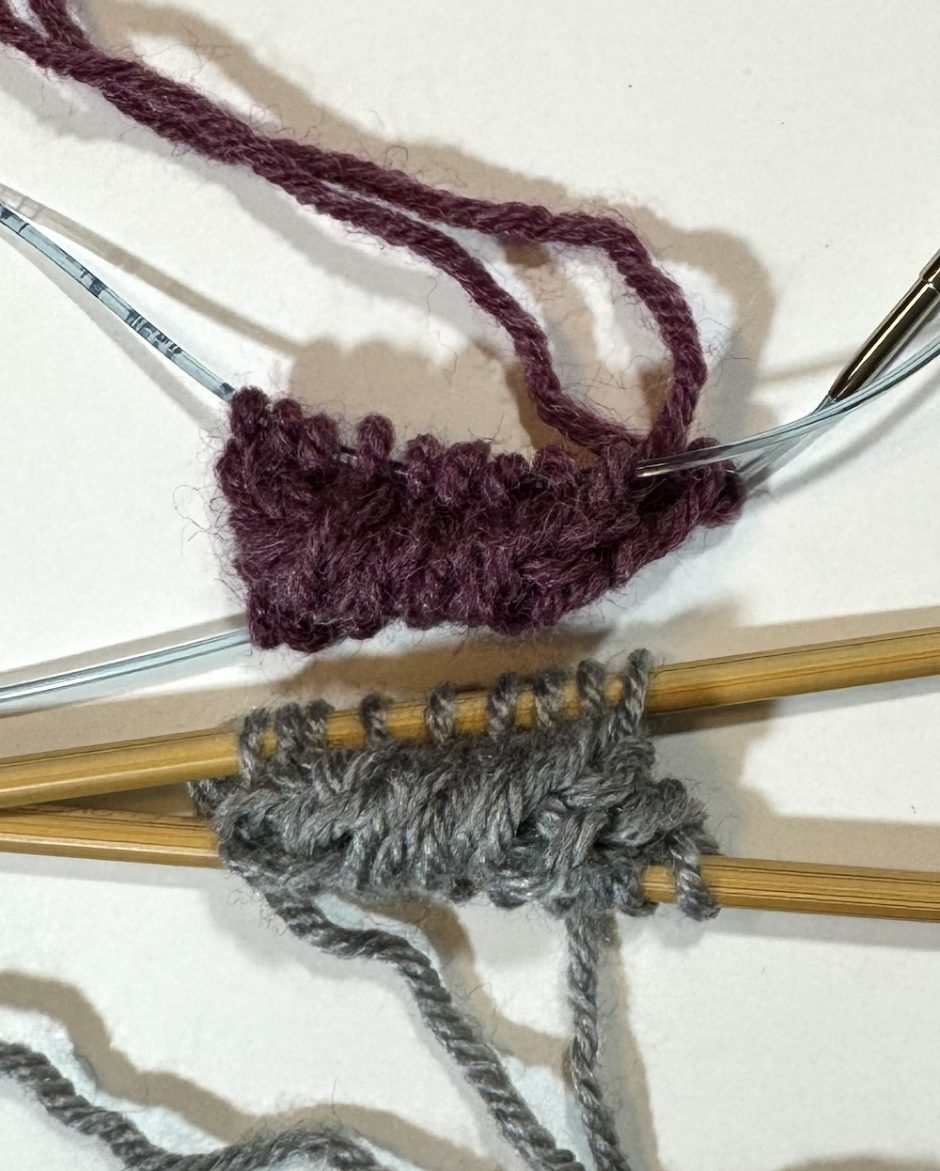
Compared to the Turkish cast on, which is a similar process for casting on for toe-up socks, I find the figure 8 cast on a little easier to do. You can also work it on double-pointed knitting needles, where the Turkish cast on needs to be done on a circular knitting needle.
The trouble with the figure 8 cast on, at least for me, is that I find it difficult to get my tension even on that first round of stitches, so it’s not quite as pretty as the Turkish cast on.
Then again, I don’t spend a lot of time looking at the toes of my socks, so it doesn’t really bother me.
How to Work the Figure 8 Cast On
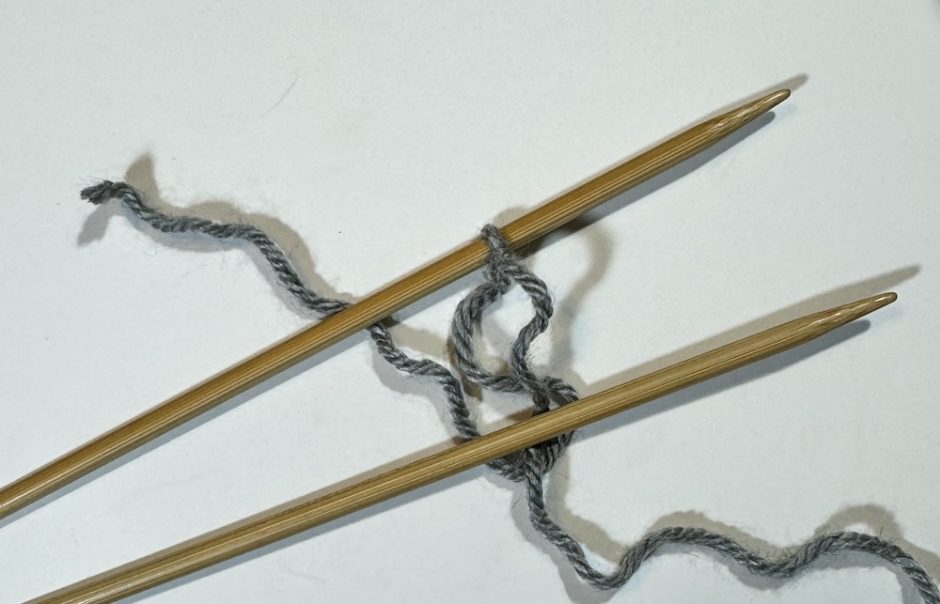
Start with a slip knot on one of your knitting needles. (Here I’m using worsted weight yarn and size 7 US/4.5mm double pointed knitting needles to make it easier to see what’s happening.)
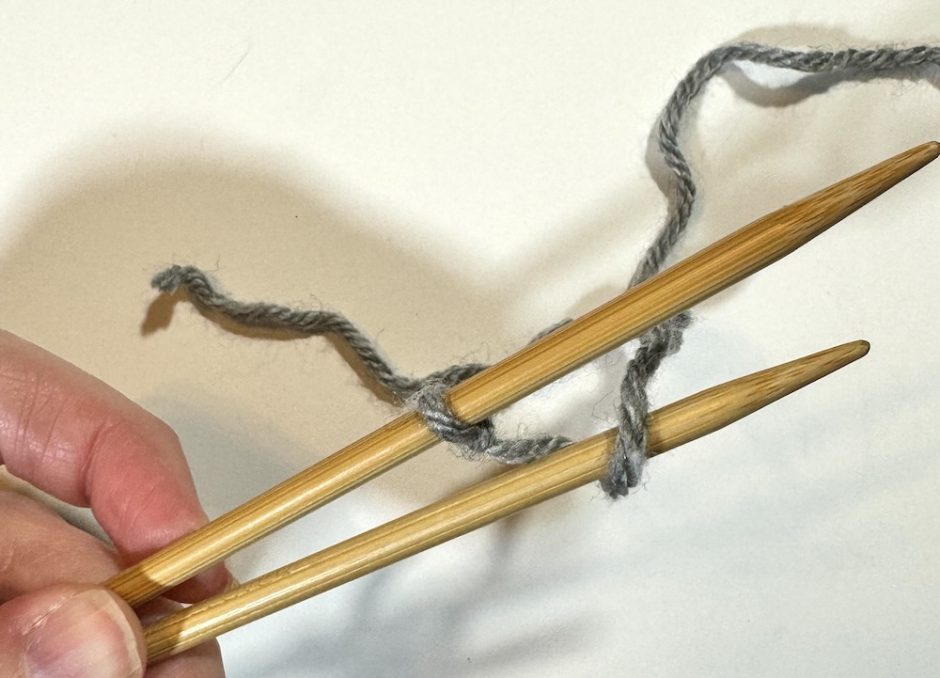
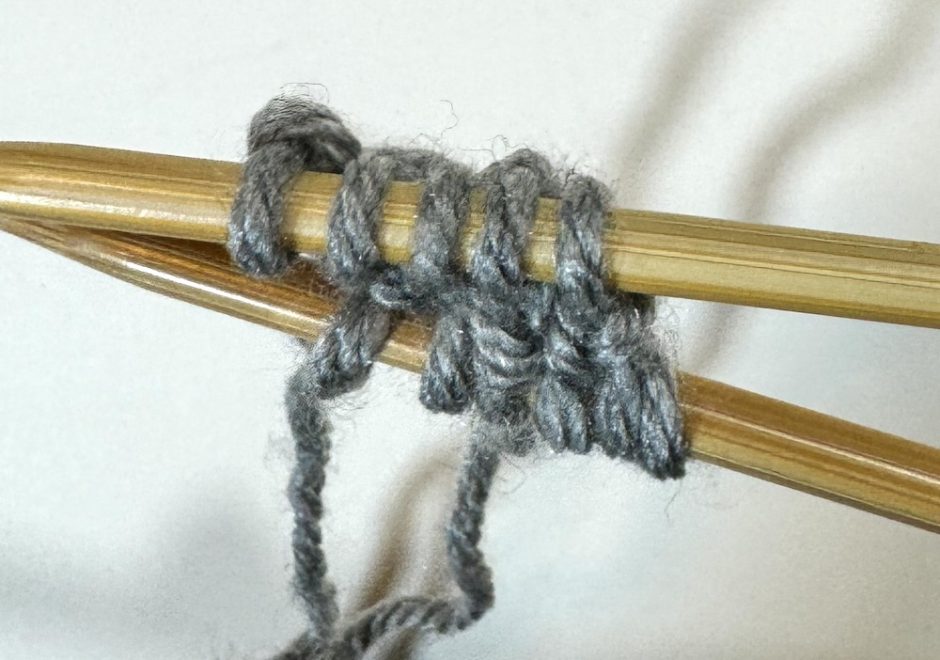
Align your knitting needles so they are parallel to each other. Wrap the yarn around the back of the needle without the slip knot, then between the needles. (Here I have the needles pointing to the right and the slip knot on top, but you can do it whatever way you want.)
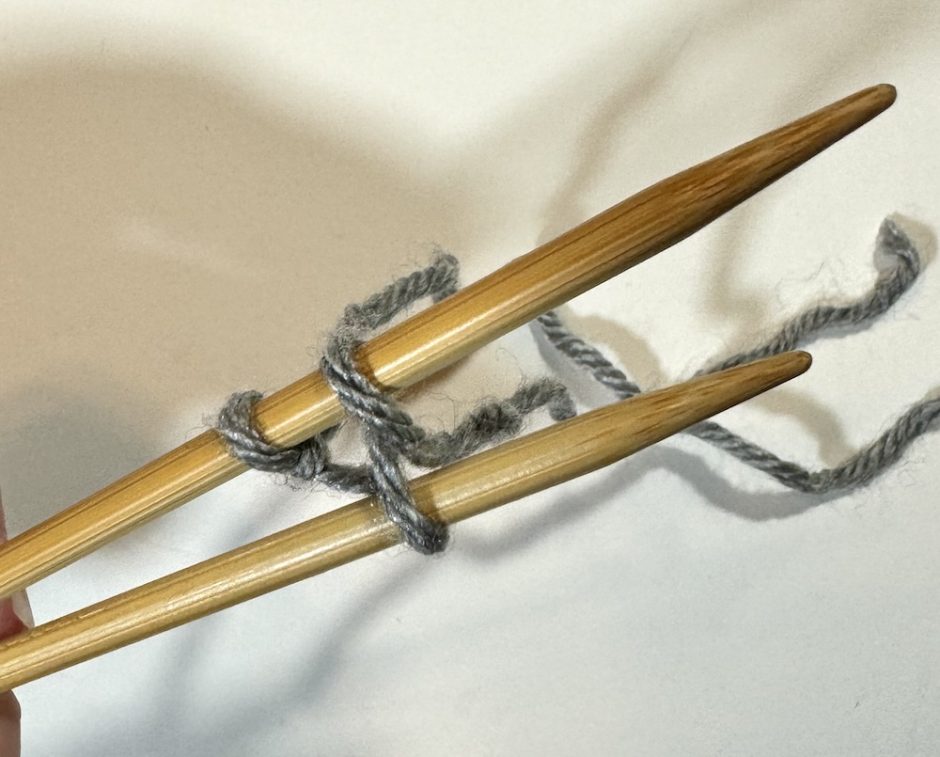
Repeat on the second needle. You now have the “figure 8” with one loop on each needle, plus the slip knot, which does not count as a stitch.
Repeat this process as many times as you need for the number of stitches you need to cast on. Make sure you have the same number of loops (again not counting the slip knot) on each needle when you are done.
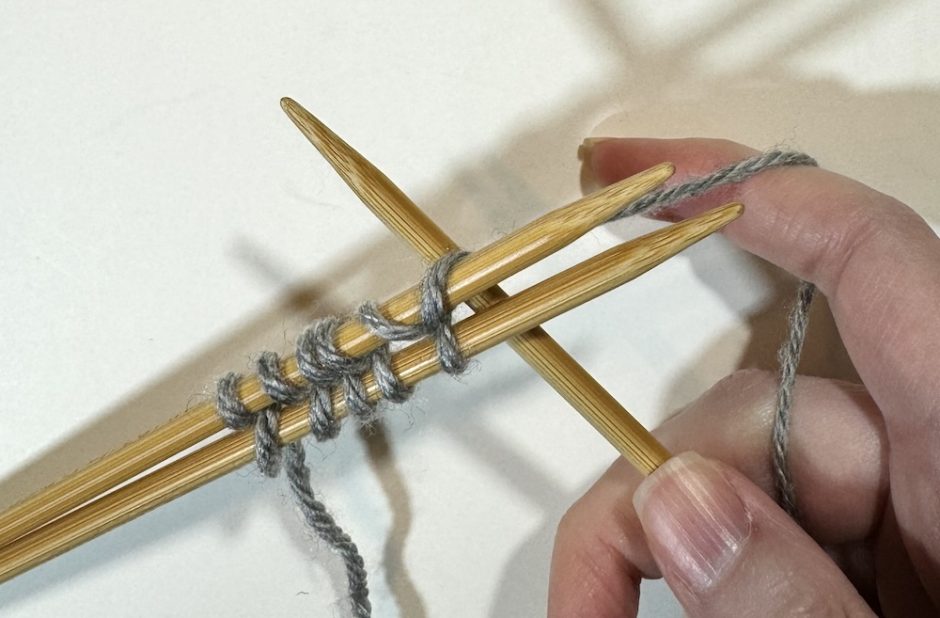
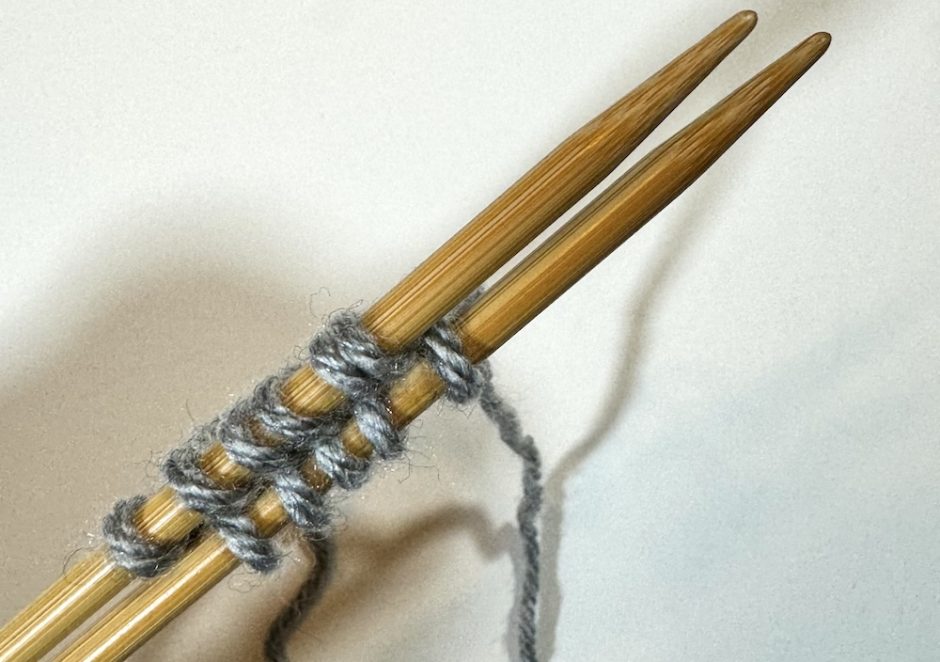
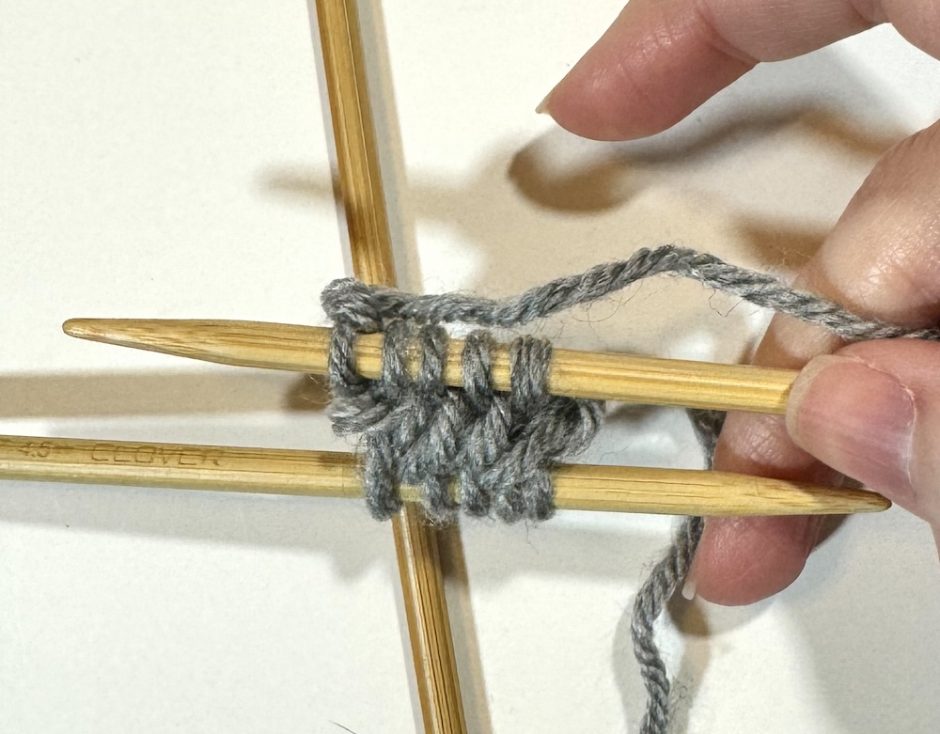
Bring in a third needle and knit the stitches from the first needle through the back loop.
When you get to the slip knot, drop if off the needle and continue to work each stitch through the back loop.
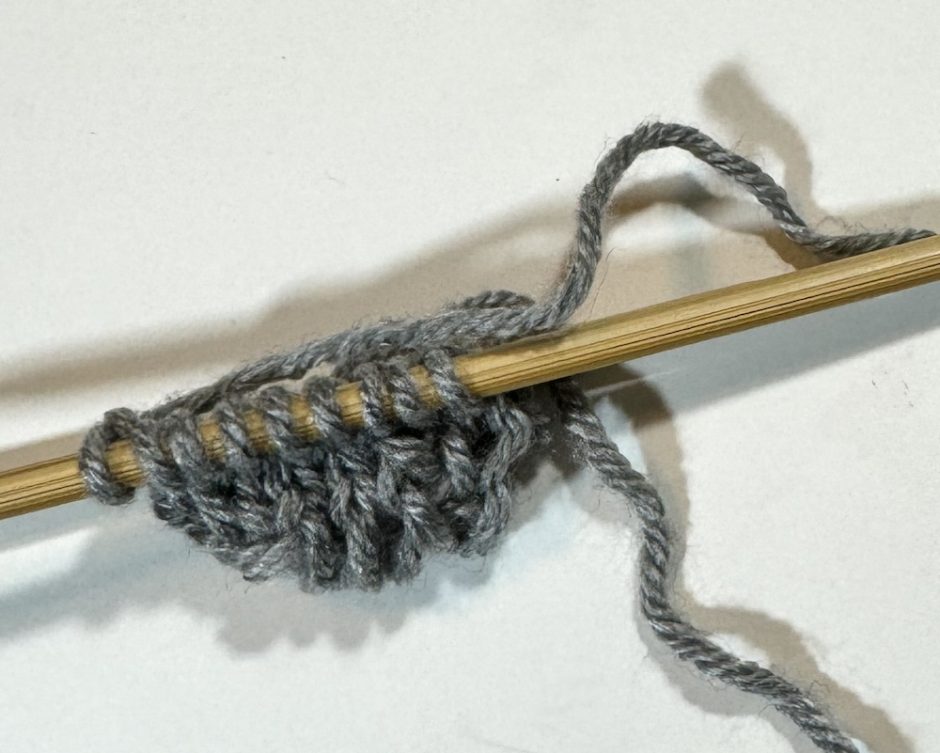
Continue on as your pattern specifies.
Tips for Working the Figure 8 Cast On
A lot of cast on methods can be worked without the starting slip knot, but in this case you really need it to help hold the stitches on the needle.
Speaking of which, be careful when working that first round of stitches that you don’t drop any loops and when you’re finished with the round you have the same number of stitches — and the same number on each needle — that you started with.
I mention knitting the stitches through the back loops on the first round, but I’ll admit I don’t always remember to do this. It’s not the end of the world, but I do think it looks a little neater if you work in the back loops.