Affiliate links may be included for your convenience. View our privacy and affiliates policy for details.
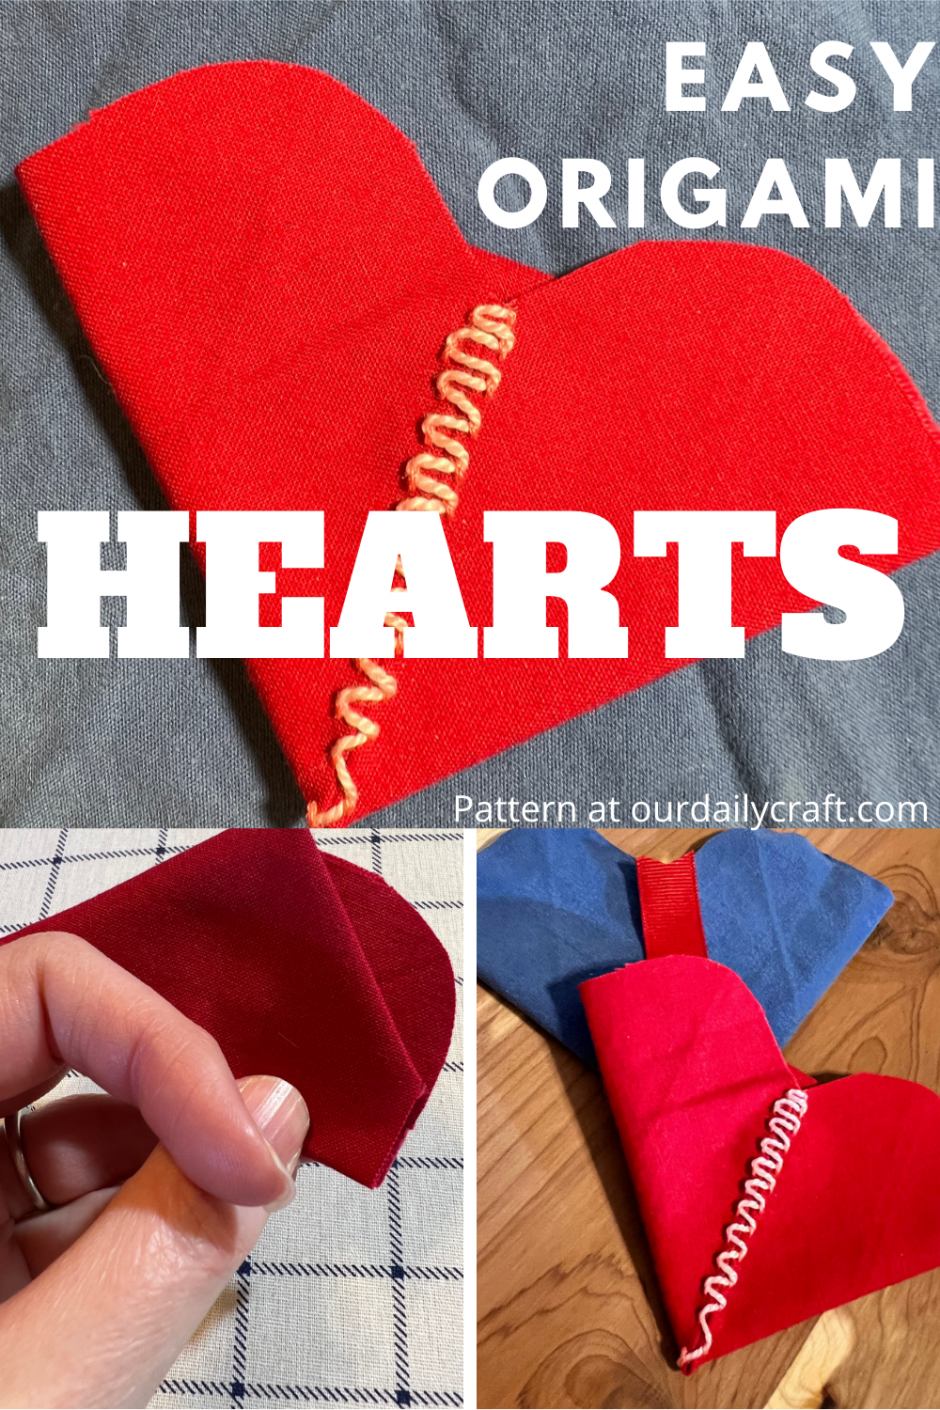
These origami fabric hearts are super simple to make as a decoration for Valentine’s Day, to add to a card or whatever else you would like.
I see a lot of origami hearts this time of year and it got me thinking. I wondered if you could do such a thing with fabric.
Well, of course you can, and I made a couple of different ones to walk you through the process.
Fabric Choice for Origami Fabric Hearts
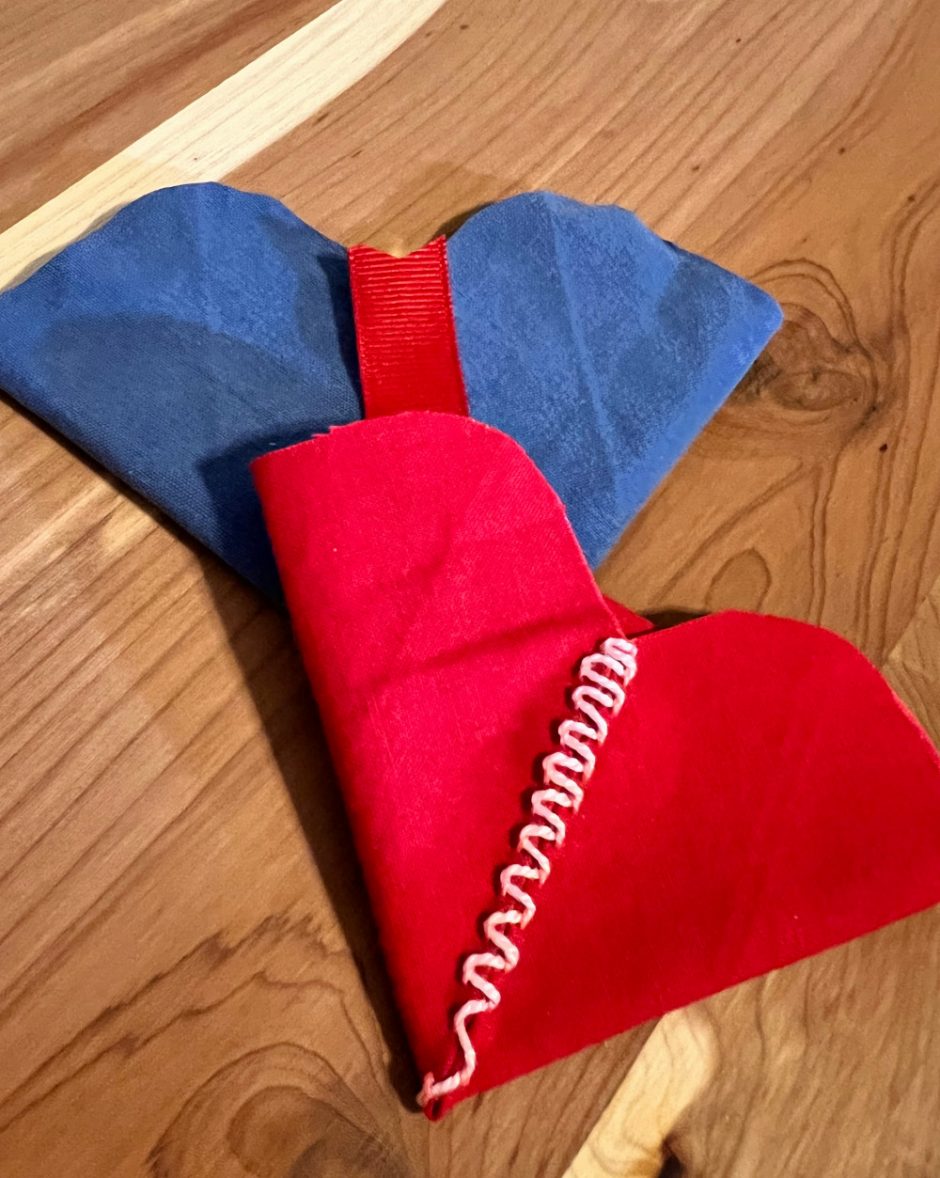
One of my hearts (the blue one) is made of part of an old napkin. The weave on it is such that I don’t think it will unravel.
The red one is leftover from the girl’s Ewok hoods that she had me make for her birthday party several years ago. It’s inexpensive and loosely woven and started unraveling at the edges before I even finished the project.
I don’t mind that at all, but if you’d like cripser edges you can finish them with Fray Check or do blanket stitch around the edge or even pink the edges for extra cottagecore cuteness.
It’s a good idea to use a relatively thin fabric for these that is easy to fold and that can safely be pressed with an iron. Old shirts and T-shirts would be great for this; old jeans, not so much.
The other key is that you need a piece of fabric that is square. For the blue one I folder one corner of the fabric up diagonally to half the size I wanted my square, then trimmed the edges. I also had to trim off the serged edge around the outside of the fabric, so it’s not perfectly square, but close enough. The red one I trimmed using the dimensions of my quilting ruler so that it would be perfect.
How to Fold the Fabric Heart
Once you have your fabric square, actually making an origami fabric heart is really simple.
First, warm up your iron. With your fabric oriented like a diamond, fold the bottom corner up to the top and press that fold.
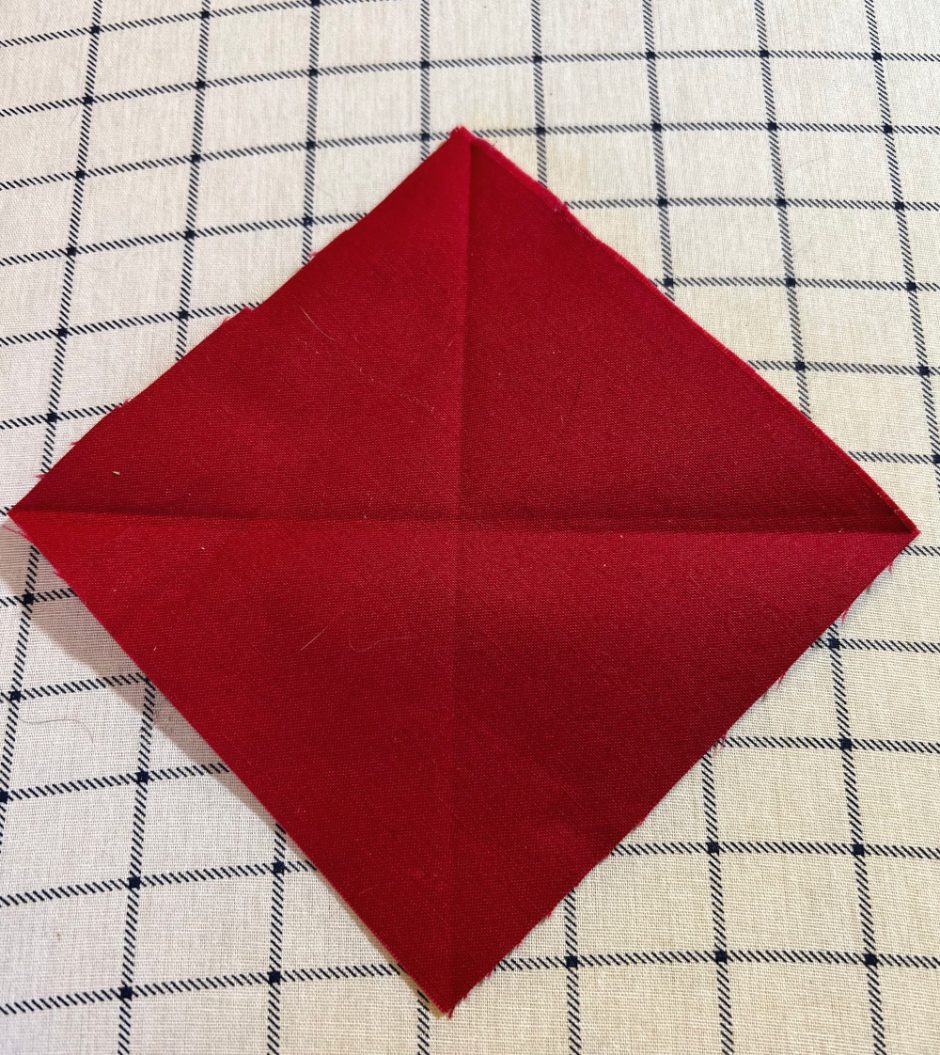
Unfold, then fold the right side corner over to the left side corner and press that fold. Unfold. You will have pressed lines that bisect the corners on each side and cross in the middle of the fabric.
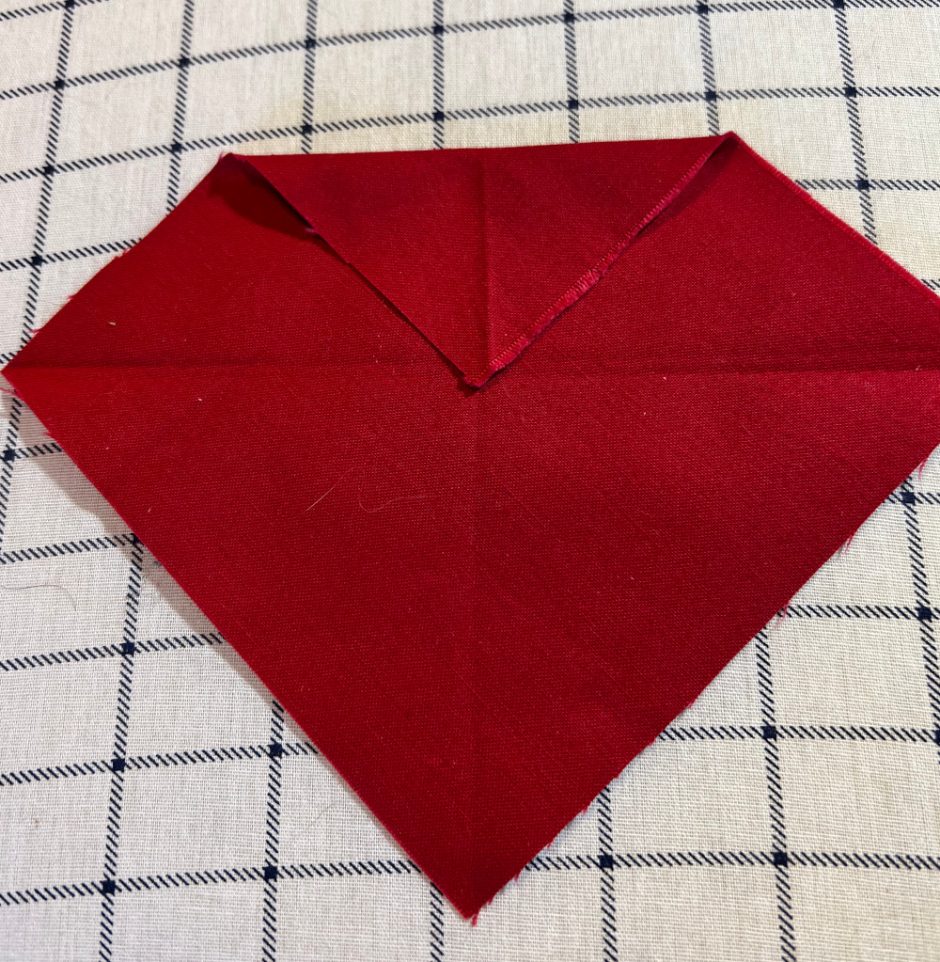
Take the top corner and fold it down to the center point of the fabric. Take the bottom corner and fold it up to the top of that fold. Press.
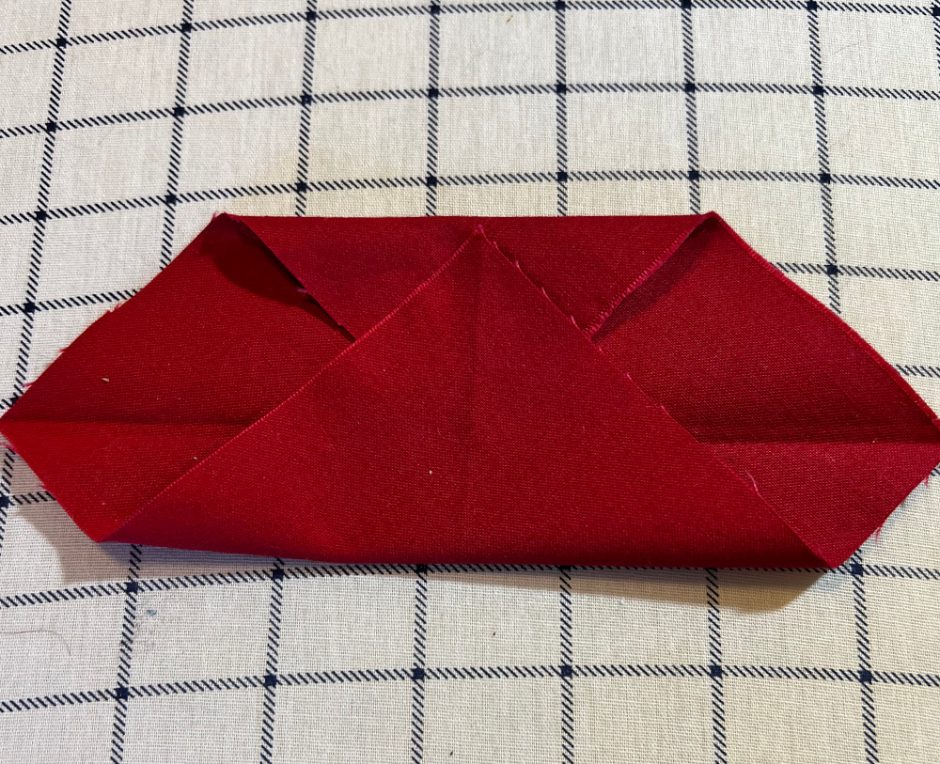
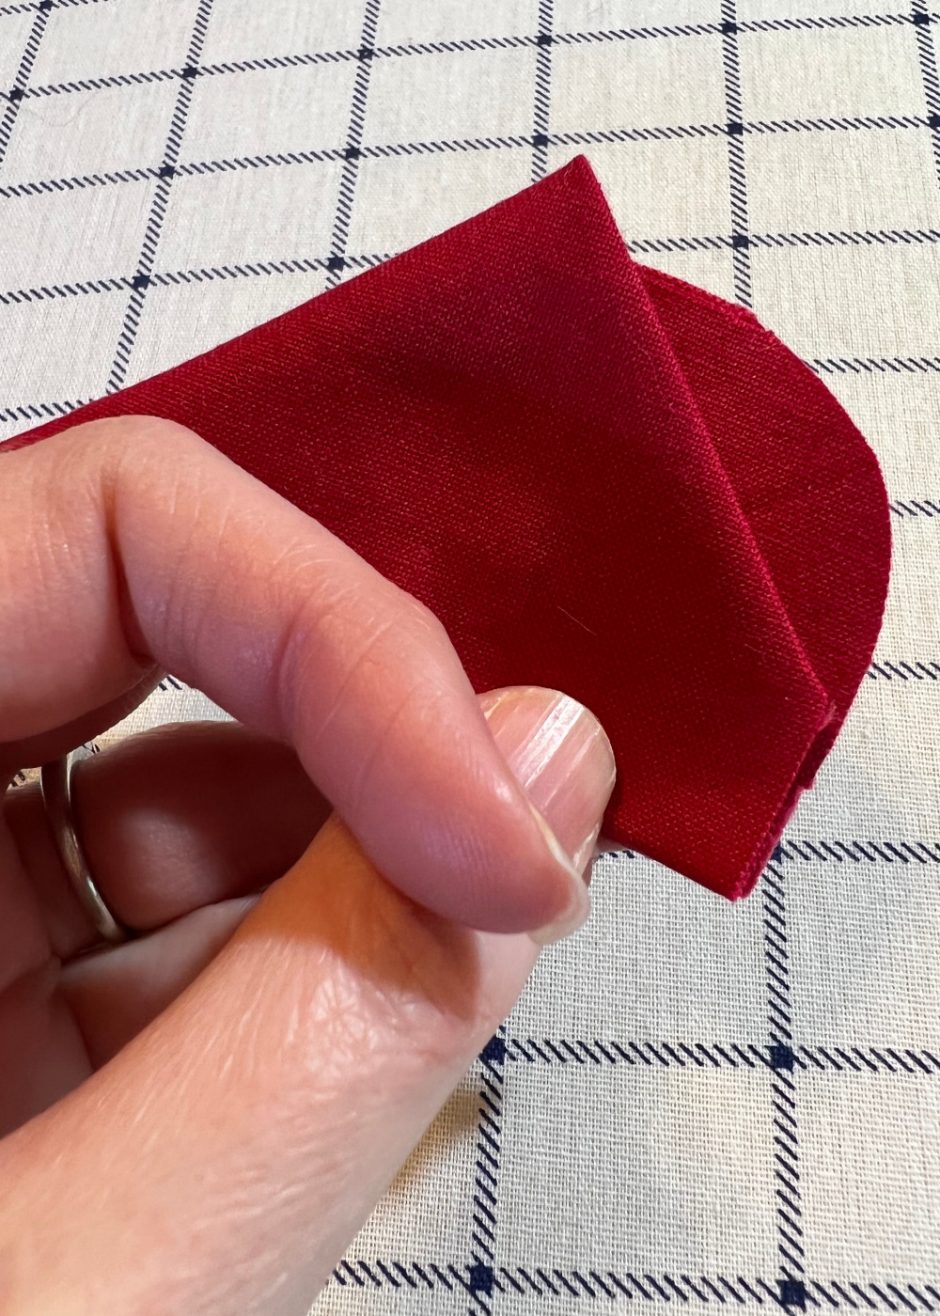
Fold the sides in from the center bottom of the fabric so the corners stick up over the folds you just made. Press.
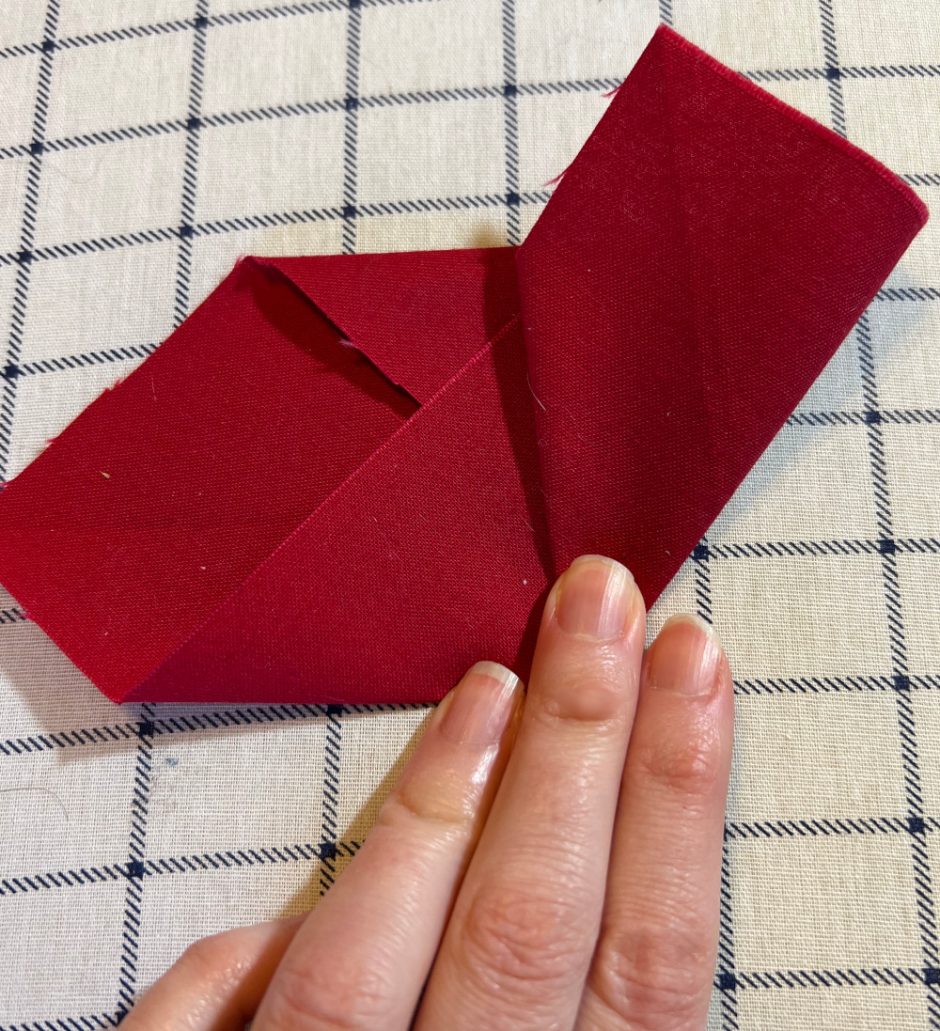
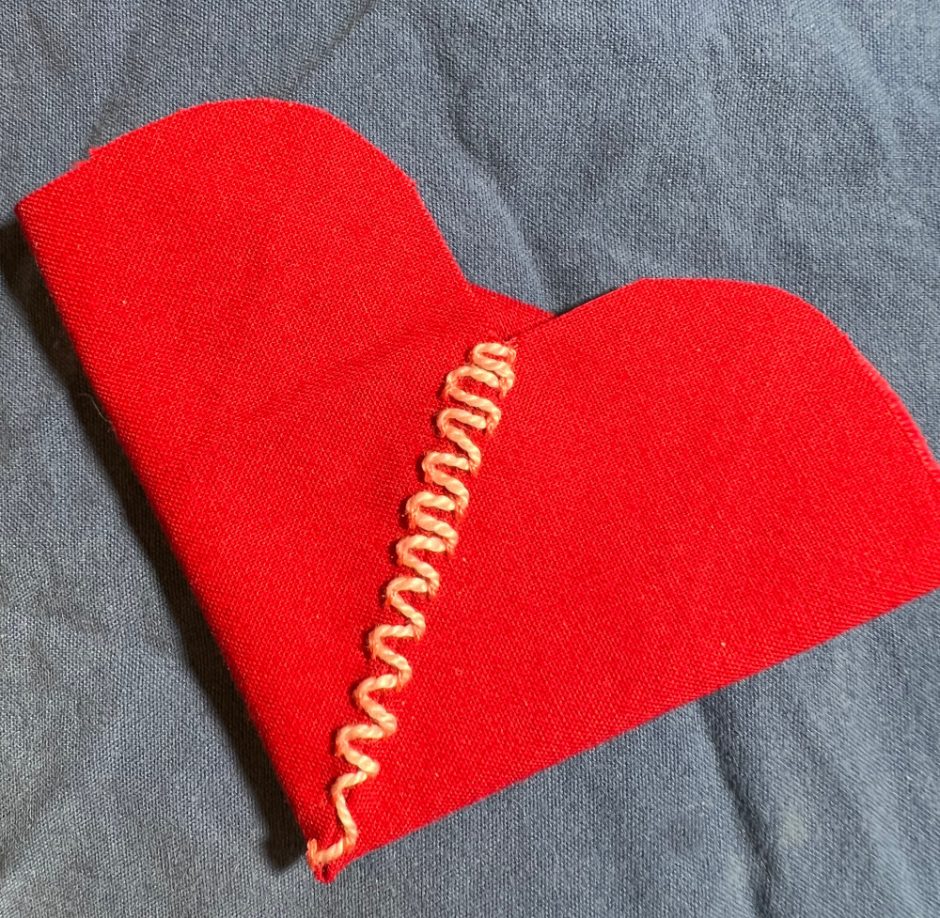
Fold the heart in half and trim the top edges into a curve to make the top of the heart. Unfold. Press again if desired to lock in all the folds.
Finishing Your Hearts
There are lots of different ways you can finish your origami fabric hearts depending on how you want to use them. As is they have a little pocket, so keep that in mind when you are finishing/embellishing if you want to use the pocket on the finished heart.
The main goal is to keep the heart from unfolding, which can be accomplished as simply as using fabric glue along the center folds to hold them in place.
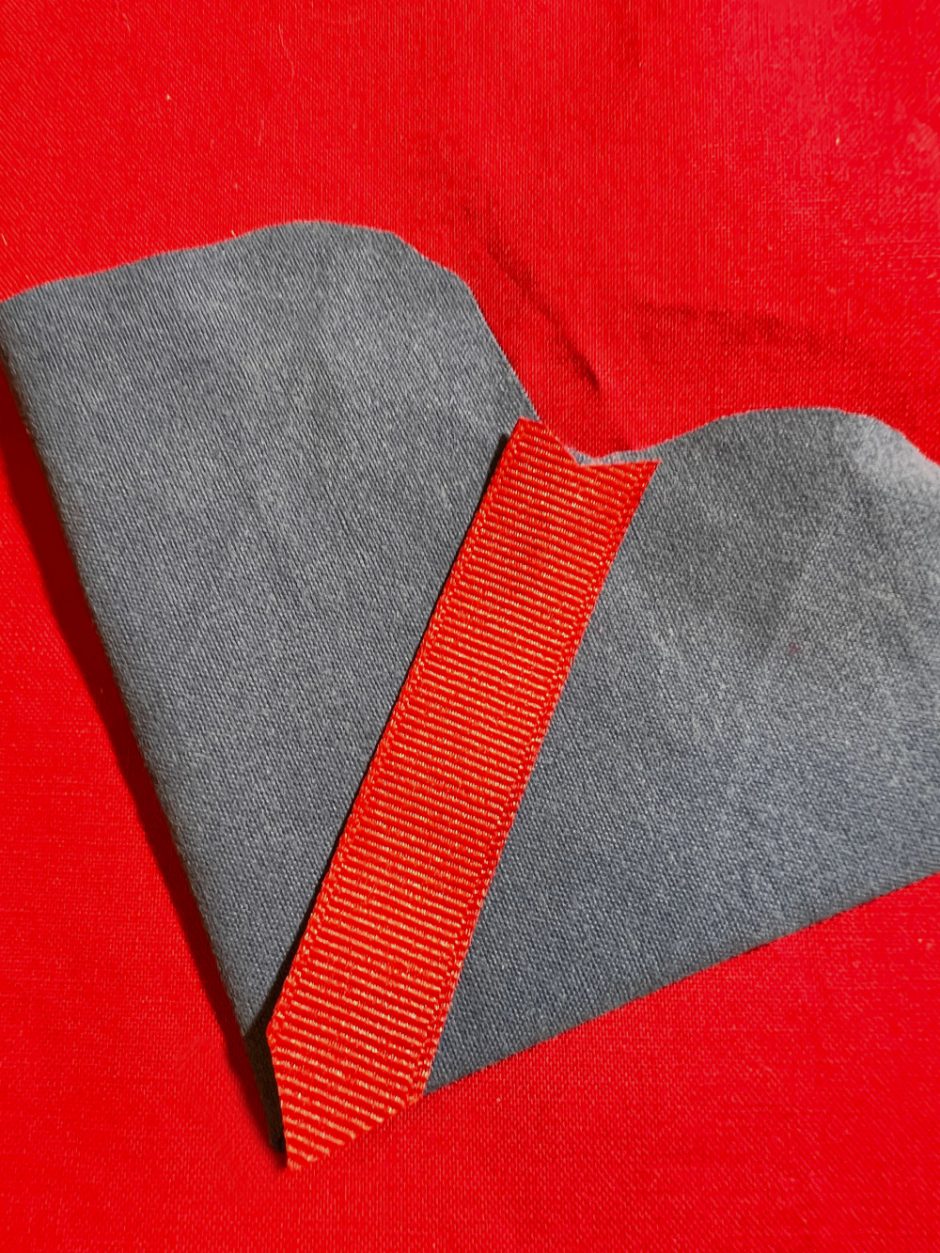
You could also trim a ribbon to cover that “seam” and glue it down or use Stitch Witchery or similar fusable product to hold it down without sewing.
For the red heart I used embroidery floss to sew kind of a ladder of stitches up the sides and between the two “pieces” of the heart by going in the fabric on one side and out on the other as shown.
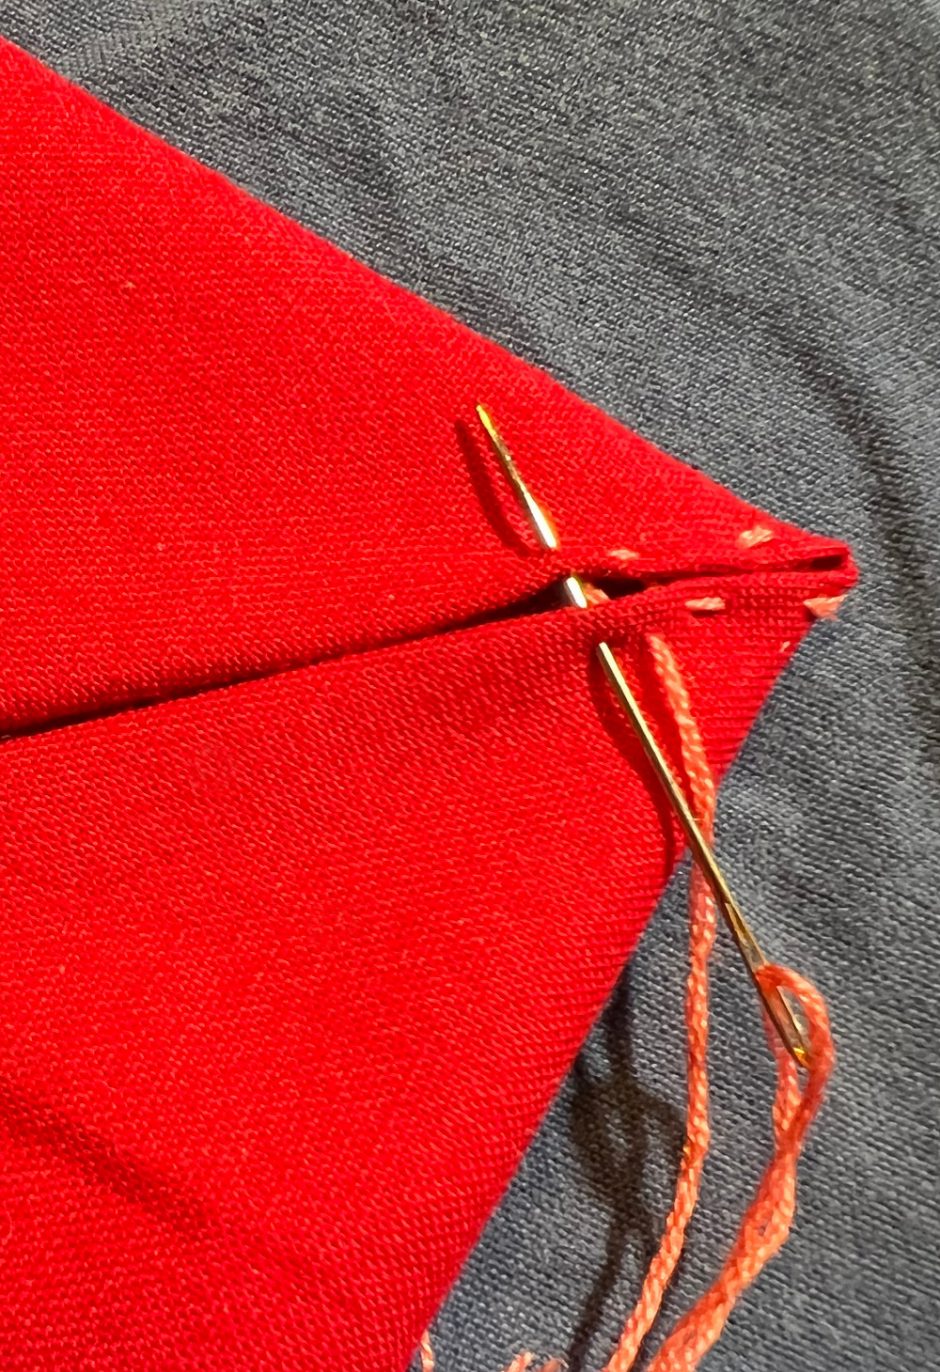
You could leave it just like that but I decided to add another little flourish with a different color of floss threaded through the ladders.
You could really go on and on with this, adding ribbon or rick rack, buttons, embroidery, whatever you like.
I think I’m going to attach mine to cards but you could also use the pocket to hold a tiny treat. Or make a garland or a wreath. So cute!