Affiliate links may be included for your convenience. View our privacy and affiliates policy for details.
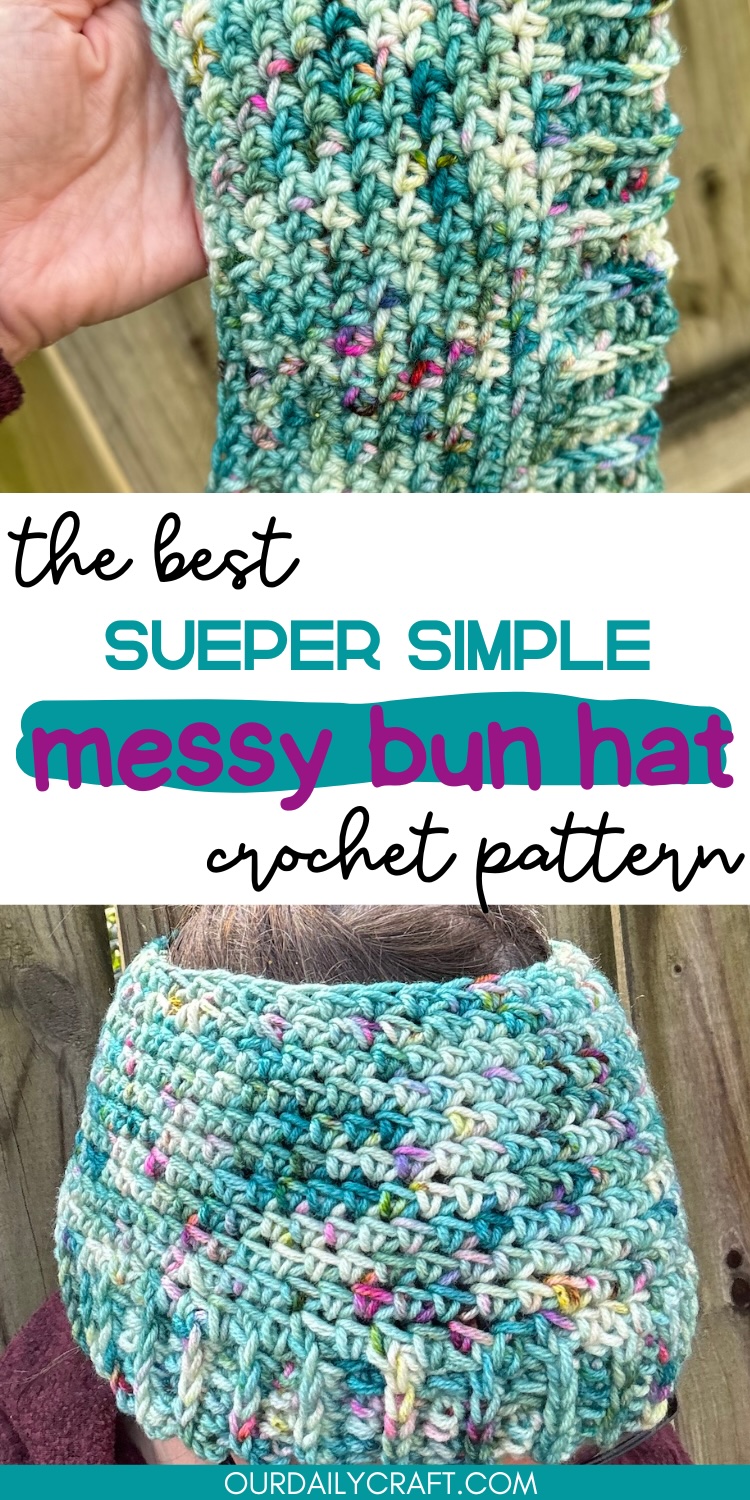
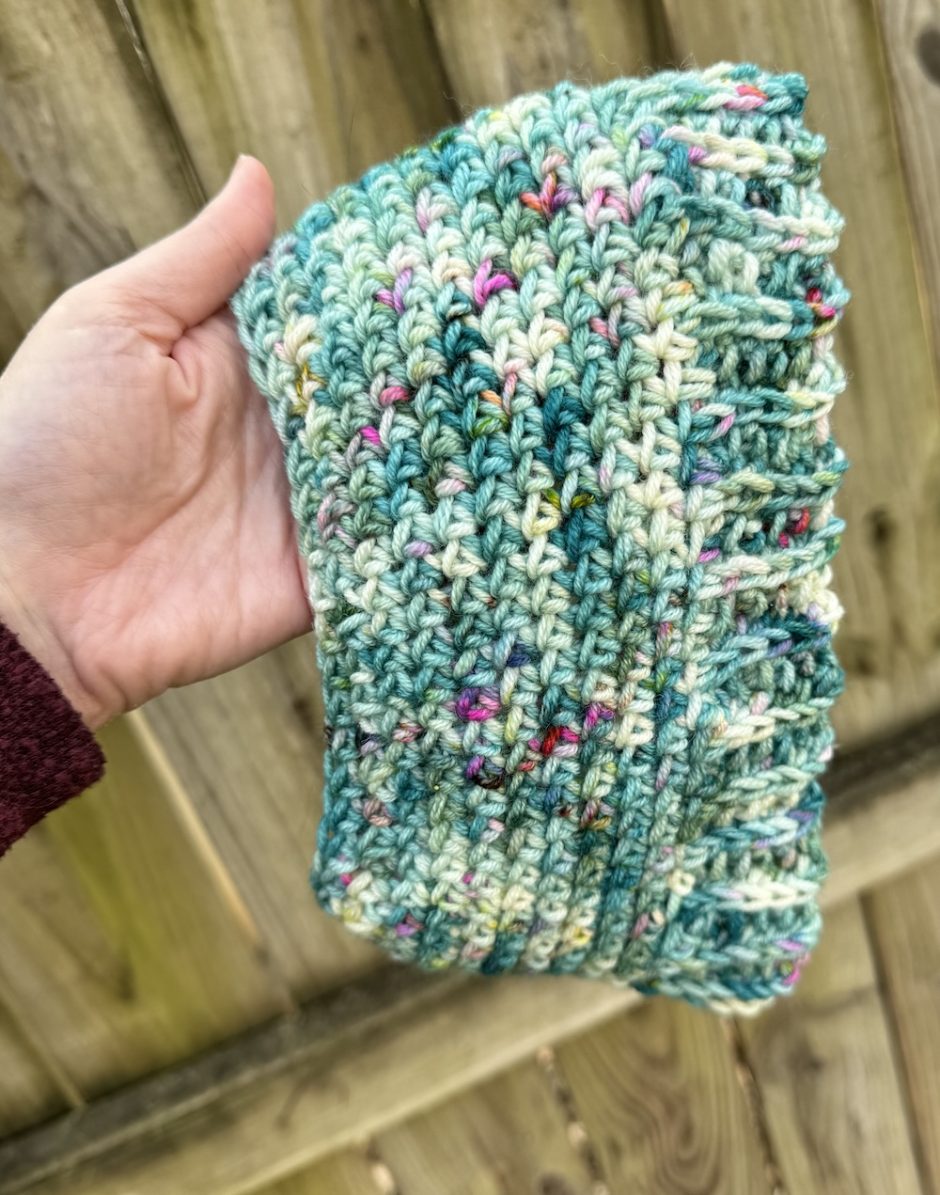
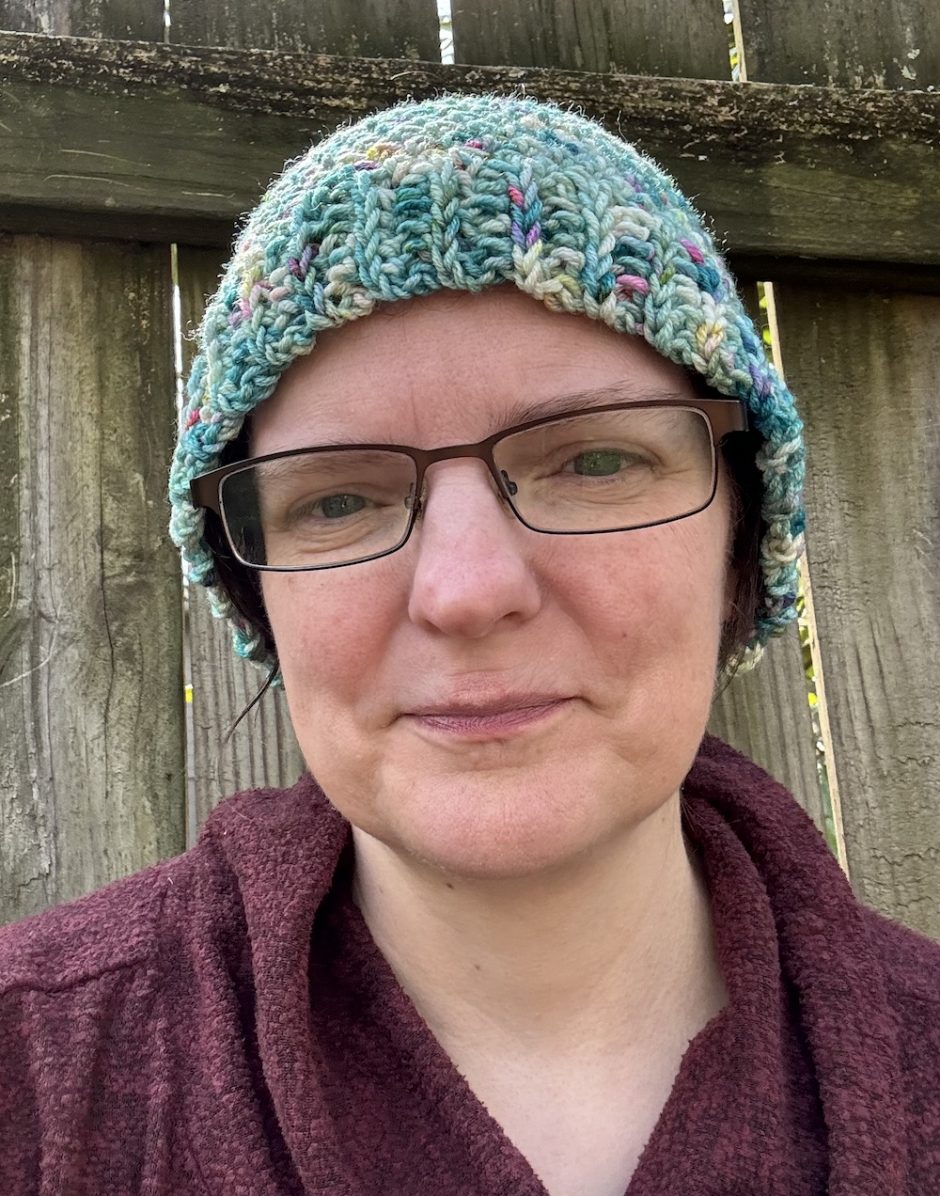
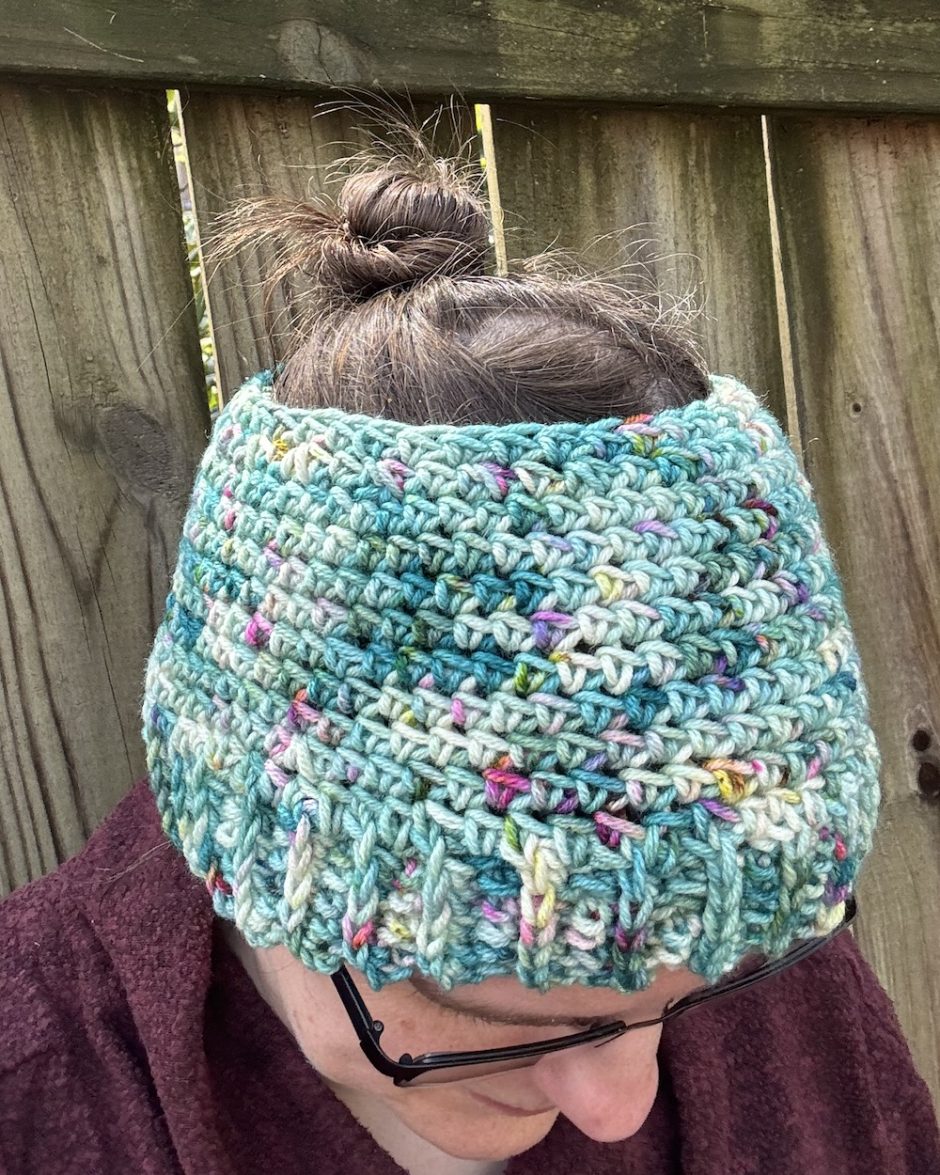
This messy bun hat crochet pattern is super fast and easy to stitch using half double crochet and third loop half double crochet.
Once upon a time I decided I wanted to start giving my patterns names of places and things near where I live, but other than the Boxley Scarf, which is a knitting pattern, I haven’t really followed through with it. The urge to call patterns by their keywords is strong!
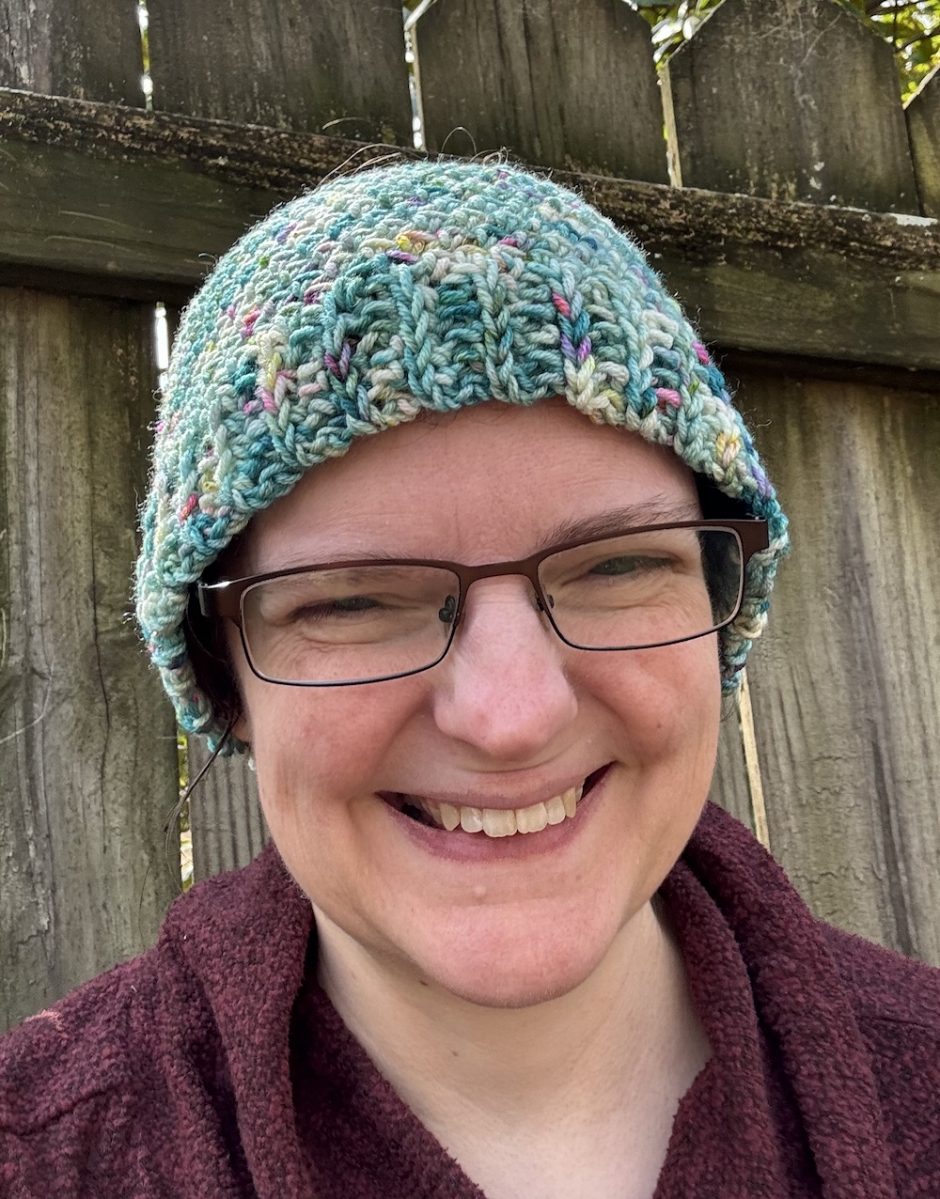
But I decided this one needed a special name, and I’ll try to keep it up in the future. So the Eureka messy bun hat crochet pattern is named for Eureka Springs, a fun, artsy town where this colorful hat would fit right in.
Also, I’m growing out my bangs right now and it was a bit of a eureka moment when I discovered a messy bun or ponytail hat could keep my hair out of my eyes. I love a name with multiple meanings!
Supplies
- about 115 yards of worsted weight yarn; I used Vickie Howell Montoya Merino in Sputnik Spruce, which has been discontinued. Any hand-dyed worsted weight yarn would give you a similar look.
- size I/5.5 mm crochet hook
- stitch marker
- yarn needle
Gauge
I got 3 stitches and 3 rows per inch/2.5 cm in half double crochet. The pattern is written with that gauge in mind, but there are notes below to customize the pattern to fit you.
Size
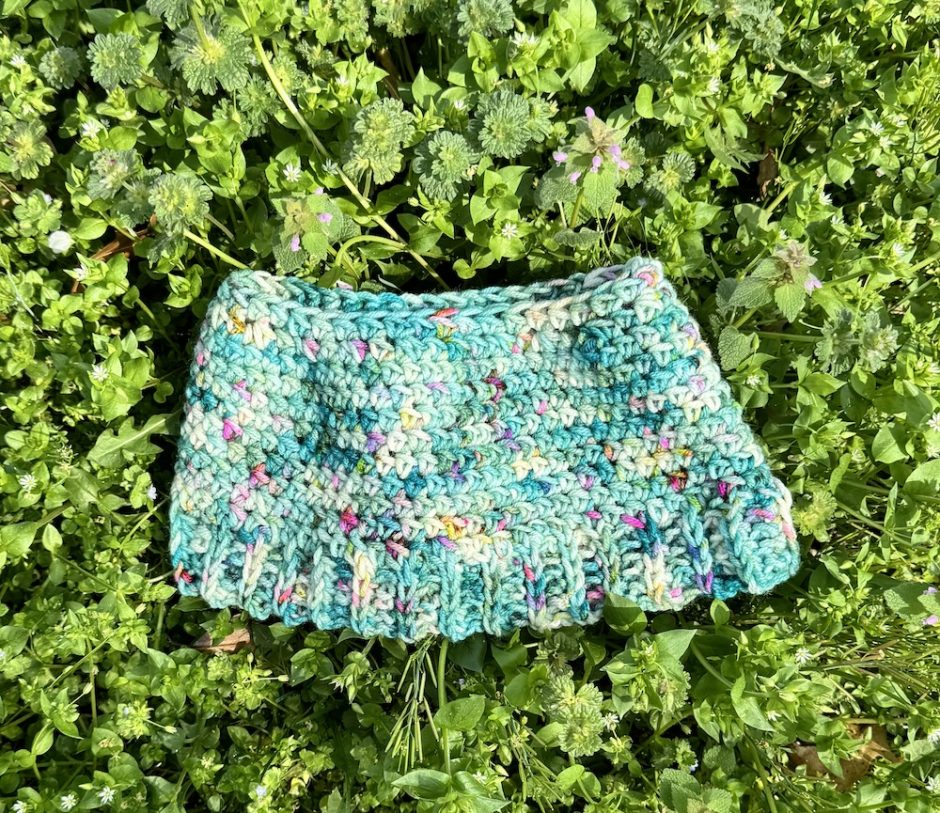
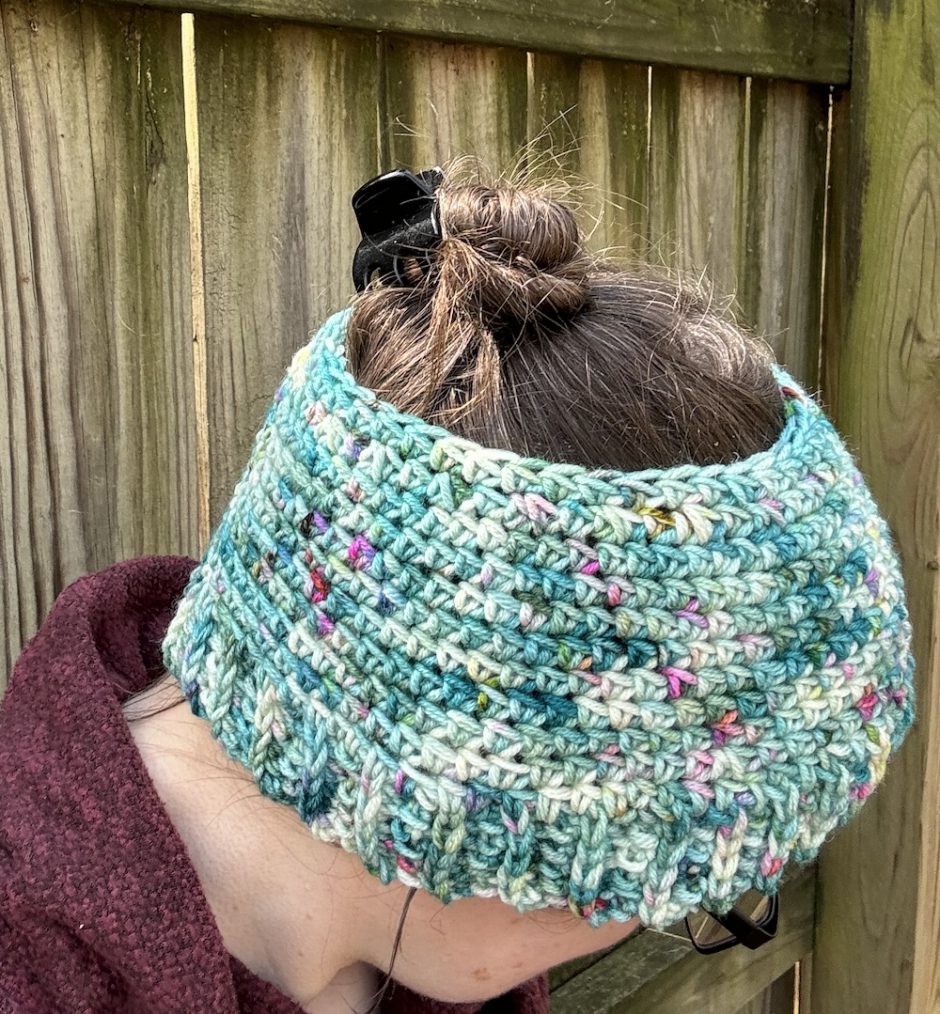
Finished messy bun hat is 21 inches/53.34 cm around at the base and 5.25 inches/13.3 cm long. To fit an average adult head.
Add this pattern to your Ravelry queue.
Messy Bun Hat Crochet Pattern
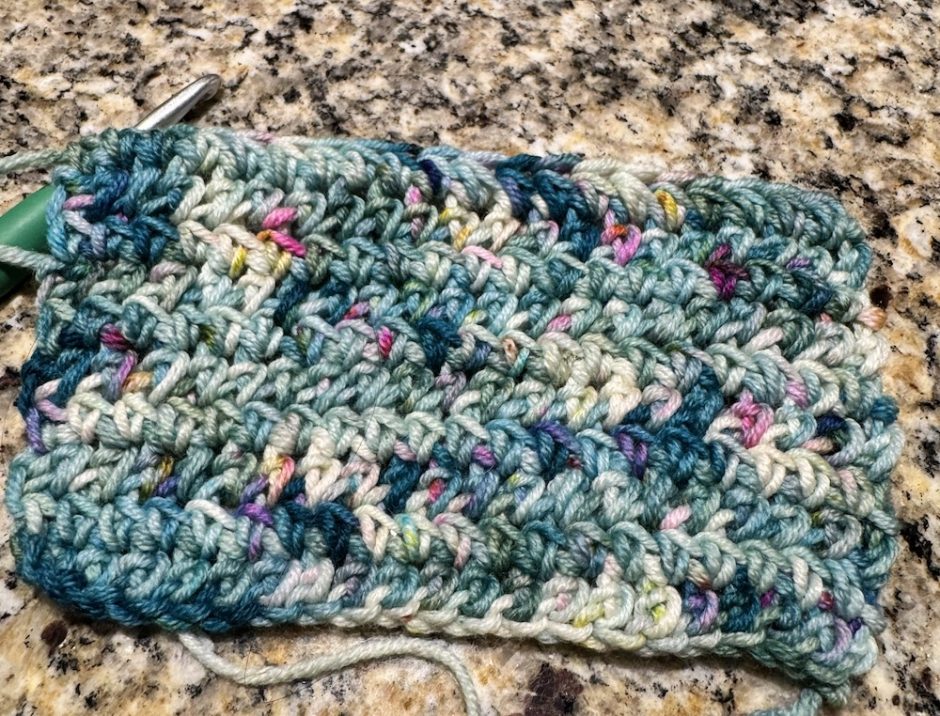
This messy bun hat crochet pattern starts with a section of third loop half double crochet worked to the length needed to go around your head. More on custom fitting below, but you’ll want it to be an inch/2.5 cm or so smaller than your actual head measurement.
Chain 7.

Work a half double crochet in the second chain from the hook and in each chain across. 6 stitches.
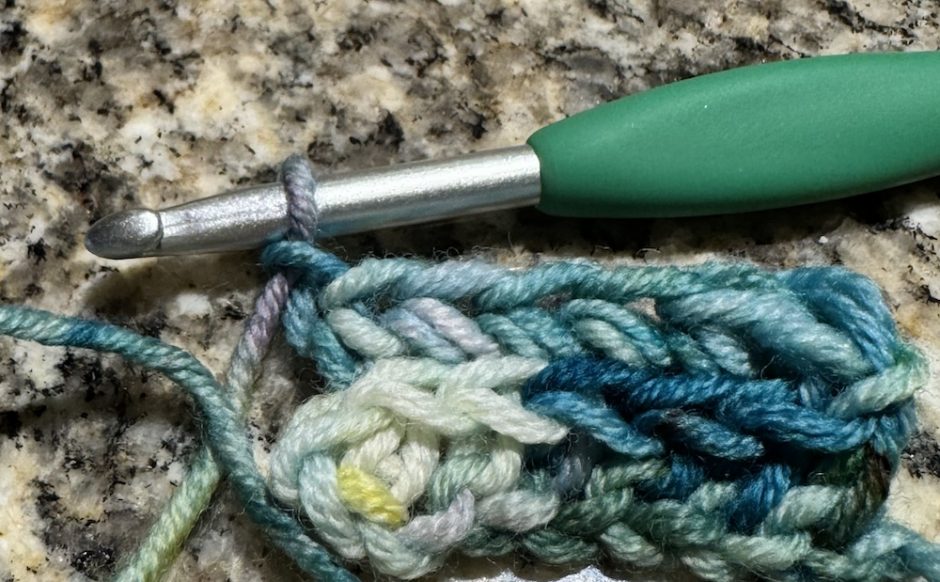
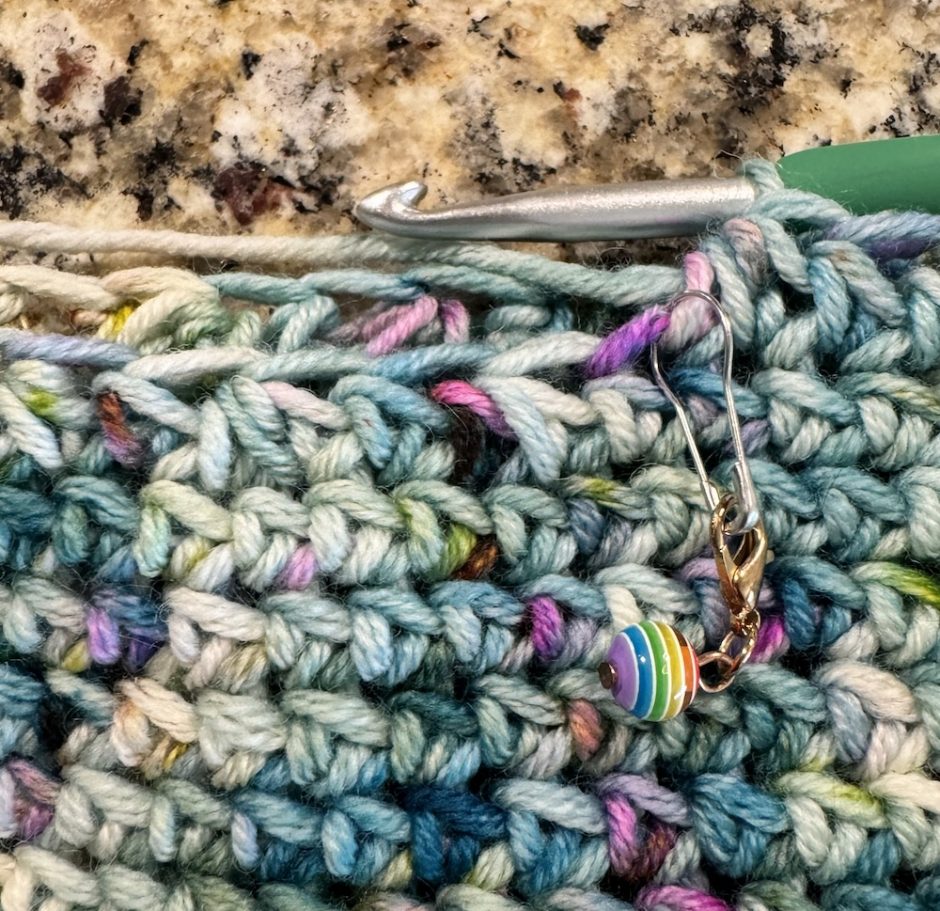
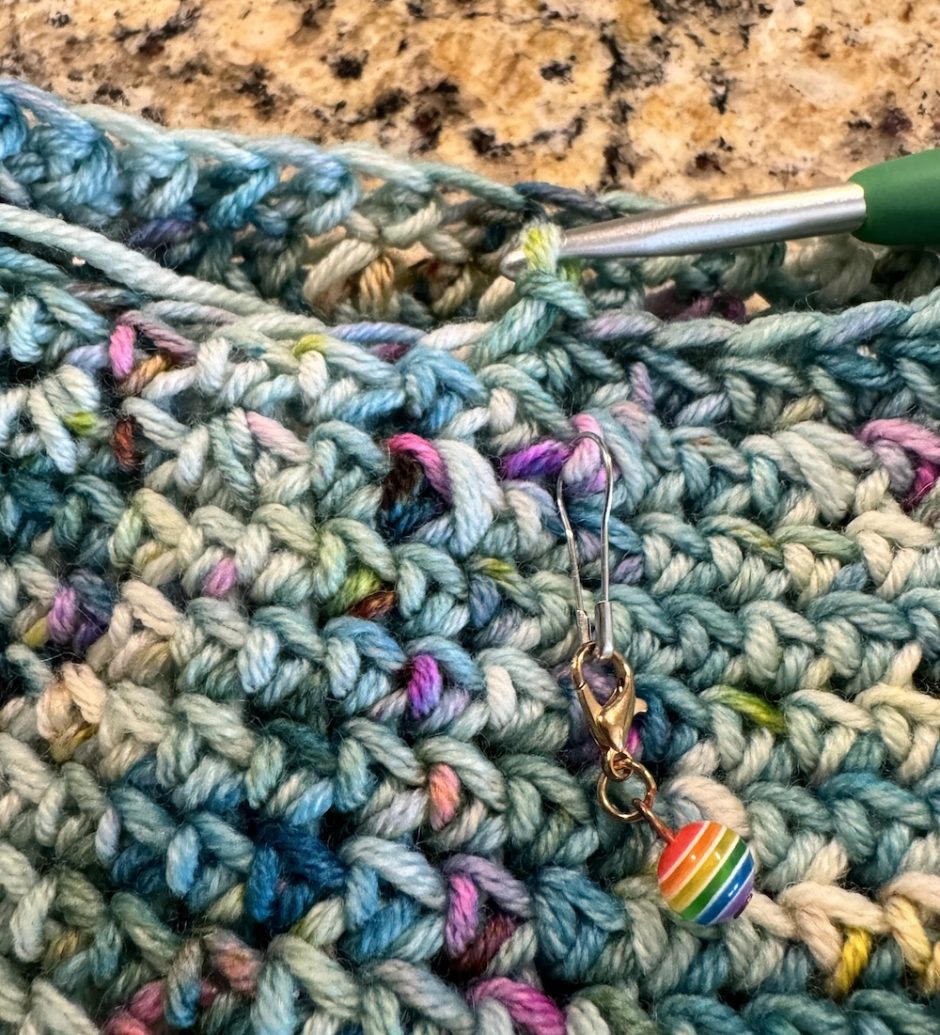
Begin to work in third loop half double crochet.
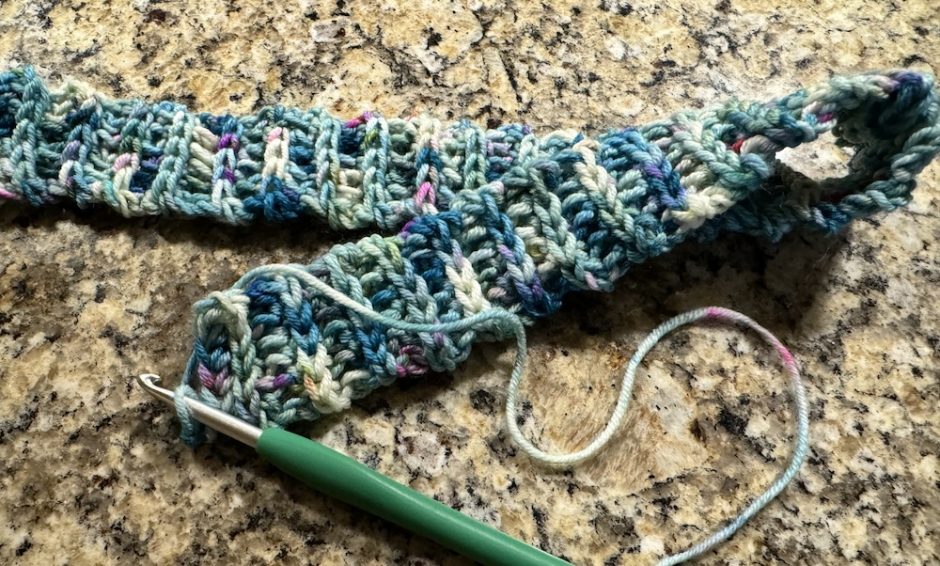
Continue in HDC in the third loop until piece measures 21 inches/53.34 cm.

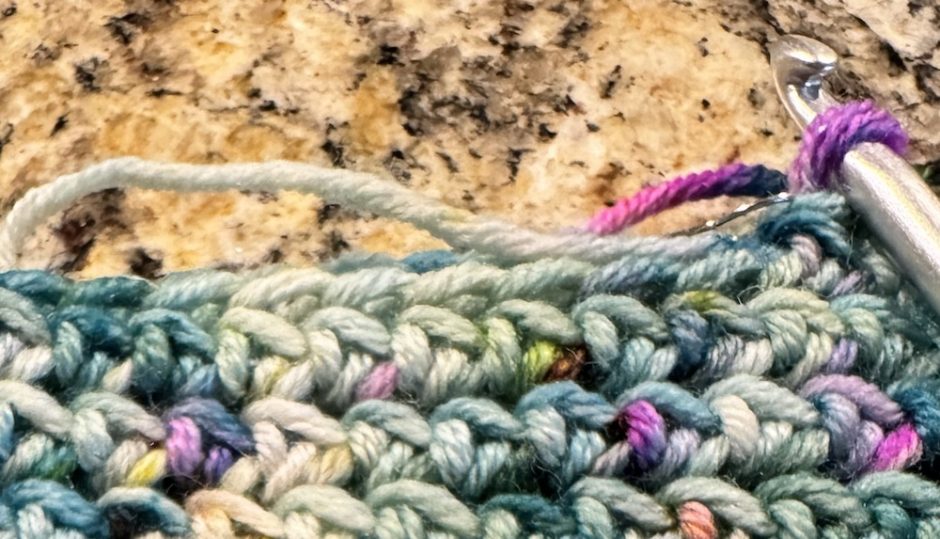
Turn piece on its side so the v ridges are vertical, and use slip stitches to stitch the short ends of the piece into a loop.
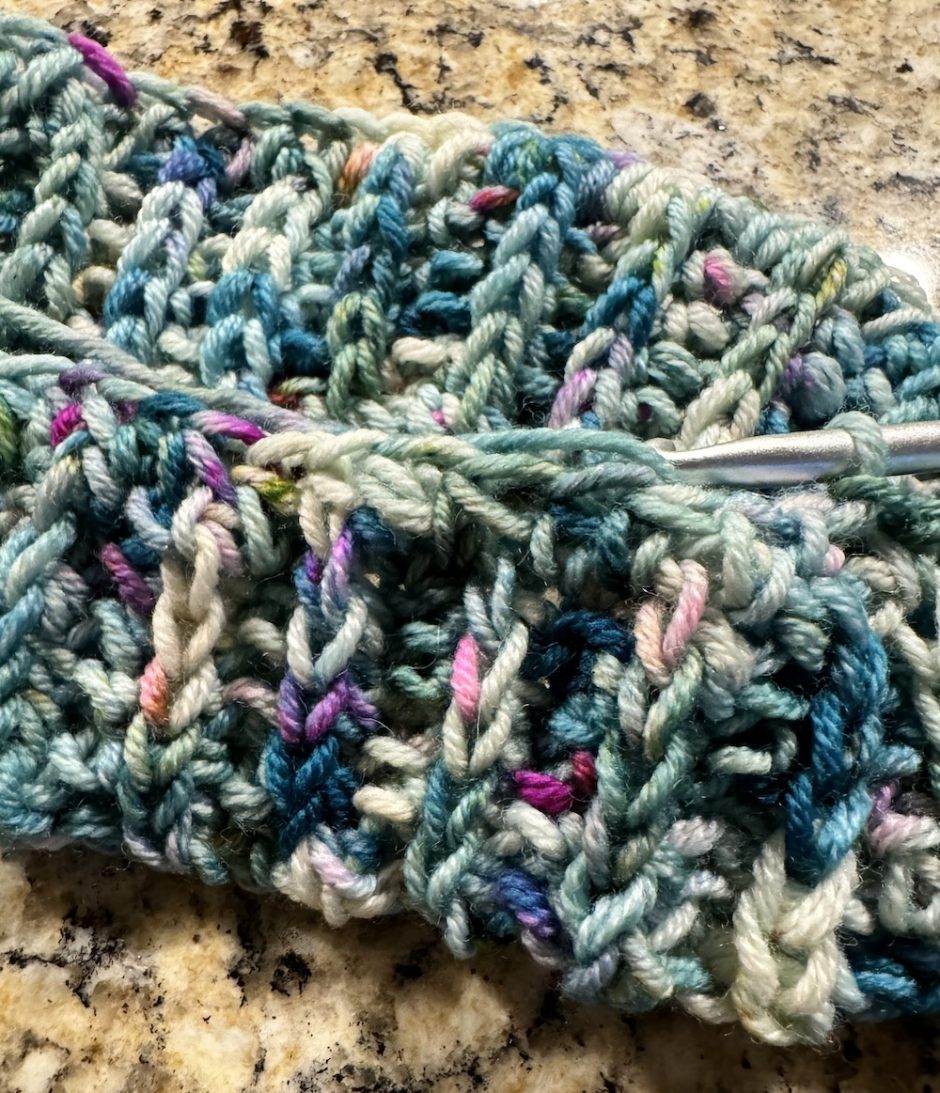
Work 63 stitches of half double crochet around the edge of the brim.
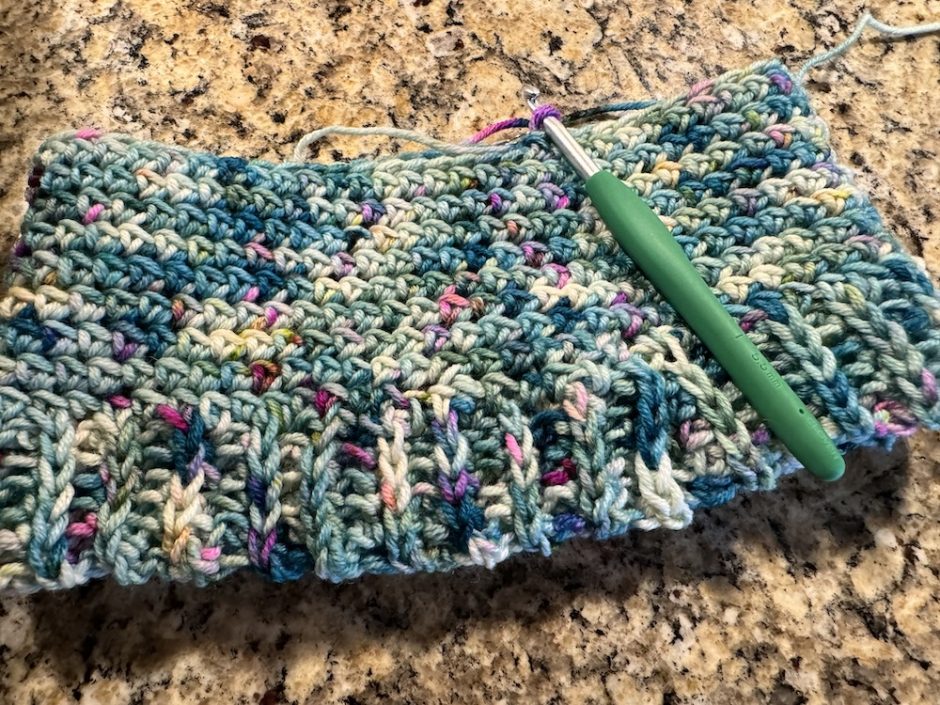
Work in half double crochet until piece measures about 4.5 inches/11.43 cm from brim edge. This took me 7 rounds.
*Half double crochet, half double crochet 2 together. (See below for tutorial.) Repeat from * around. 42 stitches remain.
Half double crochet in each stitch. Join the end of the round with a slip stitch. Cut yarn, fasten off and weave in ends.
Decrease Round for Messy Bun Hat Crochet Pattern
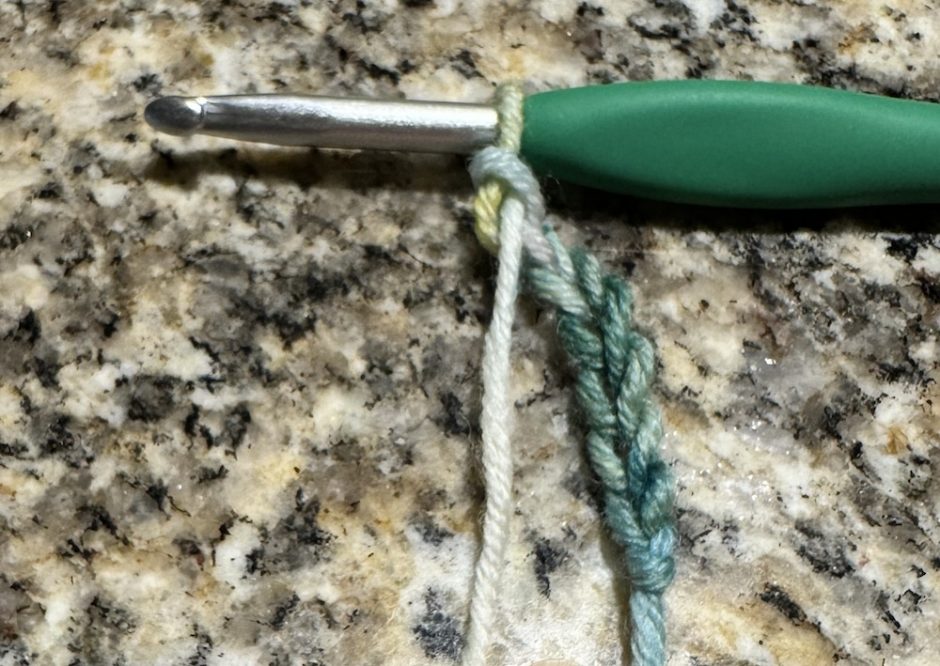
If you’ve never worked a decrease in half double crochet before, it looks a little weird, so let’s break down that whole decrease round.
It starts with a single half double crochet.

To begin the decrease, work the yarn over, go through the first stitch and pull up a loop.
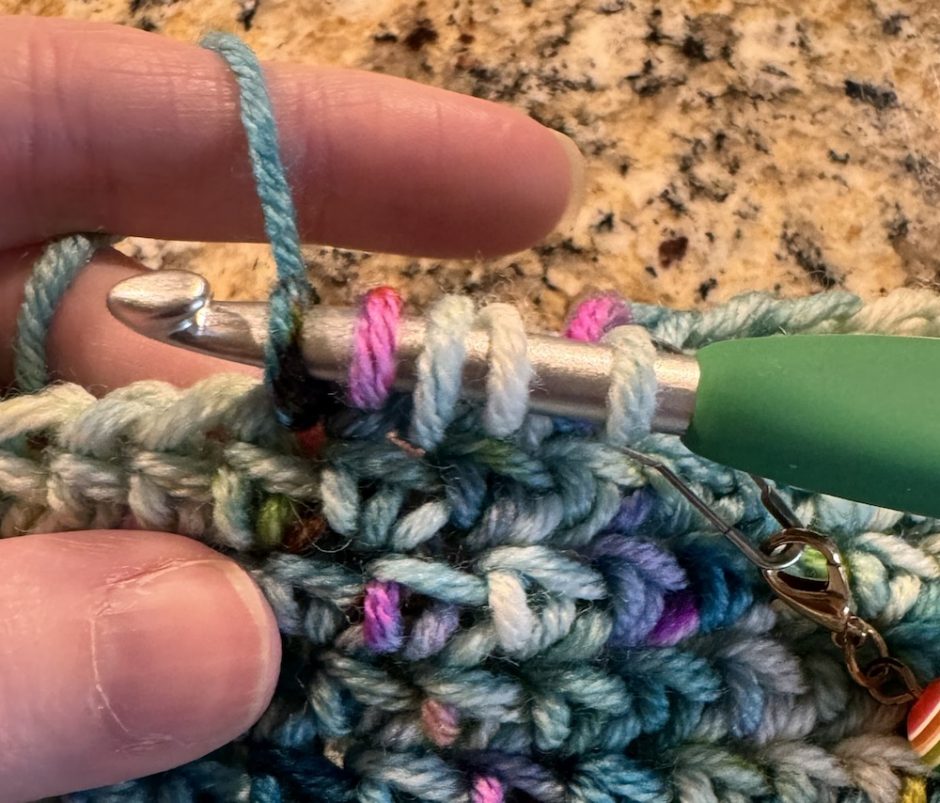
Then yarn over again, go into the next stitch and pull up a loop. You’ll have five loops on your hook.
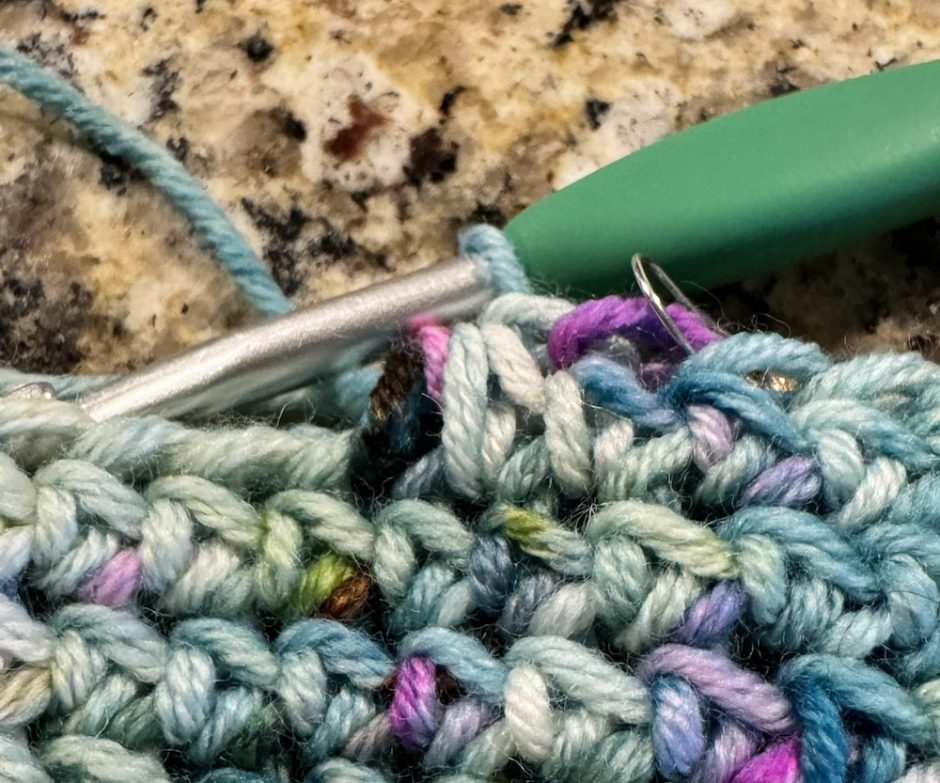
Yarn over and pull through all five loops. This can be a bit tricky so just go slowly. Repeat those two stitches around the body of the hat.
Customizing Your Ponytail Hat
If you want to make your hat a different size or use a different gauge/weight of yarn, it’s totally easy to do. You’ll still want to do a swatch to determine how many stitches you need for the body of your hat, but this shouldn’t take long.
For my swatch I worked 24 stitches for 10 rows. Measure the swatch and divide the number of stitches by the width to determine how many stitches per inch/2.5 cm you’re getting. (Row gauge is less important here but you can measure it too if you want.)
Figure out how big around you want your hat to be. As I mentioned earlier, I like to make my hats about an inch narrower than the actual head measurement. Multiply that number by the number of stitches per inch to determine how many stitches you’ll need to work into the brim.
Decide how many stitches you want for your brim and work third loop HDC to desired length. Join ends as described above and work your needed number of stitches into the side of the brim.
If you’re off by a stitch or two you can fix it in the next round. I actually picked up 65 stitches so I worked a couple of HDC 2 togethers in that second round.
You’ll probably want to try the hat on as you work the HDC rounds so you can do your decreases where your head curves. I wasn’t paying attention and ended up working too many rounds, which I could tell because I tried it on and the rounds stuck up over my head instead of the hat lying flat.
Hopefully your number of stitches divides out well so you can decrease evenly around. 63 only divides by 3 so I worked one stitch followed by a decrease around. You don’t have to work as many decreases as that if you don’t want to. For example if your stitch count divides by 5 you can work 3 stitches between each decrease. Whatever makes sense for your math is fine, it just needs to be a bit smaller.
Then work one more round straight and finish off the end.
If you want a smaller hole, or no hole at all, you can continue to work decreases every other round until you have just a few stitches left. Fasten off and use your yarn end to close any remaining hole.
This messy bun hat crochet pattern is so fast (if I had been paying more attention I would have finished it in a day) and cute! I will definitely be making more of them.