Affiliate links may be included for your convenience. View our privacy and affiliates policy for details.
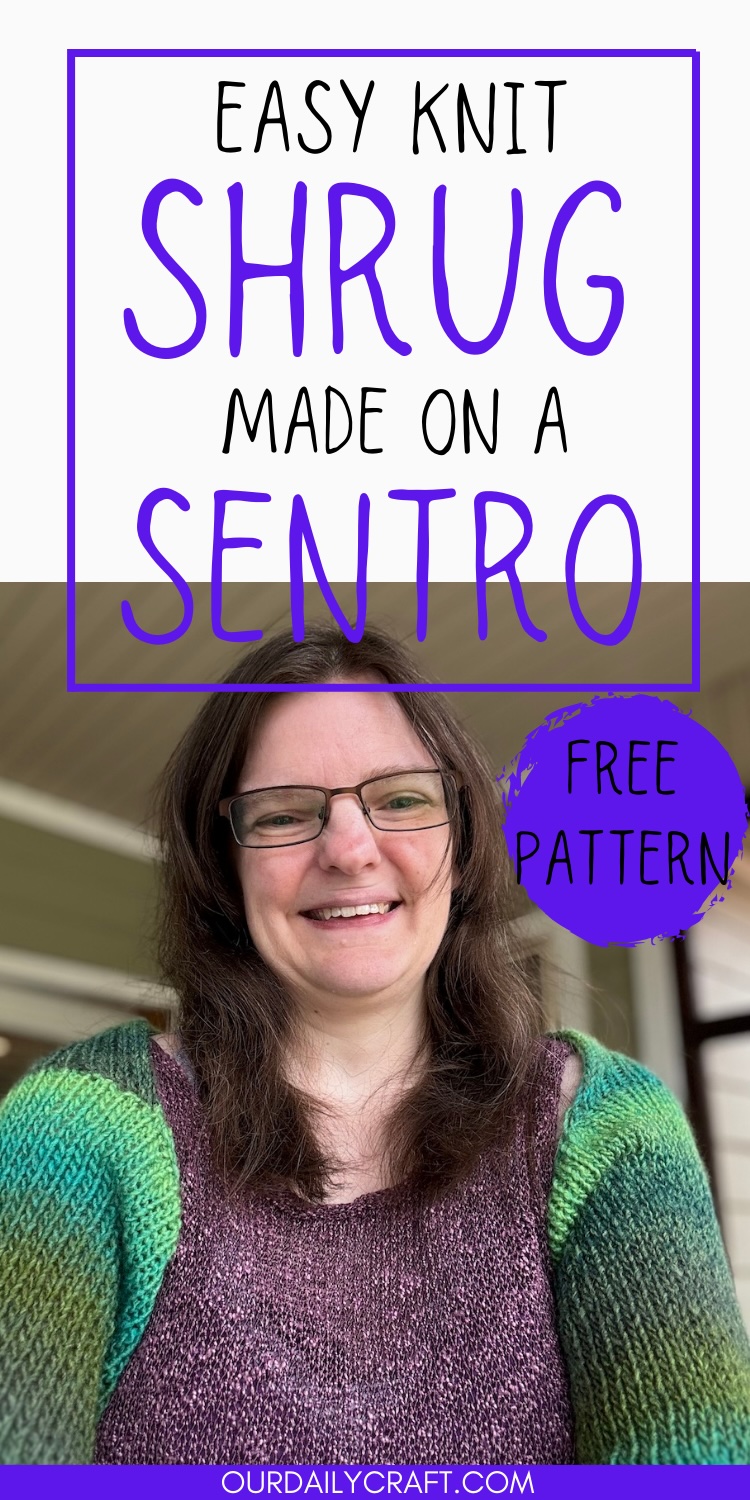
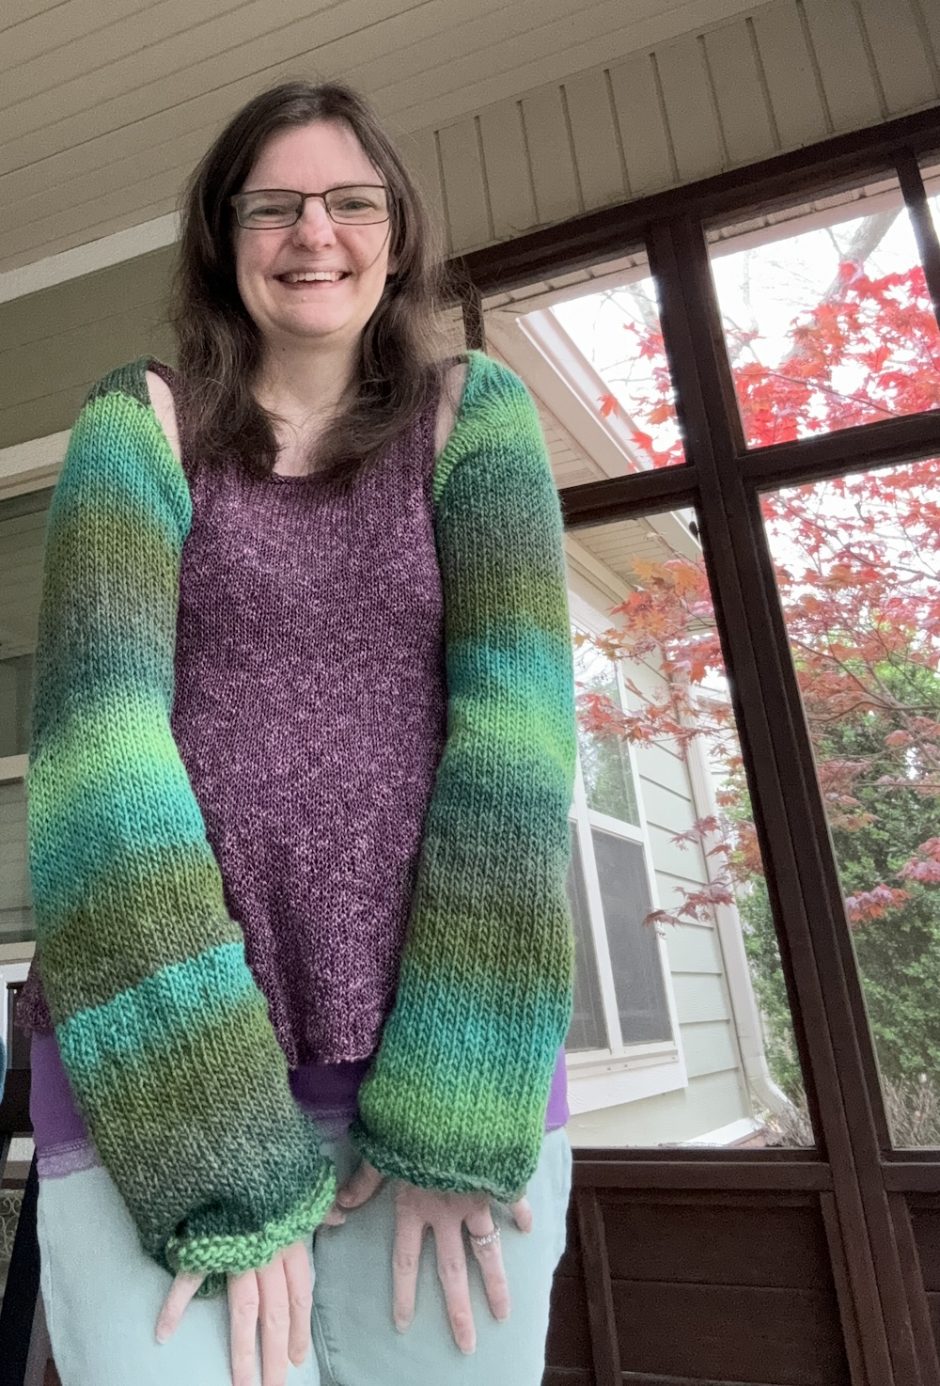
This Sentro knit shrug is super easy to make, and you can knit the back longer to turn it into a sweater scarf if you have enough yarn.
I was writing a post recently about knit sweater scarves, and it got me thinking about how to knit a sweater scarf on the circular knitting machine. I had this yarn I really wanted to use for it and ended up not having enough to make a big wrap, but it’s still a cute shrug you can make on an Addi or a Sentro knitting machine.
What is a Knit Shrug?
A shrug is basically just a scarf with sleeves, or a cardigan with no front. When making one on a knitting machine, you use tubes for the sleeves and a flat panel for the back.
To make a shrug, the back part should measure about the same as your actual back measurement between the shoulders.
If you’re wanting to make a sweater scarf, which is the same thing just with a longer “back” part that can be wrapped and looped around the body, you can make that panel as long as you want.
Of course you can crochet a shrug, too, but making a Sentro knit shrug is more like hand knitting a shrug.
Materials
For my Sentro knit shrug I used 404 yards of Lion Brand Ferris Wheel yarn in color Evergreen. This yarn is so pretty and it’s a great yarn to use in the Sentro because even though it’s a little fuzzy, it runs really smooth and didn’t cause me any problems. I had one full skein plus the leftovers from my mosaic cowl; with two full skeins you could make yours longer.
You’ll also need a knitting machine. I have a Sentro 40 pin, but a 48 or an Addi King would also work for this project, the sleeves will just be bigger.
Since I’m a knitter I finished these pieces with knitting techniques, so I also used three circular knitting needles (whatever size you have is fine as long as one is in the US 6-8/4-5mm range for binding off stitches).
You’ll also need a good yarn needle and a pair of scissors.
Gauge
Your gauge may vary, and because this is a garment its worth taking the time to spin a little sample, take it off the machine, let it relax and measure it to help you determine how many rounds you need to crank.
I used medium tension and got 19 rounds per 4 inches/10 cm, or 4.75 rounds per inch/2.5 cm.
Size
The size is completely custom. The sleeves will be as big around as your machine makes them, but you can alter the length as you like.
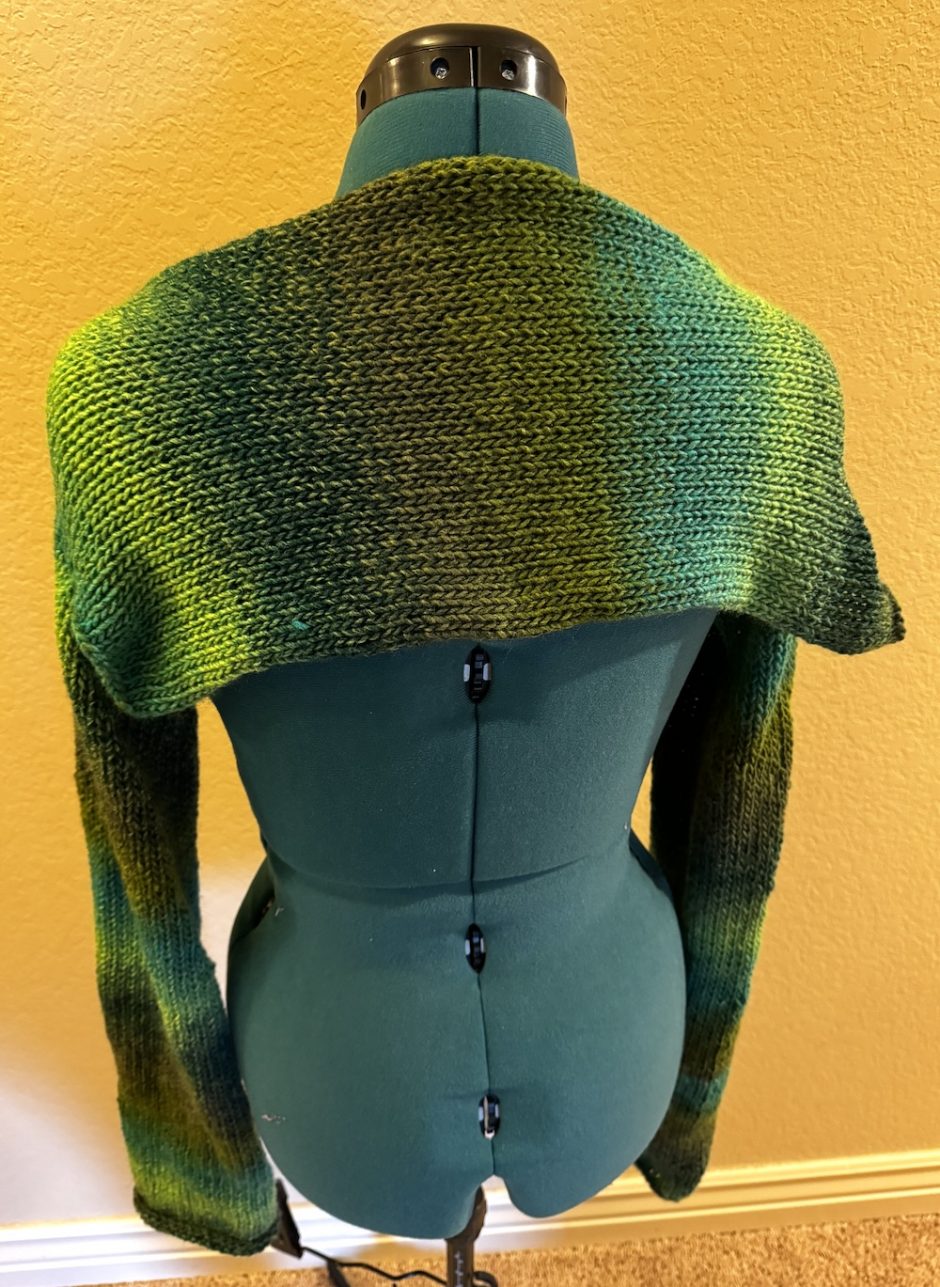
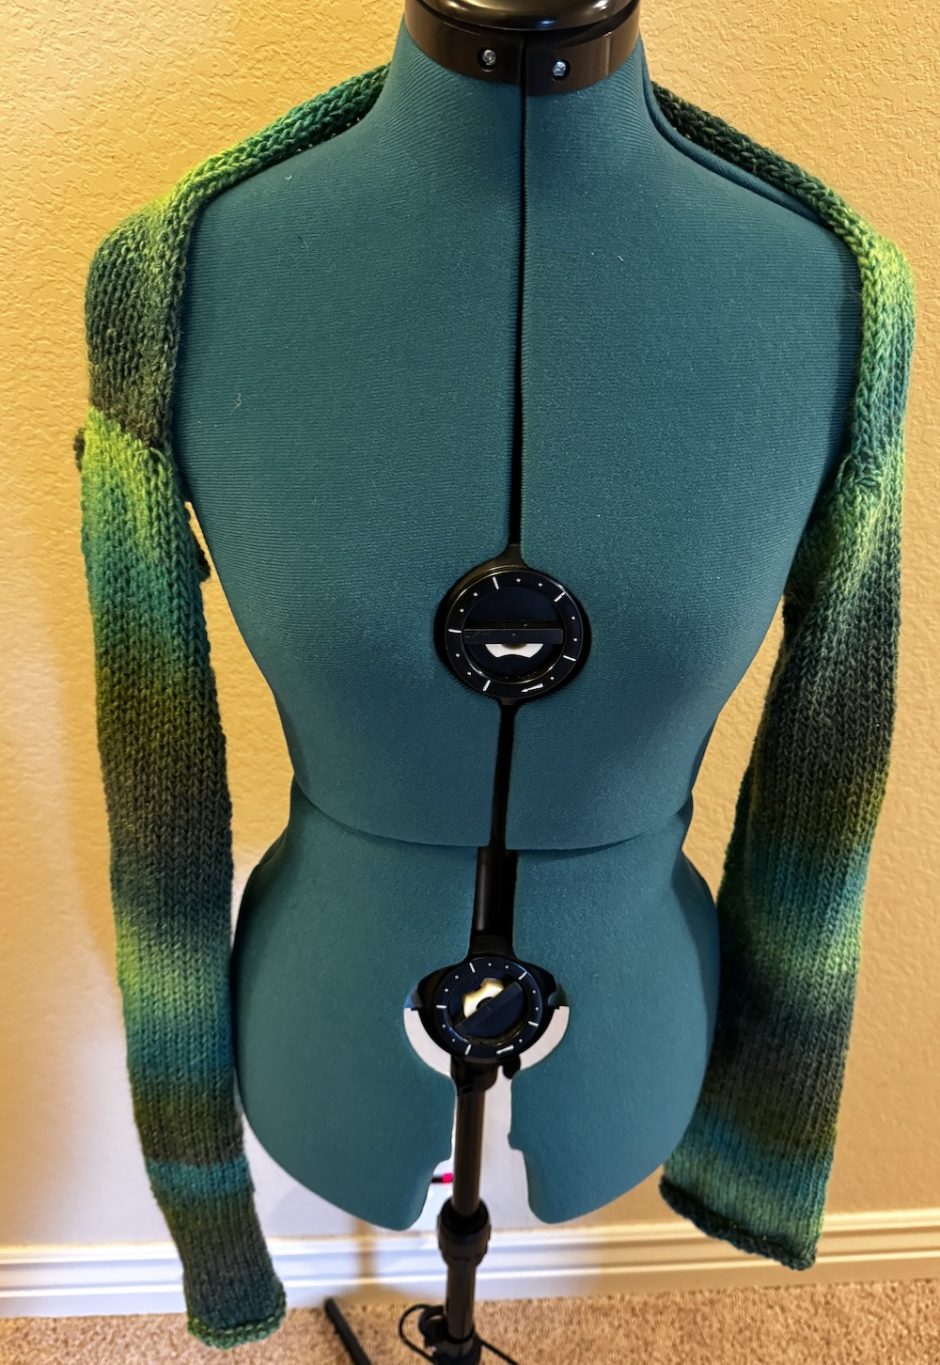
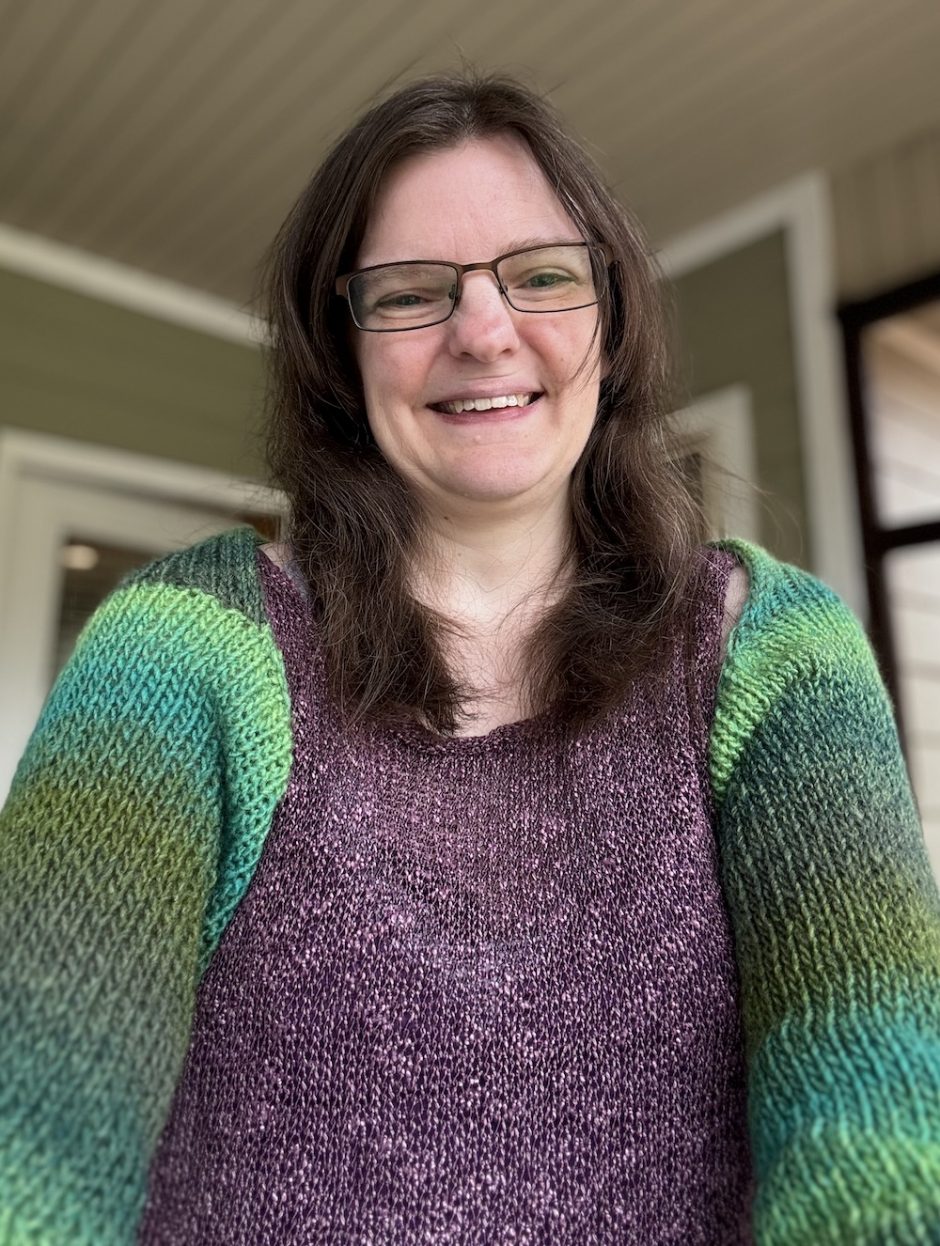
My Sentro knit shrug has sleeves that are 24 inches/60.9 cm long, and the back is about 18 inches/45.7 cm wide.
Making a Sentro Knit Shrug
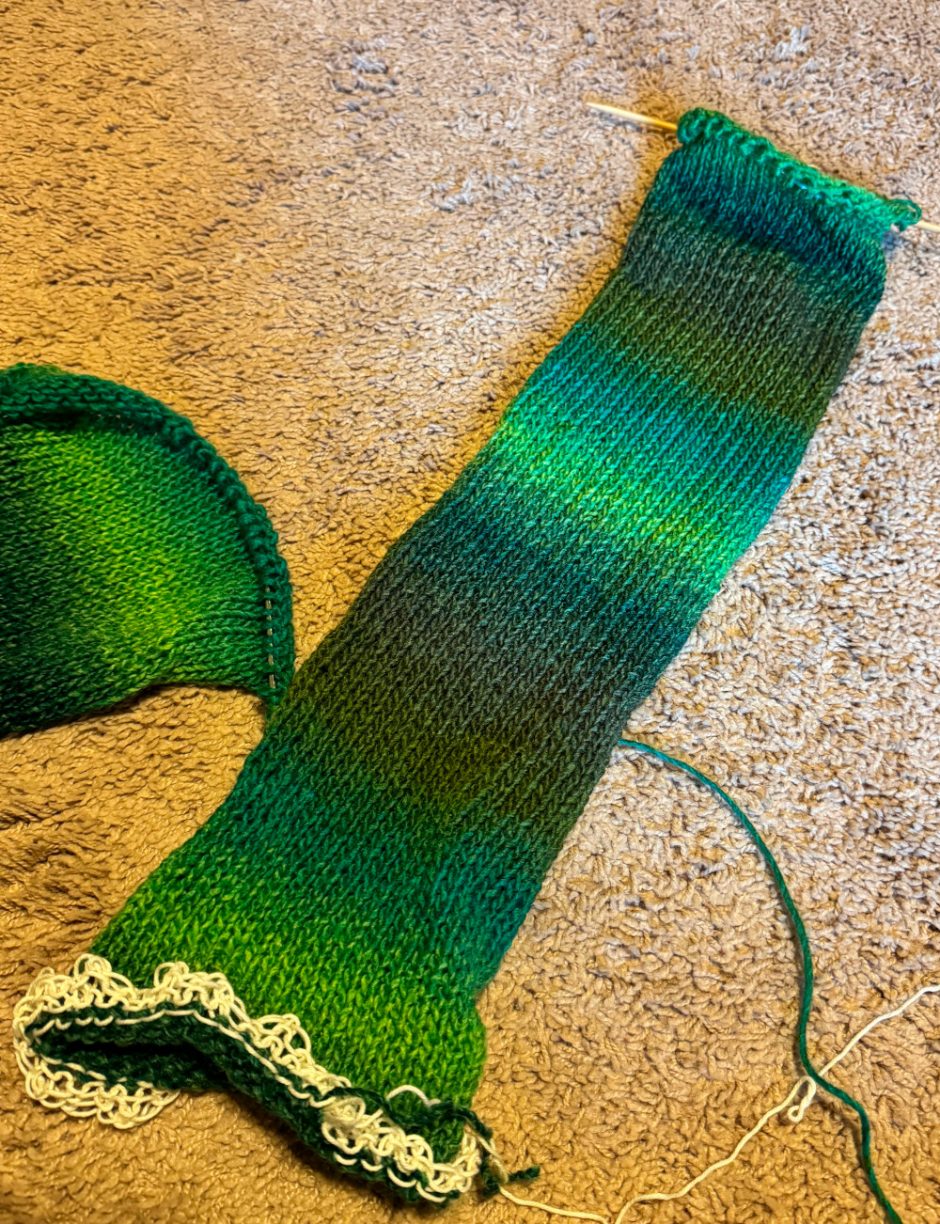
I started by cranking out the sleeves. Begin with waste yarn and crank three or four rounds, then join in your working yarn and crank 114 rounds, or however many rounds you need to make the sleeve length you want.
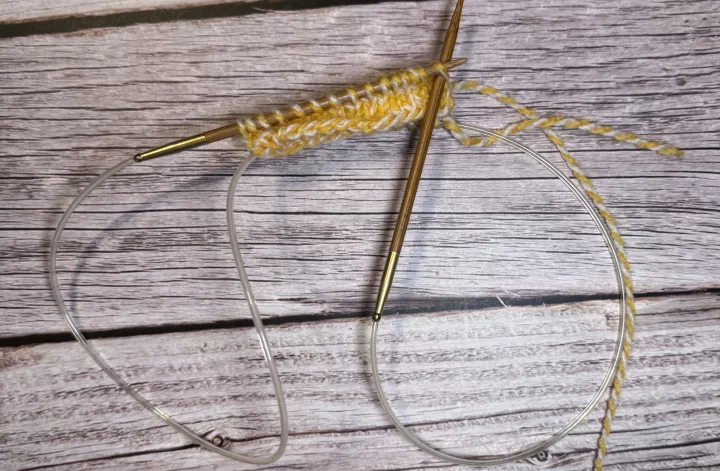
Slide all of the live stitches onto a circular knitting needle and cut the yarn.
Make another sleeve the same way.
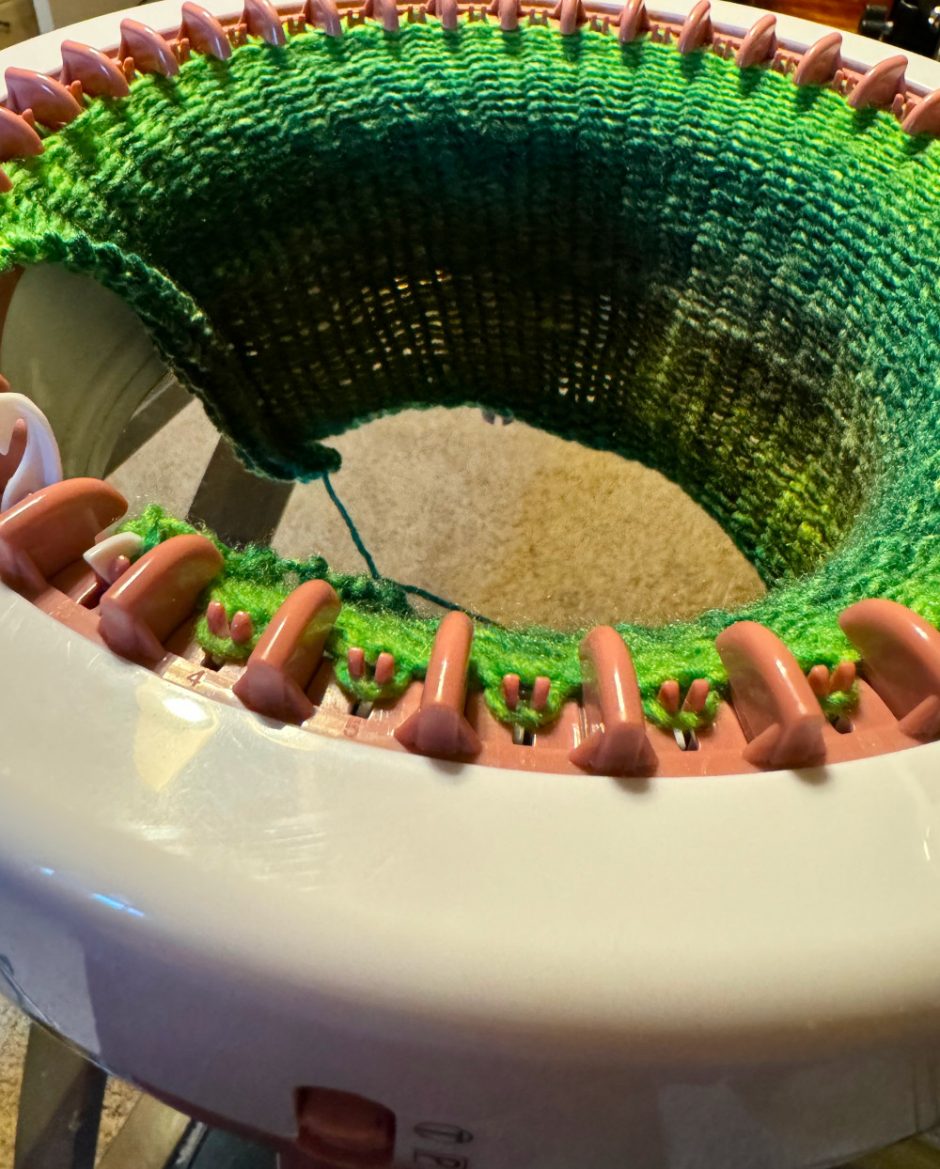
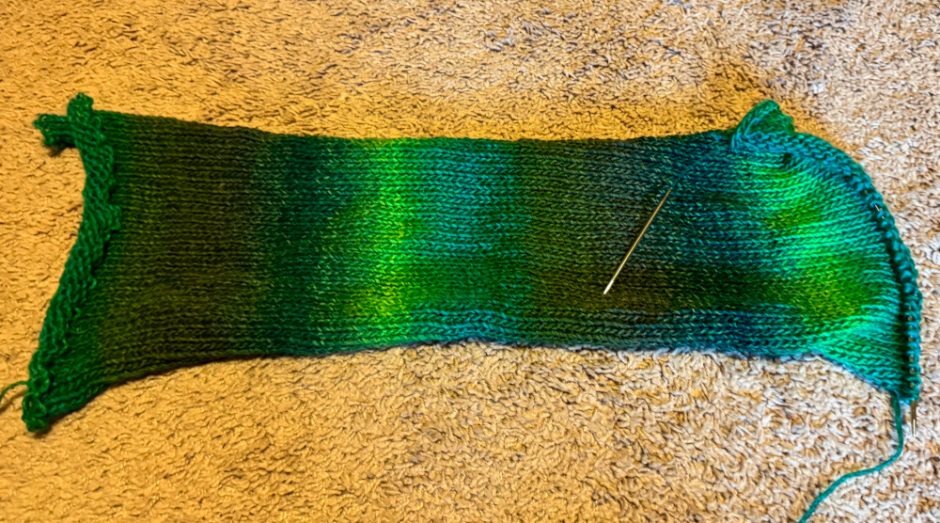
For the back, make a panel that is as many stitches as you want (the more stitches the deeper the panel will be on your body). I used 36 pegs for mine. You can start with waste yarn if you want. I didn’t but I ended up ripping out the cast on edge because it’s kind of messy.
The panel ends up being sideways across your back, meaning the cast on edge is one side that connects to a sleeve and the length of the panel should be about the same as the width of your back. Mine is 16 inches/40.6 cm. (I actually knit mine longer because I hoped I had enough yarn for a sweater scarf, which I didn’t. I ended up ripping out a couple of inches later.)
When the piece is the size you want, place stitches onto a circular knitting needle. Leave a long tail of yarn attached.
Finishing the Shrug
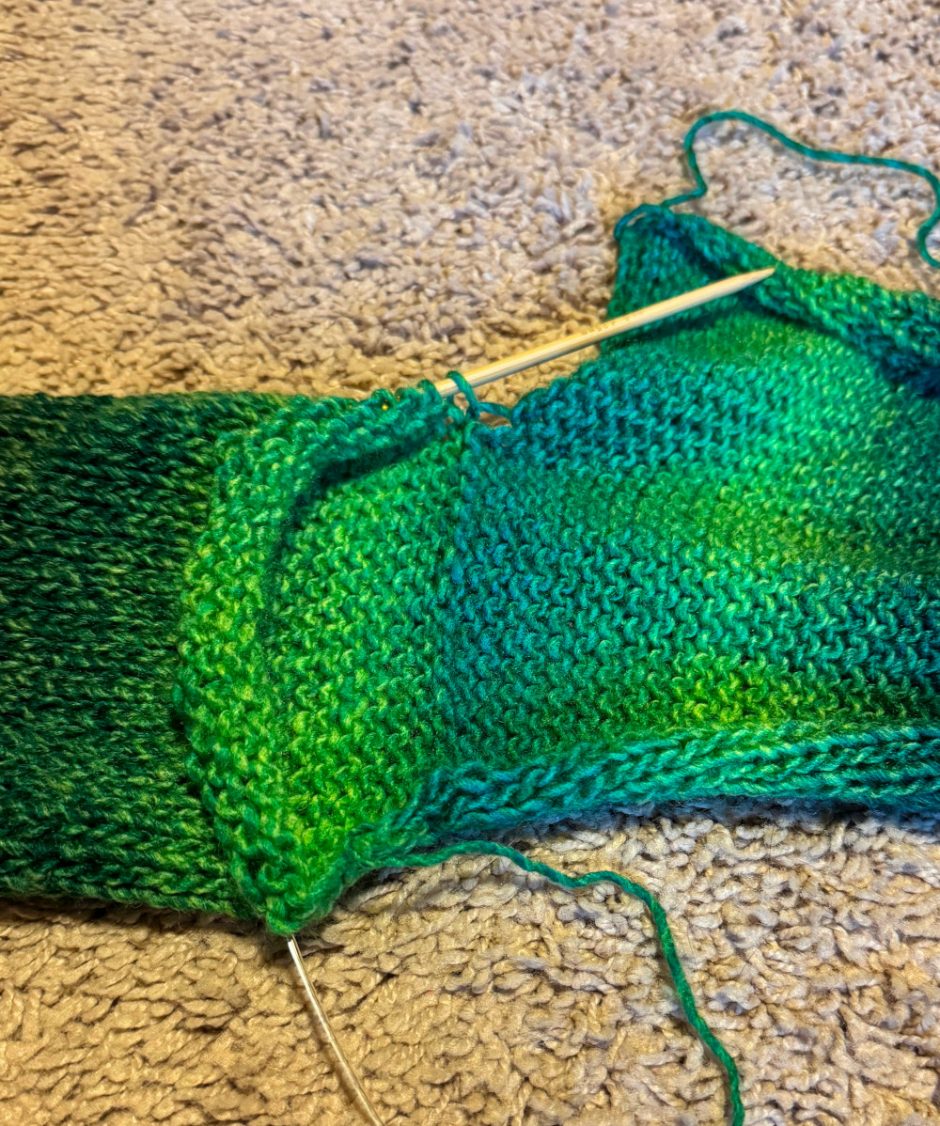
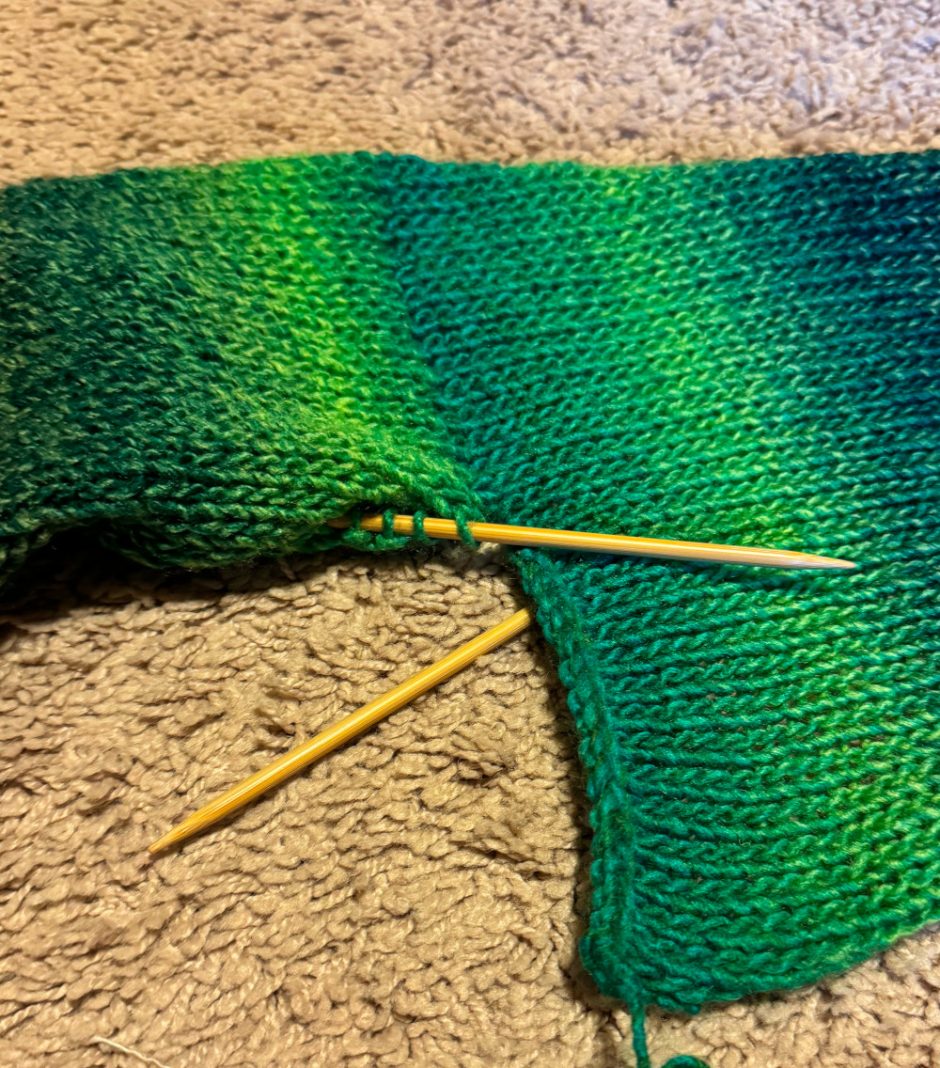
Use the tail end from the shrug piece to sew the sleeve to the back piece. I used grafting, which is pretty easy even if you don’t knit. I sewed half of the sleeve to the back, leaving the other 20 stitches to make the opening for the arm to go through.
If you have yarn remaining after the grafting, use it to bind off the remaining stitches at the bottom of this side of the back piece. Here’s where it matters what size knitting needle you’re using; make sure it’s a US 6-8/4-5mm so the bound off edge won’t be too tight or too loose.
Join yarn to the sleeve and bind off the remaining stitches. Put stitches from the other end of the sleeve (the one with the waste yarn) onto your needle, remove the waste yarn and bind off those stitches.
Repeat on the other sleeve, making sure you’re grafting the stitches to what will be the top of the shrug when you wear it, so the extra length on the back ends up below the sleeve (this is hard to describe but I sewed my second sleeve to what would be the bottom of the shrug, so don’t do that is what I’m trying to say).
Try on your shrug and make sure the back is the width you want. If necessary you can remove one sleeve and rip out a few rows if it needs to be smaller. (You could stitch another panel and sew it to the first one if it needs to be wider.)
I also sewed a couple more stitches of the sleeve and the back panel together after I tried it on because I felt like that fit my shoulders a little better, but you might not need to do this.
When you’re happy with the fit, weave in any remaining yarn ends.
Making a Custom Sentro Knit Shrug
I think I described pretty well through the pattern how you can customize the fit, but just to review:
Make a sample piece of knitting using your desired yarn to determine the number of rounds per inch/cm at the tension you plan to use. Alternatively you can measure as you go, like I did with my Sentro headband, but it’s not quite as accurate.
Measure the length of yarn arm from the top of the shoulder to wherever you would like the sleeve to end and calculate how many rounds you need (length times rounds per inch/cm). Make two sleeves the same length.
For the back, make a flat panel as wide as you like (width is the length down you back when finished) and as long as your back measurement shoulder to shoulder, or longer if you want to make a wrap.
Graft or otherwise join the sleeves to the top of the back panel. Bind off remaining stitches and weave in ends.