Affiliate links may be included for your convenience. View our privacy and affiliates policy for details.
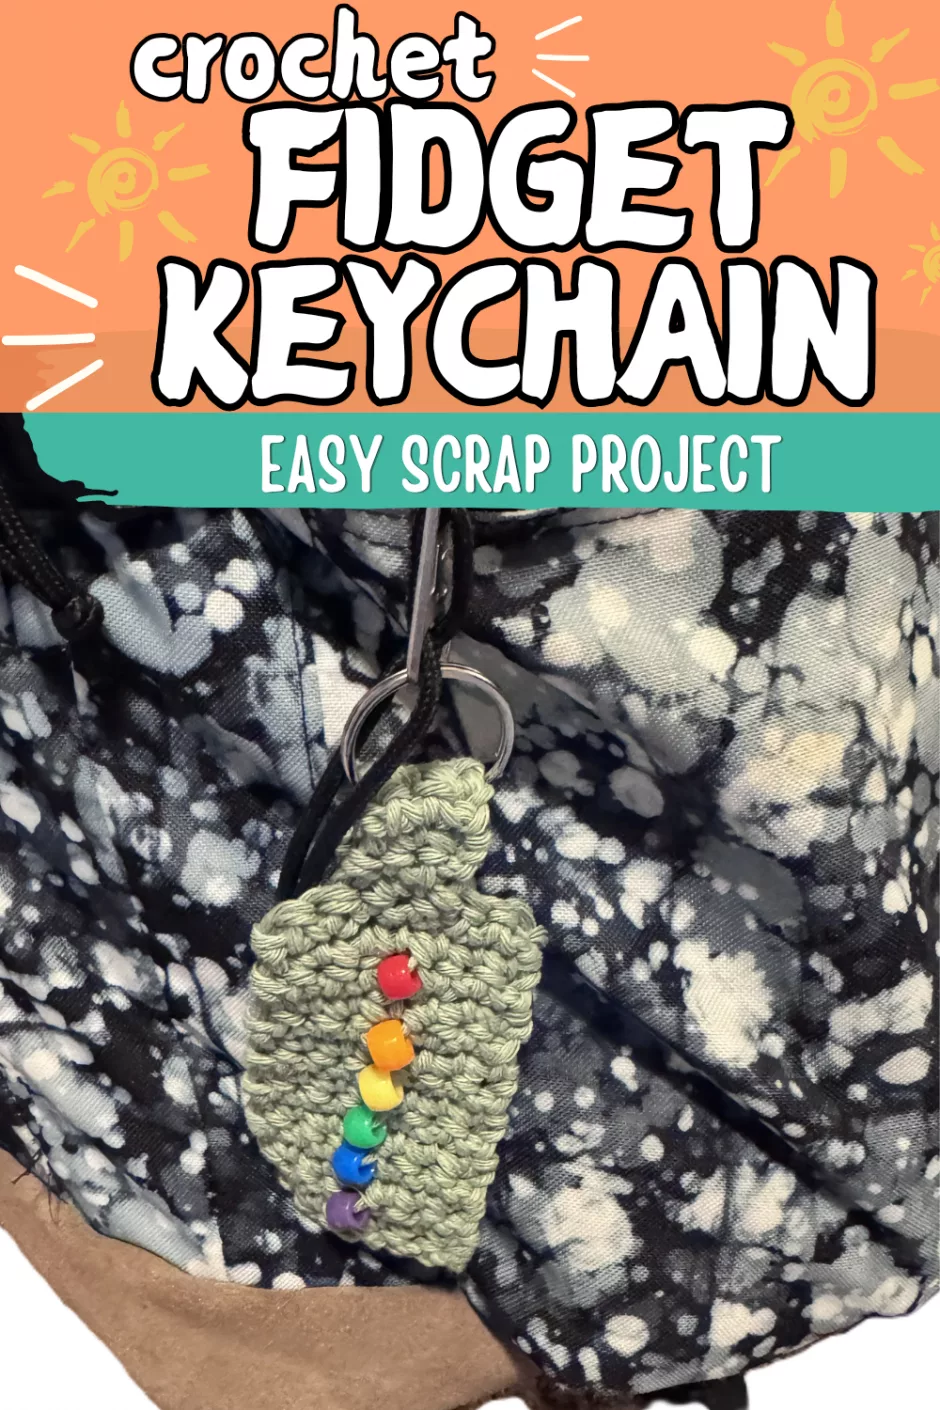
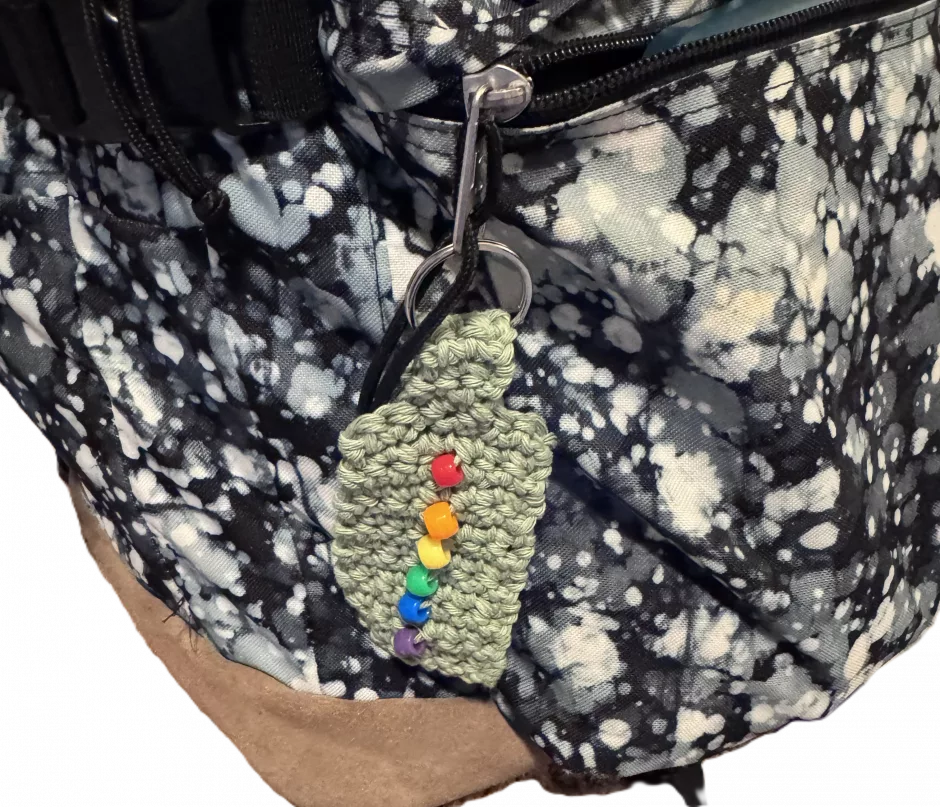
This crochet fidget keychain is easy to make with a little yarn and a few pony beads. Make it into a keychain or keep it as a little piece you can keep in your pocket to fidget with.
Materials
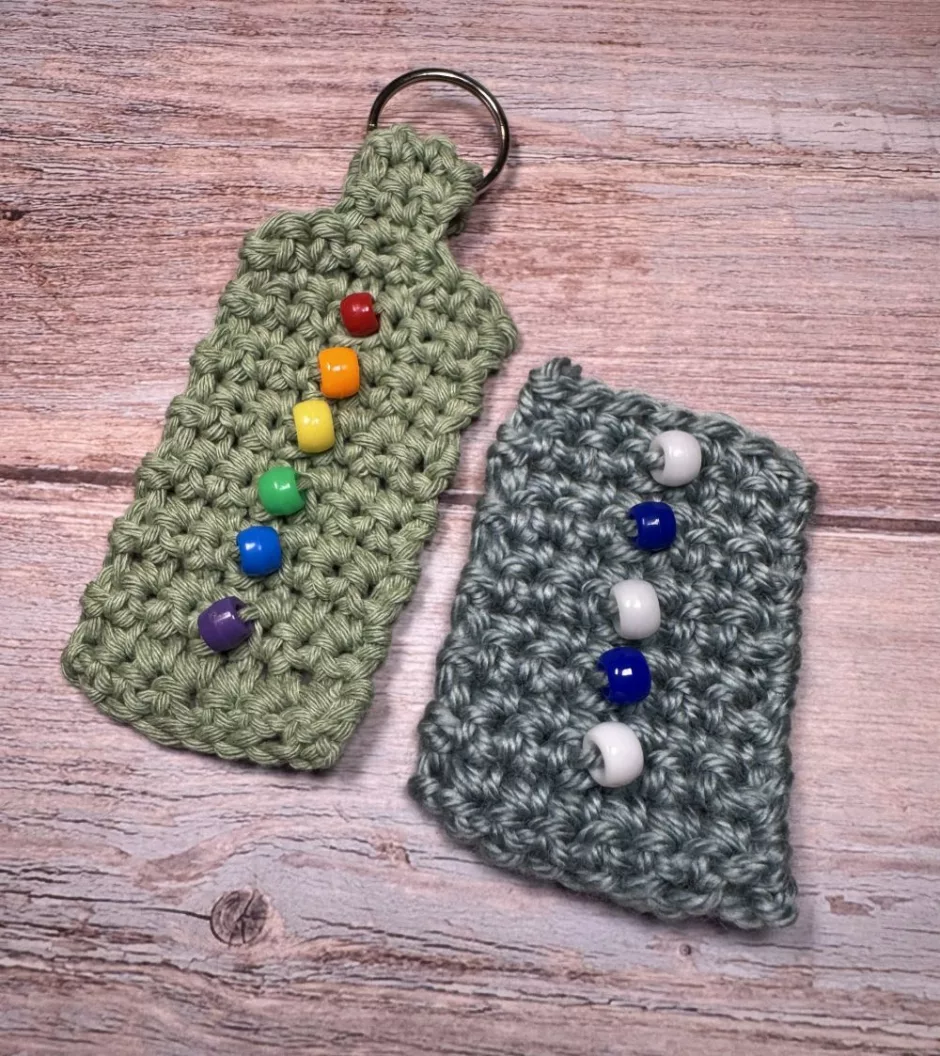
You’ll need a small amount of worsted weight yarn to make your crochet fidget keychain. The one shown in the tutorial used a little less than 2 yards, while the non-keychain one used about 3 yards and I ran out of yarn before it was done, so to make one of the same size with that yarn probably would have take more like 4 yards.
If you have an odd ball left from another project, you’ll need a couple of grams of yarn for this project. Or add stripes if you’re using tiny leftover balls.
You’ll also need a few pony beads. The one with rainbow beads uses six and the blue and white one has five, again because I ran out of yarn.
I used a size 8/H/5 mm crochet hook, and also a yarn needle and small scissors.
If you want to make a keychain, you’ll need a key ring.
Size
The size will vary a little depending on the yarn you use, how many beads you use and how long you want it to be.
Both of mine are just a little more than 2 inches/5 cm wide. Without the key ring part, that one is 3.75 inches/9.5 cm, and the blue one is 3 inches/7.6 cm.
How to Make a Crochet Fidget Keychain
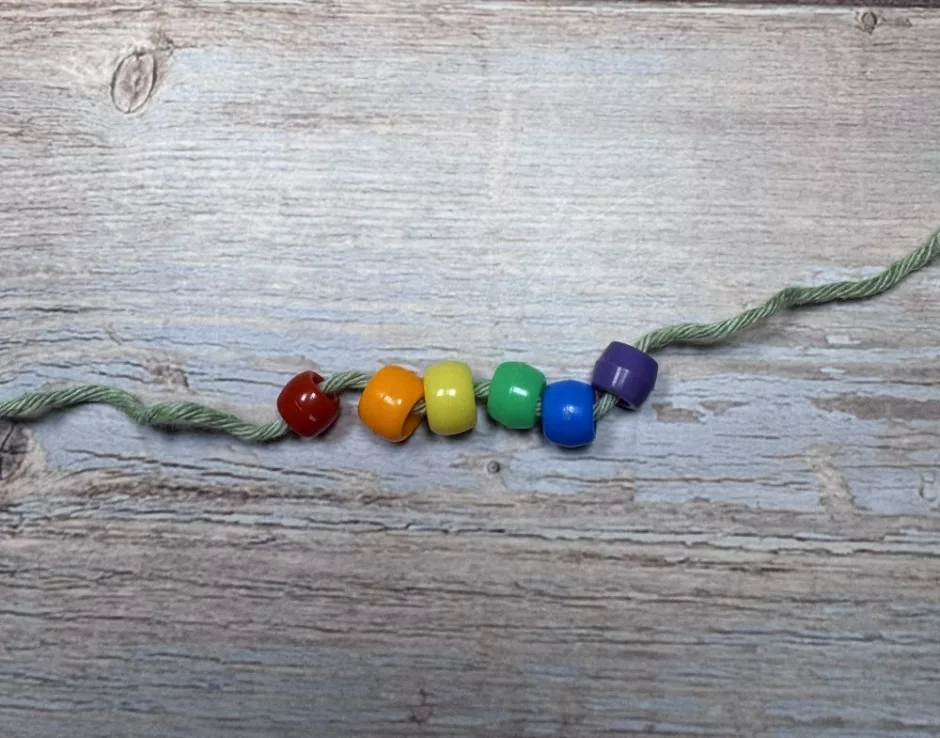
You’ll want to start with the beads strung on the yarn, so load the beads in the opposite order of how you want them to appear on the keychain. We’re working from the bottom up, so the bead for the top should go on the yarn first, and the bead at the bottom last and so on. Slide them down the yarn so they are out of your way as you work.
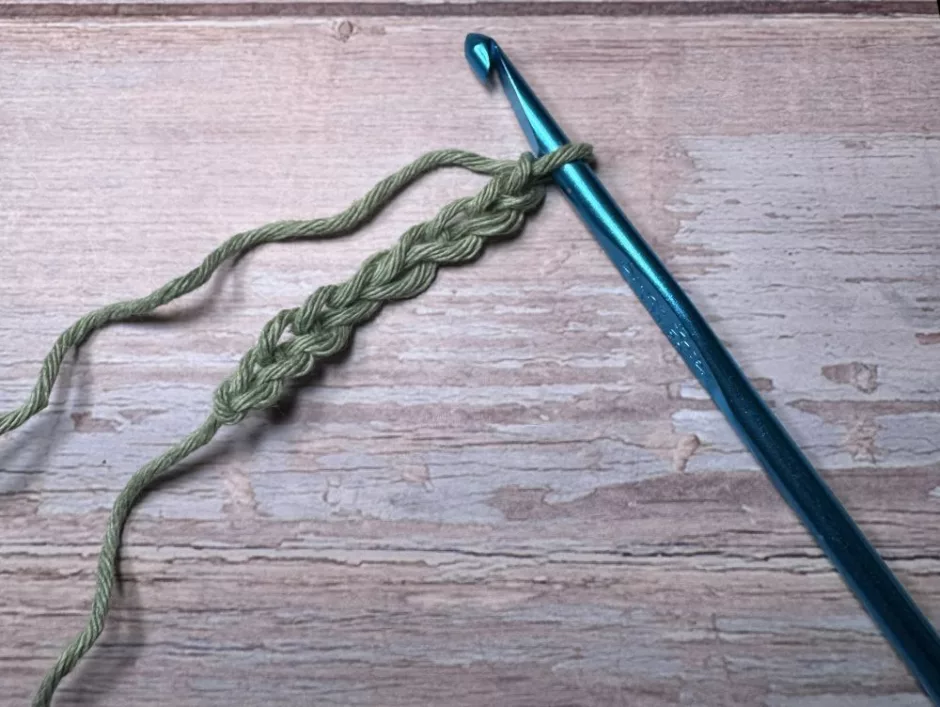
Chain 8.
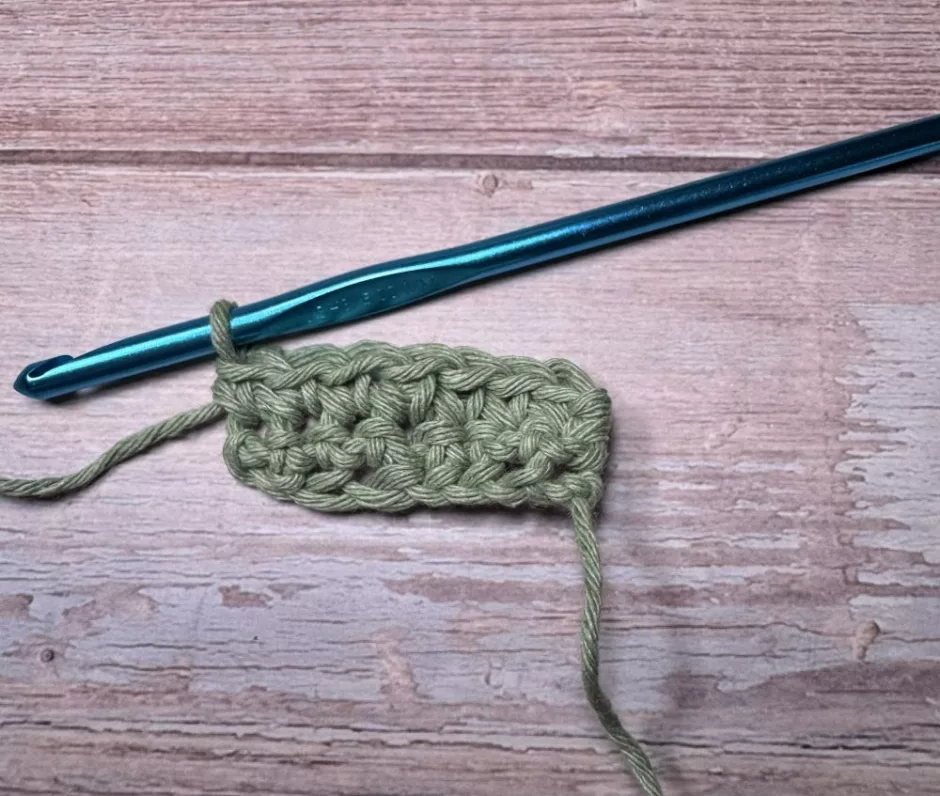
Starting in the second chain from the hook, single crochet 7 stitches across. Turn and single crochet 7 across. (I used stacked stitches so I didn’t have chains at the end of the rows, but you can add a chain 1 at the end if you’d rather.)
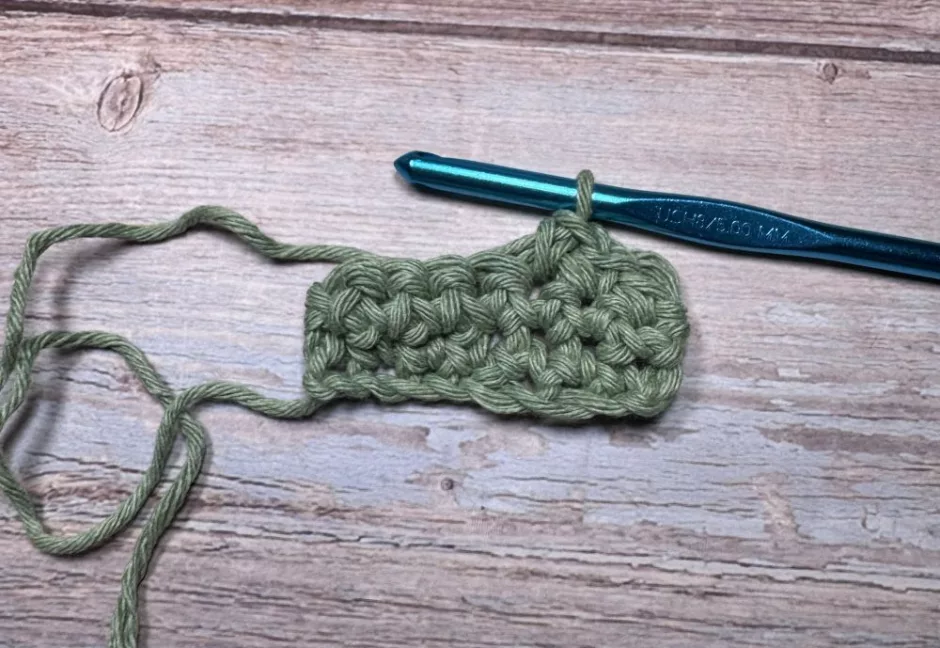
Turn. On the next row, single crochet 3.
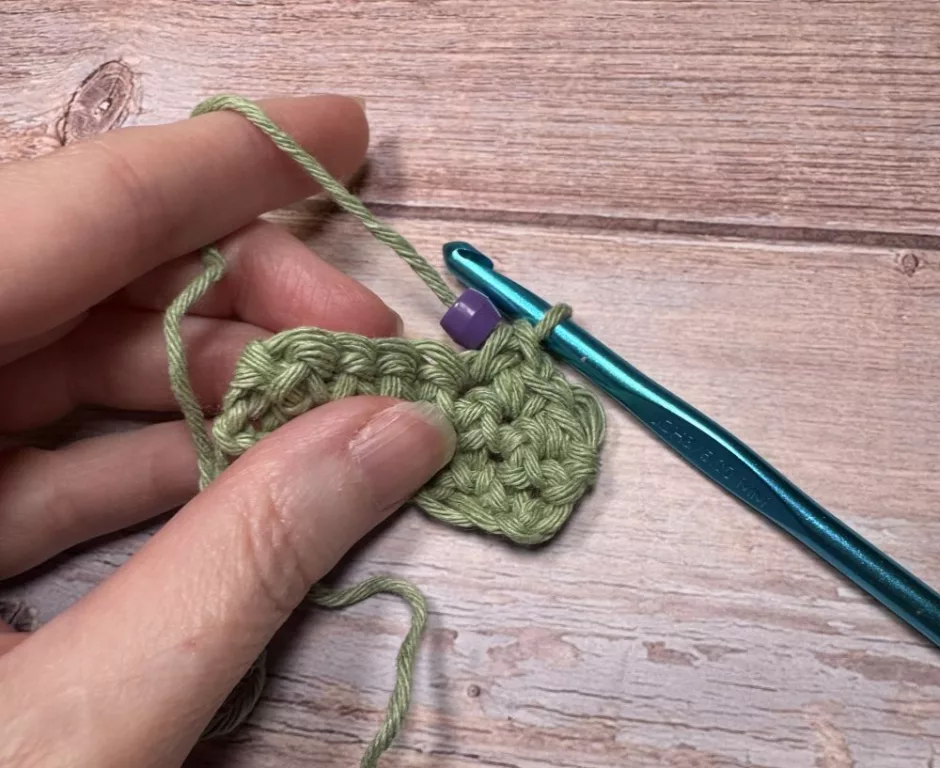
Bring the first bead up so that it’s close to the hook.
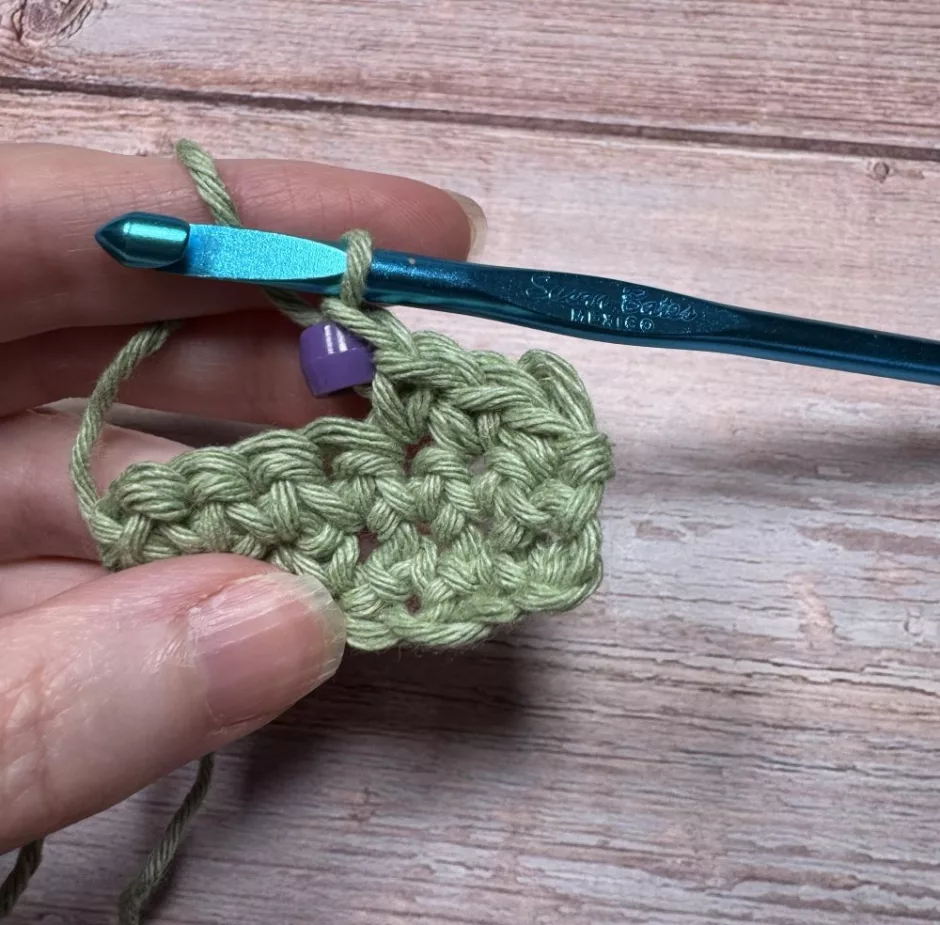
Work a chain stitch on top of the bead.
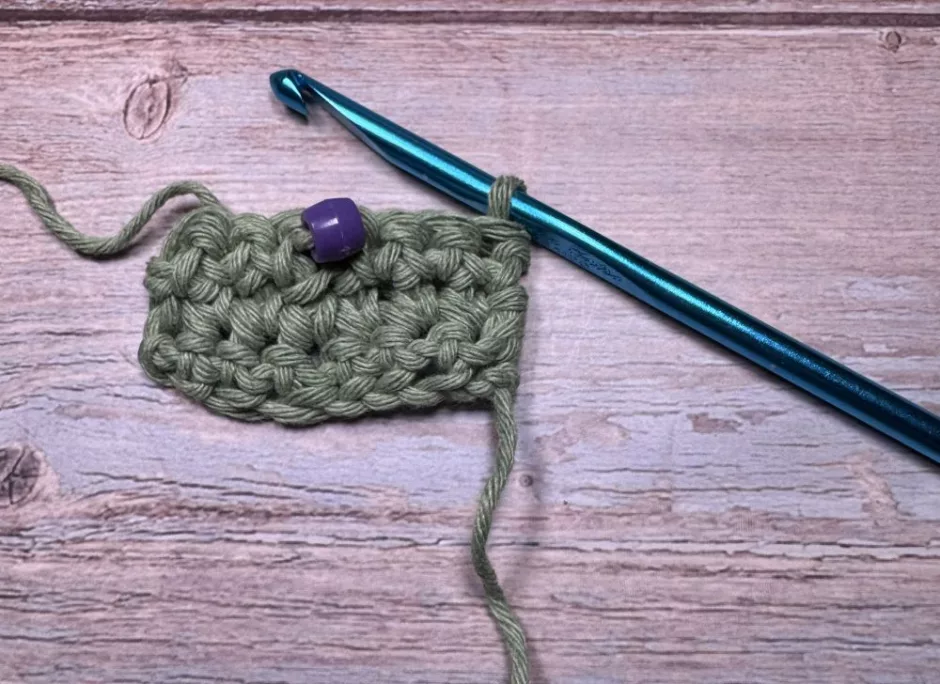
Skip the next stitch and single crochet 3 to finish the row. Note that the bead will show on the opposite side of the work.
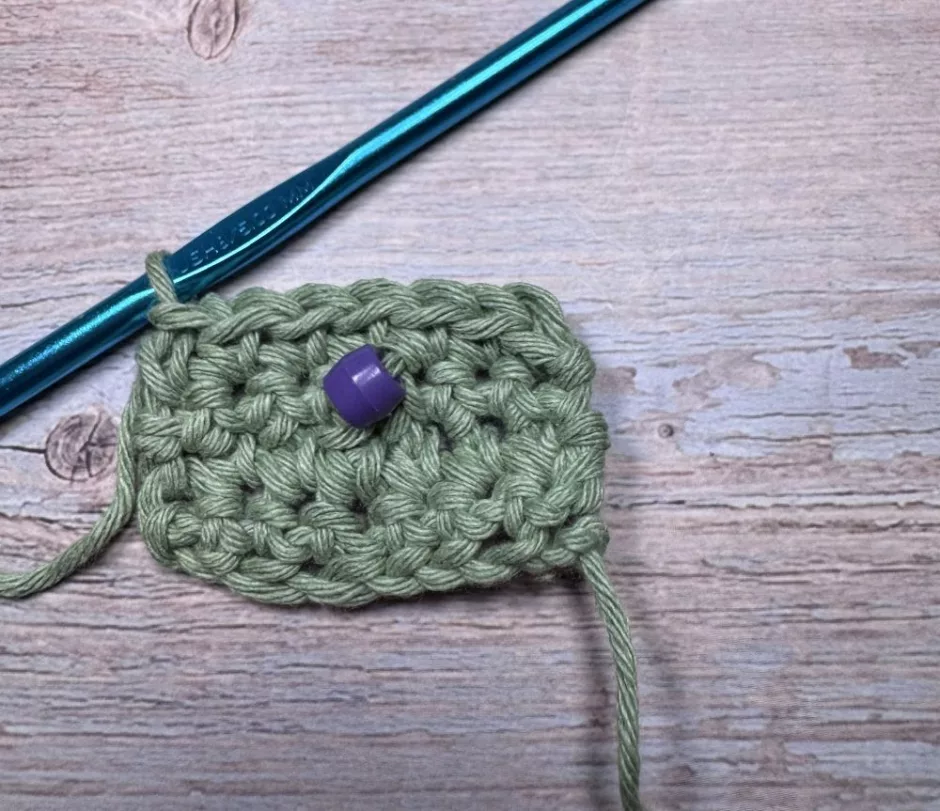
Turn and single crochet across 7.
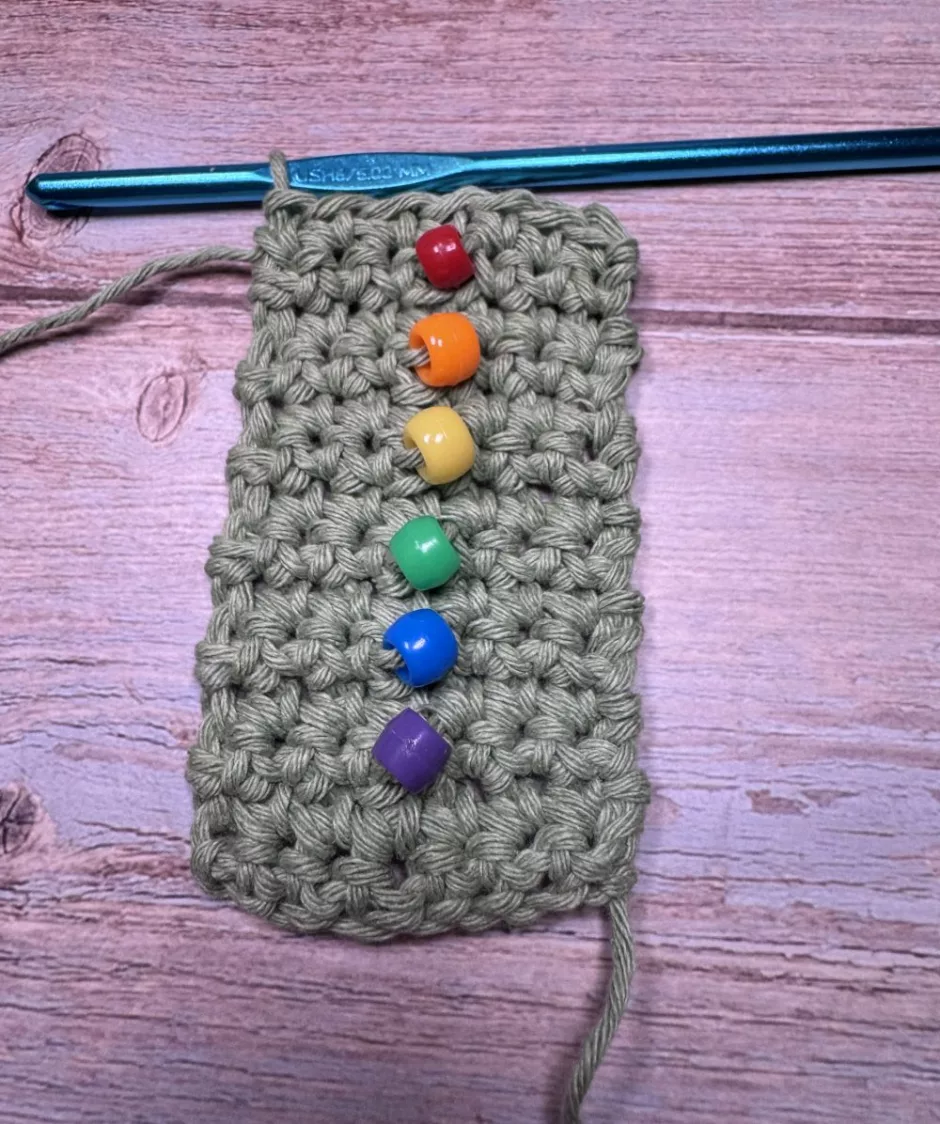
Repeat these two rows until you have added all your beads.
Single crochet one more row and cut the yarn to fasten off the last stitch.
Making a Key Ring
If you want you can just leave it like that, as I ended up doing with the blue one since I ran out of yarn (it’s missing the last single crochet row at the end, too, but I’m OK with that as a demo).
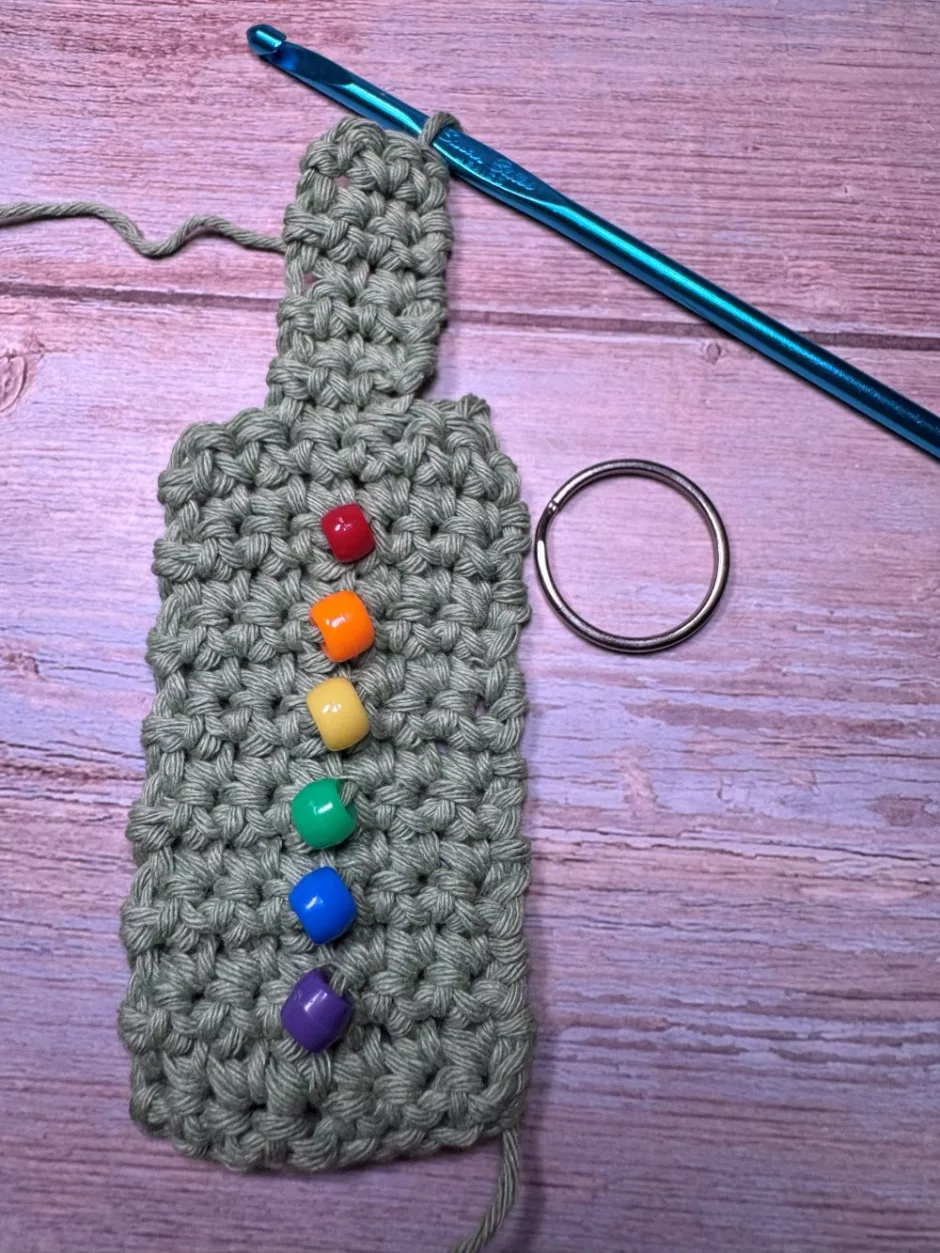
If you want to make the loop for the key ring, reattach the yarn into the third stitch with the bead side facing. Single crochet 3 stitches per row until the tab is long enough to loop around the ring. Mine is about 1.5 inches/3.8 cm.
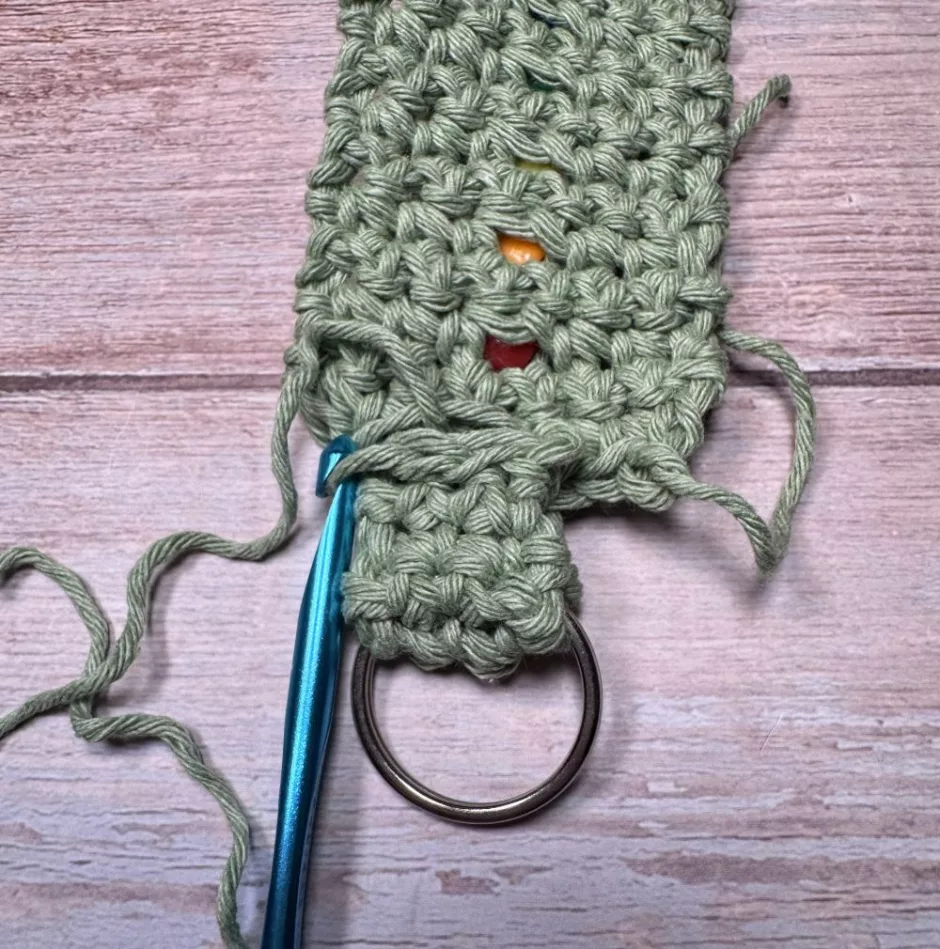
Cut the yarn, leaving a long tail. Loop the tab over the key ring, making sure your yarn is on the outside.
Fold the tap down, then work chain stitches across to attach the end of the tab to the beginning.
You can also whip stitch across this area when you weave in your ends to make it even more secure. Weave in remaining ends.
Other Crochet Fidget Options
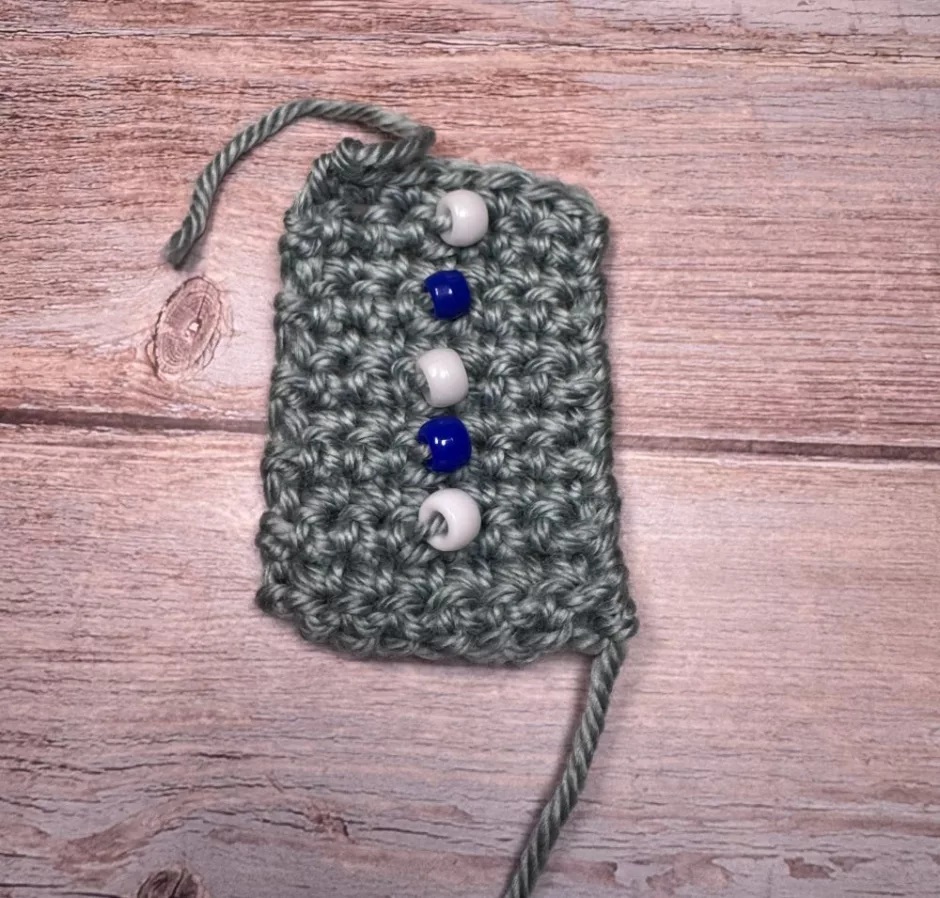
If you like you can just leave it a flat little piece that you keep in your pocket or bag instead of making a key ring.
You could also keep going and turn it into a bracelet.
Or add more than one bead per row, stagger the beads, work more rows between the beads, whatever you like.
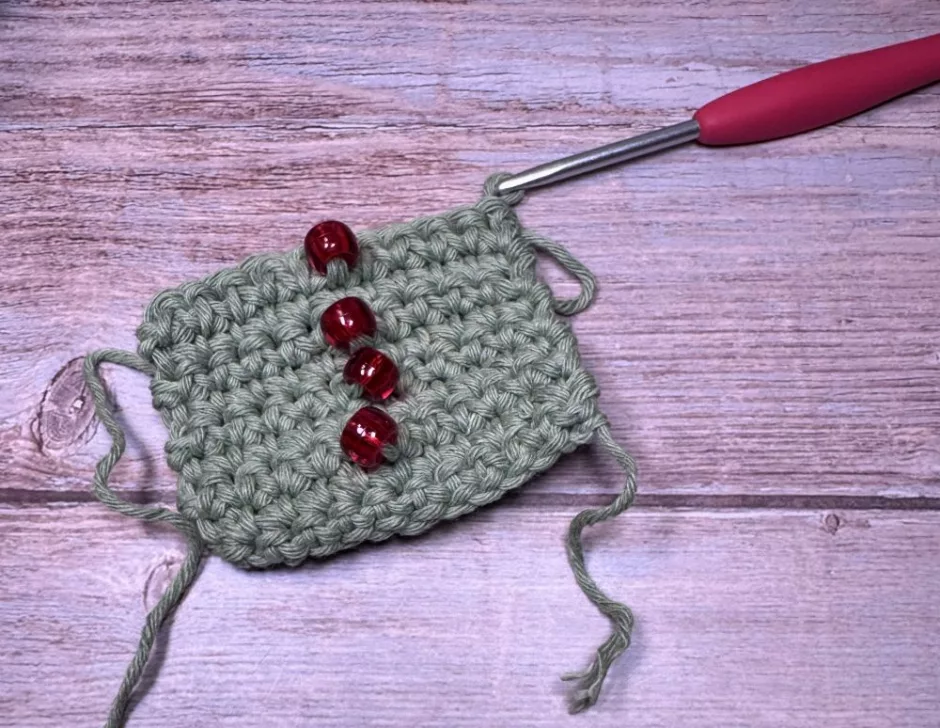
While I was working on this crochet fidget keychain pattern I tested a few different ways to attach the beads. On this sample you can see from the bottom up a bead stranded onto the yarn before stitching that’s worked with a single crochet and a stranded bead with a chain stitch like we did above.
The top two are done by stitching with the bead that was not previously threaded on the yarn. To do this you put the head of the needle through the bead and then make the stitch (here again a single crochet and a chain respectively). Of course to be able to do this you need a hook small enough to go through the bead. I used an E/3.5 mm for this sample.
I liked the look of the stranded on chain stitch bead the best, but you can do it however you like. It also allows you to use a larger hook.